Timespace X500 User manual

TT0926 Issue 1
28th August 2019 www.tspace.co.uk 01480 414147
X500/R500
IP Camera Setup Guide


Contents
1 Introduction ...........................................................................................................1
2 Axis M3114-R .........................................................................................................2
2.1 Setting up Axis M3114-R camera...................................................................2
2.2 X500/R500 Set up for Axis M3114-R .............................................................4
3 AXIS P12/M20 ........................................................................................................5
3.1 Setting up AXIS P12/M20 camera..................................................................5
3.2 X500/R500 set up for AXIS P12/M20.............................................................7
4 Bosch Dinion 7000 .................................................................................................8
4.1 Setting up Bosch Dinion 7000 HD camera .....................................................8
4.2 X500/R500 Set up for Bosch Dinion 7000 HD..............................................10
5 Bosch Dinion 8000 ...............................................................................................11
5.1 Setting up Bosch Dinion 8000 MP camera...................................................11
5.2 X500/R500 Set up for Bosch Dinion 8000 MP .............................................13
6 CANON VB-H45 ....................................................................................................14
6.1 Setting up CANON VB-H45 camera..............................................................14
6.2 X500/R500 Set up for CANON VB-H45 ........................................................16
7 David Horn FWN-GY_L6 .......................................................................................17
7.1 Setting up David Horn FWN-GY_L6 camera.................................................17
7.2 X500/R500 Set up for David Horn FWN-GY_L6 ...........................................19
8 Harris Tech Pericam .............................................................................................20
8.1 Setting up Harris Tech Pericam camera.......................................................20
8.2 X500/R500 set up for Harris Tech Pericam..................................................22
9 HIK DS-2CD2510F.................................................................................................23
9.1 Setting up HIK DS-2CD2510F camera ..........................................................23
9.2 X500/R500 Set up for HIK DS-2CD2510F .....................................................25
10 HIK DS-2CD2542FWD-IS.......................................................................................26
10.1 Setting up HIK DS-2CD2542FWD-IS camera ................................................26
10.2 X500/R500 Set up for HIK DS-2CD2542FWD-IS ...........................................28
11 HIK DS-2CD4B26FWD-IWZ ...................................................................................29
11.1 Setting up HIK DS-2CD4B26FWD-IWZ camera.............................................29
11.2 X500/R500 Set up for HIK DS-2CD4B26FWD-IWZ .......................................31
12 HIK DS-2CD6510D-IO ...........................................................................................32
12.1 Setting up HIK DS-2CD6510D-IO camera .....................................................32
12.2 X500/R500 Set up for HIK DS-2CD6510D-IO................................................34
13 HIK DS-2DE4215IW-DE.........................................................................................35
13.1 Setting up HIK DS-2DE4215IW-DE camera ..................................................35
13.2 X500/R500 Set up for HIK DS-2DE4215IW-DE .............................................37
14 KNC HDi47............................................................................................................38
14.1 Setting up KNC HDi47 camera .....................................................................38
14.2 X500/R500 Set up for KNC HDi47 ................................................................40

15 KNC LDDi45 ..........................................................................................................41
15.1 Setting up KNC LDDi45 camera....................................................................41
15.2 X500/R500 Set up for KNC LDDi45...............................................................43
16 Milesight MS-C2973-PB .......................................................................................44
16.1 Setting up Milesight MS-C2973-PB camera.................................................44
16.2 X500/R500 Set up for Milesight MS-C2973-PB............................................46
17 Synectics SY-FDEF3...............................................................................................47
17.1 Setting up Synectics SY-FDEF3 camera ........................................................47
17.2 X500/R500 Set up for Synectics SY-FDEF3...................................................49
18 Synectics S-VRMDF4-2MP....................................................................................50
18.1 Setting up Synectics S-VRMDF4-2MP camera .............................................50
18.2 X500/R500 Set up for Synectics S-VRMDF4-2MP ........................................52
19 Trendnet TV-IP311PI............................................................................................53
19.1 Setting up Trendnet TV-IP311PI camera......................................................53
19.2 X500/R500 Set up for Trendnet TV-IP311PI ................................................55
20 Vivotek MD8562 ..................................................................................................56
20.1 Setting up Vivotek MD8562 camera............................................................56
20.2 X500/R500 Set up for Vivotek MD8562.......................................................58

Revision
Date
Reason
1
28/08/19
Initial release


X500/R500 IP Camera Setup Guide
1
1 Introduction
This setup guide has been produced to help users of the Timespace X500 and R500 digital video
recorders (DVRs) to set up IP cameras on the DVRs.
The guide provides specific setup details for cameras which, at the time of issue of this document,
have been tested by Timespace and are confirmed as compatible with the X500 and R500 DVRs.
X500 and R500 DVRs are shipped with pre-configured default settings for the cameras included in
this setup guide. The default settings are contained in the DVR’s TSCONFIG file, which will
periodically be updated by Timespace. The updated TSCONFIG file will then form part of subsequent
DVR software releases.
Further information on DVR configuration and menu settings can be found in the X500/R500
Instruction Manual, Timespace document number TT0913,which can be obtained from Timespace

X500/R500 IP Camera Setup Guide
2
2 Axis M3114-R
2.1 Setting up Axis M3114-R camera
Connect to camera using ONVIF Manager.
Select Profile <quality h264> via Profiles menu and then set stream via Video Streaming menu:
Primary stream (Recorded stream):
30 fps
800 x 600
H.264

X500/R500 IP Camera Setup Guide
3
Select Profile <quality jpeg> via Profiles menu and then set stream via Video Streaming menu:
Secondary Stream (Live View):
4 fps
704 x 576
MJPEG
Select Network- Settings to get to the IP address menu.
Set the IP address. Timespace recommends this is set to one of the default IP addresses which range
from 192.168.10.200 –203, or to your chosen IP address.
NB each camera will need a unique address in the same subnet.
Set Subnet mask to 255.255.255.0

X500/R500 IP Camera Setup Guide
4
2.2 X500/R500 Set up for Axis M3114-R
On the DVR, set IP address of camera in MAIN MENU > IP CAMERAS
Note this has to be on the same subnet as VLAN2
Set selected type to have Axis M3114-R selected and then apply.
This should set the X500/R500 as follows:
H264 stream 1: onvif-media/media.amp?profile=quality_h264
JPEG stream 2: onvif-media/media.amp?profile=quality_jpeg
USER: root
PASSWORD: root

X500/R500 IP Camera Setup Guide
5
3 AXIS P12/M20
3.1 Setting up AXIS P12/M20 camera
Connect to camera using ONVIF Manager.
Primary stream (Recorded stream):
25 fps
1280 x 720
H.264

X500/R500 IP Camera Setup Guide
6
Secondary Stream (Live View):
4 fps
704 x 576
MJPEG
Select Network Settings to get to the IP address menu
Set the IP address. Timespace recommends this is set to one of the default IP addresses which range
from 192.168.10.200 –203, or to your chosen IP address.
NB each camera will need a unique address in the same subnet.
Set Subnet mask to 255.255.255.0.

X500/R500 IP Camera Setup Guide
7
3.2 X500/R500 set up for AXIS P12/M20
On the DVR, set IP address of camera in MAIN MENU > IP CAMERAS
Note this has to be on the same subnet as VLAN2
Set selected type to have AXIS P12/M20 selected and then apply.
This should set the X500/R500 as follows:
H264 stream 1: onvif-media/media.amp?profile=profile_1_h264
JPEG stream 2: onvif-media/media.amp?profile=profile_1_jpeg
USER: root
PASSWORD: root

X500/R500 IP Camera Setup Guide
8
4 Bosch Dinion 7000
4.1 Setting up Bosch Dinion 7000 HD camera
Connect to camera using browser interface and select Configuration->Camera->Encoder Streams-
>Stream 1 to get to the following menu.
Primary stream (Recorded stream):
H.264 MP 720p fixed

X500/R500 IP Camera Setup Guide
9
Select Configuration->Camera->Encoder Streams->JPEG stream to get to the following menu.
Secondary Stream (Live View):
5 fps
768 x 432
MJPEG
Select Configuration->Network->Network Access to get to the IP address menu.
Set the IP address. Timespace recommends this is set to one of the default IP addresses which range
from 192.168.10.200 –203, or to your chosen IP address.
NB each camera will need a unique address in the same subnet.
Set Subnet mask to 255.255.255.0

X500/R500 IP Camera Setup Guide
10
4.2 X500/R500 Set up for Bosch Dinion 7000 HD
On the DVR, set IP address of camera in MAIN MENU > IP CAMERAS
Note this has to be on the same subnet as VLAN2
Set selected type to have Bosch Dinion 7000 HD and then apply.
This should set the X500/R500 as follows:
H264 stream 1: rtsp_tunnel?h26x=4&line=1&inst=1
JPEG stream 2: rtsp_tunnel?h26x=0&line=1
USER: live
PASSWORD: admin

X500/R500 IP Camera Setup Guide
11
5 Bosch Dinion 8000
5.1 Setting up Bosch Dinion 8000 MP camera
Connect to camera using browser interface and select Configuration->Camera->Encoder Streams-
>Stream 1 to get to the following menu.
Primary stream (Recorded stream):
3840 x 2160 (UHD)
The Bosch 8000 camera can be set up to output at 4k resolution (3840 x 2160) on the main stream
which is then recorded to the X500/R500 disk. Playback of this footage only runs on PCLink when
installed with a Windows 64 bit operating system. The Windows 32 bit operating system may not
support 4k playback on PCLink.

X500/R500 IP Camera Setup Guide
12
Select Configuration->Camera->Encoder Streams->JPEG stream to get to the following menu.
Secondary Stream (Live View):
5 fps
768 x 432
MJPEG
Select Configuration->Network->Network Access to get to the IP address menu.
Set the IP address. Timespace recommends this is set to one of the default IP addresses which range
from 192.168.10.200 –203, or to your chosen IP address.
NB each camera will need a unique address in the same subnet.
Set Subnet mask to 255.255.255.0

X500/R500 IP Camera Setup Guide
13
5.2 X500/R500 Set up for Bosch Dinion 8000 MP
On the DVR, set IP address of camera in MAIN MENU > IP CAMERAS
Note this has to be on the same subnet as VLAN2
Set selected type to have Bosch Dinion 8000 MP and then apply.
This should set the X500/R500 as follows:
H264 stream 1: rtsp_tunnel?h26x=4&line=1&inst=1
JPEG stream 2: rtsp_tunnel?h26x=0
USER: live
PASSWORD: root

X500/R500 IP Camera Setup Guide
14
6 CANON VB-H45
6.1 Setting up CANON VB-H45 camera
Connect to camera using browser interface and select Video to get to the following menu.
Primary stream (Recorded stream):
30 fps
1920 x 1080
H.264
Secondary Stream (Live View):
4 fps
480 x 270
MJPEG
Other manuals for X500
1
This manual suits for next models
1
Table of contents
Other Timespace DVR manuals
Timespace
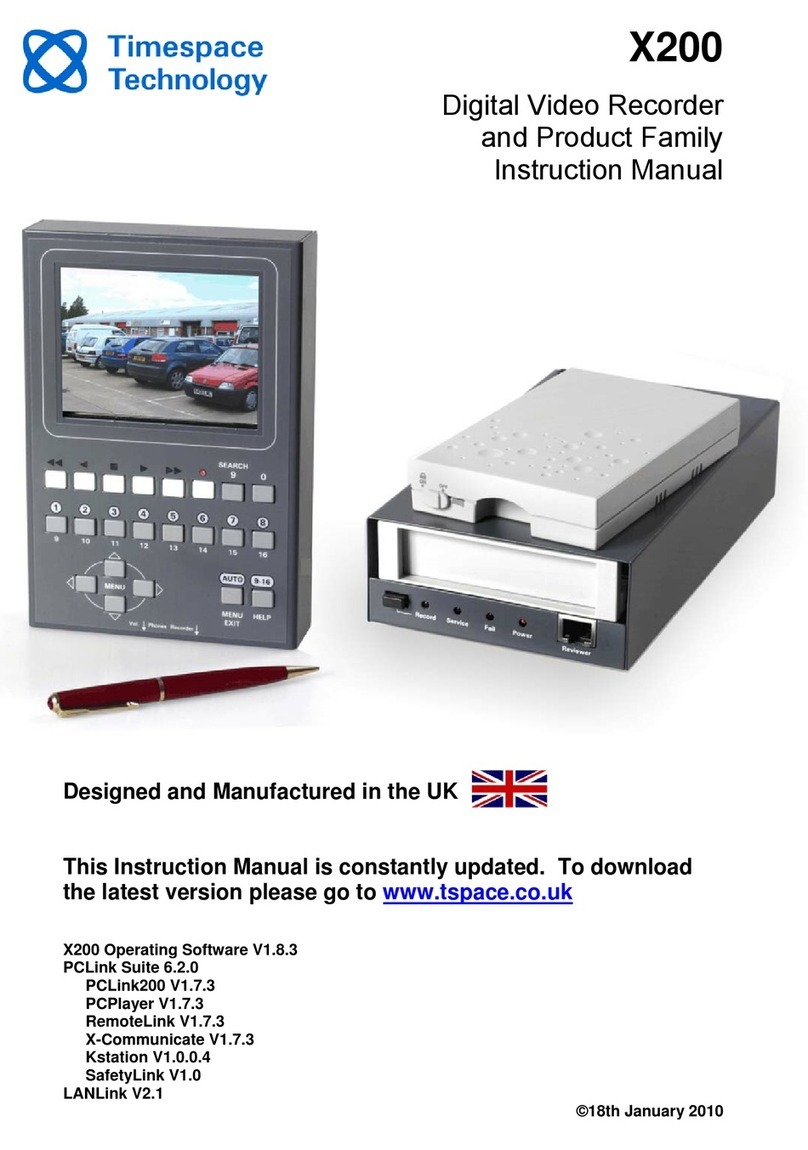
Timespace X300 Series User manual
Timespace
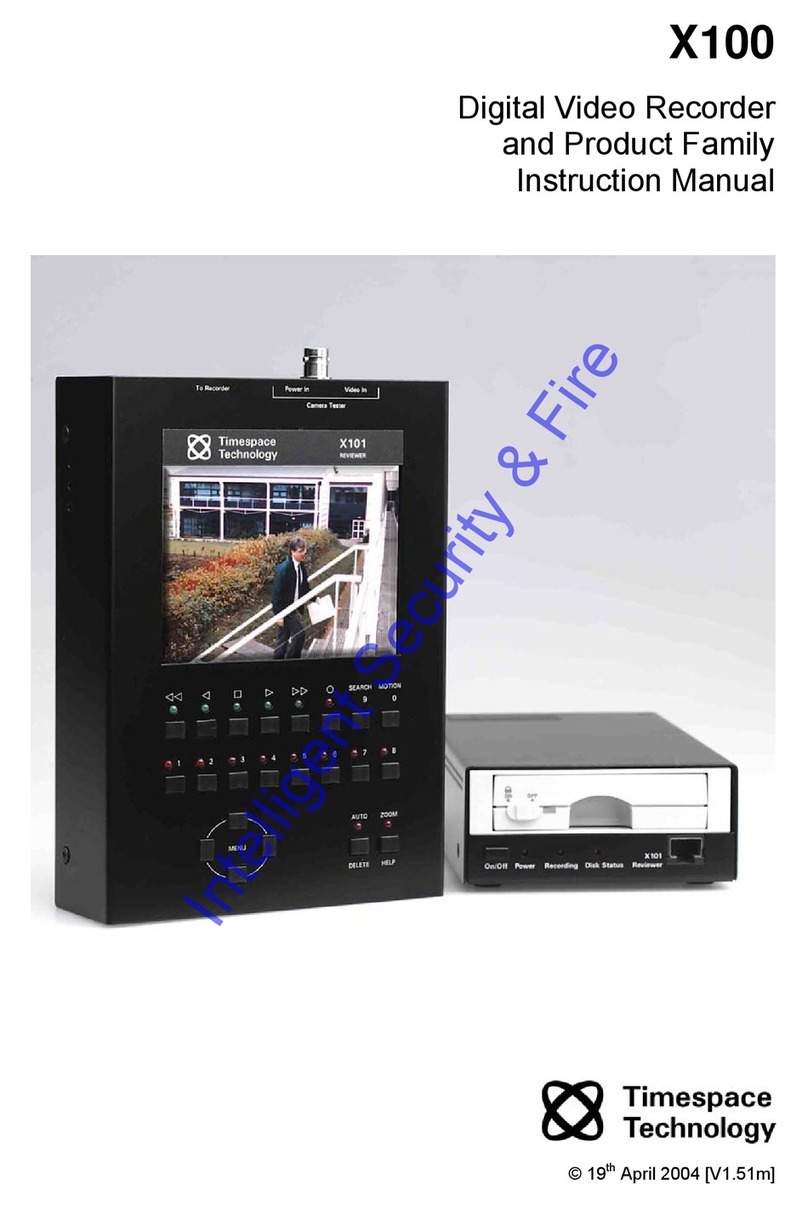
Timespace X200 User manual
Timespace
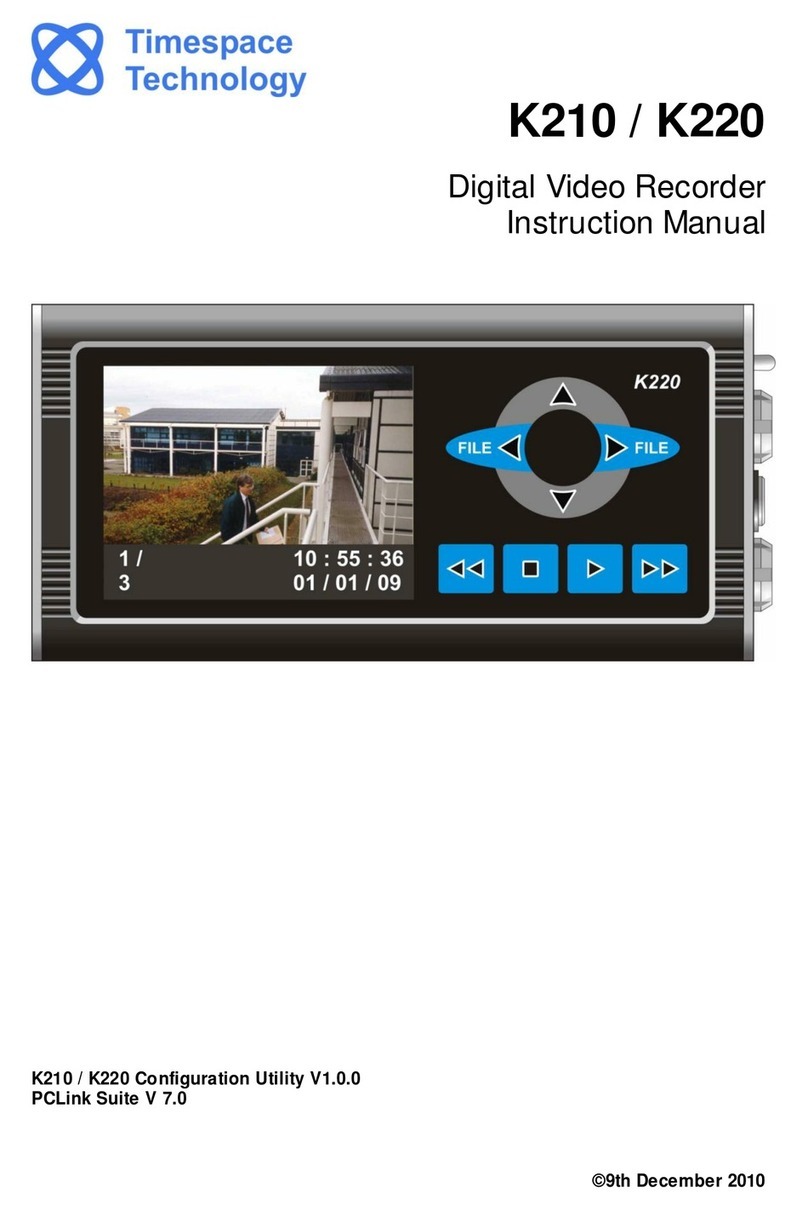
Timespace X100 User manual
Timespace
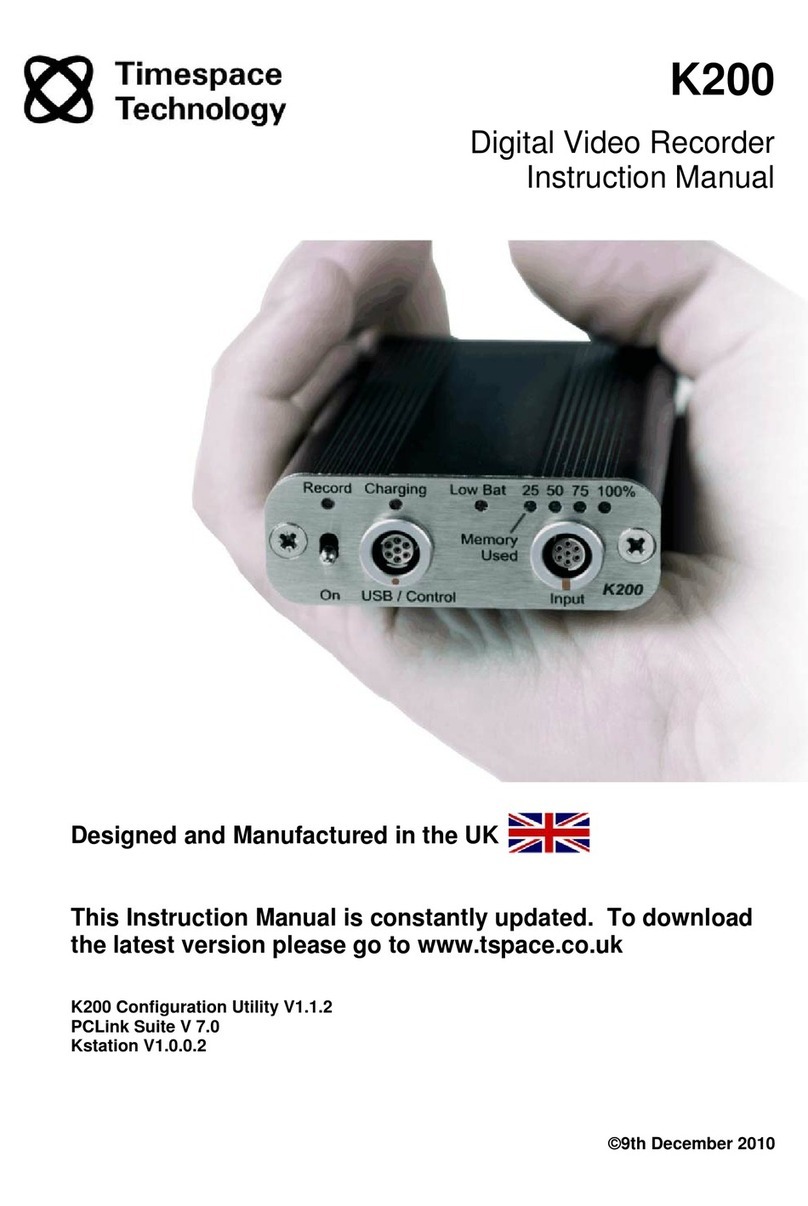
Timespace K210 User manual
Timespace
Timespace K200 User manual

Timespace
Timespace X200 User manual

Timespace
Timespace X200 User manual
Timespace
Timespace X300 Series User manual
Timespace
Timespace OmniBase 8 User manual
