manuals.online logo
Brands
  1. Home
  2. •
  3. Brands
  4. •
  5. Timex
  6. •
  7. Watch
  8. •
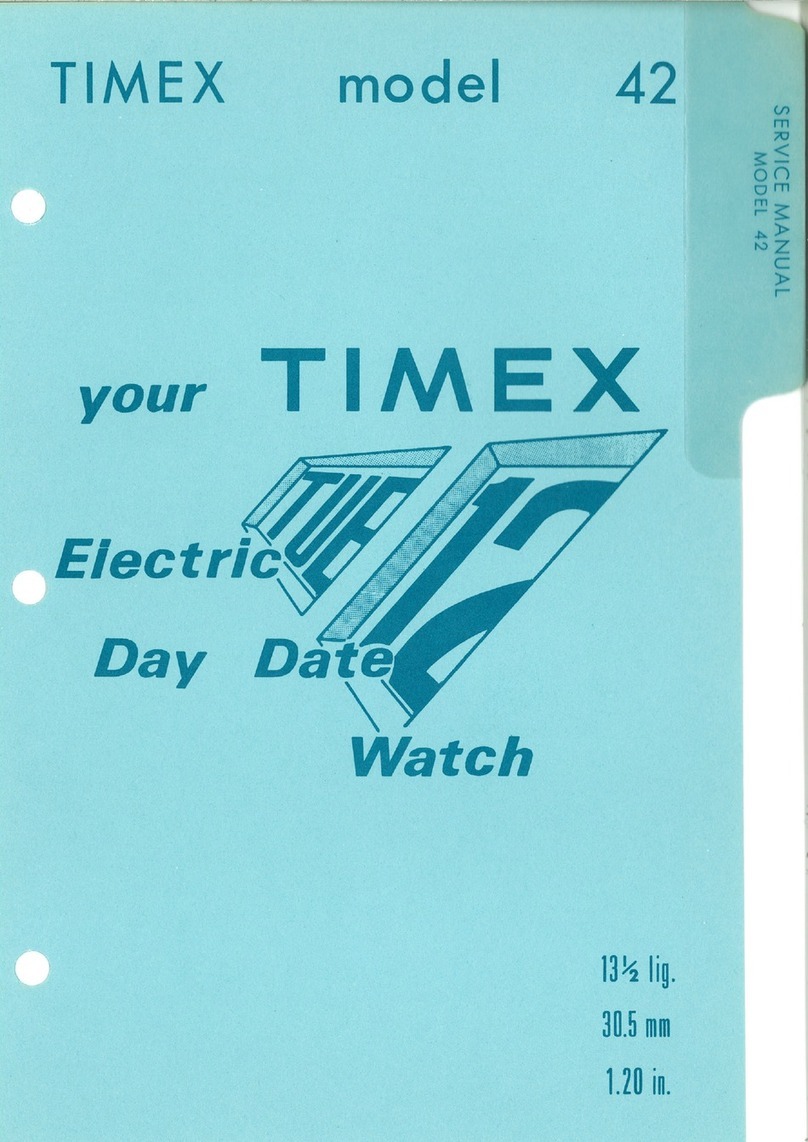
  9. Timex 108 User manual

Timex 108 User manual

TIMEX®Model
108
13
lig.
29.4mm
1.160
in.
The
TIME
X®
Model1
08
Movement
SHOWN
ACTUAL
S
IZE
The
Model108
movement
is a 13
ligne
self-wind
movement
featuring
the Timex
"V-Conic
® " bearing
system
,
two
plate
design
and a
fast
change
system
for
setting
the
date
. The
Model108
contains
a planetary gear
self-winding
system.
The
routine
movement
of
the
wrist
of a
normally
active person is
sufficient
to
keep the
watch
running
without
manual
winding.
The
basic
movement
is
similar
to
the
Timex
Model104.
The
Timex
code
number
appears on the edge
of
the diai. The
code
number
shows
the
catalog number,
movement
number, and year of
manufacture
for
the
watch
(see page 1.1 of
the
Timex
Service Manual
for
explanation).
108.1
The
TIME
X®
Model
108
Movement(exploded
view)
1429
1
0032
DIAL
1004
CANNON
PINION
ASS'Y.
1011
HOUR
WHEEL
ASS
'
Y.
--
-
--
·
1035
SCfjEW
1500
1041
HOUR
WHEEL
WASHER
1100
DATE
RING
1171
HOUR
HAND
1172
MINUTE
HAND
1184
SWEEP
SECOND
HAND
1190
ROTOR
PLATE ASS' Y
1192
ROTOR
PLATE
SCREW
1429
DATE
DET
E
NT
S
PRING
i
1004
1500
DATE
FRAME
A
SS'Y
.
BASIC MOVEMENT
103
5
~
1190
1192
108.2
~
1192
Disassembly
of
the
Model108
Movement
FIGURE
I
ROTOR
ASSEMBLY
FLANGE
FIGURE
2
SLOT
IN
DATE
FRAME
ASS'Y.
The
Model
108
movement
is
disassembled
as
follows
:
Remove the case back. Loosen and
remove
two
rotor
plate screws (see
figure
1).
Lift
the
rotor
assembly
slightly
to
free the
dowels
. Since the
rocker
arm
fits
between the
rotor
frame
and the
rotor
assembly, posi-
tion
the
rotor
weight
as shown in
figure
2 and
slicd
the
assembly
along
the
movement
plate, (toward the
balance
wl1eel)
until
it
is free of the
rocker
arm and
then
lift
the assembly
out
of
the
case.
CAUTION: Any
attempt
to
lift
the
weight
before
it
is free of the rocker
arm
will
result
in damage
to
the move-
ment.
108.3
Disassembly
of
the
Model108
Movement
CROWN
ANO
STE
~
f
"""'"
~
FIGURE
3
108A
FIGURE
4
SET
LEVER
SCREW
CRYSTAL
REFLECTOR
RING
BEZEL
Loosen
the
set
lever
screw
and raise
lever
sufficiently
to
release
the
stem
and
pull
the
Crown
and
Stem
Assembly
free
of
the
movement
and
the
case
(see
figure
3).
Some
Timex
self-wind
watches
are
designed
so
the
Movement
and Dial
Assembly
is removed
only
through
the
back
of
the
case.
This
type
of
watch
can
be
identified
by
removing
the
case
back
and
checking
for
a re-
taining
ring on
the
inside
of
the
bezel
instead
of
the
flange
shown
in
figure
1.
When
watch
has
retaining
ring,
do
not
try
to
remove
the
crystal.
Carefully
free
retaining
ring
from
case
groove
and
remove.
Movement
and
Dial
Assembly
may then be
removed
through
the
back
of
the
case.
When
watch
does
not
have
retaining
ring,
turn
the
assembly
over
and
remove
crystal
using
a
crystal
remover.
The
Reflector
Ring
and
the
Movement
and Dial
Assembly
can
then
be
removed
through
the
front
of
the
bezel (see
figure
4).
Disassembly of Movement
Cont'd.
TAB
TAB
HOL~
SCREW :
~
:
ci
FIGURE 6
HOLE
DATE FRAME
A
SS'Y.
AB
HOLE
NG
HOLE
DIAL
PLATE
Remove all hands.
Turn the
assembly
over and bend the
four
dial tabs
sufficiently
to
free the
dial from the dial
rest
and
movement
,
(see figure
5)
.
Hold
the dial in place
and turn the
assembly
over
so
the
dial
is up. Carefully
lift
the
dial
off
the
assembly.
Note
the
position
of the
parts under
!he
dial.
Lift
off
the Date
Ring and the Date
Detent
Spring, (see
figure
6).
With
the above
parts
removed, the
basic movement may be replaced
with
a Timex
reconditioned
move-
ment. The parts removed above are
assembled
to
the
reconditioned
movement as
described
starting
on
page 108.8
Replace
the
Crown
and
Stem
Assembly in the
movement
and
tighten
the set lever
screw
to
assure
engagement. Release the
mainspring
power
slowly by
holding
the
crown
in
the fingers of one hand,
while
the
click
is held
out
of
engagement
(through the hole in the Date Frame
Assembly)
with
the
ratchet
wheel.
After
the
mainspring
power
is
re-
leased, turn the
assembly
over (Date
Frame down) and remove the
screw
securing
the Date Frame
Assembly.
Turn the
assembly
over and
lift
off
the
Date Frame
Assembly
and the
ratchet
wheel.
Remove the
Hour
Wheel
Washer
(A),
Hour
Wheel
Assembly
(B),
and Can-
non Pinion
Assembly
(C)
from
the
movement.
With
the above
parts
removed, the
basic movement
of
the Model 108
may be cleaned and relubricated as
outlined
for
the
Model104
movement.
Other
metal parts may be cleaned in
the same manner as
the
movement.
CAUTION
Extreme care
must
be exercised in
cleaning
dials
and hands. Solvent
type cleaners
will
often
damage the
finish
on these parts. 108.5
Reassembly
of
the
Model108
Movement
®!It::;;-.
MOEBIUS
SPECIAL
LUBRICANT
em:::--
WOODS AAAA
OIL
108.6
After
the ba
sic
movement
has been
cleaned,
lubricated
and reassembled
as
outlined
for
the
Model
104 move-
ment
, the
Model
108
movement
reassembly is
completed
as
follows:
Apply
grease
(Moebius
special
lubri
-
cant
is used in the
factory)
to
3
points
on the
Rotor
Frame
Assembly
as
noted on
figure
A.
Apply
grease
to
Rotor cam (surface
A)
.
Force
grease
beneath
Rotor
Staff
Head (at
B)
and
underside
of
Rotor
Cam (at C).
Assemble
ratchet
wheel and Date
Frame (see p 108.5) and
secure
with
screw. Rotate
crown
until
mainspring
and
slip
tail are
positioned
as
noted
on
figure
B.
Apply
drop
of spreading
type oil (Woods
AAAA
oil
is
used in
the
factory)
In
space
between
mainspring
and
inside
diameter
of
barrel,
or
between
slip
tail and
inside
diameter
of
barrel
through
opening
in
the date frame.
Rotate
crown
so
that
mainspring
and
slip
tail make 2
com
-
plete
revolutions
within
the
barrel
to
distribute
the oil properly. Release
mainspring
power
slowly
as noted on
page 108.5 and
then
remove
screw
,
Date Frame and
Ratchet
Wheel.
Reassembly
of
the
Model108
Movement
FIG
.C
Place spreading type
watch
oil on
main
arbor
flat
on one
side
permitting
oil
to
contact
root of planet wind pi-
nion
teeth.
Frc>m
this
point, drag
oiler
over the
top
of planet
wind
pinion
down
to
main arbor flat on
opposite
side;
apply
spreading type oil
to
bear-
ing
surface
between barrel hub and
movement
plate
(see
figure
C).
Apply
non-spreading
type
oil
(
Moebius
Synt-A-Lube is used in the
factory)
to
6
points
on the Ratchet
Wheel
and Planet Pinion
Assembly
as
noted
on
figure
D.
Apply
non-spreading type oil
to
4
points
on
the
Rocker Arm
Assembly
and
Winding
Ratchet Wheel as noted
on
figure
E.
MOUIUS
SYNT-A-LUBii
WOODS AAAA
OIL
108.7
Reassembly
of
the
Model108
Movement
DAY
DETENT
SPRING
OATE
WHEet.
OILER
Ollt:::::::--
MOEBIUS
SYNT-A-LUIE
108.8
Insert
the
Date
Detent
Spring into
the
Date
Frame
Assembly
as
shown in
the
illustration
at
the
left.
Lubricate
the
bearing
face
of
the
Date
Detent
Spring with a
thin
film (AVOID
EXCESS
LUBRICATION)
of
non-spread-
ing
watch
oil w
here
shown
in
the
illus-
tration
at
the
left.
DO
NOT
LUBRICATE
DATE WHEEL
AREA
App
ly
nan-spreading
watch
oi
l to
the
end
of
the
Cannon
Pinion
as
shown in
the
lower illustration
at
the
left.
Reassembly of the
Model108
Movement
Replace
parts
on
the
movement
in the
following
order:
Cannon
Pinion
Assembly
Hour
Wheel
Assembly
Hour
Wheel
Washer
Ratchet
Wheel-Be
sure the
Ratchet
Wheel
is seated and
properly
engaged
with
the
click
and the Rocking Bar
Assembly
.
Date Frame
Assembly-Orient
the Date Frame Assembly
with
the
slot
at
the
stem
(see
figure
2 on page 108.3)
and seat
bosses
in holes.
Together,
turn
over
so
the
Date Frame
is down,
insert
and
tighten
the screw.
Date
Ring-Position
Date Ring cen-
trally on the Date Frame
Assembly
.
With
fine
tweezer,
Deflect
Date
De-
tent
Spring inward
until
the Date Ring
drops
into
place (see
illustration
at
left).
Dial-Orient
Dial as
shown
on page
108.5
with
window
toward
the Crown
and Stem
Assembly,
and insert dial
tabs
through
the
holes
in the Date
Frame
Assembly.
Hold
dial in posi-
tion
on the
movement
, turn the
assembly
over and bend tabs
firmly
over the edge of the
dial
plate.
Pull
crown
and
stem
out
and rotate
to
turn hands in a
clockwise
direction
,
until
the date
changes
(with
a snap).
Stop
turning
crown
and
assemble
the
hands
at
the 12
o'clock
position.
108.9
Reassembly
of
the
Model108
Movement
Check
assembly
to
be
sure
date changes as
follows:
Turn
crown
so
hands
rotate
clockwise
until
date advances one
position.
(This
should
occur
about
midnight)
. Rotate hands
counterclockwise
to
9 then
clockwise
until
date
advances again.
Rotate hands
clockwise
through
24
hours
and date
should
advance one
position.
Loosen the
set
lever
screw
and remove the
crown
and stem.
Position
the Dial
and
Movement
Assembly
in the bezel;
insert
the
Reflector
Ring and replace
the
crystal.
Insert
the
Crown
and
Stem
Assembly
through
the bezel and
into
the
movement
and
retighten
the
set
lever screw.
Reassemble
the
Rotor
Assembly
by
sliding
it
into
the
movement
under
the
rocker
arm as
shown
in
figure
2.
(Notch
in the
rotor
frame
points
towards
the
Balance
Assembly.)
Secure
the
rotor
to
the
movement
with
two
screws
as
shown
in
figure
1. (It
is
sometimes
easier
to
assemble
the
Rotor
Assembly
to
the
movement
first
when
Movement
and Dial
Assembly
is
to
be
assembled
through
the
back
of
the
case and secured
with
a
retaining
ring.)
Position
the
caseback
so
the
crown
is
to
the
left
when the
words
are
upright.
Recheck
watch
for
proper
function
of
the date
setting
mechanism
.
108.10

Other Timex Watch manuals

Timex Expedition 810-095009-NA User manual

Timex

Timex Expedition 810-095009-NA User manual

Timex W-139 User manual

Timex

Timex W-139 User manual

Timex IQ+ Move Multi-Time User manual

Timex

Timex IQ+ Move Multi-Time User manual

Timex 22 User manual

Timex

Timex 22 User manual

Timex Expedition User manual

Timex

Timex Expedition User manual

Timex W-52 User manual

Timex

Timex W-52 User manual

Timex SPORTS 1440 User manual

Timex

Timex SPORTS 1440 User manual

Timex Helix User manual

Timex

Timex Helix User manual

Timex T5K549 User manual

Timex

Timex T5K549 User manual

Timex W-162 User manual

Timex

Timex W-162 User manual

Timex Intelligent Quartz W273 User manual

Timex

Timex Intelligent Quartz W273 User manual

Timex W-89 User manual

Timex

Timex W-89 User manual

Timex 714-095005-01 User manual

Timex

Timex 714-095005-01 User manual

Timex iConnect Pro User manual

Timex

Timex iConnect Pro User manual

Timex Intelligent Quartz W273 User manual

Timex

Timex Intelligent Quartz W273 User manual

Timex IRONMAN Classic 50 Move+ User manual

Timex

Timex IRONMAN Classic 50 Move+ User manual

Timex w8 User manual

Timex

Timex w8 User manual

Timex Marathon User manual

Timex

Timex Marathon User manual

Timex iConnect Premium Active User manual

Timex

Timex iConnect Premium Active User manual

Timex W-105 User manual

Timex

Timex W-105 User manual

Timex 513-095000 User manual

Timex

Timex 513-095000 User manual

Timex Ironman SLEEK 250-LAP User manual

Timex

Timex Ironman SLEEK 250-LAP User manual

Timex W-2-US User manual

Timex

Timex W-2-US User manual

Timex 791-095003 User manual

Timex

Timex 791-095003 User manual

Popular Watch manuals by other brands

Seiko V657 Parts catalogue /technical guide

Seiko

Seiko V657 Parts catalogue /technical guide

Polaroid B502 user manual

Polaroid

Polaroid B502 user manual

KOSPET TANK M1 manual

KOSPET

KOSPET TANK M1 manual

A-rival SpoQ HR user manual

A-rival

A-rival SpoQ HR user manual

Reebok MIYOTA 2035 instruction manual

Reebok

Reebok MIYOTA 2035 instruction manual

Citizen CTZ-B8155 instruction manual

Citizen

Citizen CTZ-B8155 instruction manual

UMIDIGI Uwatch 2S operating instructions

UMIDIGI

UMIDIGI Uwatch 2S operating instructions

KSIX OSLO BXSW14N user manual

KSIX

KSIX OSLO BXSW14N user manual

Swatch Touch Zero One user manual

Swatch

Swatch Touch Zero One user manual

Xiaomi Mi Smart Band 7 NFC user manual

Xiaomi

Xiaomi Mi Smart Band 7 NFC user manual

iwc AQUATIMER CHRONO-AUTOMATIC Operating instructions for operators and installers

iwc

iwc AQUATIMER CHRONO-AUTOMATIC Operating instructions for operators and installers

HomeFree personal watcher operating instructions

HomeFree

HomeFree personal watcher operating instructions

Casio Edifice ECB-500D-1A Operation guide

Casio

Casio Edifice ECB-500D-1A Operation guide

Chase-durer Warhawk Operation manual

Chase-durer

Chase-durer Warhawk Operation manual

Tissot Quickster Chrono Foot G10-212 user manual

Tissot

Tissot Quickster Chrono Foot G10-212 user manual

WeatherMaster A instruction manual

WeatherMaster

WeatherMaster A instruction manual

EnjoyTone Robust W56 user manual

EnjoyTone

EnjoyTone Robust W56 user manual

Casio G-Shock MTG-900D-2V Operation guide

Casio

Casio G-Shock MTG-900D-2V Operation guide

manuals.online logo
manuals.online logoBrands
  • About & Mission
  • Contact us
  • Privacy Policy
  • Terms and Conditions

Copyright 2025 Manuals.Online. All Rights Reserved.