manuals.online logo
Brands
  1. Home
  2. •
  3. Brands
  4. •
  5. Titan Fitness
  6. •
  7. Fitness Equipment
  8. •
  9. Titan Fitness PWR1-PWR2 User manual

Titan Fitness PWR1-PWR2 User manual

This manual suits for next models

1

Other Titan Fitness Fitness Equipment manuals

Titan Fitness PROBAG25 User manual

Titan Fitness

Titan Fitness PROBAG25 User manual
Titan Fitness HPND1 User manual

Titan Fitness

Titan Fitness HPND1 User manual
Titan Fitness DBENCH 400554 User manual

Titan Fitness

Titan Fitness DBENCH 400554 User manual

Titan Fitness KBCST 5 User manual

Titan Fitness

Titan Fitness KBCST 5 User manual

Titan Fitness RUCKPLT10 User manual

Titan Fitness

Titan Fitness RUCKPLT10 User manual
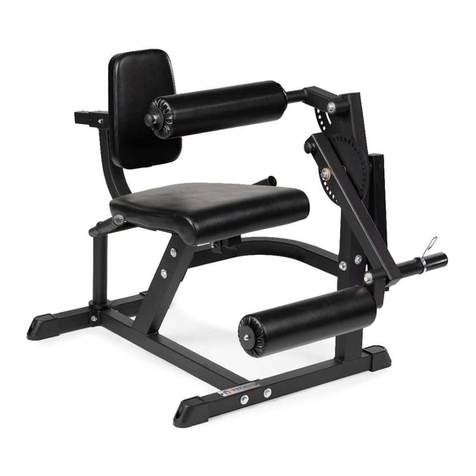
Titan Fitness LEGEXTCRL User manual

Titan Fitness

Titan Fitness LEGEXTCRL User manual
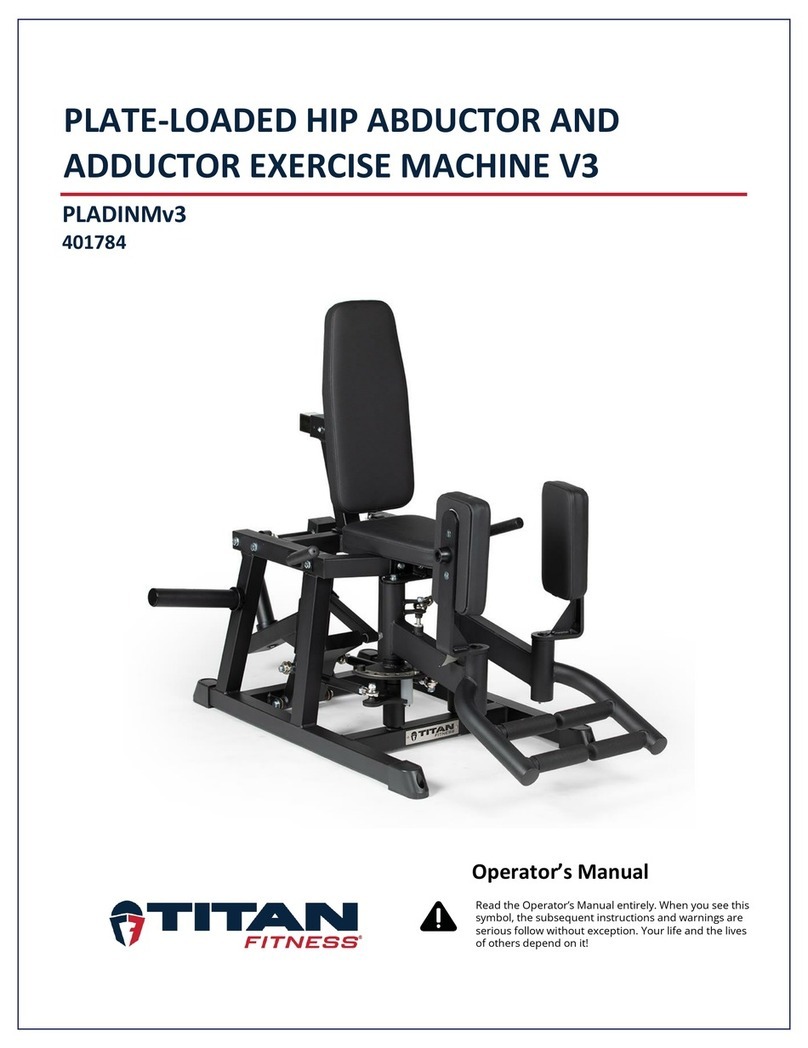
Titan Fitness PLADINMv3 User manual

Titan Fitness

Titan Fitness PLADINMv3 User manual
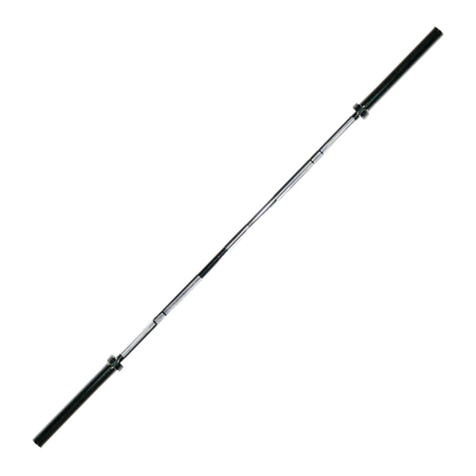
Titan Fitness MIDWAYBAR User manual

Titan Fitness

Titan Fitness MIDWAYBAR User manual
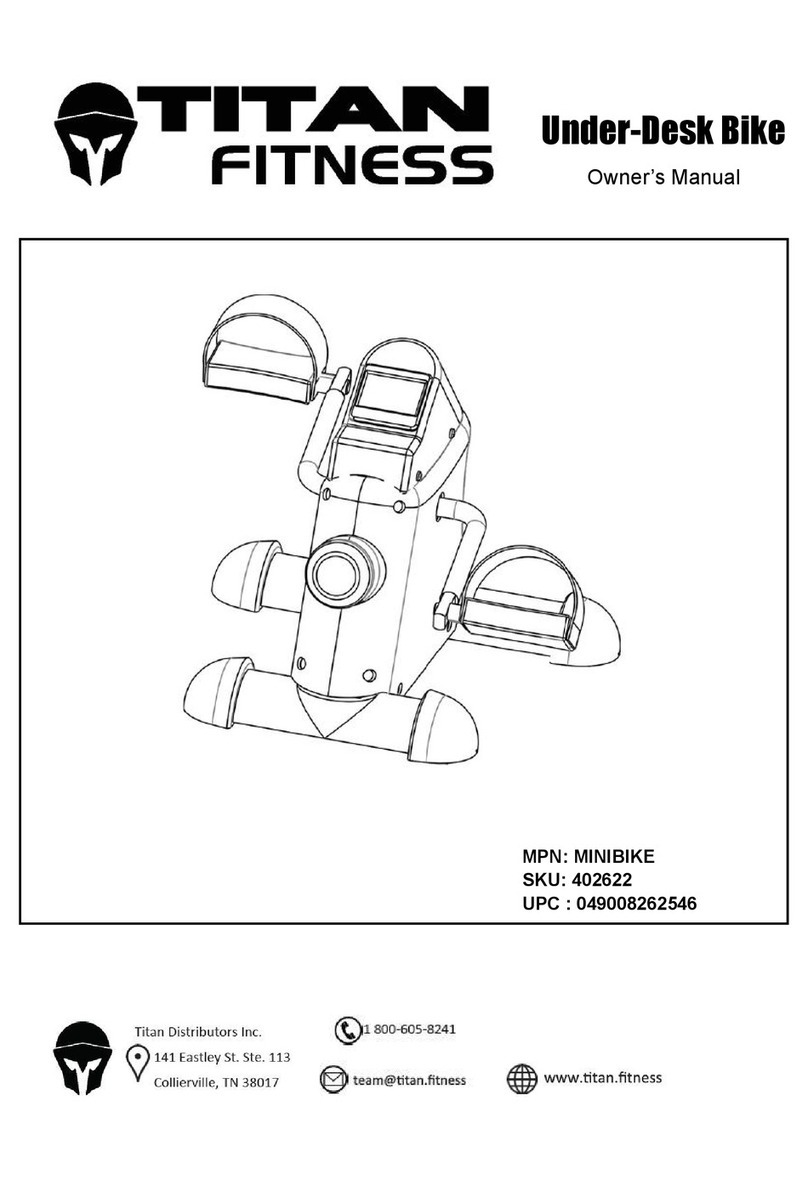
Titan Fitness MINIBIKE User manual

Titan Fitness

Titan Fitness MINIBIKE User manual

Titan Fitness GPLATECRATE245 User manual
Titan Fitness

Titan Fitness GPLATECRATE245 User manual

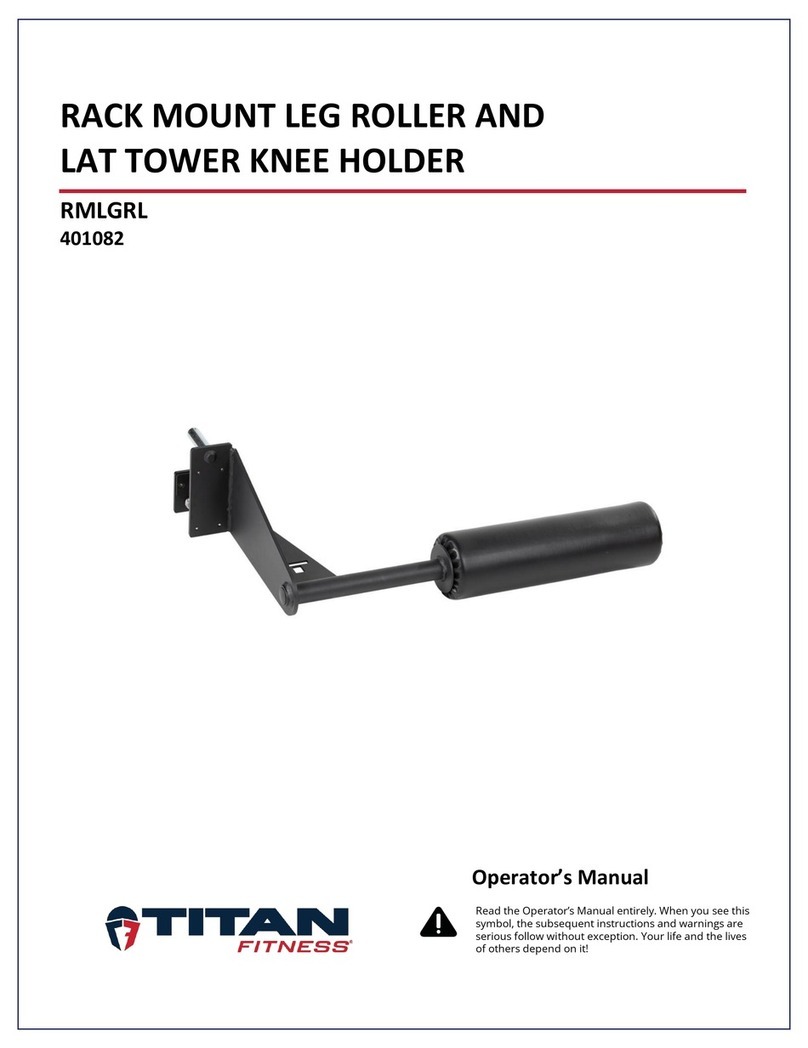
Titan Fitness RMLGRL User manual

Titan Fitness

Titan Fitness RMLGRL User manual
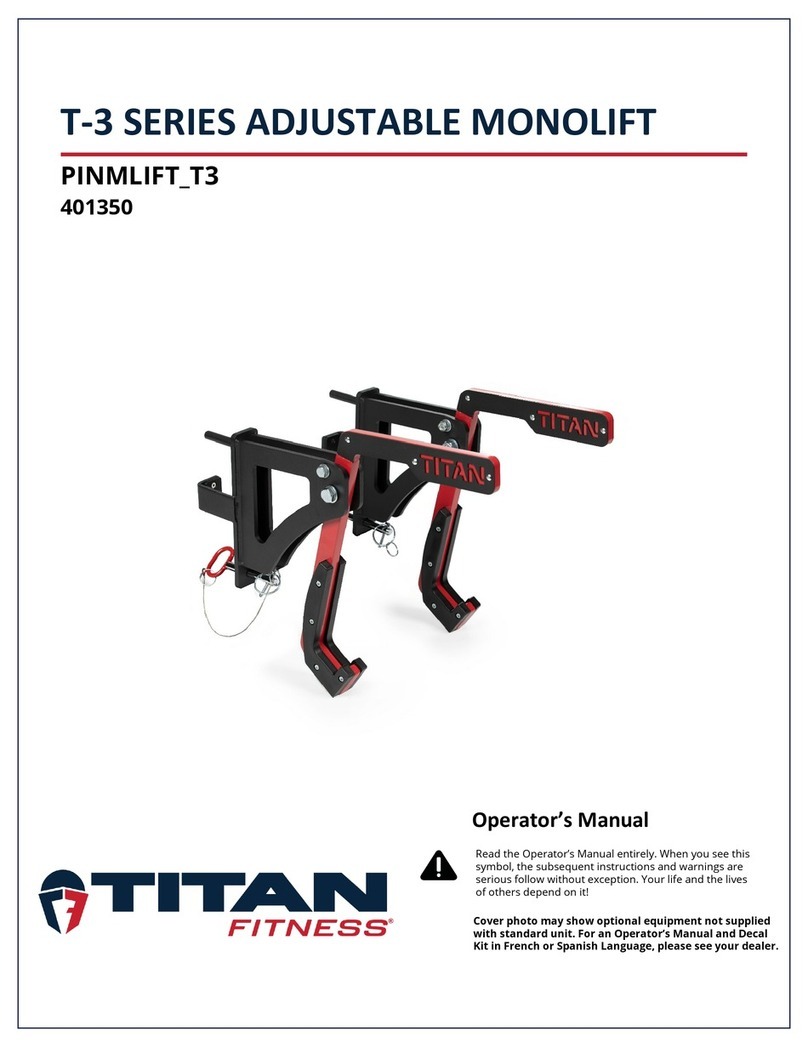
Titan Fitness T-3 Series User manual

Titan Fitness

Titan Fitness T-3 Series User manual

Titan Fitness T-3 Series User manual

Titan Fitness

Titan Fitness T-3 Series User manual

Titan Fitness CMBRCK User manual

Titan Fitness

Titan Fitness CMBRCK User manual
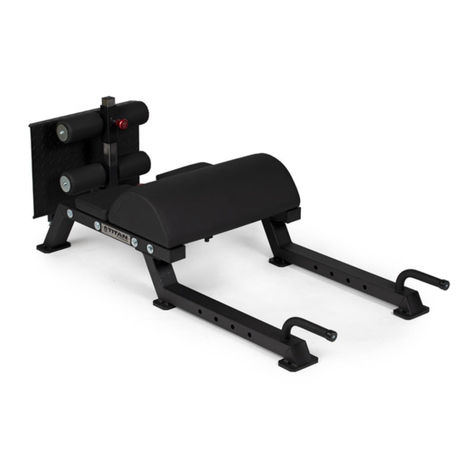
Titan Fitness GBFGHD User manual

Titan Fitness

Titan Fitness GBFGHD User manual
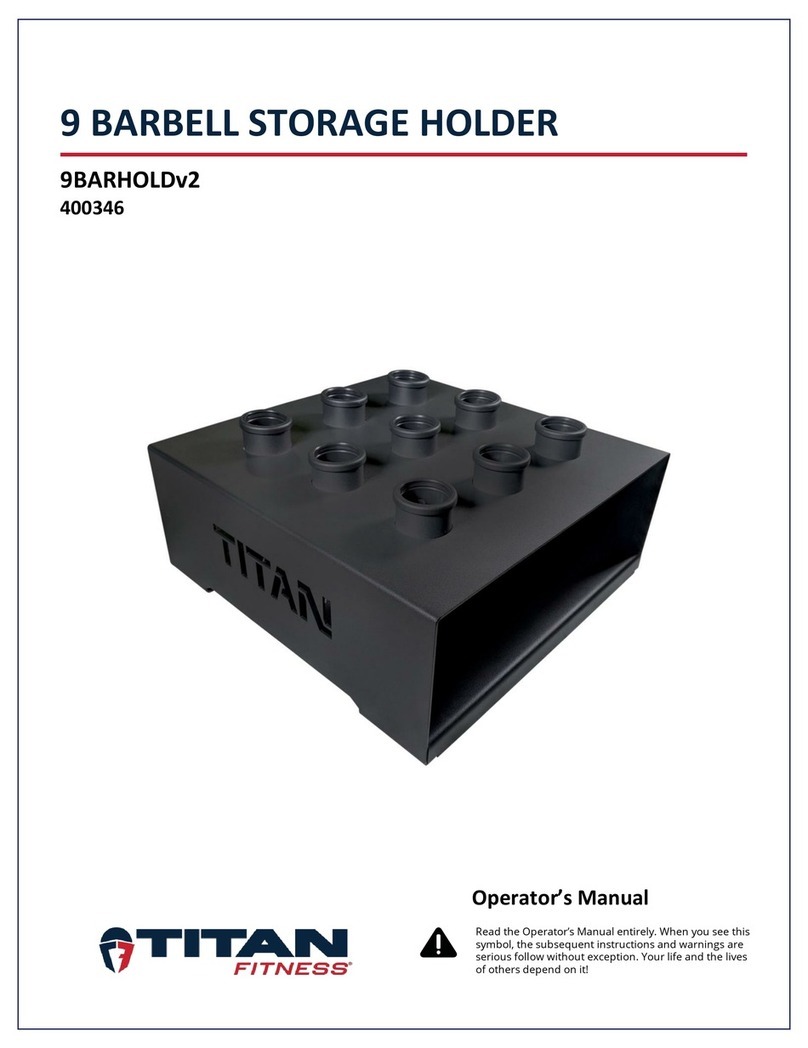
Titan Fitness 9BARHOLDv2 User manual

Titan Fitness

Titan Fitness 9BARHOLDv2 User manual
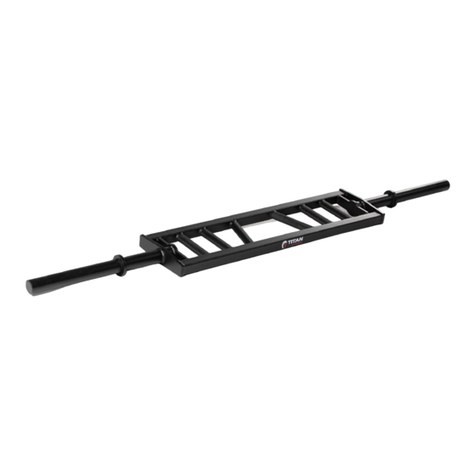
Titan Fitness HMULTIBARv2 User manual

Titan Fitness

Titan Fitness HMULTIBARv2 User manual

Titan Fitness AIRGYMAT10 User manual

Titan Fitness

Titan Fitness AIRGYMAT10 User manual
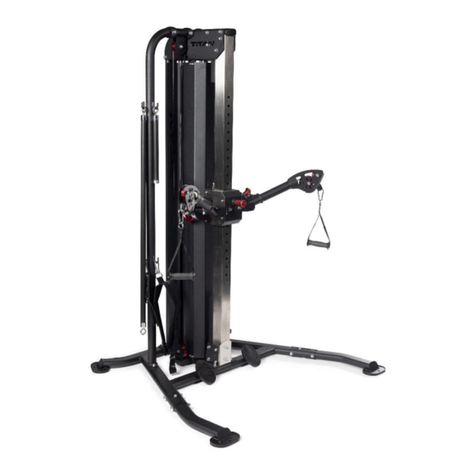
Titan Fitness NEMESIS CFNTLTNR210 User manual
Titan Fitness

Titan Fitness NEMESIS CFNTLTNR210 User manual

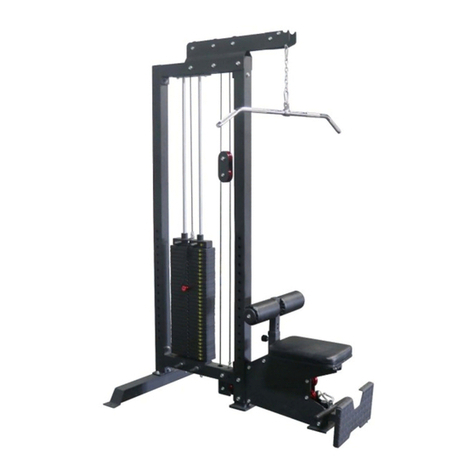
Titan Fitness LATTWR1 User manual

Titan Fitness

Titan Fitness LATTWR1 User manual

Titan Fitness SWBENCH1 User manual

Titan Fitness

Titan Fitness SWBENCH1 User manual

Titan Fitness FMPLYO User manual

Titan Fitness

Titan Fitness FMPLYO User manual

Titan Fitness TITANRACKCRL User manual

Titan Fitness

Titan Fitness TITANRACKCRL User manual

Titan Fitness BOXSTND User manual

Titan Fitness

Titan Fitness BOXSTND User manual

Popular Fitness Equipment manuals by other brands

Revitive Arthritis-Knee user manual

Revitive

Revitive Arthritis-Knee user manual

Domyos BM100 operating instructions

Domyos

Domyos BM100 operating instructions

Movement EDGE PUXADA ALTA Assembly manual

Movement

Movement EDGE PUXADA ALTA Assembly manual

Lifeline LLUWB-BLK owner's manual

Lifeline

Lifeline LLUWB-BLK owner's manual

Precor CW-816 Assembly guide

Precor

Precor CW-816 Assembly guide

Balanced Body Precision Rotator Discs manual

Balanced Body

Balanced Body Precision Rotator Discs manual

G-FITNESS AIR ROWER user manual

G-FITNESS

G-FITNESS AIR ROWER user manual

CAPITAL SPORTS Dominate Edition 10028796 manual

CAPITAL SPORTS

CAPITAL SPORTS Dominate Edition 10028796 manual

Martin System TT4FK user guide

Martin System

Martin System TT4FK user guide

CIRCLE FITNESS E7 owner's manual

CIRCLE FITNESS

CIRCLE FITNESS E7 owner's manual

G-FITNESS TZ-6017 user manual

G-FITNESS

G-FITNESS TZ-6017 user manual

Accelerated Care Plus OMNISTIM FX2 CYCLE/WALK user manual
Accelerated Care Plus

Accelerated Care Plus OMNISTIM FX2 CYCLE/WALK user manual

pedalo 20230165 manual

pedalo

pedalo 20230165 manual

Saebo SaeboStim Pro Instructions for use

Saebo

Saebo SaeboStim Pro Instructions for use

Performance HyperVibe User instructions

Performance

Performance HyperVibe User instructions

Scalamobil S27 Operator's manual

Scalamobil

Scalamobil S27 Operator's manual

Precor Experience Series Service manual

Precor

Precor Experience Series Service manual

FYTTER RedMIUM BENCH BE-T6R manual

FYTTER

FYTTER RedMIUM BENCH BE-T6R manual

manuals.online logo
manuals.online logoBrands
  • About & Mission
  • Contact us
  • Privacy Policy
  • Terms and Conditions

Copyright 2025 Manuals.Online. All Rights Reserved.

-
MPN(s): PWR1-PWR2 / SHPWR1-SHPWR2
SKU(s): 400100 / 400160
UPC(s): 765857424125 / 765857422152
2
3
KEY
BOX
DESCRIPTION
QTY
(1)
1
LOWER REAR BRACING
1
(2)
2
JHOOKS
2
(3)
2
LOWER SIDE BRACING
2
(4)
2
PULL-UP BAR
1
(5)
2
SPOTTER BAR
2
(6)
1
PLASTIC END CAPS
4
(7)
2
UPPER SIDE BRACING
2
(8)
1
UPPER REAR BRACING
1
(9)
1
UPRIGHT
4
(10)
1
SQUARE CAP
4
(11)
1
ROUND CAP
2
(12)
1
M12x75mm CARRIAGE BOLT
8
(13)
1
M12 FLANGED LOCK NUT
28
(14)
1
FLAT WASHER
20
(15)
1
M12x80 HEX BOLT
20
4
ASSEMBY TIPS:
BUILD ON A FLAT AND LEVEL SURFACE.
AVOID TIGHTENING BOLTS COMPLETELY UNTIL THE RACK IS FULLY ASSEMBLED.
STEP 1: ASSEMBLING THE BASE
•Attach the two Lower Side Bracings (3) to the Lower Rear Bracing (1) using
four M12x80 Hex Bolts (15), four Flat Washers (14), and four M12 Flanged
Lock Nuts (13). For proper installation, the square holes on the Lower Side
Bracing must be installed facing downward.
Note: One Flat Washer should be placed on each of the M12x80 Hex Bolts to
seat on the back side of the Lower Rear Bracing with the Flanged Lock Nut
installed on the Lower Side Bracing.
•Install the four Plastic End Caps (6) to the ends of the Lower Side Bracing and
Lower Rear Bracing.
•Install the two Round Caps (11) on the ends of the two weight plate holders
that are attached to the Lower Rear Bracing.
5
STEP 2: INSTALLING THE UPRIGHTS
•Attach the four Uprights (9) to the Lower Side Bracing (3) using eight
M12x75mm Carriage Bolts (12) and eight M12 Flanged Lock Nuts (13). The
Carriage bolts are to be installed through the bottom side of the Lower Side
Bracing with the Flanged Lock Nut on top.
•Install the four Square Caps (10) to the top of the Uprights.
6
STEP 3: ATTACHING THE UPPER SIDE BRACING
•Attach the two Upper Side Bracings (7) to the top side of the Uprights (9)
using eight M12x80mm Hex Bolts (15), eight Flat Washers (14), and eight
M12 Flanged Lock Nuts (13).
Note: One Flat Washers should be placed on each of the eight M12x80 Hex
Bolts to seat on the outside of the upright with the Flanged Lock Nut on the
inside of the Upper Side Bracing.
7
STEP 4: INSTALLING THE PULL-UP BAR AND REAR UPPER BRACING
•Install the Pull-Up Bar (4) to the front two Uprights (9) using four
M12x80mm Hex Bolts (15), four Flat Washers (14), and four M12 Flanged
Lock Nuts (13).
•Install the Upper Rear Bracing (8) to the two rear Uprights (9) using four
M12x80mm Hex Bolts (15), four Flat Washers (14), and four M12 Flanged
Lock Nuts (13).
Note: One Flat Washer should be placed on each of the eight M12x80 Hex
Bolts to seat on the outside of the upright with the Flanged Lock Nut on the
inside of the Upper Rear Bracing and Pull-Up Bar.
8
STEP 5: TIGHTEN ALL HARDWARE
•Once Steps 1-4 are complete, please tighten all hardware. All hardware
should be tightened properly using a wrench and/or socket. The threading of
the bolt must pass through the blue nylon ring on the Flanged Lock Nuts. All
hardware should be firmly secured and seated to the Uprights, Bracings, and
Pull-Up Bar to be used safely.
Note: All Hardware must be installed as stated in the manual and tightened
properly. Failure to do so may result in product damage and potential injury.
•Once all hardware is tightened the rack is ready for use. Place the two
JHOOKS (2) and two SPOTTING BARS (5) to the desired locations and Enjoy.
9
This concludes the PWR1-PWR2 / SHPWR1-SHPWR2 Owner’s Manual.
If applicable to your product, make sure to tighten all nut-and-bolt combinations before use.
Enjoy!
DISCLAIMER
This equipment must be used with care by capable and competent individuals under supervision, if necessary.
The use of any fitness equipment, including this one, involves the potential risk of injury. You accept and assume full
responsibility for any and all injuries, damages (both economic and non-economic), and losses of any type, which may
occur, and you fully and forever release and discharge Titan, its insurers, employees, officers, directors, associates, and
agents from any and all claims, demands, damages, rights of action, or causes of action, present or future, whether the
same be known or unknown, anticipated, or unanticipated, resulting from or arising out of the use of said equipment.
TITAN MAKES NO WARRANTY WHATSOEVER WITH RESPECT TO THE EQUIPMENT, INCLUDING ANY WARRANTY OF
MERCHANTABILITY OR WARRANTY OF FITNESS FOR A PARTICULAR PURPOSE, WHETHER EXPRESS OR IMPLIED BY LAW,
COURSE OF DEALING, COURSE OF PERFORMANCE, USAGE OF TRADE OR OTHERWISE. BUYER ASSUMES ALL LIABILITY IN
USE OF THE EQUIPMENT.
NEED HELP?
CONTACT US FIRST.
1 (800) 605-8241
info@titandistributorsinc.com /
Business Hours: Monday–Friday • 8:00 a.m.–5:00 p.m. (CT)