manuals.online logo
Brands
  1. Home
  2. •
  3. Brands
  4. •
  5. Titon
  6. •
  7. Fan
  8. •
  9. Titon TP577 User manual

Titon TP577 User manual

Sales and Technical Support - +44 (0) 1206 713800 [email protected] www.titon.co.uk
1
BM886 Iss 02
HRV
Q
Plus
Flared Ducting Cover
Fitting Instructions
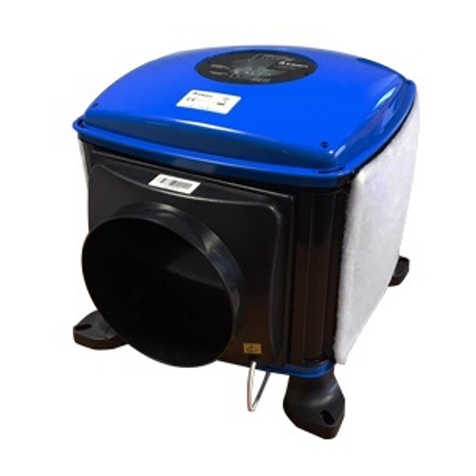
The HRV Q Plus Ducting Covers can be used on Titon HRV units that are housed in sheet steel housing (Units HRV10 and
HRV10.25 that are EPP housing cannot be tted with a Duct Cover). Duct Cover are designed to cover the duct work that go from
the unit to the ceiling and are adjustable in height from 300mm to 400mm. The ducting cover increases in area from the top of the unit
so that the area at the ceiling is large enough to accommodate round to rectangular elbows in the ceiling void. There are 4 di󰀨erent
ducting covers depending on the unit they are designed for. They are as follows:
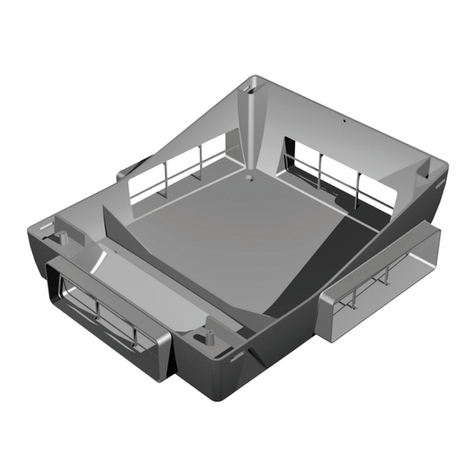
TP577 – HRV1.25, 1.35 Flared Ducting Cover
TP588 – HRV1.6 Flared Ducting Cover
TP578 – HRV1.75, 2, 2.85, 3 Flared Ducting Cover
TP579 – HRV10M, 10.25M Flared Ducting Cover
Handling
All lifting must be in accordance with the 89/391/CEE standard (and associated updates), and/or local regulations.
Packing Contents
Inspect the contents in the packaging when taking delivery. Check the parts for damage and that all xings have been supplied
Package supplied with:-
1 x Removable
front panel
2 x Side wall
mounting panels
(L & R handed)
1 x Removable
bottom front panel
2 x Side bottom
panels
(L & R handed)
Sales and Technical Support - +44 (0) 1206 713800 [email protected] www.titon.co.uk
2
BM886 Iss 02
8 x M5 washers
8 x M5 pan head screws
2 x M5 Square nuts
4 x M6 washers
4 x M6 Nuts
1 x Fitting instructions
Note: All steps are generic for all ducting covers.
1 - Mount the HRV unit
Mount the HRV unit as per the HRV product manual.
Ensure that a gap of 300 to 400mm is maintained between the top of the unit and the ceiling.
THE DUCTING SHOULD NOT BE ATTACHED PRIOR TO THIS INSTALLATION.
2 - Mark and prepare mounting holes
Prepare the mounting surface in the positions specied for six Ø6mm xings.
Leave the duct ports covers in the HRV to prevent any dust entering the unit whilst drilling into surface.
BETWEEN 300 - 400MM
A
CEILING
B
30
80
80
Product
Code A B
TP577 664 596
TP578 755 706
TP579 755 796
TP588 646 600
Sales and Technical Support - +44 (0) 1206 713800 [email protected] www.titon.co.uk
3
BM886 Iss 02
3 - Assemble side wall mounting panels to side bottom panels
Attach side bottom panel to side wall mounting panel using 4 x M6 washers and 4 x M6 nuts provided.
The side bottom panel is to be at its highest position as shown. This is to be actioned for both left and right panels.
4 - Mount side wall mounting panels
Position side wall mounting panels to the holes produced in Step 2.
Mount the side wall mounting panels using selected M6 xings (Not provided)
5 - Lower bottom extension assembly
Loosen the M6 xings that attach the side bottom panels to the side mounting panels. Let the side bottom panels lower so that the
foam strips on the sheet metal ange comes to rest on the top of the unit. For TP577 the ducting cover is wider than the unit due to
room required for the insulated ducting. For this case the foam strip needs to be pushed up against the side of the unit and the top of
the foam ush with the top of the unit.
Retighten the M6 xings.
TP578, TP579 & TP588 TP577
Sales and Technical Support - +44 (0) 1206 713800 [email protected] www.titon.co.uk
4
BM886 Iss 02
6 - Fix top ange to ceiling
Mark out the top two holes in the side panel to the ceiling making sure that the sheet metal is ush with the side of the unit for TP578,
TP579 & TP588. For TP577 the foam needs to be pushed up against the side of the unit.
Push the side of the ducting cover away from the unit so that the marked holes is visible. Prepare the surface so that the panel can
xed into position. Fix the top of the side wall mounting panel using selected M6 xings (Not provided).
7 - Connect ducting and commission unit
Connect ducting to unit and commission unit as per the HRV product manual.
8 - Assemble removable front panel to the removable bottom front panel
Attach the removable bottom front panel to the front panel using 2 x M5 pan head screws, 2 x M5 washers and
2 x square nuts provided.
Ensure that the face of the square nut is parallel to the side ange of the removable bottom from panel. Slide two parts apart the
same amount as what was measured in note in Step 6
M
E
A
S
U
R
E
Sales and Technical Support - +44 (0) 1206 713800 [email protected] www.titon.co.uk
5
BM886 Iss 02
9 - Attach removable front panel assembly
Attach removable front panel at the top xing point of the side wall mounting panel using 2 x M5 pan head screws and 2 x M5
washers provided.
For ne adjustment of the removable front panel, slightly loosen the two middle xings that has the square nuts. Slide the bottom front
panel so that the anges are in contact with the side panels.
Tighten screws when panel is in the desired position.
Attach the bottom front panel to the side bottom panels using 4 x M5 pan head screws and 4 x M5 washers provided.
For future commissioning and to remove front panel of HRV unit then remove the removable front panel assembly.
Sales and Technical Support - +44 (0) 1206 713800 [email protected] www.titon.co.uk
6
BM886 Iss 02
Use with First Fix Unit TP591
Both TP578 and TP579 can be used in conjunction with HRV Q Plus First Fix unit TP591.
1. Install First Fix Unit TP591.
Install First Fix Unit TP591 as described in product manual BM 887 without connecting the ducting to the unit. If ducting has
already been connected to unit then disconnect.
2. Loosen Side xings in First Fix
Loosen both sets of side xings in First Fix by 2 – 3mm.
3. Attach Side Panel of Ducting Cover
O󰀨er up the side panel of ducting cover to the rst x unit, with the slots in the top ange of the ducting cover lining up with the xings
in the rst x.
Re-tighten the xings in the rst x so that the side panel is secure.
Repeat step with the opposite hand side panel.
Use Step 4 to 9 not including Step 6 to complete the installation.

This manual suits for next models

3

Other Titon Fan manuals

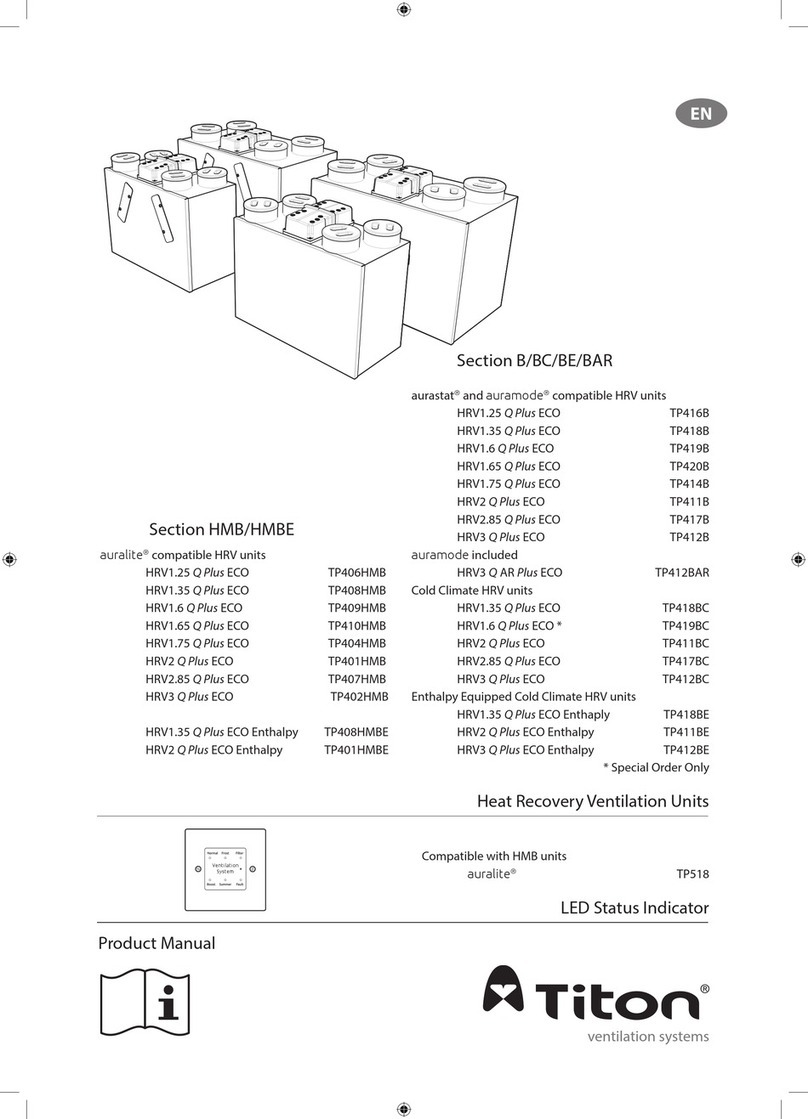
Titon HRV1.25 Q Plus ECO User manual

Titon

Titon HRV1.25 Q Plus ECO User manual

Titon HRV2.75 Q Plus User manual

Titon

Titon HRV2.75 Q Plus User manual

Titon HRV1.35 Q Plus ECO Assembly instructions

Titon

Titon HRV1.35 Q Plus ECO Assembly instructions

Titon HRV10.25 Q Plus ECO User manual

Titon

Titon HRV10.25 Q Plus ECO User manual

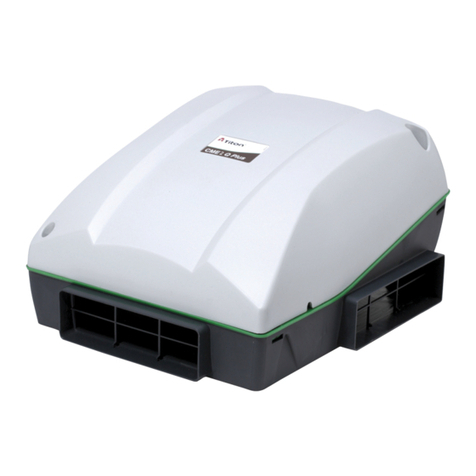
Titon CME3Q+ Owner's manual

Titon

Titon CME3Q+ Owner's manual

Titon TP325 User manual

Titon

Titon TP325 User manual
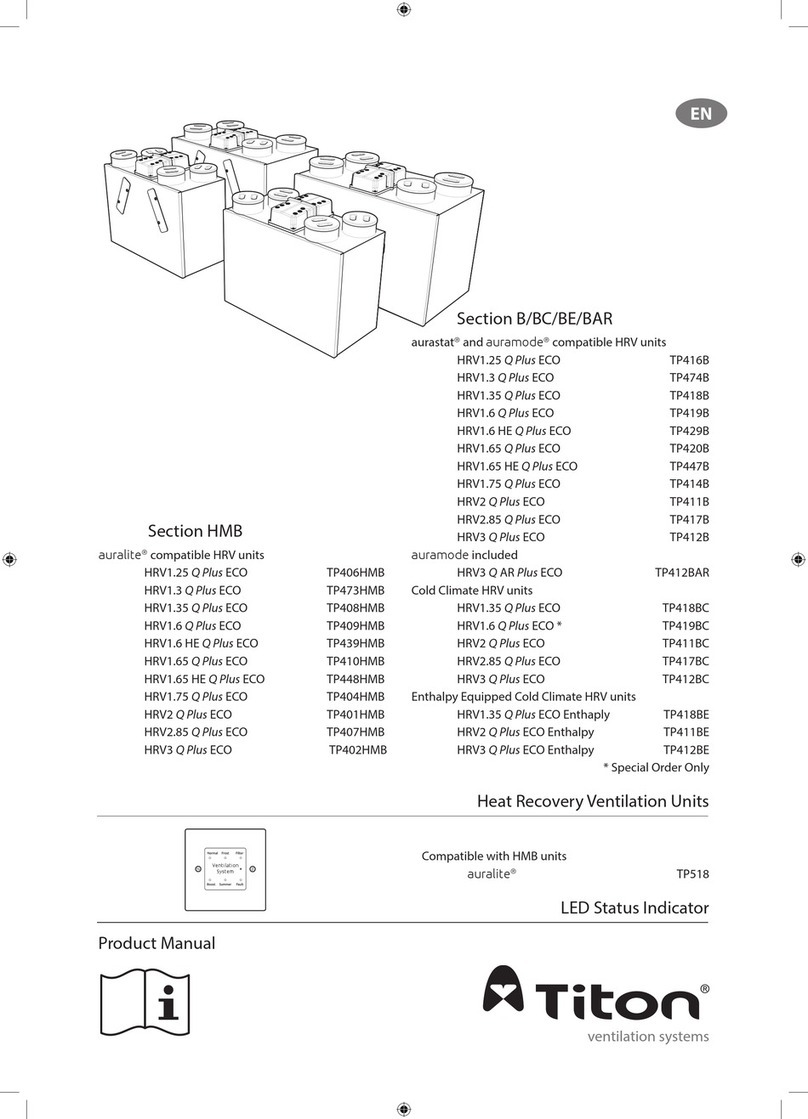
Titon TP408HMBE User manual

Titon

Titon TP408HMBE User manual

Titon solitude User manual

Titon

Titon solitude User manual

Titon TP406HMB User manual

Titon

Titon TP406HMB User manual

Titon CME1 User manual

Titon

Titon CME1 User manual

Titon HRV1.3 Q Plus ECO User manual

Titon

Titon HRV1.3 Q Plus ECO User manual
Titon TP302A User manual

Titon

Titon TP302A User manual

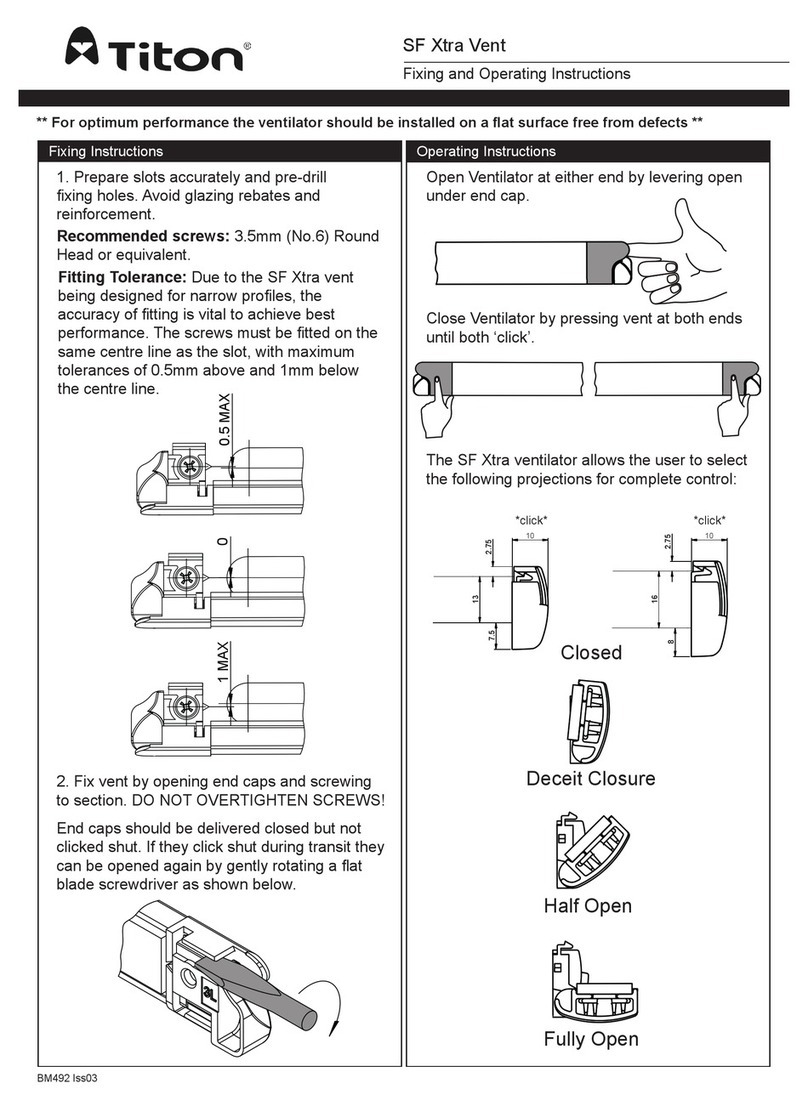
Titon SF Xtra Vent Series User manual

Titon

Titon SF Xtra Vent Series User manual

Titon WCME100 User manual

Titon

Titon WCME100 User manual

Titon HRV1.25 Q Plus ECO Installation instructions

Titon

Titon HRV1.25 Q Plus ECO Installation instructions

Titon TP461BC User manual

Titon

Titon TP461BC User manual
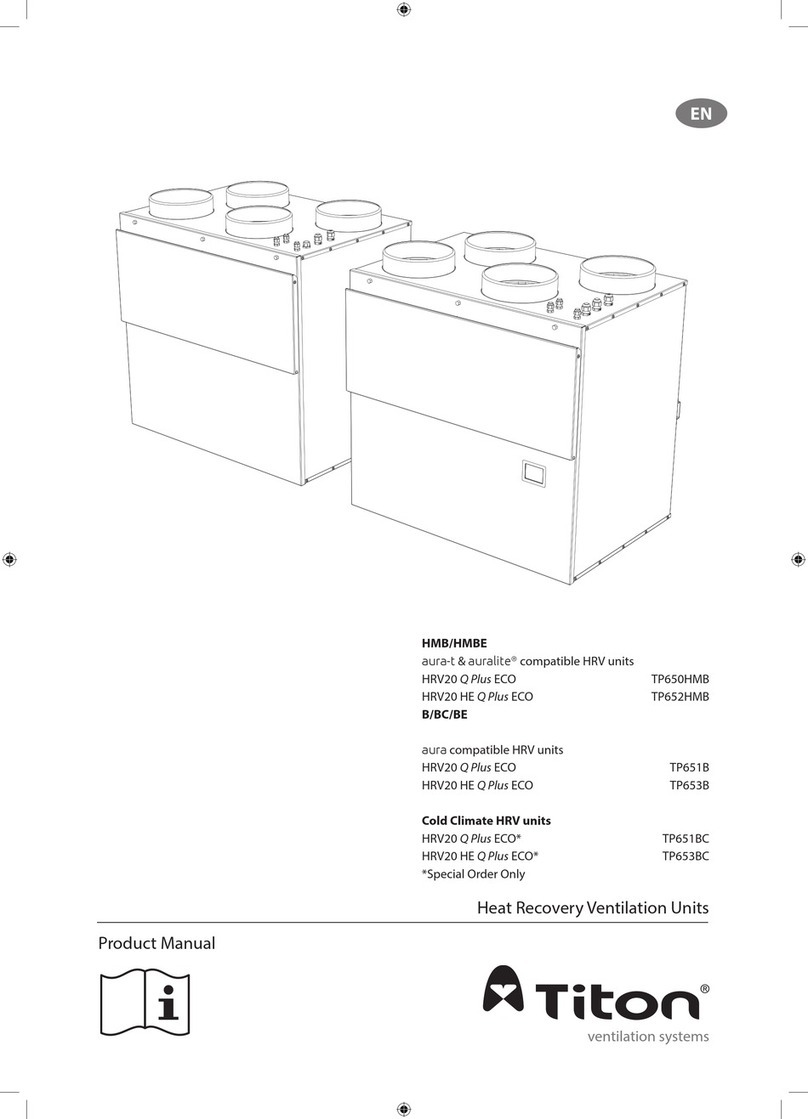
Titon MVHR User manual

Titon

Titon MVHR User manual

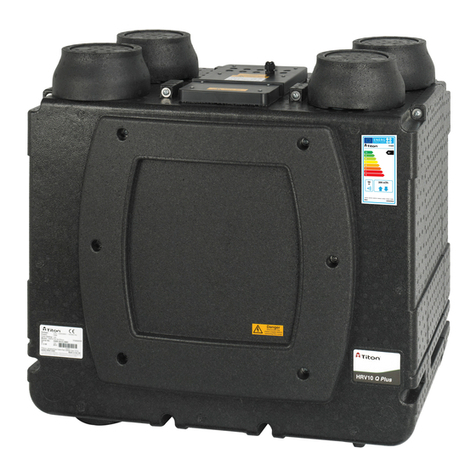
Titon HRV10 Q Plus User manual

Titon

Titon HRV10 Q Plus User manual

Titon TP 342A User manual

Titon

Titon TP 342A User manual

Titon CME3 Q Plus A User manual

Titon

Titon CME3 Q Plus A User manual

Titon HRV1.25 QPtus ECO User manual

Titon

Titon HRV1.25 QPtus ECO User manual

Titon Vent Trex User manual

Titon

Titon Vent Trex User manual

Titon H200 User manual

Titon

Titon H200 User manual
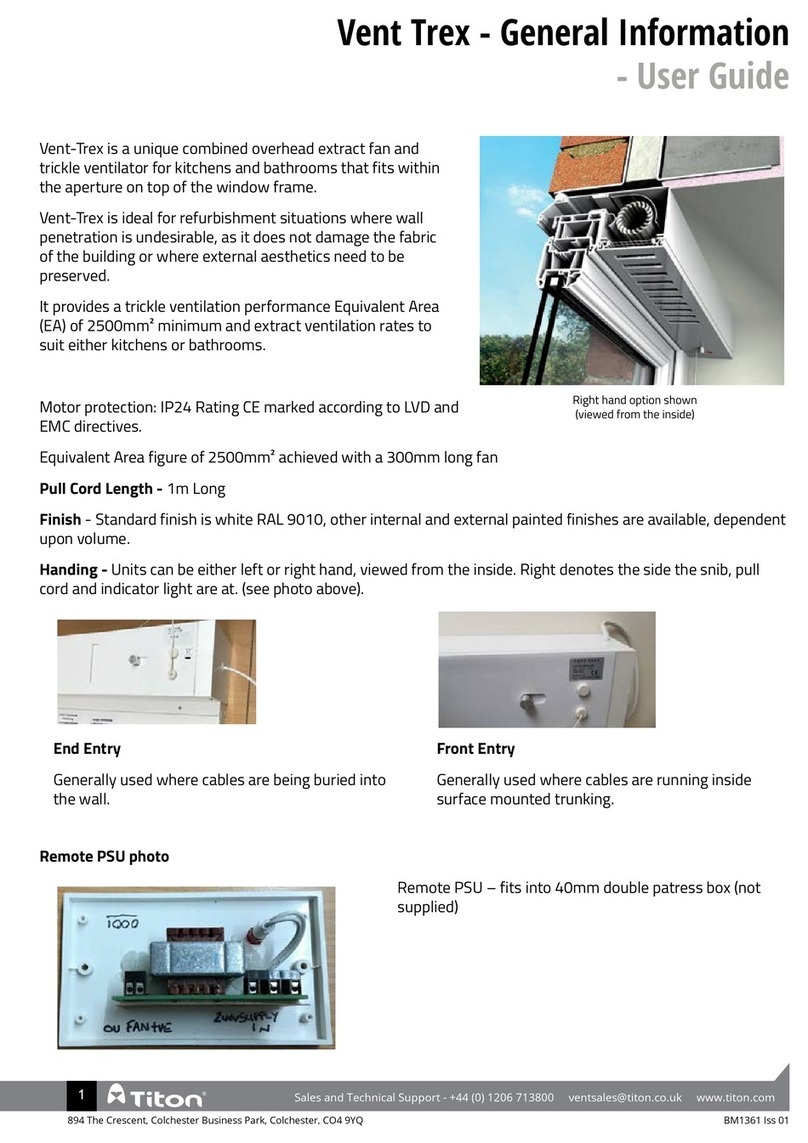
Titon PIV L3 User manual

Titon

Titon PIV L3 User manual

Popular Fan manuals by other brands

Broan 757SNC instruction manual

Broan

Broan 757SNC instruction manual

Fanimation Islander FP320 Series owner's manual

Fanimation

Fanimation Islander FP320 Series owner's manual

REMKO RAV 30 Operation,technology,spare parts

REMKO

REMKO RAV 30 Operation,technology,spare parts

Prominence Home Emporia 51021 owner's manual

Prominence Home

Prominence Home Emporia 51021 owner's manual

impress IM-709V manual

impress

impress IM-709V manual

Uni-P Dry Vantix 950 Installation, operation & service instructions

Uni-P Dry

Uni-P Dry Vantix 950 Installation, operation & service instructions

Craftmade CH52 installation instructions

Craftmade

Craftmade CH52 installation instructions

Monte Carlo Fan Company AC-552 Owner's guide and installation manual

Monte Carlo Fan Company

Monte Carlo Fan Company AC-552 Owner's guide and installation manual

GE BF50 user guide

GE

GE BF50 user guide

DENALI AIRE 1DAFD6R owner's manual

DENALI AIRE

DENALI AIRE 1DAFD6R owner's manual

Fanimation Windpointe FP7300 Specification sheet

Fanimation

Fanimation Windpointe FP7300 Specification sheet

iLiving LG8VF10 owner's manual

iLiving

iLiving LG8VF10 owner's manual

CTC Union Clatronic VL 3601 instruction manual

CTC Union

CTC Union Clatronic VL 3601 instruction manual

Click FT-30MD user manual

Click

Click FT-30MD user manual

Hunter Type 5 Models Installation and operation manual

Hunter

Hunter Type 5 Models Installation and operation manual

Vornado VFAN ALCHEMY instruction manual

Vornado

Vornado VFAN ALCHEMY instruction manual

Levoit TempSense user manual

Levoit

Levoit TempSense user manual

Cosa CX8-5B/56 instruction manual

Cosa

Cosa CX8-5B/56 instruction manual

manuals.online logo
manuals.online logoBrands
  • About & Mission
  • Contact us
  • Privacy Policy
  • Terms and Conditions

Copyright 2025 Manuals.Online. All Rights Reserved.