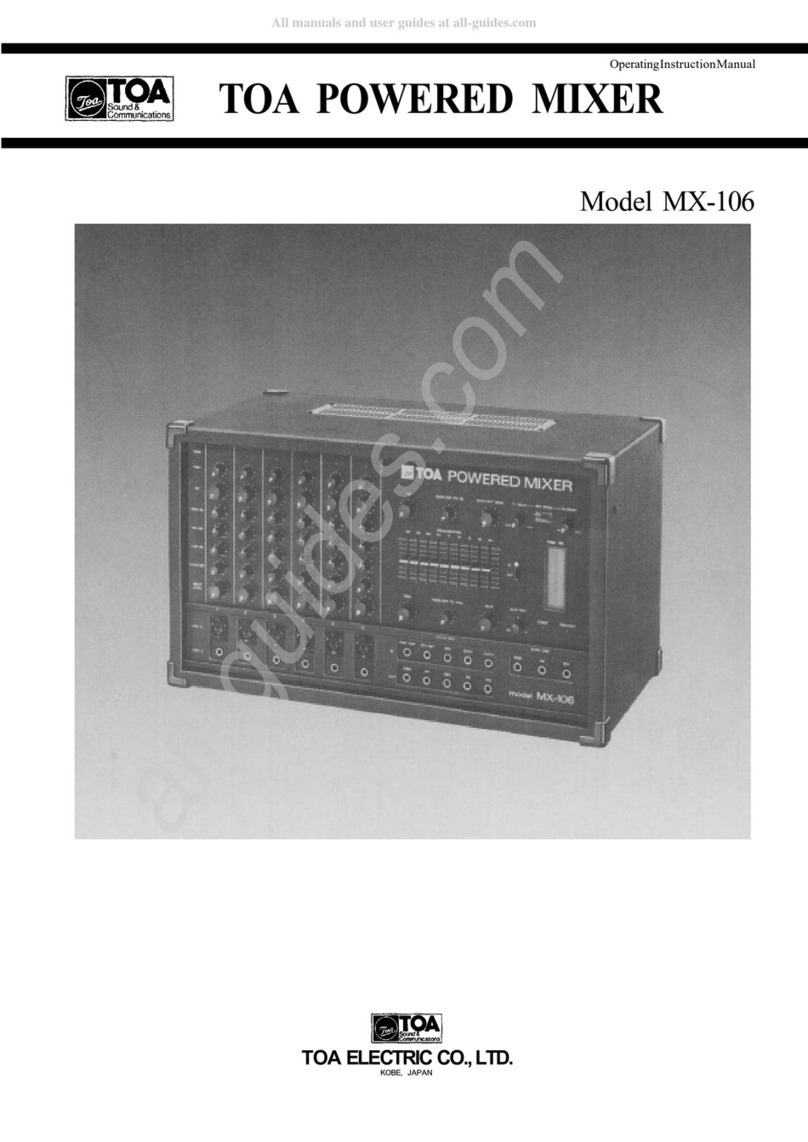
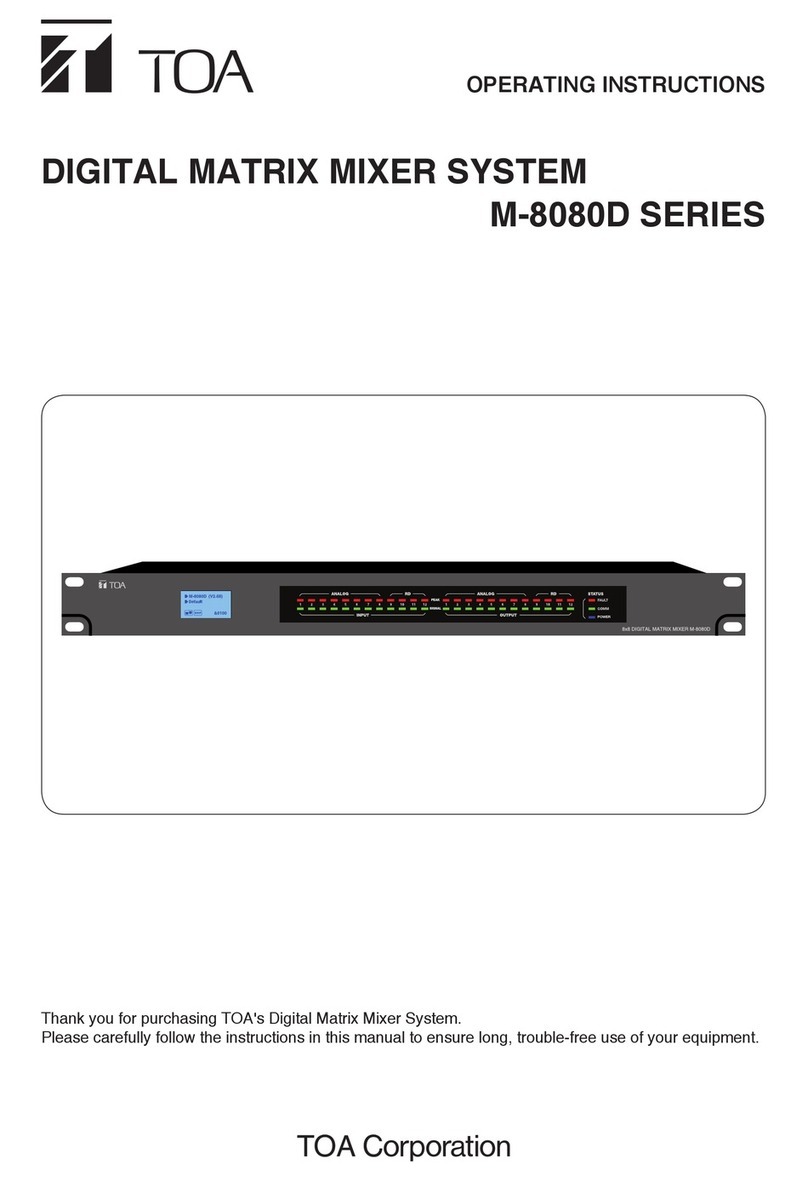
Toa MX-113-AS User manual

INSTRUCTION MANUAL
PRE-AMPLIFIER MIXER MX-113-AS
TABLE OF CONTENTS
IMPORTANT SAFETY INSTRUCTIONS
…2
SAFETY PRECAUTIONS
………………………… 2
ABOUT THE VOICE SWITCH FUNCTION
How to use the voice switch ………………
5
NOMENCLATURE AND FUNCTIONS
Front ………………………………………………………
6
Rear ……………………………………………………… 6
Bottom ……………………………………………………… 6
OPERATIONS
Connect to a wired microphone ……………
8
Connect to a wireless microphone ……… 8
BALANCED INPUT
……………………… 9
SETTING THE VOICE SWITCH ON/OFF
…10
CIRCUIT DIAGRAM
………………………… 11
EXTERNAL DIMENSIONS
………………………12
SPECIFICATIONS …………………………………12
Accessories ……………………………………………
1
2
Optional items …………………………………………
1
2
Thank you for purchasing the TOA mixer amplifier.
Please carefully follow the instructions in this manual to ensure long, trouble-free use of your equipment.
PRE-AMPLIFIER MIXER MX-113-AS
POWERSIGNAL PEAK
MIC 1 MIC 2 MIC 3 MIC 4 MIC 5 MIC 6 / AUX 1 AUX 2 AUX 3
0 10 0 10 0 10 0 10 0 10 0 10 0 10 0 10
………
……………
…………
…
FEATURES
……………………………………………… 5
…
GENERAL DESCRIPTION
……………………… 4
CONNECTIONS
Connection example ………………………………
7
………………………
7
…
…
………

Read these instructions.
Keep these instructions.
Heed all warnings.
Follow all instructions.
Do not use this apparatus near water.
Clean only with dry cloth.
Do not block any ventilation openings. Install in accordance with the manufacturer's instructions.
Do not install near any heat sources such as radiators, heat registers, stoves, or other apparatus (including
amplifiers) that produce heat.
Do not defeat the safety purpose of the polarized or grounding-type plug. A polarized plug has two blades
with one wider than the other. A grounding type plug has two blades and a third grounding prong. The wide
blade or the third prong are provided for your safety.If the provided plug does not fit into your outlet,consult
an electrician for replacement of the obsolete outlet.
Protect the power cord from being walked on or pinched particularly at plugs, convenience receptacles,and
the point where they exit from the apparatus.
Only use attachments/accessories specified by the manufacturer.
Use only with the cart, stand, tripod, bracket, or table specified by the manufacturer,or sold with the
apparatus. When a cart is used, use caution when moving the cart/apparatus combination to avoid
injury from tip-over.
Unplug this apparatus during lightning storms or when unused for long periods of time.
Refer all servicing to qualified service personnel. Servicing is required when the apparatus has been
damaged in any way, such as power-supply cord or plug is damaged,liquid has been spilled or objects have
into the apparatus, the apparatus has been exposed to rain or moisture,does not operate normally,or has
been dropped.
Before installation or use, be sure to carefully read all the instructions in this section for correct and safe
operation.
Be sure to follow all the precautionary instructions in this section, which contain important warnings and/or
regarding safety.
After reading, keep this manual handy for future reference.
Safety Symbol and Message Conventions
Safety symbols and messages described below are used in this manual to prevent bodily injury and property
damage which could result from mishandling. Before operating your product,read this manual first and
understand the safety symbols and messages so you are thoroughly aware of the potential safety hazards.
The exclamation point within an equilateral triangle is intended to alert the user to the presence of
important operation and maintenance (servicing) instruction in the literature accompanying the
appliance.
IMPORTANT SAFETY INSTRUCTIONS
SAFETY PRECAUTIONS
●
●
●
●
●
●
●
●
●
●
●
●
●
●
●
●
●
2
Indicates apotentially hazardous situation which, if mishandled, could
result in death or serious personal injury.
W
ARNING

When Installing the Unit
Do not expose the unit to rain or an environment where it may be splashed by water or other liquids,as
doing so may result in fire or electric shock.
Use the unit only with the voltage specified on the unit. Using a voltage higher than that which is specified
may result in fire or electric shock.
Do not cut, kink, otherwise damage nor modify the power supply cord. In addition, avoid using the power
cord in close proximity to heaters, and never place heavy objects -- including the unit itself--on the power
cord, as doing so may result in fire or electric shock.
Avoid installing or mounting the unit in unstable locations, such as on a rickety table or a slanted surface.
Doing so may result in the unit falling down and causing personal injury and/or property damage.
External wiring connected to the terminals marked with requires installation by an instructed person.
The apparatus shall be connected to a mains socket outlet with a protective earthing connection.
The socket-outlet shall be installed near the equipment and the plug (disconnecting device) shall be easily
accessible.
When the Unit is in Use
Should the following irregularity be found during use, immediately switch off the power, disconnect the power
supply plug from the AC outlet and contact your nearest TOA dealer.Make no further attempt to operate the
unit in this condition as this may cause fire or electric shock.
If you detect smoke or a strange smell coming from the unit
If water or any metallic object gets into the unit
If the unit falls, or the unit case breaks
If the power supply cord is damaged (exposure of the core, disconnection, etc.)
If it is malfunctioning (no tone sounds.)
inside the unit. Refer all servicing to your nearest TOA dealer.
To prevent a fire or electric shock, never open or remove the unit case as there are high voltage components
Do not place cups, bowls, or other containers of liquid or metallic objects on top of the unit.If they
accidentally spill into the unit, this may cause a fire or electric shock.
Do not insert nor drop metallic objects or flammable materials in the ventilation slots of the unit's cover,as
this may result in fire or electric shock.
When Installing the Unit
Never plug in or remove the power supply plug with wet hands, as doing so may cause electric shock.
When unplugging the power supply cord, be sure to grasp the power supply plug; never pull onthe cord
itself. Operating the unit with a damaged power supply cord may cause a fire or electric shock.
When moving the unit, be sure to remove its power supply cord from the wall outlet. Moving the unit with the
power cord connected to the outlet may cause damage to the power cord, resulting in fire or electric shock.
When removing the power cord, be sure to hold its plug to pull.
Do not block the ventilation slots in the unit's cover. Doing so may cause heat to build up inside the unit and
result in fire.
Avoid installing the unit in humid or dusty locations, in locations exposed to the direct sunlight, near the heaters,
or in locations generating sooty smoke or steam as doing otherwise may result in fire or electric shock.
●
●
●
●
●
●
●
●
●
●
●
●
●
●
●
●
●
●To avoid electric shocks, be sure to unplug the unit's power supply cord when connecting speakers.
Be sure to follow the instructions below when rack-mounting the unit. Failure to do so may cause a fire or
personal injury.
3
·
·
·
Indicates a potentially hazardous situation which,if mishandled could
result in moderate or minor personal injury, and/or property damage.
WARNING
●
●
●
·
Install the equipment rack on a stable, hard floor. Fix it with anchor bolts or take other arrangements
to prevent it from falling down.
·
When connecting the unit's power cord to an AC outlet, use the AC outlet with current capacity allowable
to the unit.
·
No rack-mounting screws are supplied with the unit. Separately prepare the appropriate screws for
the rack.
When the Unit is in Use
Do not place heavy objects on the unit as this may cause it to fall or break which may result in personal
injury and/or property damage. In addition, the object itself may fall off and cause injury and/or damage.
Make sure that the volume control is set to minimum position before power is switched on.Loud noise
produced at high volume when power is switched on can impair hearing.
Do not operate the unit for an extended period of time with the sound distorting. This is an indication of a
malfunction, which in turn can cause heat to generate and result in a fire.
If dust accumulates on the power supply plug or in the wall AC outlet, a fire may result. Clean it periodically.
In addition, insert the plug in the wall outlet securely.
Switch off the power, and unplug the power supply plug from the AC outlet for safety purposes when
cleaning or leaving the unit unused for 10 days or more. Doing otherwise may cause a fire or electric shock.
Clean the unit regularly
Contact your TOA dealer as to the cleaning. If dust is allowed to accumulate in the unit over along period
of time, a fire or damage to the unit may result.
Clean the power supply plug
If dust accumulates on the power supply plug or in the wall AC outlet, a fire may result.Clean it periodically.
In addition, insert the plug in the wall outlet securely.
During maintenance or leaving the unit unused
Turn off this unit's power switch, and unplug the power supply plug from the AC outlet for safety purposes
when cleaning or leaving the unit unused for 10 days or more. Doing otherwise may cause a fire or
electric shock.
The lighting flash with arrowhead symbol, within an equilateral triangle, is intended to alert the user
to the presence of uninsulated "dangerous voltage" within the product's enclosure that may be of
sufficient magnitude to constitute a risk of electric shock to persons.
●
●●
●
●
●
4
GENERAL DESCRIPTION
The MX-113-AS is a desk mount (1 unit size) pre-amplifier mixer that comes with 6 microphone inputs, 4 AUX
inputs and 2 monaural output. The microphone 1 to 5 inputs have a signal noise gate circuit that allows a
signal to pass through only when it is above a set threshold.
It can be mounted in an EIA rack with an optional rack mounting bracket (1U size).

The voice switch.
5
The voice switch function automatically perform the operation of the microphone On / Off and allow the audio
to send out. By using this function, it is not necessary to switch on and off the microphone every time you want
to use.
This unit has an independent voice switch circuit build-in onto each input of microphones 1 to 5.
※The factory preset of the voice switch function is at "OFF" position.
■How to use the voice switch
●Please turn on the switch when using the microphone with
the switch.
●To prevent the voice switch of this unit from activating due
to the noise and noise around the microphone, it is designed
to work with relatively large sound. Keep the microphone as
close to the mouth as possible and speak in a loud voice.
●Up to six microphones can be connected. Alternatively, five microphones and four AUX inputs can be used
simultaneously.
●Built-in voice switch function.
●
By connecting a DC power supply to this terminal, the amplifier power can be turn on/off remotely.
●Record output.
By connecting the record out to any recording devices. The audio from the mixer is recorded.
●Space saving 1U size
ABOUT THE VOICE SWITCH FUNCTION
FEATURES
Within 5 cm
※Please speak in a relatively loud voices
It will expire in
about 4 seconds
on
off
Voice input
Voice switch
Output
[When speaker loud into the microphone]
Clipping off the beginning of
the speech transmission and
a cut transmission while talking
on
off
Voice input
Voice switch
Output
[When speak too soft into the microphone]
●In the situation where the speaker talks far away from the microphone, the audio output will be intermittent.
Please turn off the voice switch function.
※This unit has an voice switch function build-in onto microphone 1 to 5. For more information on how to turn
on/off the switch function, refer to page 10 "Setting the voice switch On / Off".

REMOTE SWITCH
220 - 2V
AC
PRE-AMPLIFIER MIXER
model MX-113-AS
(BALANCE)
AUX 4 AUX 3 AUX 2 AUX 1
MIC 6 MIC 5 MIC 4 MIC 3 MIC 2 MIC 1
TOA Corporation
MADE IN CHINA
0dBV 0dBV
600Ω1kΩ-12dBV
600Ω-12dBV 10kΩ-12dBV 10kΩ-12dBV -62dBV
10kΩ600Ω
MIN MAX
VOICE SWITCH
30V 1A
50/60Hz
4W
6
[Front]
NOMENCLATURE AND FUNCTIONS
Microphone 1-5 Volume control knob
Adjusts the volume of the microphone connected
to each microphone input terminal.
Auxiliary 2, 3 volume control knobs
Adjust the volume of the equipment
connected to each auxiliary input terminal.
Microphone 6 / Auxiliary 1
volume control knob
Adjusts the volume the device
connected to the microphone
6 / AUX 1 input.
Output level indicator light
Displays the output level
※ Adjust the volume so that the peak indicator
light does not light up even at the maximum.
Power indicator light lights up
when the power is turned on
Power switch
Press to turn on and press again to turn
off the power.
[Rear]
Remote terminal
Connect this terminal to the remote power supply
of the PA amplifier. The PA amplifier can be
remotely power on or off.
Microphone 6 / Auxiliary 1 input terminal.
Connect either microphone 6 (phone jack)
or AUX 1 (RCA Jack).
Auxiliary 2-3 input terminal. Connect either a audio
phone jack or RCA jack.
Recording output terminal
Connect this terminal to a recording device.
Line output terminal
Connect to "line input" of PA amplifier.
Auxiliary 4 volume
Auxiliary 4 input terminal
Power plug
Microphone 1-5 input terminal
Note: If both terminal are connected, the audio
jack will be take priority the RCA jack.
Safety ground terminal
To prevent shock, please connect this terminal to ground terminal.
[Bottom]
Voice switch function
On / off switch
Bottom plate
To set the voice switch function of
microphones 1 to 5, remove this bottom
plate.
( P. 10 )
PRE-AMPLIFIER MIXER MX-113-AS
POWER
SIGNAL PEAK
MIC 1 MIC 2 MIC 3 MIC 4 MIC 5 MIC 6 / AUX 1 AUX 2 AUX 3
010 0 10 0 10 0 10 0 10 0 10 0 10 0 10
40

7
■Connection example
CONNECTIONS
※Connect the PA amplifier with the included output cord (audio plug / audio plug, 2 m).
■Remote terminal connection
When the power is turned on, the remote terminal of this unit enters a short condition, and when it is set to
"OFF", the remote terminal becomes open.
The rated input power of the remote terminal is DC 30V, 1A. Please do not connect excess power on this
terminal.
Caution
Line input
Output cord
(included with
this machine)
Remote input terminal
Connect this when turning
on / off the power supply
of the amplifier by remote
control.
CD/MP3 player, FM radio, tape etc.
Recording input of a
recording device
220 - 240V AC
50/60 Hz MicrophoneMicrophone
PA amplifier
Remote switch
DC30V 1A
[When the power switch of
this machine is turned on]
This terminal is short.
Remote switch
DC30V 1A
[When the power switch of
this machine is turned off]
This terminal is open
REMOTE SWITCH
220
-
240V
AC
PRE-AMPLIFIER MIXER
model MX-113-AS
LINE
(BALANCE)
AUX 4 AUX 3 AUX 2 AUX 1
MIC 6 MIC 5 MIC 4 MIC 3 MIC 2 MIC 1
TOA Corporation
MADE IN CHINA
0dBV 0dBV
600Ω1kΩ-12dBV
600Ω-12dBV 10kΩ-12dBV 10kΩ-12dBV -62dBV
10kΩ60
0
Ω
MIN MAX
VOICE SWITCH
30V 1A
50/60Hz
4W

tuner.
8
Please check the following before operating.
●The power cord is correctly connected to 220 - 240V AC .
●Make sure the line output and line input of the pre-amplifier mixer are correctly connected.
●Set each volume control knobs to minimum "0" position.
■Connect to a wired microphone
1
Connect a microphone to the microphone 1-6 input terminals.
OPERATIONS
2
Turn on the power.
3
Turn the volume control on the input connected to the microphone clockwise to
adjust the volume to the appropriate volume.
※When using the voice switch function, set the voice switch function to "ON".( P. 10)
■Connect to a wireless microphone
1
Connect the output of the wireless tuner to the auxiliary input terminal of this unit.
2
Turn on the power.
3
Adjust the volume control knob to a desire volume that connect to the wireless
0 10
0 10
MicrophoneMicrophone
Wireless tuner
( )
(Output level changeover switch is line side
REMOTE SWITCH
220
-
240V AC
PRE-AMPLIFIER MIXER
model MX-113-AS
LINE
(BALANCE)
AUX 4 AUX 3 AUX 2 AUX 1
MIC 6 MIC 5 MIC 4 MIC 3 MIC 2 MIC 1
TOA Corporation
MADE IN CHINA 0dBV 0dBV
600Ω1kΩ-12dBV
600Ω-12dBV 10kΩ-12dBV 10kΩ-12dBV -62dBV
10kΩ60
0
Ω
MIN MAX
VOICE SWITCH
30V 1A
50/60Hz
4W
REMOTE SWITCH
220
-
240V AC
PRE-AMPLIFIER MIXER
model MX-113-AS
LINE
(BALANCE)
AUX 4 AUX 3 AUX 2 AUX 1
MIC 6 MIC 5 MIC 4 MIC 3 MIC 2 MIC 1
TOA Corporation
MADE IN CHINA 0dBV 0dBV
600Ω1kΩ-12dBV
600Ω-12dBV 10kΩ-12dBV 10kΩ-12dBV -62dBV
10kΩ60
0
Ω
MIN MAX
VOICE SWITCH
30V 1A
50/60Hz
4W

9
All the input on this equipment are unbalanced inputs. By installing a separated IT-450 balanced transformer,
microphone inputs 1 to 5 and Auxiliary 4 can be balanced. The following procedure below is adding IT-450
balance transformer.
BALANCED INPUT
Please leave this work to a professional expert.
There is a high voltage component inside, and opening or modifying
the case may cause fire or electric shock.
1
Turn off the power switch and unplug the power plug.
2
Remove the 4 screws on both sides of the machine
and remove the case.
3
Unscrew the 3 screws on the the bottom of the unit
and remove the bottom plate.
Please do not work while the power plug is plugged in the outlet.
It may cause electric shock.
5
Install IT-450
5-1
Inserts the IT-450 onto the upper surface of the PCB board.
5-2
Solder from the back side of the board.
5-3
Trims the IT-450 leads
6
Cover back the plate and case.
Nominal Designation 4
MIC1
MIC2
MIC3
MIC4
MIC5
MIC1 MIC2 MIC3 MIC4
MIC5 Nominal De-
signation 4
Bottom plate
4
Use a nipper or similar tool to cut the 2 jumpers wire corresponding to the inputs that is to be
balanced. (Jumper lines are indicated by the arrows below.)
Make sure that the cut jumper wires do not touch each other.
Caution
WARNING
ARNING
W

10
The voice switch function is built into microphone 1-5 circuits, and the function is set with voice switch function
ON / OFF switch.
※The factory setting is "OFF".
SETTING THE VOICE SWITCH ON/OFF
3
Set the voice switch function ON / OFF switch.
4
Cover the bottom plate and tighten back the screws.
Bottom Plate
MIC5 MIC4 MIC3 MIC2 MIC1
Inside the equipment with the bottom plate opened
Front side
ON
Voice switch function
ON / OFF switch
1
Turn off the AC power and unplug the power plug.
2
Remove the three screws on the bottom of the unit and
remove the bottom plate.
Please do not open the bottom plate while the power plug is
plugged into the AC outlet. It may cause electric shock.
OFF
ARNING
W

11
CIRCUIT DIAGRAM
MIX
MIX
MIX
OPTION
OPTION
OPTION
OPTION
OPTION
HA
HA
HA
HA
HA
HA
Voice switch
circuit
Voice switch
circuit
Voice switch
circuit
Voice switch
circuit
Voice switch
circuit
OPTION
MIX
BA
Signal Peak
+DC12 V
DC Power Supply
Circuit AC
Fuse
Remote
Terminal
220 - 240V AC
50/60 Hz
Power Supply
Mic 1
(600Ω)
-
62dB*(Voice Switch function off)
-
54dB*(Voice Switch function on)
Mic 2
(600Ω)
-
62dB*(Voice Switch function off)
-
54dB*(Voice Switch function on)
Mic 3
(600Ω)
-
62dB*(Voice Switch function off)
-
54dB*(Voice Switch function on)
Mic 4
(600Ω)
-
62dB*(Voice Switch function off)
-
54dB*(Voice Switch function on)
Mic 5
(600Ω)
-
62dB*(Voice Switch function off)
-
54dB*(Voice Switch function on)
Mic 6
-
62 dB*
600 Ω
AUX 1
-
12 dB
10 kΩ
AUX 2
-
12 dB
10 kΩ
AUX 3
-
12 dB
10 kΩ
Line output
0 dB
600 Ω
Record output
0 dB
1 kΩ
AUX 4
-
12 dB
600 Ω
*0 dB = 1 V
*
*
*
*
*
*
Power Switch

133050005100
* 0 dB = 1 V
※ Specifications and appearance of this machine are subject to change without notice due to improvements.
●Accessories
Output cord (audio plug / audio plug, 2 m)
........... 1
SPECIFICATIONS
EXTERNAL DIMENSIONS
Power Source
220 - 240 V AC, 50/60 Hz
Power Consumption 4W
Input
Mic 1-5 : 600Ω, -62 dB*, unbalanced, phone jack (voice switch OFF)
600Ω, -54 dB*, unbalanced, phone jack (voice switch ON)
(option IT-450 balance transformer)
Mic 6 : 600Ω, -62 dB*, unbalanced, phone jack
AUX 1 : 10 KΩ, -12 dB*, unbalanced, phone jack/RCA jack
(Microphone 6 and AUX 1 are switch type)
AUX 2, 3 : 10KΩ, -12 dB*, unbalanced, phone jack/RCA jack
AUX 4 : 600Ω, -12 dB*, unbalanced, phone jack
(option IT-450 balance transformer)
OutputLineoutput: 600Ω,0dB*,balanced,phonejack
Recordout: 1 KΩ,0dB*,unbalanced,RCA jack
RemoteTerminalWithstandvoltage: DC30V,Current: 1 A,M3Screwterminal,6.4mm
T.H.D 1%orless (1 kHz,rated output)
FrequencyResponse 30Hz -20kHz
Noise Level60 dB
Finish FrontPanel: Aluminum,Black,Paint
Dimensions420(W)X 50 (H)X 271 (D)mm
Weight
AccessoryPowerCable(2pin)
3.2kg
OptionRackmountbracket: MB-15B, Balanced transformer : IT-450
420
FRONT VIEW
SIDE VIEW
44
50
250
271
PRE-AMPLIFIERMIXERMX-113-AS
POWERSIGNAL PEAKMIC1 MIC2MIC3MIC4MIC5 MIC6 / AUX 1 AUX 2AUX 3
0 10 0 10 0 10 0 10 0 10 0 10 0 10 0 10
12
Table of contents
Other Toa Mixer manuals

Toa
Toa MX-601 Instruction Manual

Toa
Toa D-4E Instruction Manual

Toa
Toa M-124FX-EB User manual

Toa
Toa AX-1000A User manual

Toa
Toa MX-106 Instruction Manual

Toa
Toa MX-101 Instruction Manual

Toa
Toa MX-106 Instruction Manual

Toa
Toa AX-1000A User manual

Toa
Toa MX-401 Instruction Manual

Toa
Toa MX-106R Instruction Manual
Popular Mixer manuals by other brands

Parkside
Parkside PDRW 1800 B1 Translation of the original instructions

Rolls
Rolls MX28 - 10-6 owner's manual

Studer
Studer Vista operating instructions

Felisatti
Felisatti MF800VE operating instructions

Dualit
Dualit Stand Mixer Instruction manual & guarantee

Behringer
Behringer Europower PMX3000 user manual