manuals.online logo
Brands
  1. Home
  2. •
  3. Brands
  4. •
  5. Tommy Docks
  6. •
  7. Outdoor Furnishing
  8. •
  9. Tommy Docks Aluminum Dock Frame User manual

Tommy Docks Aluminum Dock Frame User manual

Aluminum Dock Frame
Assembly Instructions
Tommy Docks
4003 Dixie Ave, Wausau, WI 54401
Phone : 715-842-3804
Toll Free : 866-675-1880
Fax : 715-842-3420
www.tommydocks.com
Power Drill
Tools
3/8” Box
End Wrench
5/16” Driver Bit #2 Phillips Bit Hex Bit
Self Tapping Screw
Qty 2
Stainless Steel
Hex Head Bolt
Qty 20
Stainless Steel
Tapered Head Screw
Qty 20
Stainless Steel
Nylon Locknut
Qty 40
Hardware
Aluminum Dock Kit
Components
48” End Rail
Qty 2
Side Rail
(96” of 120”)
Qty 2
Center I-Beam
(96” or 120”)
Qty 1
23 ⁄” Intermediate
Crossmember
Qty 2
2
1Start by sliding the two (2) Side Rails into the End Rail (1a). The End Rail fits in between the flanges
on the Side Rail (1b).
Insert the Tappered Head Stainless Steel Screws at the corner (2 screws per corner) (2a). Hand
tighten the Stainless Steel Locknuts to all (4) corner screws at the top side of the frame (2b).
Flange
4x 4x
Stainless Steel
Tapered Head Screw
Stainless Steel
Locknut
2a
2b
Side Rail
Side Rail
1b
1a
End Rail
End Rail
Side Rail
Flange of Side Rail
3Insert the center I-Beam into the End Rail as shown (3a). Make sure notch in I-Beam engages Top
Flange of Side Rail (3b). The top flange of the I-Beam goes on top of the End Rail Flange and the
Bottom Flange of the I-Beam sits on top of the Bottom Flange of Side Rail (3c). Insert the screws
and locknuts (3d) and hand tighten (3e).
3e
Center
I-Beam
End Rail
Center
I-Beam
Bottom Flange
of I-Beam
Top Flange
of I-Beam
Top Flange
of Side Rail
Bottom Flange
of End Rail
Top Flange
of End Rail
End Rail
Notch
3a
3c
3d
2x 2x
3b
4Install one Intermediate Crossmember I-Beam into the Side Rail (4a). Notice that the Intermediate
Crossmember fits in between the flanges on the Side Rails (4b) but not where it attaches to the
center I-Beam (4c). Attach with the screws and locknuts (4d) and hand tighten (4e).
4e
Intermediate
Crossmember
I-Beam
Side Rail
Center
I-Beam
4a
4b
4c
Intermediate
Crossmember
I-Beam
Center
I-Beam
4c
Bottom Flange
of I-Beam
Top Flange
of I-Beam
2x 2x
5Notice that the bottom flange of the Intermediate Crossmember I-Beam fits underneath the bottom
flange of the center I-Beam (5a). Insert the screws and lock nuts (5b) and hand tighten (5c). Attach
the second Crossmember in the same manner as the first, but do not install the screws into this side
rail yet.
2x 2x
Center
I-Beam
Bottom Flange of
Center I-Beam
Bottom Flange of
Intermediate
Crossmember
I-Beam
5a
5b
5c
6You now have all the frame components attached to the frame except the last End Rail. Make sure
all of the connections are fitted tightly and tighten all of the screws you have installed so far on the
top side of the frame. Use the Hex Bit to fully tighten the Stainless Steel Tapered Head Screw while
holding in place the Stainless Steel Nylon Locknut with a 3/8” Box End Wrench.
This illustration shows the remaining connection of the Crossmember
into the Side Rail that remains unattached. The purpose for this is to
allow room to slide individual boards into place in the forward section
of the frame. (If you are planning on making removable drop in deck
panels for the frame you can disregard this step and install the screws
and tighten this connection to the Side Rail.)
Stainless Steel
Tapered Head Screw
Stainless Steel
Nylon Locknut
3/8” Box
End Wrench
Hex Bit
NOTE: When assembling the frame
components, if you encounter holes that do
not line up exactly, it is acceptable to use
a drill to ream out the holes slightly for the
fasteners to fit appropriately.
7This illustration shows the installation of individual deck boards into the first half of the frame (7a).
(Disregard this step and the next step if you will be making removable deck panels.) Once you are at
the halfway point, install and tighten the screws and locknuts that attach the remaining Intermediate
Crossmember (7b). Use the Hex Bit to fully tighten the Stainless Steel Tapered Head Screw while
holding in place the Stainless Steel Nylon Locknut with a 3/8” Box End Wrench.
NOTE: When assembling the frame components, if you encounter holes that do not line up exactly, it
is acceptable to use a drill to ream out the holes slightly for the fasteners to fit appropriately.
2x 2x
Stainless Steel
Tapered Head Screw
Stainless Steel
Nylon Locknut
3/8” Box
End Wrench
Hex Bit 7a
7b
7c
9
8Install the remaining deck boards into the frame.
Fit one end of the remaining End Rail into the Side Rail (9a). The End Rail fits in between the flanges
on the Side Rail (9b).
9a
9b
End Rail
Side Rail
9c
Flange of Side Rail
11
10 Insert two (2) Truss Head Stainless Steel Screws at the corner (10a) and hand tighten (10b).Insert two (2) Truss Head Stainless Steel Screws at the corner (10a) and hand tighten (10b).
Make sure the top flange of the I-Beam goes on top of the End Rail and the bottom flange of the
I-Beam sits on top of the bottom flange of End Rail(11a). Insert the screws and locknuts (11b) and
hand tighten (11c).
2x 2x
Bottom Flange
of I-Beam
Top Flange
of I-Beam
Bottom Flange
of End Rail
Top Flange
of End Rail
11a
11b
11c
2x 2x
Truss Head Stainless
Steel Screw
Stainless Steel
Locknut
10b
10a
13
12 Use the Hex Bit to fully tighten the Stainless Steel Tapered Head Screw while holding in place the
Stainless Steel Nylon Locknut with a 3/8” Box End Wrench.
NOTE: When assembling the frame components, if you encounter holes that do not line up exactly, it
is acceptable to use a drill to ream out the holes slightly for the fasteners to fit appropriately.
Use the Hex Bit to fully tighten the Stainless Steel Tapered Head Screw while holding in place the
Stainless Steel Nylon Locknut with a 3/8” Box End Wrench.
NOTE: When assembling the frame components, if you encounter holes that do not line up exactly, it
is acceptable to use a drill to ream out the holes slightly for the fasteners to fit appropriately.
Hex
Bit
Stainless Steel
Tapered Head Screw
3/8” Box
End Wrench
Stainless Steel
Nylon Locknut
3/8” Box
End Wrench
Hex
Bit
Stainless Steel
Nylon Locknut
Stainless Steel
Tapered Head Screw
15
14 Slide the last board into the frame and you will be able to flex the remaining corner connection to
snap in the last deck board (14a). You may now push the remaining corner together (14b).
The final top of the frame corner connection is made by installing the (2) Self Tapping Screws
provided (15a). Fit corner together tightly and tighten using 5/16” Driver Bit (15b).
14b
14a
2x
15a 15b
Self
Tapping
Screw
5/16”
Driver Bit
NOTE: When assembling the frame
components, if you encounter holes that
do not line up exactly, it is acceptable to
use a drill to ream out the holes slightly
for the fasteners to fit appropriately.
16 Flip the frame over to install the remainder of the fasteners into the frame. Where indicated install
Stainless Steel Hex Head Bolt and Stainless Steel Nylon Locknut (16a). Use the 5/16” Driver Bit to
fully tighten the Stainless Steel Hex Head Bolt while holding in place the Stainless Steel Nylon
Locknut with a 3/8” Box End Wrench (16b).
NOTE: When assembling the frame components, if you encounter holes that do not line up exactly, it
is acceptable to use a drill to ream out the holes slightly for the fasteners to fit appropriately.
20x 20x
Hex
Bit
5/16” Driver Bit
3/8” Box
End Wrench
Stainless Steel
Hex Head Bolt
Stainless Steel
Hex Head Bolt
Stainless Steel
Hex Head Bolt
Stainless Steel
Nylon Locknut
16a
16b

Other Tommy Docks Outdoor Furnishing manuals

Tommy Docks TD-10072 User manual

Tommy Docks

Tommy Docks TD-10072 User manual

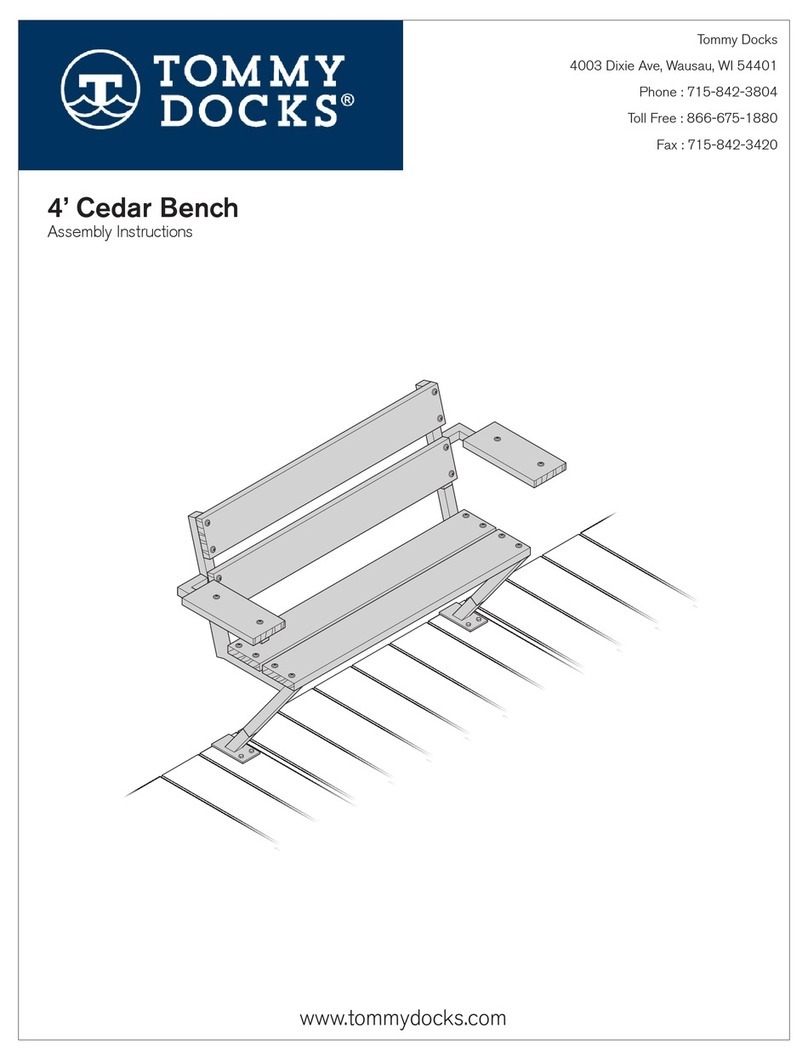
Tommy Docks 4’ Cedar Bench User manual

Tommy Docks

Tommy Docks 4’ Cedar Bench User manual

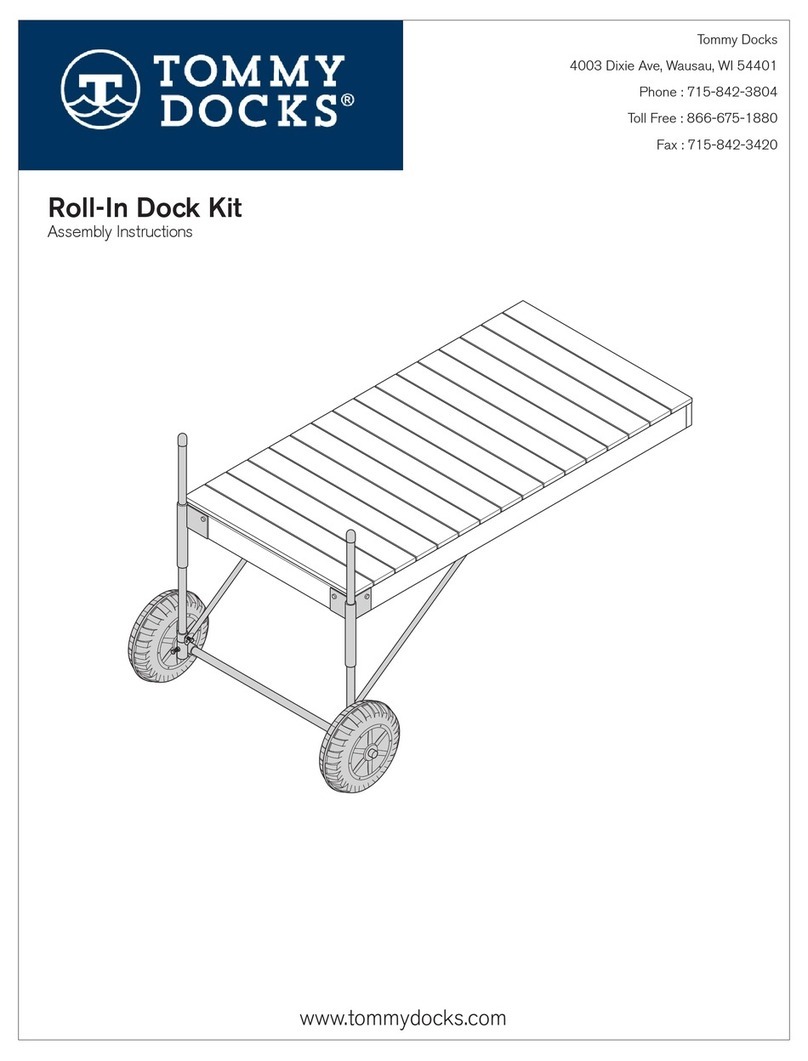
Tommy Docks Roll-In Dock Kit User manual

Tommy Docks

Tommy Docks Roll-In Dock Kit User manual

Popular Outdoor Furnishing manuals by other brands

toolport 300171 Assembly instructions

toolport

toolport 300171 Assembly instructions

AuthenTeak Kingsley-Bate St. George Bench SG40 Assembly instructions

AuthenTeak

AuthenTeak Kingsley-Bate St. George Bench SG40 Assembly instructions

Blumfeldt 10031884 manual

Blumfeldt

Blumfeldt 10031884 manual

Courtyard Creations TGS24SE-WM Assembly instructions

Courtyard Creations

Courtyard Creations TGS24SE-WM Assembly instructions

Crivit 273317 Instructions for use

Crivit

Crivit 273317 Instructions for use

Stagecaptain PLS-200 installation manual

Stagecaptain

Stagecaptain PLS-200 installation manual

Abble 300312-BL quick start guide

Abble

Abble 300312-BL quick start guide

HAPPATIO HPO-ZPTY-H owner's manual

HAPPATIO

HAPPATIO HPO-ZPTY-H owner's manual

Sunjoy AutoCove A110000900 Assembly instruction

Sunjoy

Sunjoy AutoCove A110000900 Assembly instruction

Kettler CUBIC 0311919 Assembly & operating instructions

Kettler

Kettler CUBIC 0311919 Assembly & operating instructions

BOERPLAY PKNE103.200 manual

BOERPLAY

BOERPLAY PKNE103.200 manual

leco Modern Trend instructions

leco

leco Modern Trend instructions

Next 693096 Assembly instructions

Next

Next 693096 Assembly instructions

Treasure Garden BASE-13 Assembly and operation guide

Treasure Garden

Treasure Garden BASE-13 Assembly and operation guide

Breezesta Skyline SK-0401-36 Assembly instructions

Breezesta

Breezesta Skyline SK-0401-36 Assembly instructions

Wildridge LCC-207 Assembly instructions

Wildridge

Wildridge LCC-207 Assembly instructions

domi LGMF1610 Assembly manual

domi

domi LGMF1610 Assembly manual

kleankin 834-592V00 manual

kleankin

kleankin 834-592V00 manual

manuals.online logo
manuals.online logoBrands
  • About & Mission
  • Contact us
  • Privacy Policy
  • Terms and Conditions

Copyright 2025 Manuals.Online. All Rights Reserved.