4
www.topvehicletech.com
4. When all the above wires (and any addional accessories) have been connected, nally make the power
connecons between the stereo and the vehicles pre-exisng connector.
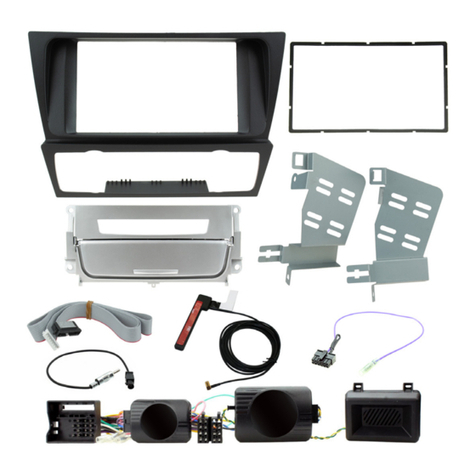
1. Take the steering wheel control interface and aach the 14-way steering wheel harness connector to
the relevant side.
3. Aach the antenna adapter to the vehicles pre-exisng connecon and the back of new stereo.
5. Aach the brackets to either side of the radio using the 4x screws within the kit. Once aached, roughly
test t the radio and bracket combinaon in relaon to the new fascia, doing this, you can best measure
whether the brackets need moving forwards/backwards.
6. Aer the “Stereo Installaon” process is complete and you are re-assembling the vehicle, simply place
the new fascia over top the radio and ulising the plasc clips, secure it rmly to the dashboard.
4. Once all of the metal clips have been seen to, proceed to aach the remaining 4x plasc clips to long
locator posts on the back of the new fascia.
CONT’D
2. Make a cut within the orange and purple loops on the back of the patch lead connector. Then proceed
to aach ‘Key 1’ to the light blue ‘SWC Remote’ wire on the stereo. When done, connect the 12-way
connector to the steering wheel control interface.
