RECOMMENDED TRUCK CAMPER
INSTALLATION INSTRUCTIONS
When securing any heavy load (especially a camper) in your truck bed, your front tie down points should pull the load
forward as much as possible. Some camper anchor points may differ with different manufacturers, as well as the camper
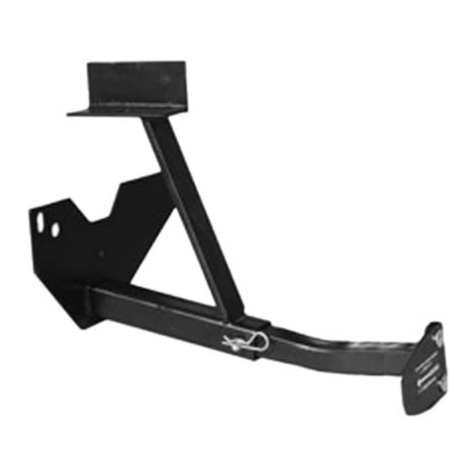
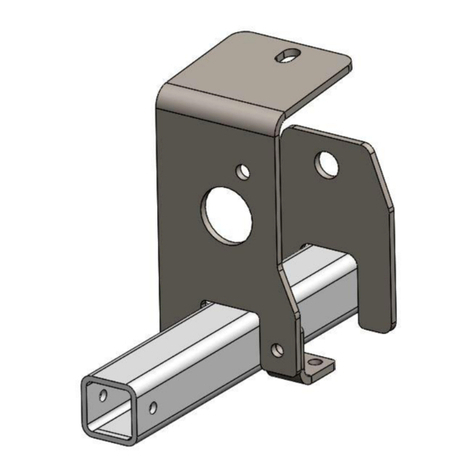
jack mounting locations. Your Torklift tie down inserts has offset triangular brackets to increase the angle of pull. These
are designed to be used in the front facing forward, and the rear facing rearward but can be used in either front or rear.
These recommendations are to be considered and followed as a basic rule of thumb. Obviously there will be some
applications where this may not be possible. At a minimum, if opposite pull of both front and rear tie downs cannot be
achieved for whatever reason, you should have at least a forward pull at the front or rear location.
If your camper does not come with Rubber Bumpers on the front lower portion of the camper, installing Rubber Bumpers
(Torklift has Rubber Bumpers available Part A7001) or using a block of wood such as a 2 x 4 in the bed, will prevent the
camper from damaging the front bulk head of the truck bed.
Minor movement (or settling) can occur in some incidental harsh driving conditions (on or off road). A rubber bed mat is
not a requirement to maintain the lifetime warranty on a Torklift system, but a strong recommendation simply as a safety
precaution to protect the truck bed, the bottom of the camper and to give the camper additional support.
TORKLIFT DOES NOT RECOMMEND: Installing your truck camper in your truck on top of a drop in plastic bed
liner!!! The drop in plastic bed liners can slide on top of the truck bed surface, and the camper can slide on top of the slick
surface of the bed liner. The liner can also act as a spring causing a trampoline effect increasing vertical truck camper
movement, independent of the vehicle, possibly resulting in truck bed, and camper damage!
INSTRUCTIONS FOR FINISH MAINTENANCE
OF TORKLIFT PRODUCTS
POWDER COATED STEEL:
To keep your Torklift products looking good follow these guidelines. All steel powder coated Torklift products are
sandblasted for maximum adhesion and use a high quality industrial urethane based powder coat. Due to the extreme,
harsh, undercar environment that your Torklift products live in, (consistently sprayed with corrosive road chemicals such
as salt, and road debris), Torklift does not warranty the power coated finish.
To minimize corrosion from these factors on powder coated steel products, Torklift recommends regularly cleaning and
inspecting the powder-coated surface and touching up any affected areas with enamel or urethane based aerosol paint
product. If there are any areas of surface rust, there are also aerosol spray rust converters available on the market that
can be used as a preparation to touch-up paint application. These finish maintenance products are available at any
automotive parts supplier.
POLISHED STAINLESS STEEL:
Torklift utilizes quality grade 304 stainless steel in our stainless steel polished products. 304 stainless steel is well known
for its anti-corrosive properties. However, in some environments such as coastal regions or when coming in contact with
some road chemicals, corrosion may occur.
For a quick clean simply use WD40 and a cloth rag. We also recommend occasional polishing of our polished stainless
products to maintain their attractive finish. Use an approved stainless steel chrome or aluminum mag wheel polish
cleaning product, which can be purchased from any automotive parts supplier.
