manuals.online logo
Brands
  1. Home
  2. •
  3. Brands
  4. •
  5. Toro
  6. •
  7. Lawn Mower Accessories
  8. •
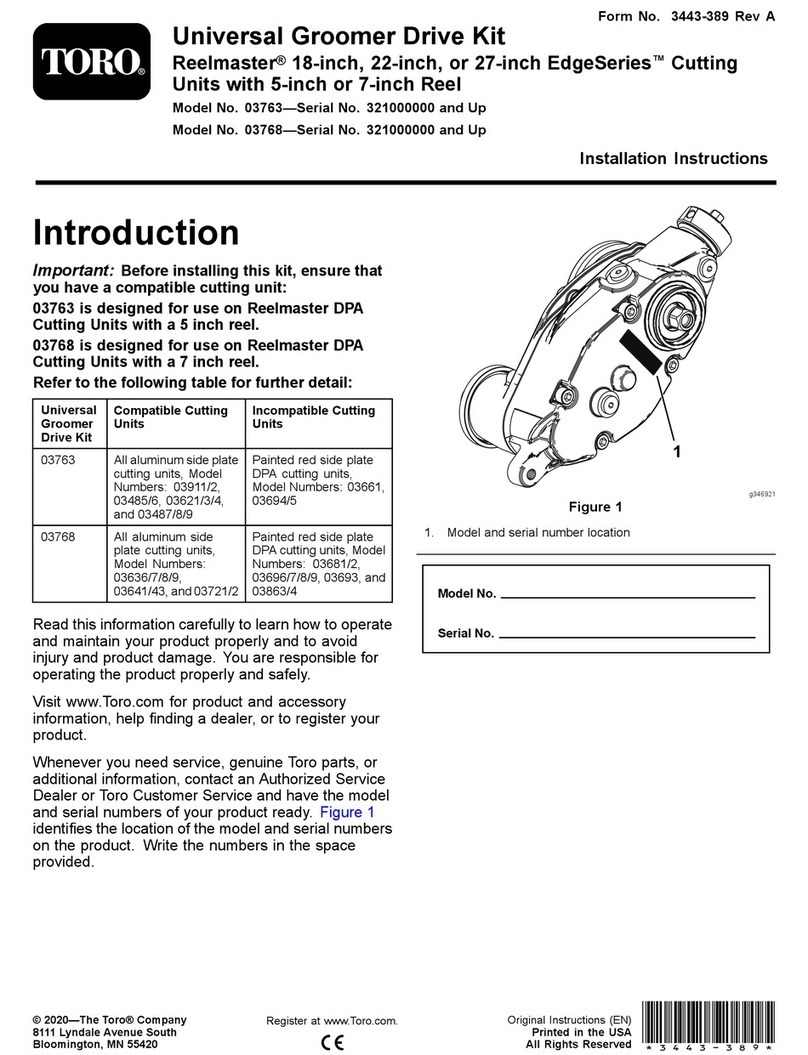
  9. Toro 30622 User manual

Toro 30622 User manual

Other Toro Lawn Mower Accessories manuals

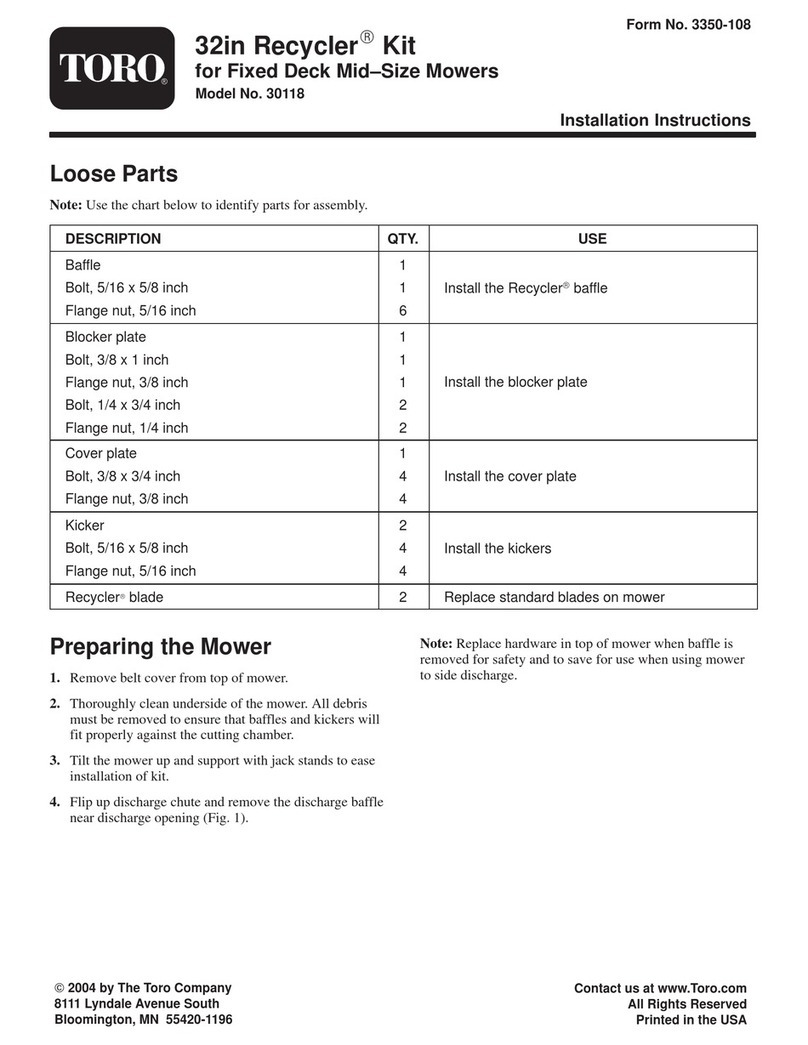
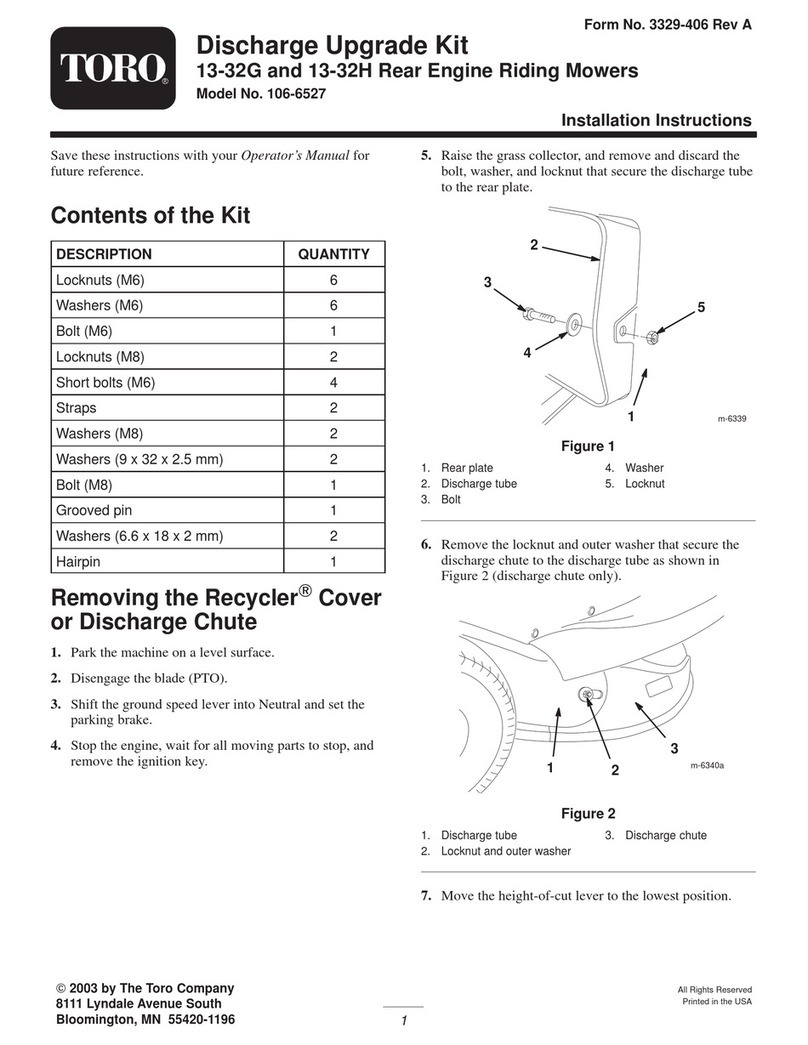
Toro 127-6818 User manual

Toro

Toro 127-6818 User manual

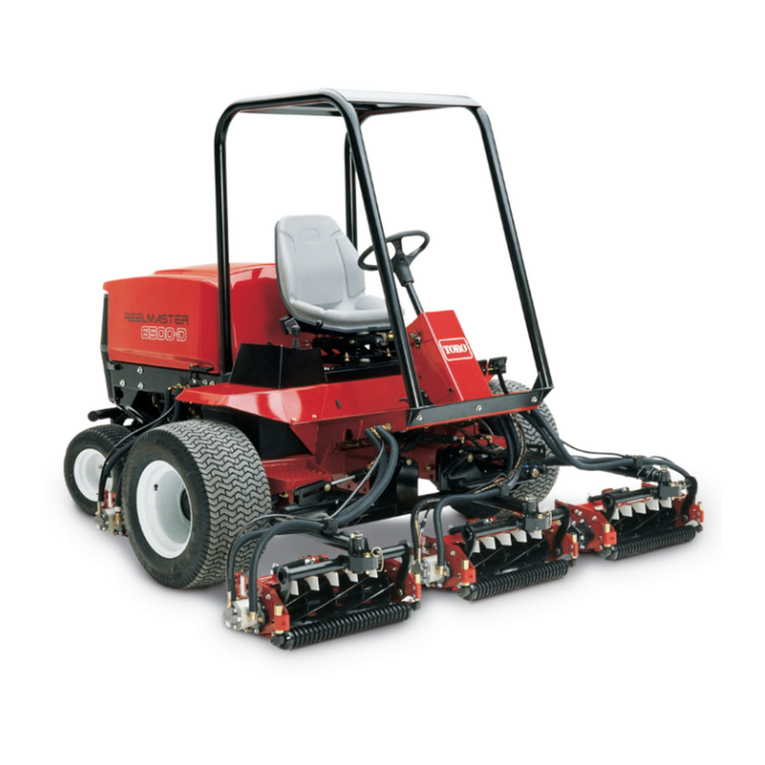
Toro 78582 User manual

Toro

Toro 78582 User manual

Toro 161-3138 User manual

Toro

Toro 161-3138 User manual

Toro 31101 Groundsmaster 360 User manual

Toro

Toro 31101 Groundsmaster 360 User manual

Toro Polar Trac Cab 30474 User manual

Toro

Toro Polar Trac Cab 30474 User manual

Toro Wheel Horse 5xi User manual

Toro

Toro Wheel Horse 5xi User manual

Toro 126-8379 User manual

Toro

Toro 126-8379 User manual

Toro 31351 User manual

Toro

Toro 31351 User manual

Toro 03698 User manual

Toro

Toro 03698 User manual

Toro 02920 User manual

Toro

Toro 02920 User manual

Toro 120-3290 User manual

Toro

Toro 120-3290 User manual

Toro 79413 User manual

Toro

Toro 79413 User manual

Toro Greensmaster 3320 TriFlex User manual

Toro

Toro Greensmaster 3320 TriFlex User manual

Toro 110-6506 User manual

Toro

Toro 110-6506 User manual

Toro 140-9324 User manual

Toro

Toro 140-9324 User manual

Toro 140-1914 User manual

Toro

Toro 140-1914 User manual

Toro 105-1678 User manual

Toro

Toro 105-1678 User manual

Toro 04553 User manual

Toro

Toro 04553 User manual

Toro 137-5470 User manual

Toro

Toro 137-5470 User manual

Toro TR-34D User manual

Toro

Toro TR-34D User manual

Toro 13-32G Wheel Horse User manual

Toro

Toro 13-32G Wheel Horse User manual

Toro 139-1546 User manual

Toro

Toro 139-1546 User manual

Toro Recycler 59197 User manual

Toro

Toro Recycler 59197 User manual

Toro 74254 User manual

Toro

Toro 74254 User manual

Popular Lawn Mower Accessories manuals by other brands

Ariens 891008 Operator's manual

Ariens

Ariens 891008 Operator's manual

Rover 108 - 109 owner's manual

Rover

Rover 108 - 109 owner's manual

Snapper 1690047 Operator's manual

Snapper

Snapper 1690047 Operator's manual

RHINO 800 Operator's manual

RHINO

RHINO 800 Operator's manual

Exmark Quest 126-7506 Operator's manual

Exmark

Exmark Quest 126-7506 Operator's manual

Snapper 1685167 installation instructions

Snapper

Snapper 1685167 installation instructions

Cub Cadet 19B70029100 installation manual

Cub Cadet

Cub Cadet 19B70029100 installation manual

Stihl AMK 043.1 instruction manual

Stihl

Stihl AMK 043.1 instruction manual

MTD 753-0873 Service kit manual

MTD

MTD 753-0873 Service kit manual

Bush Hog RG60 Operator's manual

Bush Hog

Bush Hog RG60 Operator's manual

Scag Power Equipment GC-F4 Operator's manual

Scag Power Equipment

Scag Power Equipment GC-F4 Operator's manual

Land Pride RCF2760 Operator's manual

Land Pride

Land Pride RCF2760 Operator's manual

Peco SPARTAN RZ Series Operator's manual

Peco

Peco SPARTAN RZ Series Operator's manual

Peco 28621206 Operator's manual

Peco

Peco 28621206 Operator's manual

Simplicity 367 Operator's manual

Simplicity

Simplicity 367 Operator's manual

Simplicity 211 Operator's manual

Simplicity

Simplicity 211 Operator's manual

Iseki SSM72 Operators & service manual

Iseki

Iseki SSM72 Operators & service manual

Simplicity 1690043 Operator's manual

Simplicity

Simplicity 1690043 Operator's manual

manuals.online logo
manuals.online logoBrands
  • About & Mission
  • Contact us
  • Privacy Policy
  • Terms and Conditions

Copyright 2025 Manuals.Online. All Rights Reserved.

1
All Rights Reserved
Printed in the USA
W2008 by The Toro Company
8111 Lyndale Avenue South
Bloomington, MN 55420-1196
Premium Seat Kit
Groundsmaster )580–D, 4000–D & 4100–D
Model No. 30622
Form No. 3352–451 Rev A
Installation Instructions
1. Position the machine on a level surface, lower the
cutting units, stop the engine, engage the parking
brake and remove the key from the ignition.
2. Place the seat onto the seat suspension, aligning the
mounting holes in the seat rails with the holes in the
top of the suspension. Use the holes indicated in
figure 1.
3
2
4
1
Figure 1
1. Premium seat
2. Seat suspension
3. Torx screw (3)
4. Rail stop (GM 580–D only)
3. Loosely attach the seat/slide rail assembly to the seat
suspension with (3) M8 x 12 screws and (1) M8 x 16
screw. The M8 x 16 is to be used in the forward left
hole.
GM 4000 series only
•Torque the screws to 18 ft–lb (25 Nm). The rail
stop is not required.
GM 580–D only
•Tighten all (4) screws securely but do not torque.
•Slide the seat completely forward.
•Remove the (3) #25 Torx screws securing the seat
cushion to the front of the seat pan (Fig. 1).
Remove the seat cushion.
•Remove the nut and bolt securing the front of the
left seat rail to the seat pan.
•Remove the M8 x 16 screw securing the front of
the left seat rail to the suspension.
•Slide the seat completely rearward and insert the
rail stop (Fig. 1) into the slide rail until the holes
align.
•Secure the rail stop to the slide rail and suspension
with the M8 x 16 screw previously removed.
•Torque all the screws to 18 ft–lb (25 Nm).
•Slide the seat completely forward and secure the
front of the left seat rail to the seat pan with the nut
and bolt previously removed. The nut and bolt
should stop the seat when moved rearward.
•Install the seat cushion to the seat pan and secure
with the (3) #25 Torx screws previously removed.
4. Mount the retractor side of the seat belt assembly to
the left side of the seat as follows:
GM 4000 series only
•Secure the seat belt mount to the seat belt retractor
with a 7/16 x 1 in. button head screw, washer and a
nut, as shown in figure 2.
•Torque the screw to 55 ft–lb (75 Nm).
•Secure the seat belt mount to the left side of the
seat with a 7/16 x 1–1/4 in. capscrew, lock washer
and (2) flat washers (Fig. 2).
•Torque the screw to 55 ft–lb (75 Nm).
Note: One of the flatwashers is to be positioned between
the seat belt mount and the seat.
GM 580–D only
•Secure the belt retractor directly to the left side of
the seat with a 7/16 x 1–1/4 in. capscrew, lock
washer and (2) flat washers (Fig. 2). The seat belt
mount is not required.
•Torque the screw to 55 ft–lb (75 Nm).
Note: One of the flatwashers is to be positioned between
the seat belt mount and the seat.
2
1
2
Figure 2
1. Seat belt mount
(GM 4000 series only)
2. Seat belt retractor
assembly
5. On all machines, mount seat belt receiver directly to
the right side of the seat as follows:
•Loosely install the belt receiver directly to the right
side of the seat with a 7/16 x 1–1/4 in. capscrew,
lock washer and (2) flat washers. One of the
flatwashers is to be positioned between the seat
belt receiver and the seat.
Note: Make sure the belt receiver is positioned in the
upright position (12 o’clock)
•Torque the capscrew to 55 ft–lb (75 Nm).
6. Plug the seat switch wire connector into the harness
connector on the machine.
7. Slide the seat completely forward and backward to
ensure proper operation and that the seat wires and
connectors are not pinched or do not contact any
moving parts.
Note: On the GM 4000 series machines, the manual tube
can be mounted to the upper seat back, using the (2) 5/16
thread forming screws supplied with the Air Ride Seat
Suspension, Model 30621.