manuals.online logo
Brands
  1. Home
  2. •
  3. Brands
  4. •
  5. Toro
  6. •
  7. Lawn Mower Accessories
  8. •
  9. Toro 86001 User manual

Toro 86001 User manual

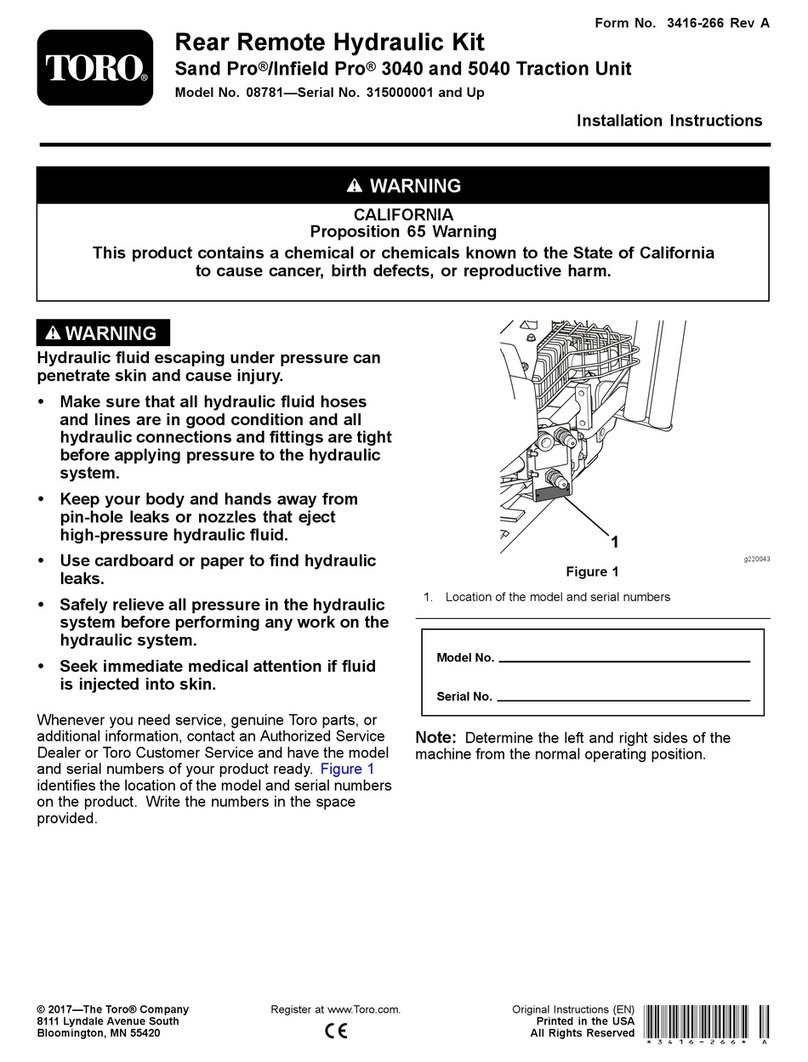
1
FORM NO. 3319–157 Rev A
Model No. 86001 INSTALLATION
INSTRUCTIONS
 
       
Loose Parts
Note: Use the chart below to identify parts used for assembly.
DESCRIPTION QTY. USE
Baffle
Bolt 3/8–16 x 1-1/4” (32 mm)
Locknut 5/16”
1
2
4
Install under mower
Recycler blade 3 Replace standard blades on mower
Decal 2 Install on sides of mower
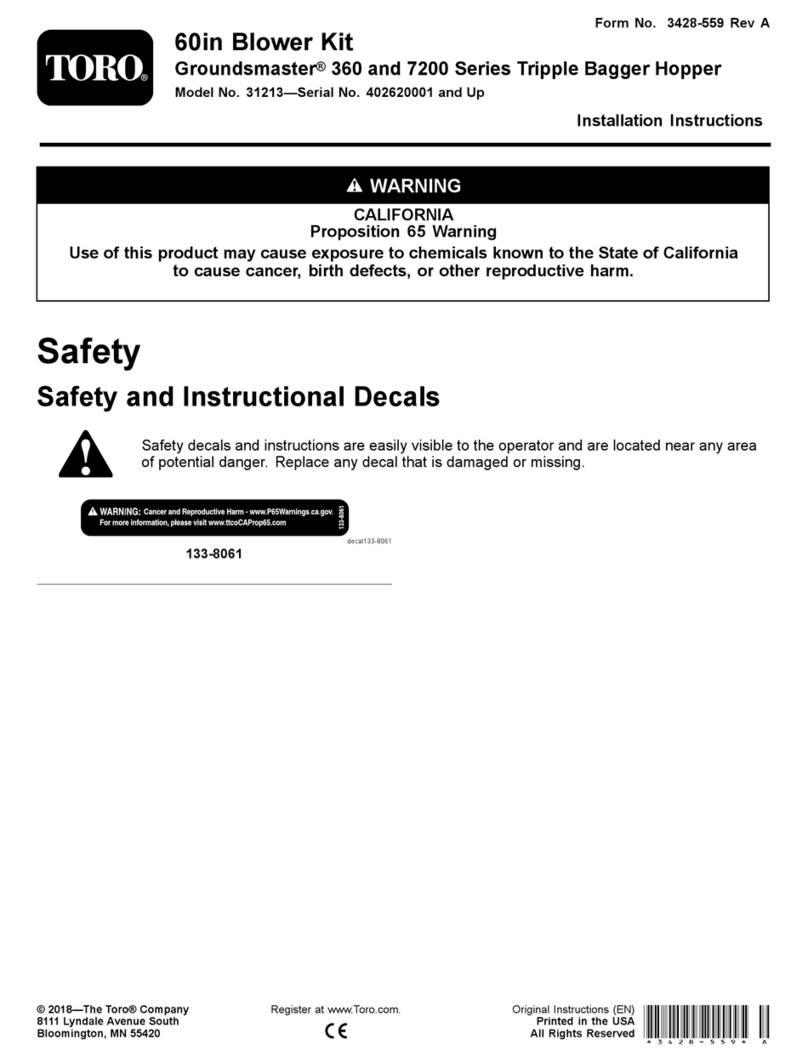
Installing the Recycler Baffle
1. Remove mower from traction unit; see traction
unit Operator’s Manual for instructions.
2. Thoroughly clean the mower. All debris must be
removed to ensure baffle fits tightly against
mower.
3. Repair any dents or damaged areas on the
mower. Replace any missing parts.
4. Remove the front bolt from each of four (4)
linkage brackets (Fig. 1).
5. Tip mower upside down and remove standard
blades from spindles.
2
1
m–2873
Figure 1
1. Bolt 3/8–16 x 1-1/4”
(32 mm)
2. Lock nut 3/8”
Installation
2
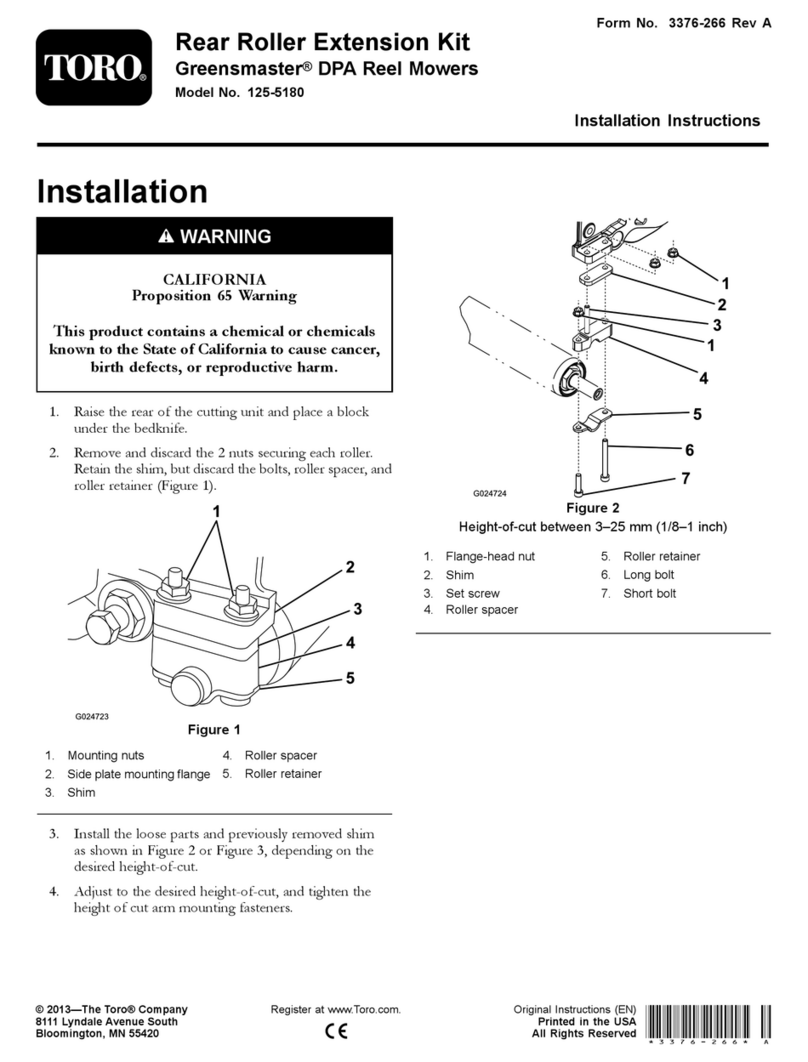
6. Place baffle inside mower location two (2) studs
on baffle, into front linkage bracket holes
(Fig. 2).
7. Place (2) 3/8 x 1-1/4” (32 mm) carriage bolts
through rear linkage bracket holes. Secure
carriage bolts and studs with (4) 3/8” locknuts
(Fig. 2).
8. Tighten all mounting hardware securely.
2
1
m–2874
3
3
Figure 2
1. Stud
2. Bolt 3/8–16 x 1-1/4”
(32 mm)
3. Lock nut 3/8”
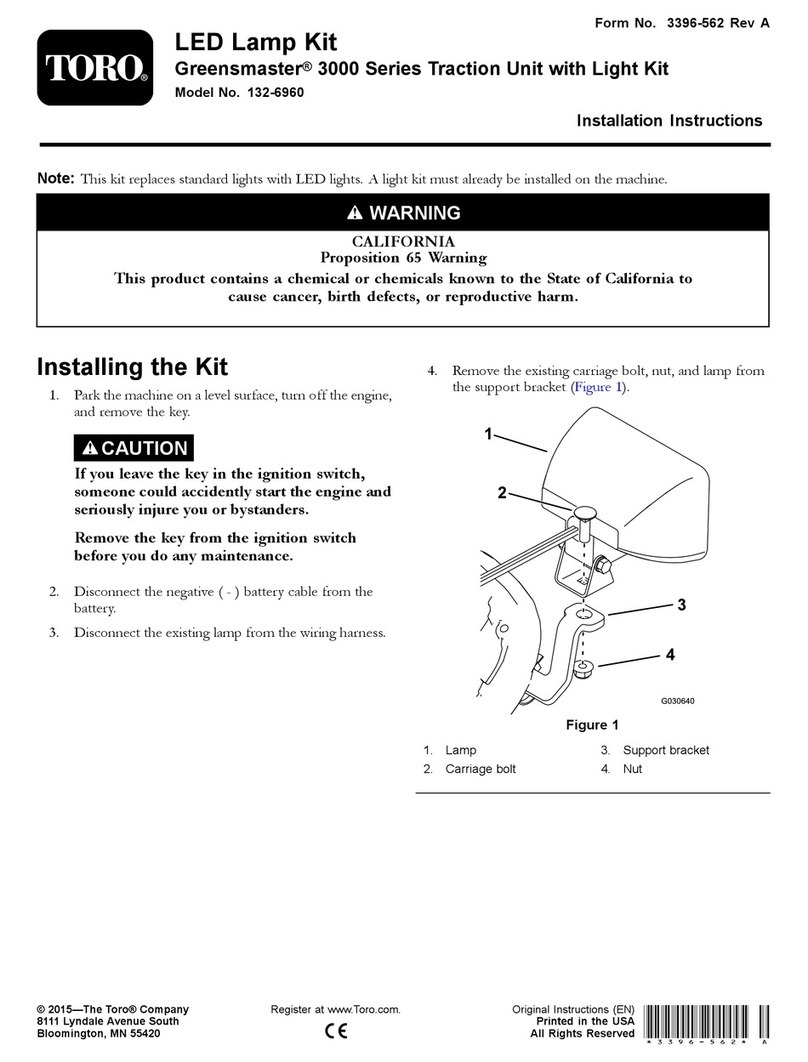
Install Recycler Blades
1. Install Recyclerblades from kit. Secure with
washer, blade, flat washer, and the blade nut
(Fig. 3).
Note: Do not install anti-scalp cups as they
interrupt the airflow for Recycling.
IMPORTANT: The curved part of the blade
must be pointing toward the inside of the
mower to assure proper cutting.
2. Tighten the bland nut to 80-100 ft–lb
(109-136 Nm).
3. Rotate blades to assure there is at least 1/8”
clearance between blades and baffle.
1
2
3
4
5
Figure 3
1. Nut
2. Flat washer – thick
3. Blade
4. Washer – thin
5. Spindle
Install Recycler Decal
1. Remove backing paper and apply decal to both
sides of mower (Fig. 4). Smooth from center to
edges to remove air bubbles.
1 & 2
1 & 2 M–2829
Figure 4
1. Mower side 2. Apply decal
2. Install mower onto traction unit; refer to traction
unit Operator’s Manual.
Installation
3
Removing the RecyclerBaffle
1. Thoroughly clean the mower.
2. Remove Recyclerblades from mower (Fig. 3).
3. Remove lock nuts from studs and carriage bolts
(Fig. 5). Lower baffle and slide out.
4. Install previously removed 3/8 x 1-1/4” (32 mm)
bolts and 3/8” lock nuts to secure linkage
brackets (Fig. 5).
5. Install standard blades, previously removed.
Secure with washer, blade, flat washer, and the
blade nut (Fig. 3).
6. Install mower onto traction unit; refer to traction
unit Operator’s Manual.
2
1
m–2874
3
3
1
Figure 5
1. Baffle
2. Stud
3. Bolt 3/8–16 x 1-1/4”
(32 mm)
4. Lock nut 3/8”
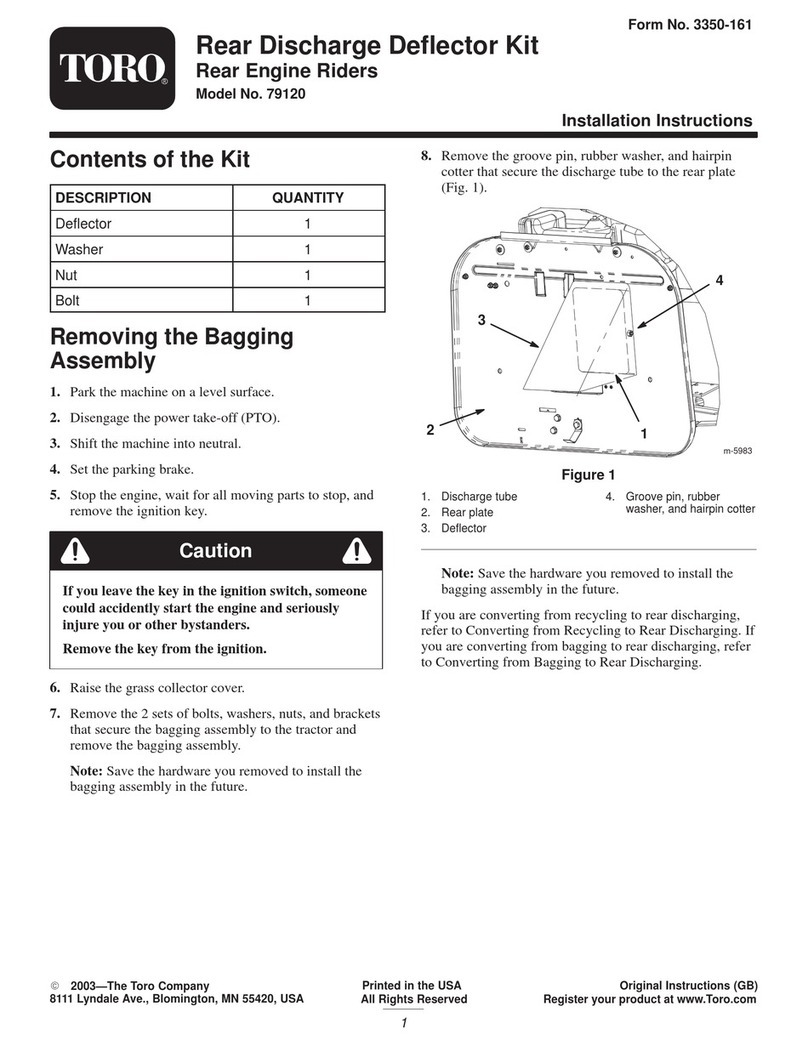
POTENTIAL HAZARD
•Open holes in the mower expose you and
others to thrown debris.
WHAT CAN HAPPEN
•Debris thrown out of holes in the mower
can cause injury.
HOW TO AVOID THE HAZARD
•Never operate mower without hardware
mounted in all holes in mower.
•Install hardware in mounting holes when
recycle baffle is removed.
Installation
4
Tips for Mowing Grass
Fast Throttle Setting
For best mowing and maximum air circulation,
operate the engine at “FAST.” Air is required to
thoroughly cut grass clippings, so do not set the
height-of-cut so low, as to totally surround the mower
by uncut grass. Always try to have one side of the
mower free from uncut grass, which allows air to be
drawn into the mower.
Cutting a Lawn for the First Time
Cut grass slightly longer than normal to ensure the
cutting height of the mower does not scalp any
uneven ground. However, the cutting height used in
the past is generally the best one to use. When cutting
grass longer than six inches tall, you may want to cut
the lawn twice to assure an acceptable quality-of-cut.
Cut 1/3 of the Grass Blade
It is best to cut only about 1/3 of the grass blade.
Cutting more than that is not recommended, unless
grass is sparse or it is late fall when grass grows more
slowly.
Mowing Direction
Alternate mowing direction to keep the grass standing
straight. This also helps disperse clippings which
enhances decomposition and fertilization.
Mow at Correct Intervals
Normally, mow every 4 days. But remember, grass
grows at different rates at different times. So to
maintain the same cutting height, which is a good
practice, mow more often in early spring. As the
grass growth rate slows in mid summer, mow less
frequently. If you cannot mow for an extended period,
first mow at a high cutting height; then mow again 2
days later at a lower height setting.
Ground Speed
To improve cut quality, use slower ground speed.
Avoid Cutting Too Low
If the cutting width of the mower is wider than the
mower you previously used, raise the cutting height
to ensure uneven turf is not cut too short.
Long Grass
If the grass is ever allowed to grow slightly longer
than normal, or if it contains a high degree of
moisture, raise the cutting height higher than usual
and cut the grass at this setting. Then cut the grass
again using the lower, normal setting.
When Stopping
If the machine’s forward motion must be stopped
while mowing, a clump of grass clippings may drop
onto your lawn. To avoid this:
1. With the blade(s) “ENGAGED,” move onto a
previously cut area.
2. To disperse the clippings evenly, raise the mower
one or two height-of-cut settings while driving
forward with the blade(s) “ENGAGED.”
Keep the Underside of the Mower Clean
Clean clippings and dirt from the underside of the
mower after each use. If grass and dirt build up inside
the mower, cutting quality will eventually become
unsatisfactory.
Blade Maintenance
Maintain a sharp blade throughout the cutting season
because a sharp blade cuts cleanly without tearing or
shredding the grass blades. Tearing and shredding
turns grass brown at the edges, which slows growth
and increases the chance of disease. Every 30 days,
check the cutter blade(s) for sharpness and file down
any nicks.
Other Toro Lawn Mower Accessories manuals

Toro Groundsmaster e3200 User manual

Toro

Toro Groundsmaster e3200 User manual

Toro 59192 User manual

Toro

Toro 59192 User manual

Toro CT Series User manual

Toro

Toro CT Series User manual

Toro 132-1547 User manual

Toro

Toro 132-1547 User manual

Toro 59226 User manual

Toro

Toro 59226 User manual

Toro 08781 User manual

Toro

Toro 08781 User manual

Toro 31211 User manual

Toro

Toro 31211 User manual

Toro 04480 User manual

Toro

Toro 04480 User manual

Toro 30107 User manual

Toro

Toro 30107 User manual

Toro Sand Pro 3040 User manual

Toro

Toro Sand Pro 3040 User manual

Toro Groundsmaster 300 Series User manual

Toro

Toro Groundsmaster 300 Series User manual

Toro 140-5800 User manual

Toro

Toro 140-5800 User manual

Toro Greensmaster eFlex 1018 User manual

Toro

Toro Greensmaster eFlex 1018 User manual

Toro 79413 User manual

Toro

Toro 79413 User manual

Toro 22441 User manual

Toro

Toro 22441 User manual

Toro 79030 User manual

Toro

Toro 79030 User manual

Toro 4045 User manual

Toro

Toro 4045 User manual

Toro 30509 User manual

Toro

Toro 30509 User manual

Toro 117-0354 User manual

Toro

Toro 117-0354 User manual

Toro 78463 User manual

Toro

Toro 78463 User manual

Toro 22324 Manual

Toro

Toro 22324 Manual

Toro 04650 User manual

Toro

Toro 04650 User manual

Toro E-Z Vac 78570 User manual

Toro

Toro E-Z Vac 78570 User manual

Toro 120-6275 User manual

Toro

Toro 120-6275 User manual

Popular Lawn Mower Accessories manuals by other brands

Ariens 891008 Operator's manual

Ariens

Ariens 891008 Operator's manual

Rover 108 - 109 owner's manual

Rover

Rover 108 - 109 owner's manual

Snapper 1690047 Operator's manual

Snapper

Snapper 1690047 Operator's manual

RHINO 800 Operator's manual

RHINO

RHINO 800 Operator's manual

Exmark Quest 126-7506 Operator's manual

Exmark

Exmark Quest 126-7506 Operator's manual

Snapper 1685167 installation instructions

Snapper

Snapper 1685167 installation instructions

Cub Cadet 19B70029100 installation manual

Cub Cadet

Cub Cadet 19B70029100 installation manual

Stihl AMK 043.1 instruction manual

Stihl

Stihl AMK 043.1 instruction manual

MTD 753-0873 Service kit manual

MTD

MTD 753-0873 Service kit manual

Bush Hog RG60 Operator's manual

Bush Hog

Bush Hog RG60 Operator's manual

Scag Power Equipment GC-F4 Operator's manual

Scag Power Equipment

Scag Power Equipment GC-F4 Operator's manual

Land Pride RCF2760 Operator's manual

Land Pride

Land Pride RCF2760 Operator's manual

Peco SPARTAN RZ Series Operator's manual

Peco

Peco SPARTAN RZ Series Operator's manual

Peco 28621206 Operator's manual

Peco

Peco 28621206 Operator's manual

Simplicity 367 Operator's manual

Simplicity

Simplicity 367 Operator's manual

Simplicity 211 Operator's manual

Simplicity

Simplicity 211 Operator's manual

Iseki SSM72 Operators & service manual

Iseki

Iseki SSM72 Operators & service manual

Simplicity 1690043 Operator's manual

Simplicity

Simplicity 1690043 Operator's manual

manuals.online logo
manuals.online logoBrands
  • About & Mission
  • Contact us
  • Privacy Policy
  • Terms and Conditions

Copyright 2025 Manuals.Online. All Rights Reserved.