Toro 03614 User manual
Other Toro Lawn Mower Accessories manuals
Toro
Toro Recycler 126-8701 User manual
Toro
Toro 117-9449 User manual
Toro
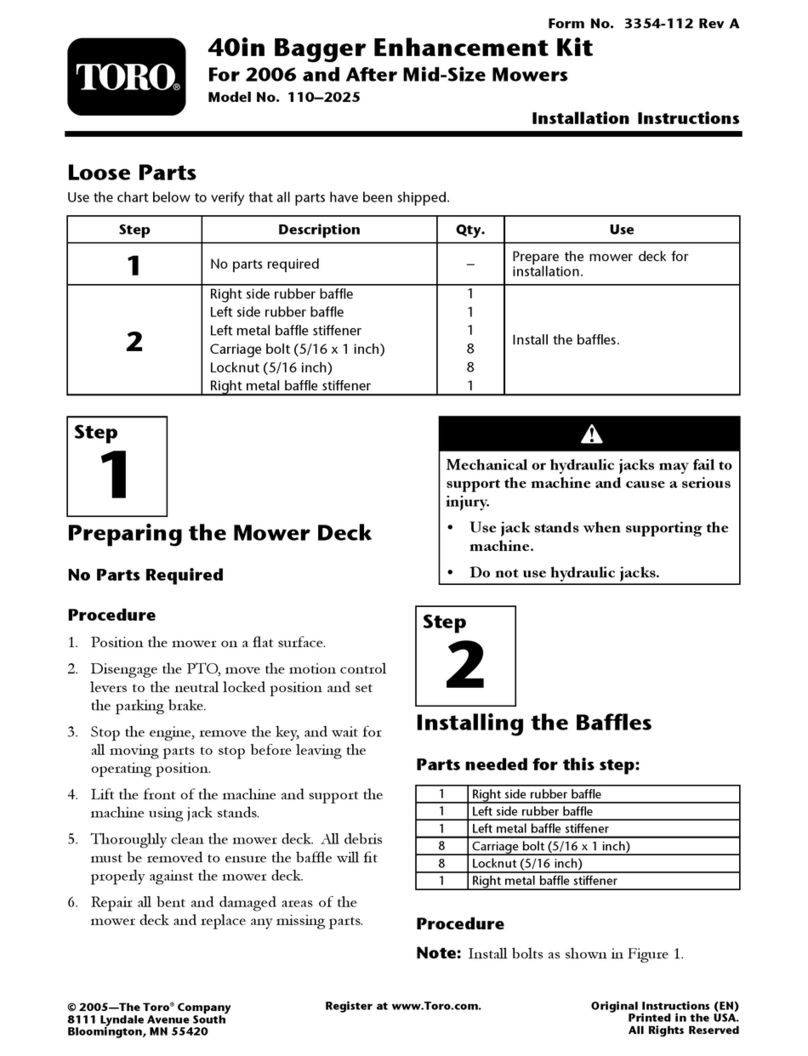
Toro 110-2025 User manual

Toro
Toro Z Master 116-0231 User manual
Toro
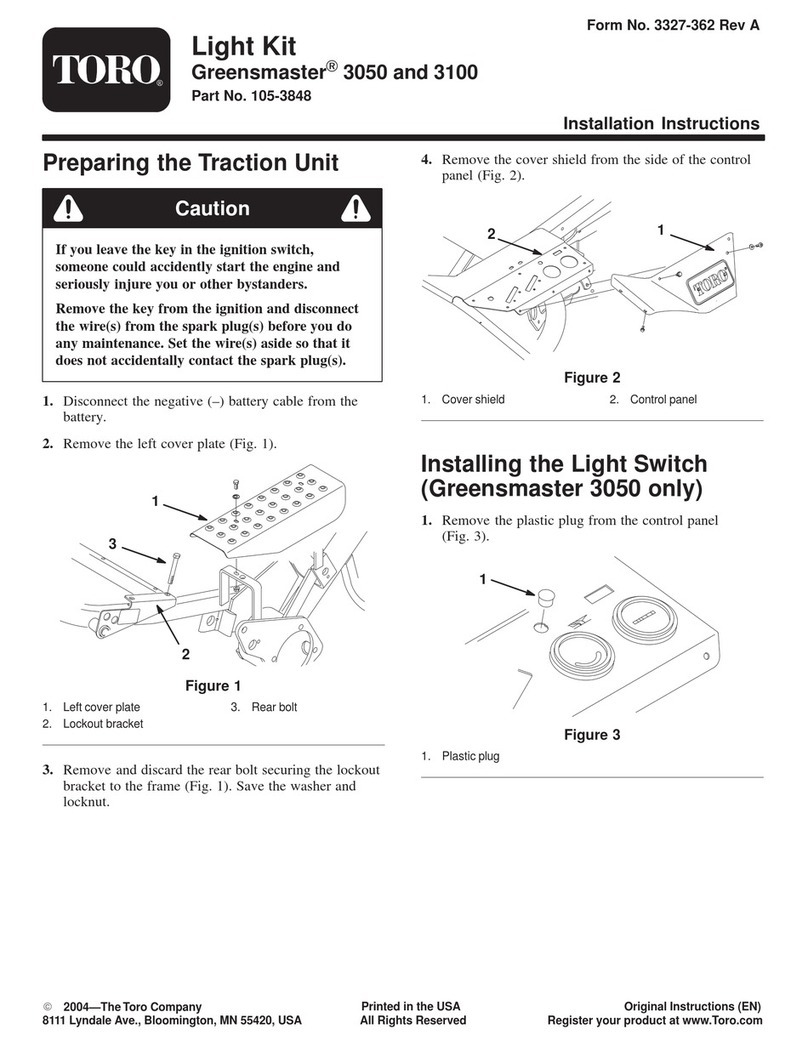
Toro 105-3848 User manual

Toro
Toro 03227 User manual
Toro
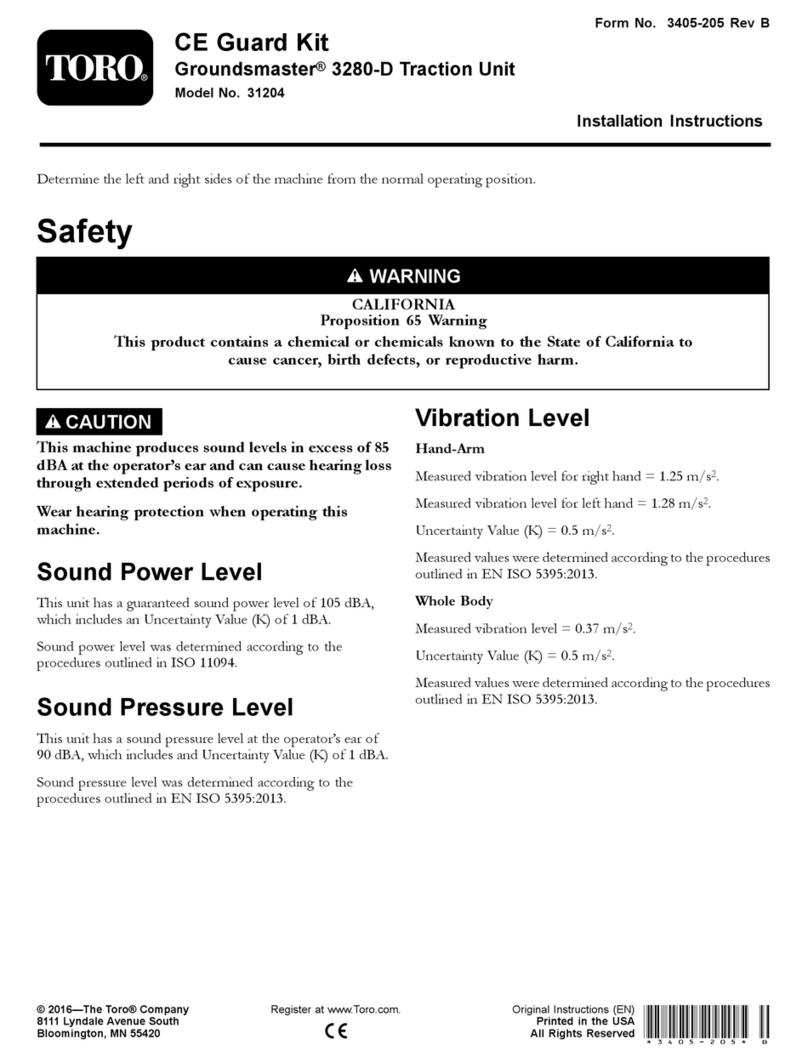
Toro 31204 User manual

Toro
Toro HoverPro 450 User manual

Toro
Toro 31325 User manual
Toro
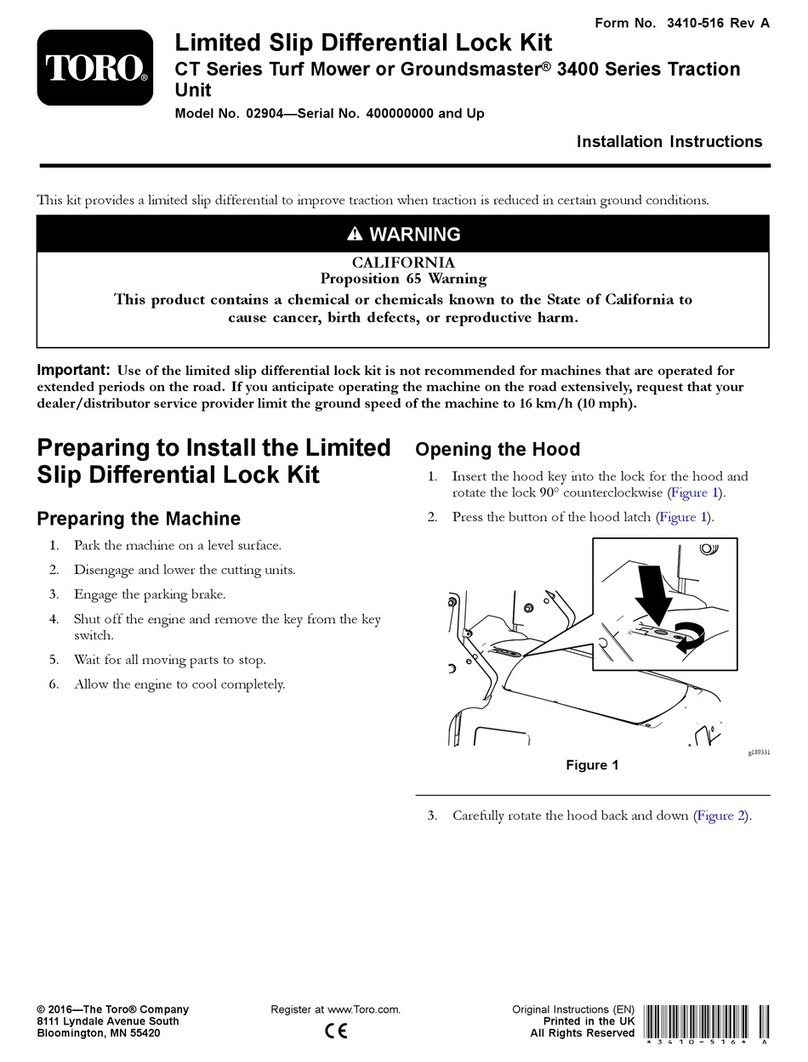
Toro 02904 User manual
Toro
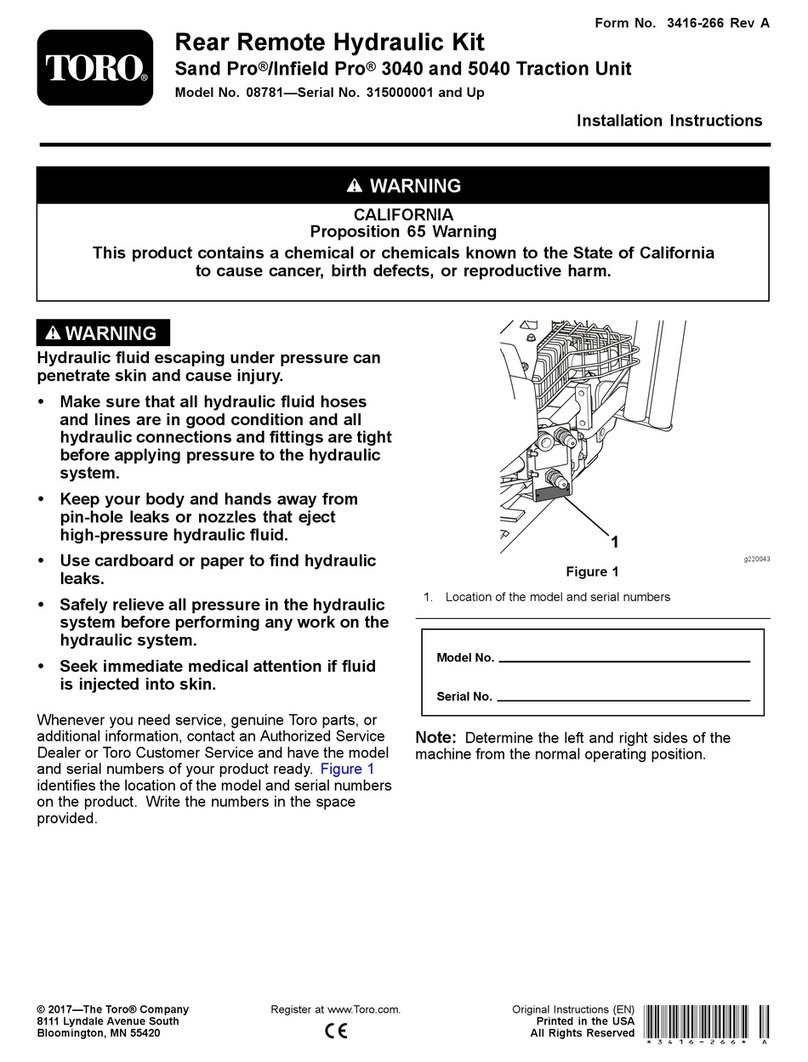
Toro 08781 User manual
Toro
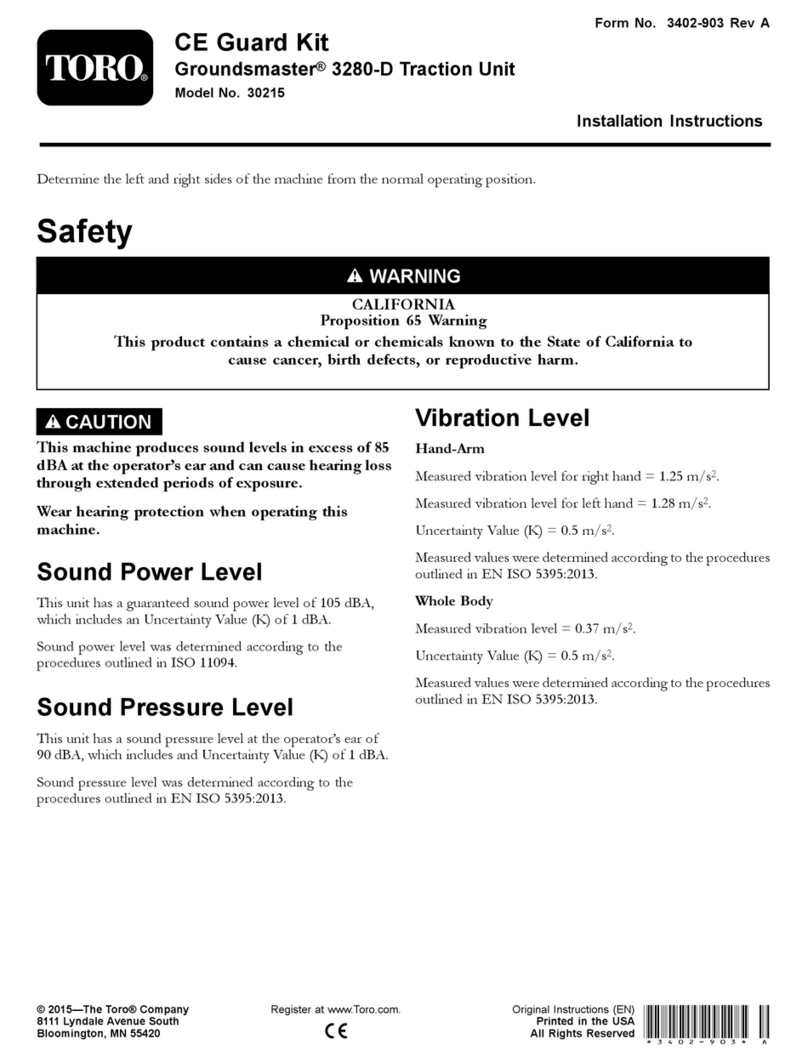
Toro 30215 User manual
Toro
Toro 161-4450 User manual
Toro
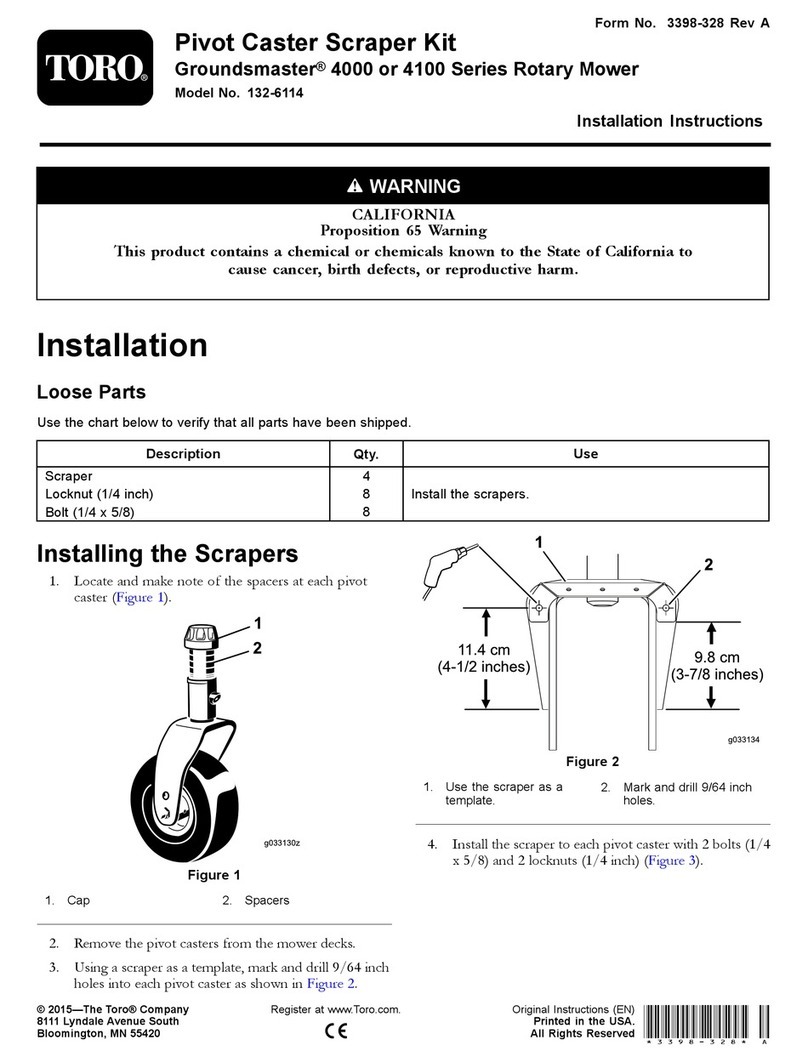
Toro 132-6114 User manual
Toro
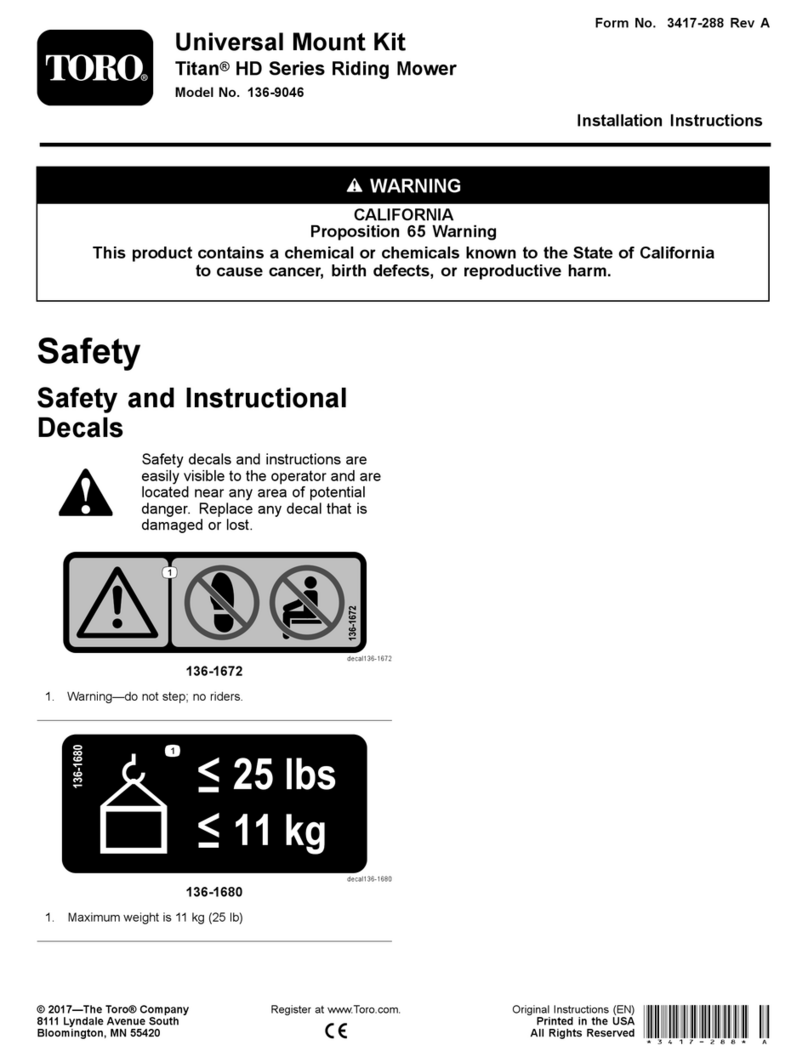
Toro 136-9046 User manual
Toro
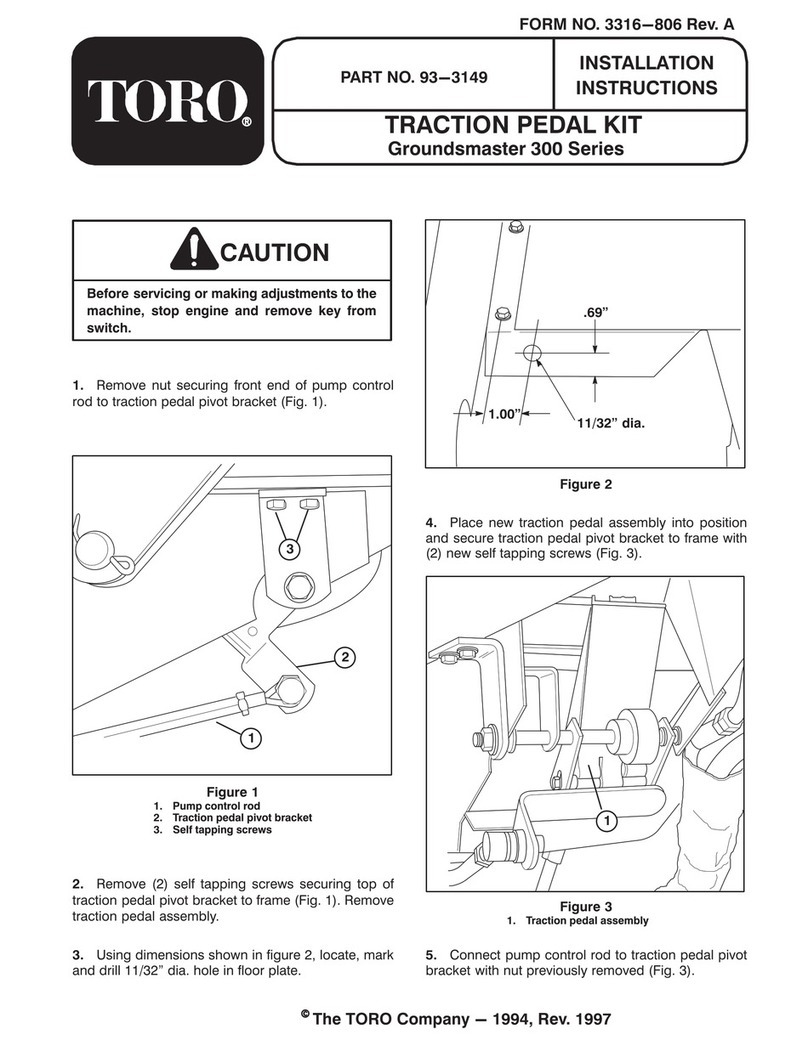
Toro Groundsmaster 300 Series User manual
Toro
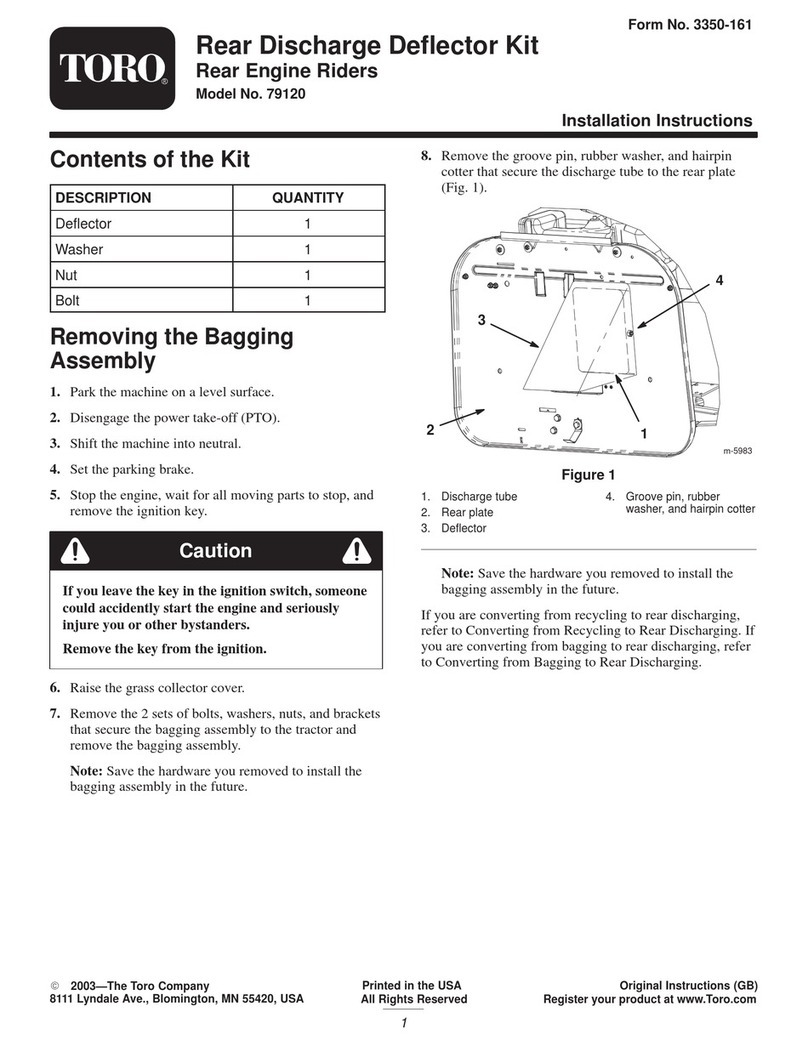
Toro 79120 User manual

Toro
Toro GrandStand 133-1438 User manual
Toro
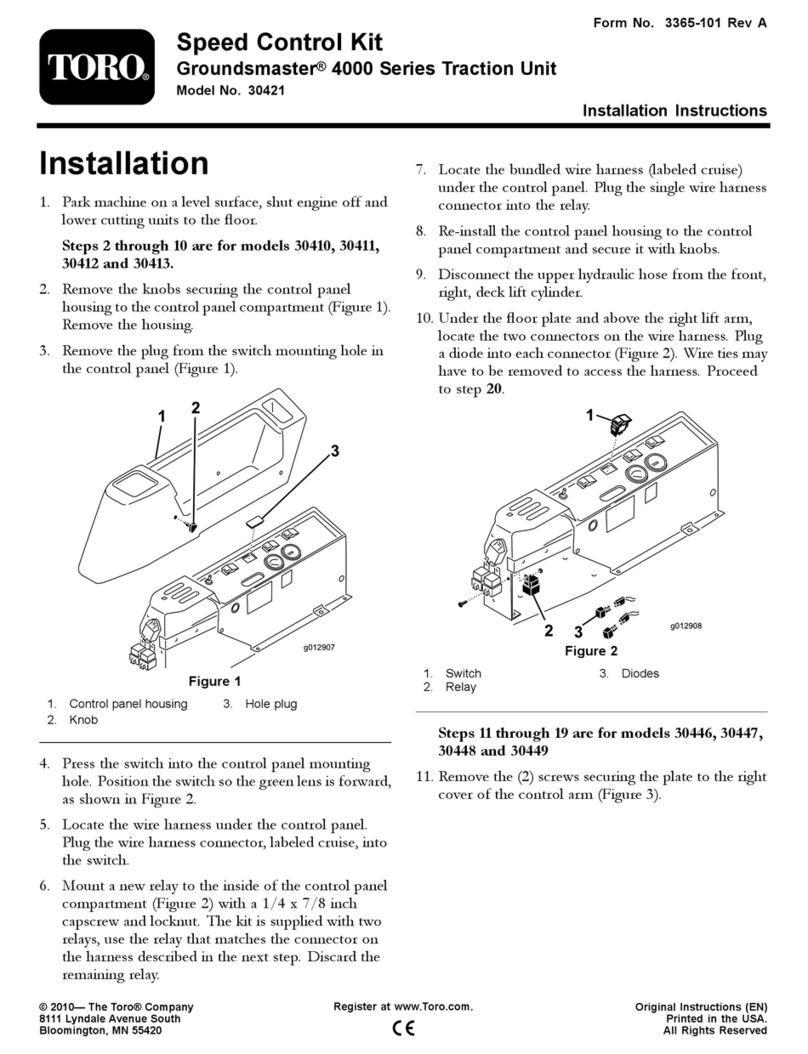
Toro 30421 User manual
Toro
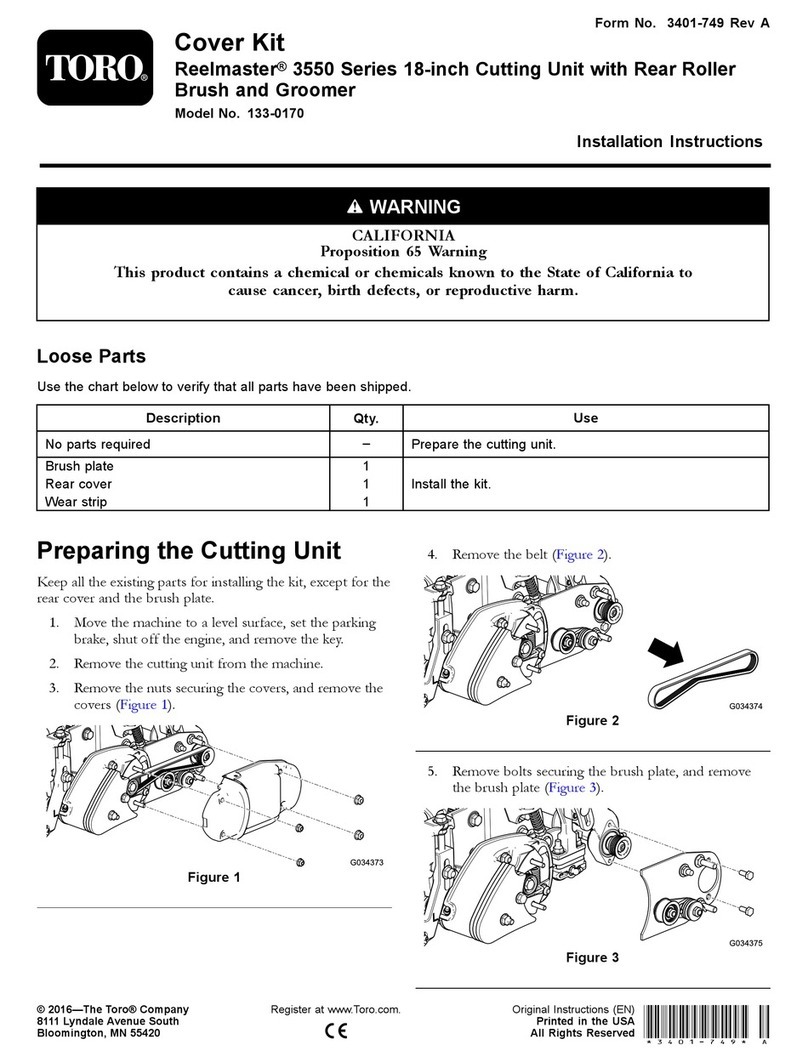
Toro 133-0170 User manual
