manuals.online logo
Brands
  1. Home
  2. •
  3. Brands
  4. •
  5. Toshiba
  6. •
  7. Telephone
  8. •
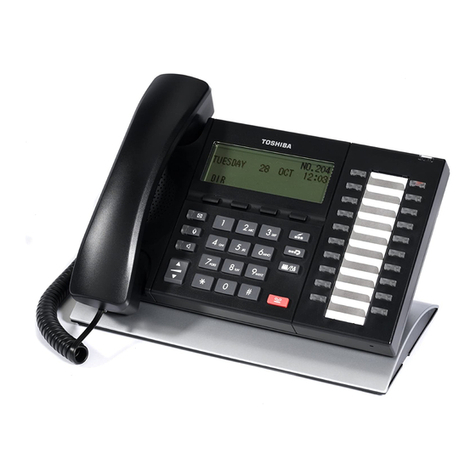
  9. Toshiba Strata CIX DP-5000 series User manual

Toshiba Strata CIX DP-5000 series User manual

telecom solutions
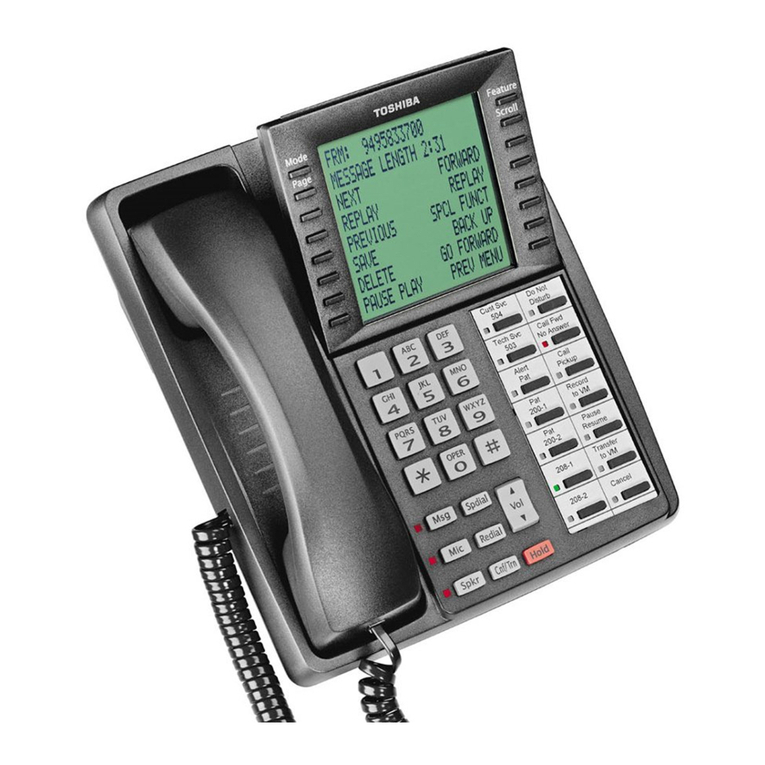
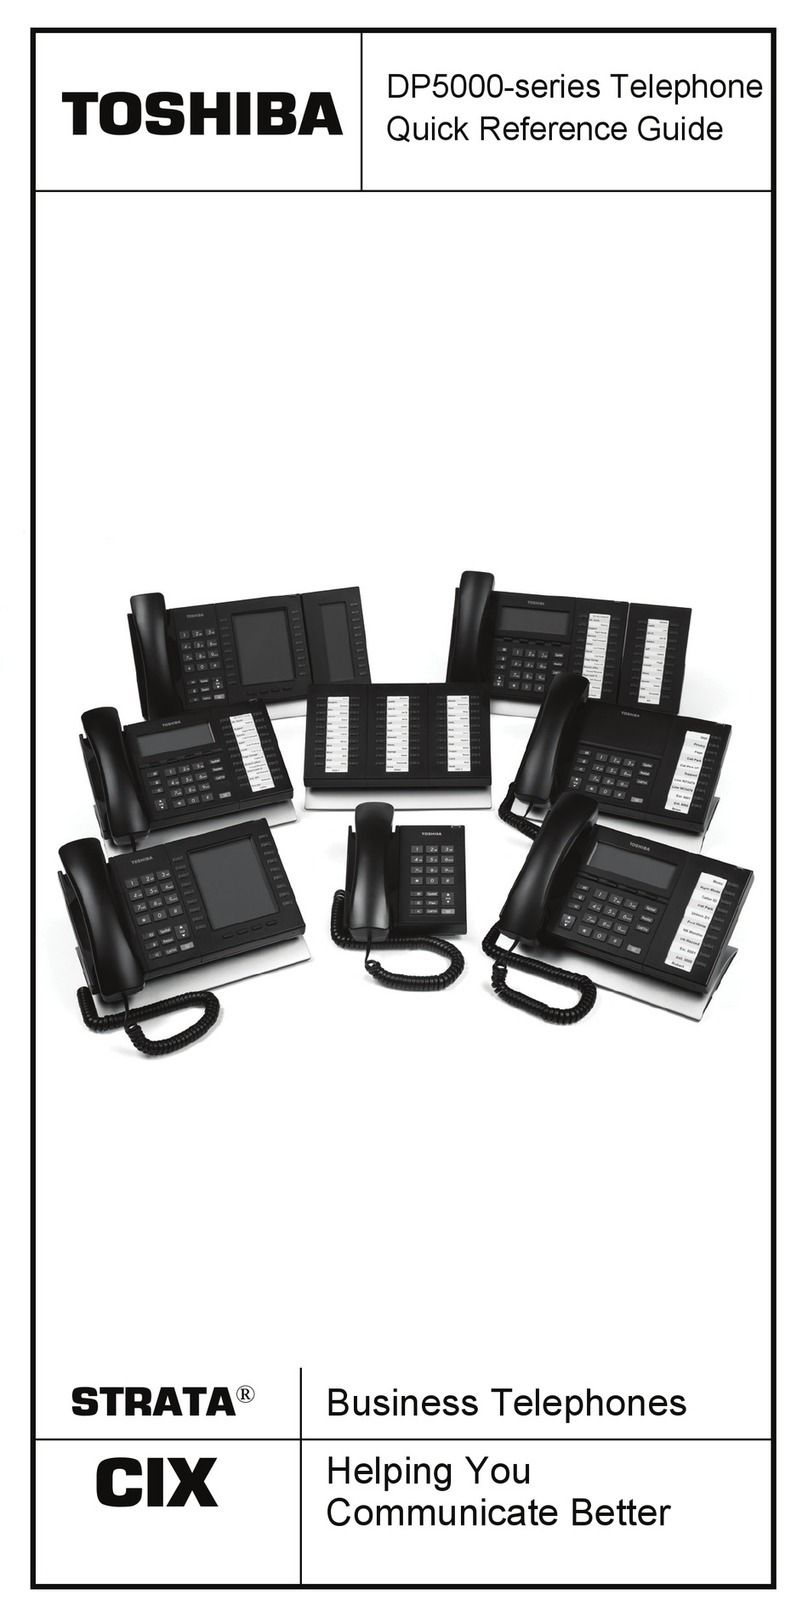
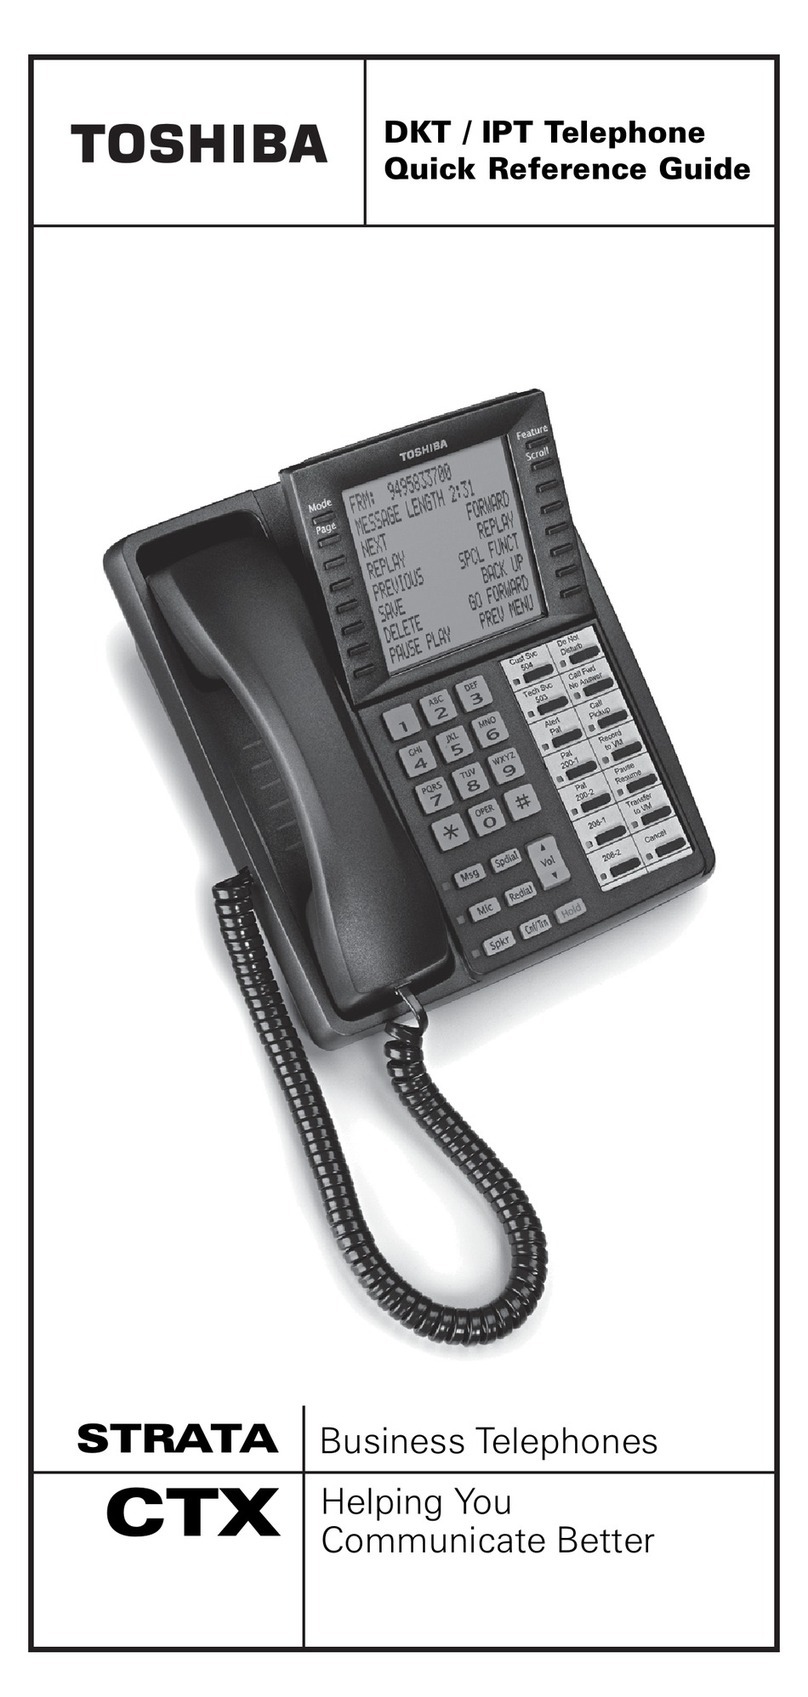
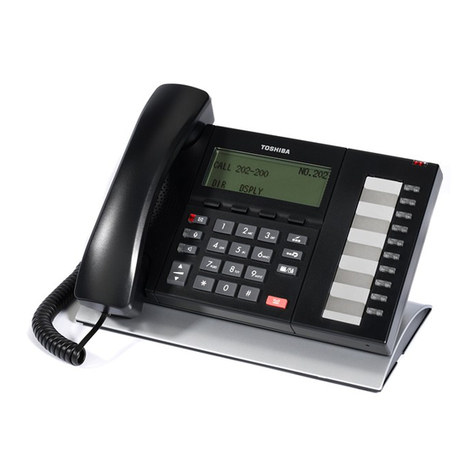
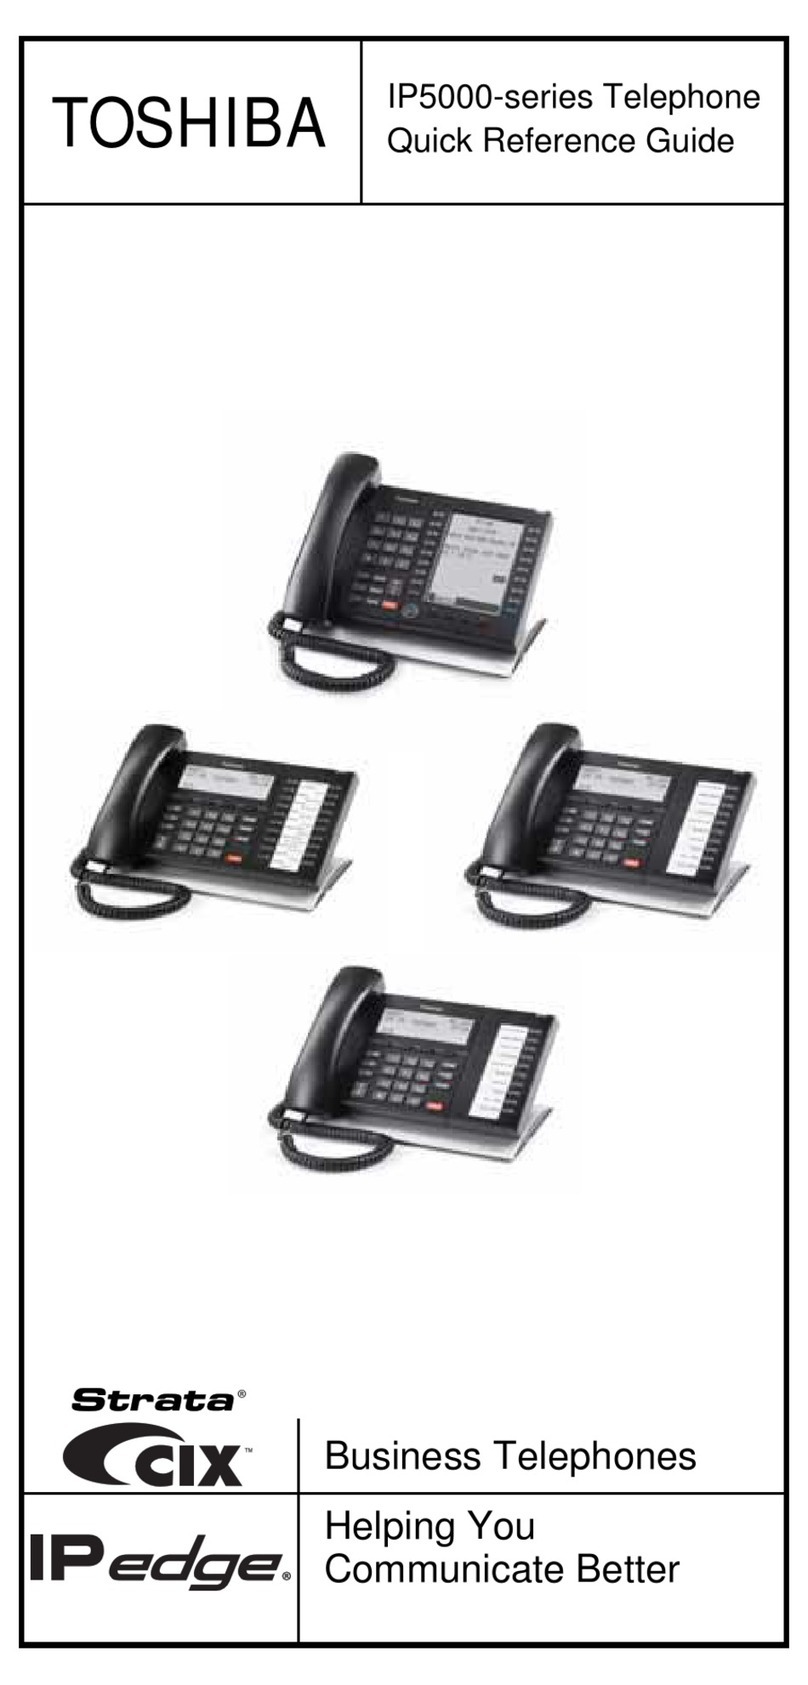
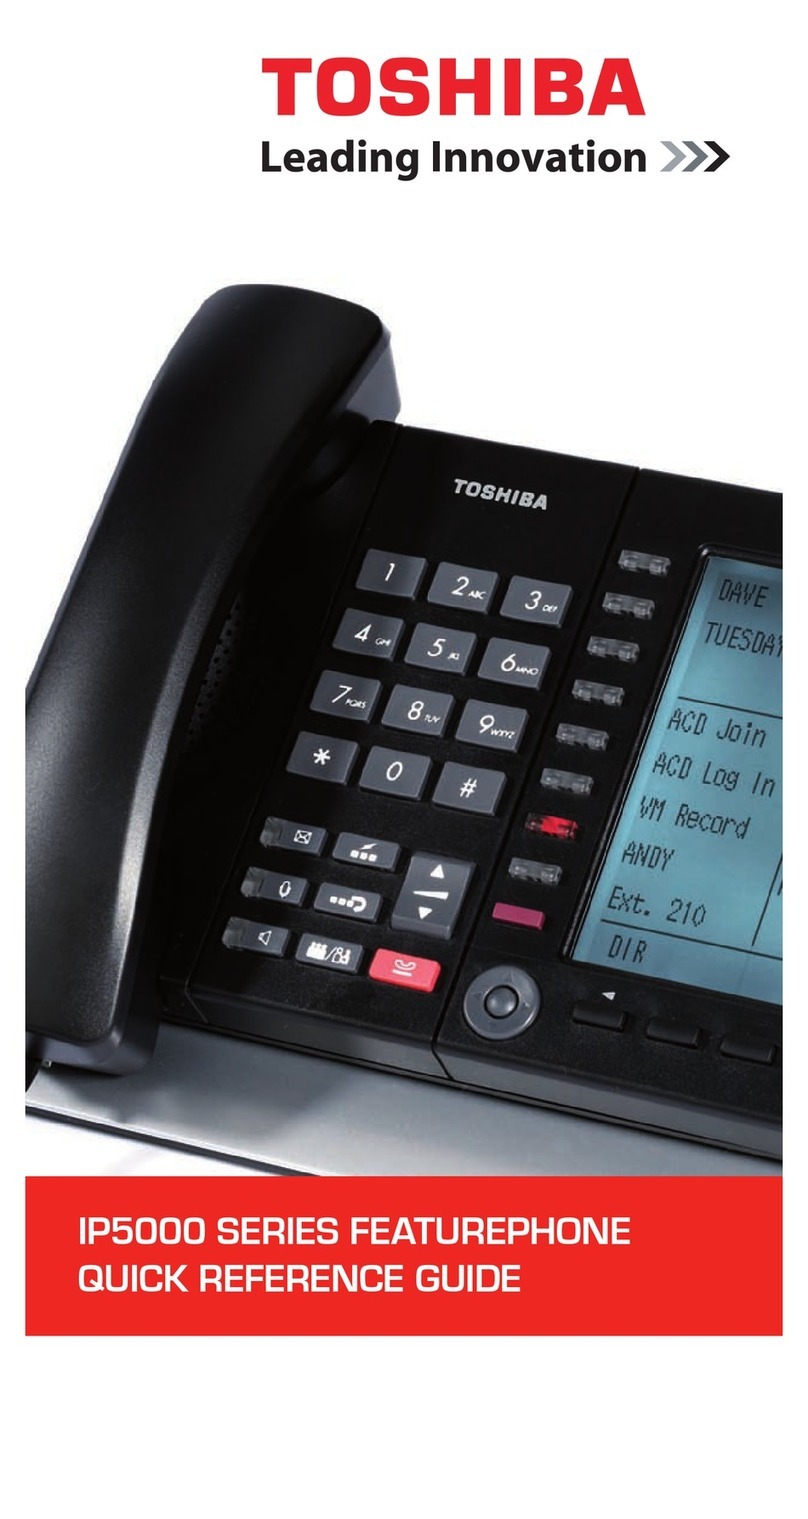
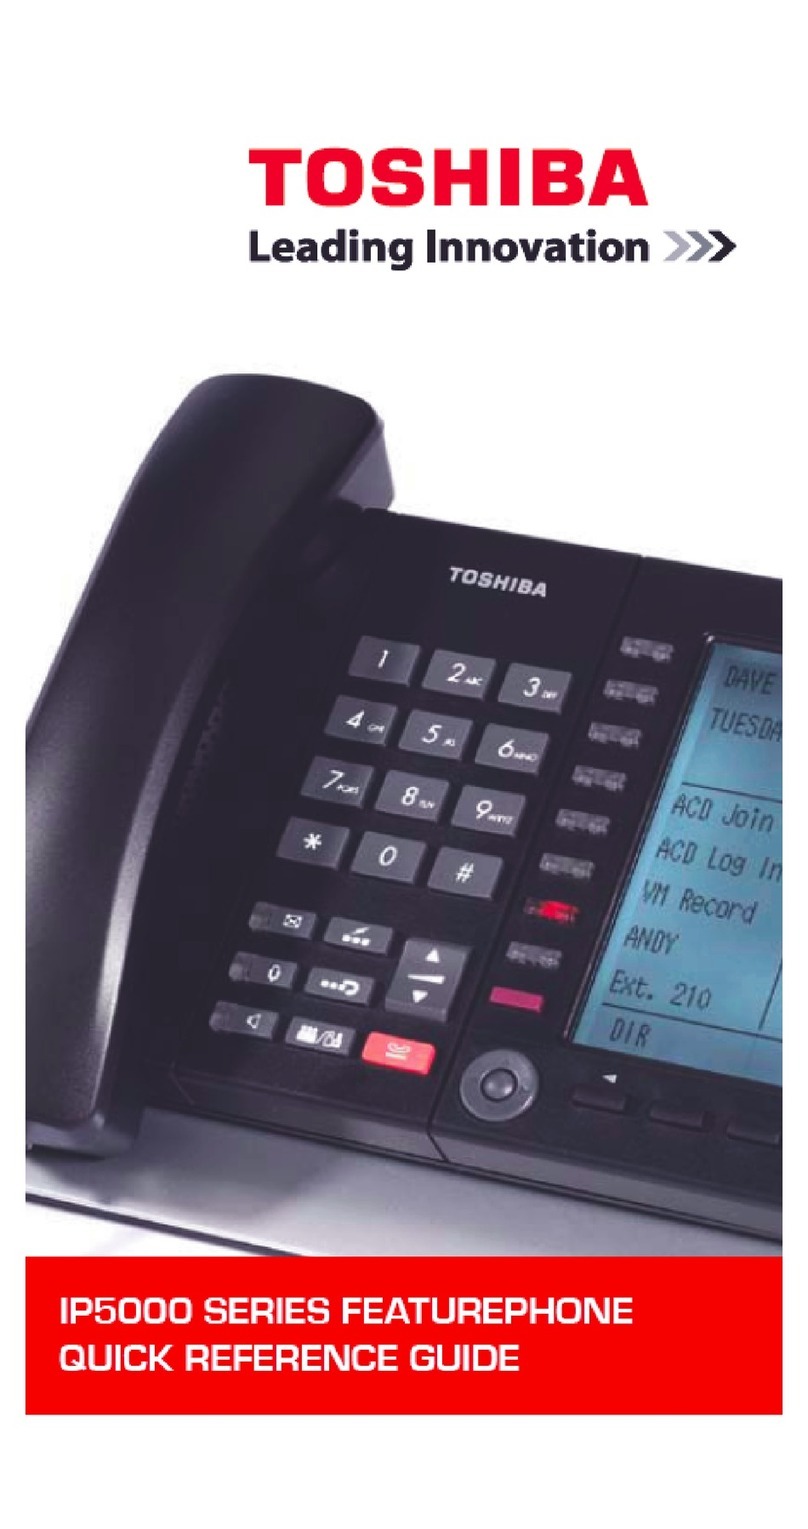
Toshiba DP5000 Series Featurephone
Quick Reference Guide
Important
DP5000-Series Telephones
Business Communications Division use this opportunity to inform
Customers/End-users that the new DP5000 terminals will only work with
the Netserver 4.3.46F and above as it is not compatible with the older
versions of Netservers.
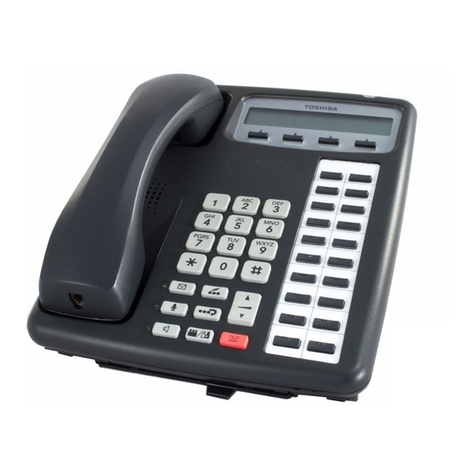
20 Programmable
Feature Buttons
9-Line LCD
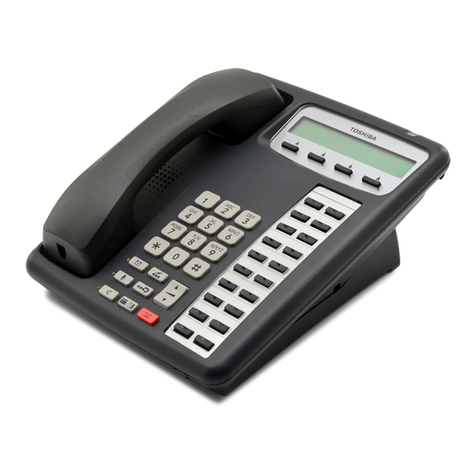
20 Programmable
Feature Buttons
4-Line LCD
Legend
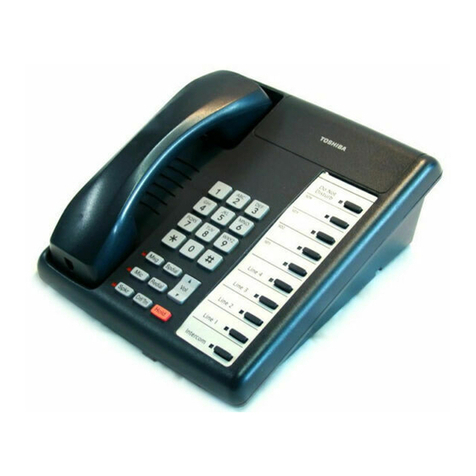
10 Programmable
Feature Buttons
4-Line LCD
Single Line
Telephone
1Programmable
Button
A. Status LED (message and
ringing)
B. LCD Display
C. Softkeys
D. Programmable Feature
Buttons
E. Message Waiting LED
Button
F. Microphone LED Button
G. Speaker LED Button
H. olume
I. Hold Button
J. Microphone
K. Tilt stand
L. Off-Hook Button (Single
Line Telephone)
M. History button – Provides
the Caller-ID history on a
Strata CIX extension
N. Shift Button – Toggle
between Programmable
Feature Buttons
1-10 and 11-20
2
To customise your telephone, you can adjust the ollowing settings.
To adjust handset volume
 During a all, press down or . When you hang up,
volume returns to default.
To adjust the speaker volume or internal/external calls and
background musi
 Press and use or to adjust volume level.
Press to exit.
To adjust Ring Tone, Hands ree Answerback and Speaker O -hook
Call Announce
With an idle phone and handset on-hook, press or .
Available on ba klit telephones and ba klit add-on module.
To adjust the LCD contrast on the backlit telephones
1. Press and hold down the button.
2. Press and release or repeatedly.
Note: Holding down the Vol key does not ontinue to hange the
setting. The key must be pressed for ea h step of ontrast hange.
To adjust the LCD contrast on the Add-on Module
1. Press +3+6+9 (simultaneously).
2. Press Contrast + or Contrast - softkey/button to in rease or
de rease ontrast.
3. Lift the handset off-hook / on-hook to save settings.
Available on ba klit telephones and ba klit add-on module.
To change the LCD back light brightness or the
4-line LCD telephones:
1. Press +3+6+9 (simultaneously).
2. To in rease or de rease brightness, press Bright or Dim softkey
on the telephone and press Bright or Dim softkey on the add-on
module.
3. Lift the handset off-hook / on-hook to save the settings.
Available on ba klit telephones and ba klit add-on module.
To change Backlight Settings
1. Press +3+6+9 (simultaneously).
2. Press the button.
3. Use table below to hoose preferred settings.
4. Press to save settings.
ALWAYS ON SYNCHRONISED ALWAYS OFF
Shaded = Red LED On
Notes
• Use the four programmable feature buttons on the bottom of the row. If
you have two rows of buttons, use the ones on the left hand side.
• Syn hronised setting turns the ba klight on when there is any a tivity
on the telephone, and then keeps the ba klight on for 30 se onds.
(This is the default setting). Refer to DP-5000 series Telephone User
Guide for additional settings.
0
0
Personal Pre erences
Volume Control
LCD Contrast
Brightness Control
Backlight On / O
3
Below i a li t of feature to help you with ba ic telephone
functionality.
Hand et
1. To make a call, li t the handset, then dial the number.
2. When connected, you can continue to use the handset or switch to
speakerphone by pressing and replacing the handset.
Spkr Button
1. To make a call, press .
2. Dial the number.
3. When connected, you can continue to use the speakerphone or li t
the handset and continue the conversation.
Dial Directory
1. Press DIR so t key to access the Select Directory menu.
2. Choose the directory you wish to access and use the dial pad to enter
the name.
The so t keys on the Select Directory are:
My = Personal Speed Dial Names
EXTR= System Speed Dial Names
INTR = Directory Number Names
Dial = Cancel directory, get dial tone.
• Press FIND to start the directory search.
• Press NEXT to move orward.
• Press BACK to move backwards.
• Press CALL to connect to the directory entry selected.
• Press CNCL to quit the directory search.
Note
• I a directory is not selected and a name is entered, all directories will
be searched.
• To enter names rom the dial pad, press the dial pad button associated
with the letter to be entered. Press the button once or the irst letter,
twice or the second letter, etc. Le t and Right So t Keys are available to
move the cursor.
Incoming calls will ring on your telephone and be accompanied by a
green lashing PDN button (your extension button). The status light on
the top o your phone will also lash:
RED or incoming external call
GREEN or incoming internal call.
Li t the handset or press .
Note I you don’t have Ringing Line Pre erence: press the lashing line or
extension button and li t the handset.
To croll through a li t of number that called your telephone
The ollowing steps require your telephone to have a programmed
eature button or Caller ID.
1. Press the Caller ID button.
2. Use and or NEXT and PREV so tkeys to scroll
through the numbers.
3. Press CALL to dial the number.
Quick Reference Feature
Making a Call
An wering a Call
Caller ID Button
4
Ente the button sequence below
All Calls: Press Ext. + #6011 + Destination Num er
Busy: Press Ext. + #6021 + Destination Num er
No Answer: Press Ext. + #6031 + Destination Num er + Timer
(seconds, 2-digits) + #
Busy No Answer: Press Ext. + #6041 + Destination Num er +
Timer (seconds, 2-digits) + #
Cancel: Press Ext. + #6051
To pa k a call
1. While on a call, press Call Park.
2. Specify the Park Or it using one of the following:
• Press *and the system automatically selects a General Park Or it
etween 7000~7019. The chosen or it appears on the LCD.
• Enter a valid extension.
• Press #and the system automatically selects your extension as
the or it.
3. Hang up. If the parked call is not retrieved, the call rings ack to
your phone.
To et ieve a pa ked call
1. Press Call Park.
2. Enter the Or it Num er where the call is parked.
Simple T ansfe
1. While on a call, press TRNS soft key.
2. Dial the extension num er and the call is transferred.
If you telephone doesn’t have a display, o if you would like to
announce the call
1. While on a call, press .
2. Dial the extension num er. (Optional: Stay on the line to announce
the call).
3. Hang Up.
Note During call transfer you can reconnect to the original
caller y pressing your flashing extension utton.
1. While on a call, press .
2. Call another station or outside line.
3. When the called party answers, press . All parties are
conferenced.
Note If you receive a usy tone or if the station does not answer,
press the flashing line utton to return to the original call.
4. Repeat Steps 1~3 to add more lines. You can conference up to
eight parties.
To t ansfe confe ence cont ol
Note When the person who initiates the conference (master) hangs
up, control transfers to the first internal station added to the
conference. If no internal stations are in the conference, the call
disconnects.
1. Perform Steps 1 and 2 a ove to add the line to which you wish to
transfer conference control.
2. Announce the call and hang up to transfer the call. This station is
now the conference “master” with the a ility to add or delete
parties.
Call Fo wa d - Any Calls (Inte nal & Exte nal)
Call Pa k O bits
Call T ansfe
Confe ence Calls
5
To hold a conference call
If you are the “master” conference controller,
press once (or twice for Executive Hol ) to place the
conference call on hol .
The conference continues an you can join at any time without
giving up “master” abilities. Music-on-hol is suppresse in this
mo e.
To conference two o tside Lines
1. While talking on an outsi e call, press .
2. Access an outsi e line.
3. After the party answers, press twice an hang up.
Note If you receive a busy tone or if the station oes not answer,
press the flashing line button to return to the original call.
1. To place a call on Hol , press the button.
2. To return to the hel call, press the hel line’s button.
If you o not return to the hel call, it rings back to your phone. If
you are busy on another call, you hear two tone bursts. If the hel
party hangs up, the call is release .
To place a call on Excl sive Hold
While on a call, press twice. This places the call on Exclusive
Hol ; no one else will be able to access that line.
To place a call on A tomatic Hold
While on a call, press another extension button to receive/
originate a new call. You can switch between calls without having to
press .
Make sure this feature is programme on your system; if not,
existing calls will rop.
Mute on the IP5000-series telephones mutes not only the microphone
but also the han set microphone as well. The MIC button on the
telephones toggles between Mic an Mute. When Mic button is lit,
han sfree communication is supporte , when is presse an light
is off, Mute is enable .
During a han sfree conversation, press the Mic key, the re
in icator will turn off; the microphone an han set are mute .
Press the Mic key again to resume han s free communication, the
re in icator will turn on.
To store a n mber on the One To ch b tton
1. Dial #9876.
2. Press a One Touch button.
3. Enter the number to be store .
4. Press the One Touch button again.
Note One Touch buttons must be programme on a Programmable
Feature Button.
To make an All Call Page
1. With the han set off-hook, press All Call Page. This pages all
phones in the All Call Page Group, an may page external speakers
( epen s on programming).
2. Make your announcement, then hang up.
0
Conference Calls contin ed
Hold
Mic/M te B tton
0
One To ch
Paging
6
To store a Station Speed Dial Number
1. Dial #9876.
2. Press .
3. Enter a Speed Dial Code (100~199).
4. Enter the number to be stored (32 digits max.).
5. Press button to store the entry.
6. Repeat steps 2~5 to add more speed dial numbers.
7. To end programming session, lift and replace the handset.
To clear a number from a Station Speed Dial code
Repeat the previous procedure skipping Step 4.
To make a call using Speed Dial
1. Lift the handset. Press , then dial the Speed Dial Number.
2. Access an outside line (if necessary).
Note ou may need to lift the handset and access an outside line
before pressing (depending on your telephone setup).
Note This feature is only available on a 9-Line display telephone.
If the LCD screen is set to view buttons 11-20 and a call comes in on
button 1, the phone will ring and the caller ID information will display on
top of the screen. Press the “shift” key to view buttons 1-10 and answer
the call.
Incoming calls to your extension with Caller ID can be recorded into a
rolling list that is saved on your telephone. The call information is placed
in the list along with the number, name (if provided), time and date of
the call, and status of the call (answered, abandoned, or redirected). ou
can access this list from an LCD telephone with a flexible Caller ID or
button.
To vie saved Caller ID information
1. When your station is idle, press the Caller ID or (Insert History
label) button. The Caller ID LED lights green and the latest record
displays.
2. Use the soft keys (Next, Prev, Call or Exit) to view and place calls.
Note Caller ID is displayed when a call is first answered
and will be displayed for the first 15 seconds of the telephone call.
Speed Dial
Shift Key
History Key
Voicemail
First time user
1. Dial the Voicemail Number 333_
2. Dial the default password 1234#
3. ou are then given a list of options:
or you will hear a tutorial which will talk you through setting up
your mailbox
Press 1to Play messages
Press 2to Send a new message to a specific Mailbox
Press 3to Manage your Mailbox
Press 0to Exit user mode
7
Manage Yo r Mailbox (Opt 3)
Accessing Messages whilst o t of the Office
Press 1to record your greeting (Mess ge c llers he r when re ching
your m ilbox) nd follow prompts
Press 2to user options (Do not disturb, c ll screening, security code,
busy greetings etc)
Press 3to m n ge your lists
Press 9to return to the previous menu
Note You c n record up to 7 greetings, the greeting th t you select is
the greeting th t c llers will he r on re ching your m ilbox.
1. Di l the m in comp ny number
2. Hit the *key
3. Enter M ilbox (extension number) followed by #
4. Then enter 1234# (or your own person l p ssword
followed by #)
1. Di l the voicem il number 333_or press mess ge key (if mess ge
w iting - red light fl shing)
2. Di l the p ssword xxxx #
3. You re then given list of options:
Press 1to listen to mess ge
Press 2 to s ve
Press 3to Delete
Press 5to forw rd to nother subscriber
Press 6 to reply
Press 7speci l functions
Press *1 repl y current mess ge
Press *2 pl y Previous mess ge
Press 9 to return to the menu
1. Enter User ID (extension number) record mess ge nd press # #
to send or select from the following:- nd follow promts
00 Directory plus n me
01 Person l List (1~7)
02 System List (1~7)
Message Play Back
Play Messages (Opt 1)
Send Messages (Opt 2)
telecom solutions
Pinn cle Telecom (W les) Ltd, F irw y House,
Links Business P rk, St Mellons, C rdiff, CF3 0LT.
Tel: 029 2036 5200 F x: 029 2036 5201
Em il: telecoms@pinn cle-group.co.uk
Web: www.pinn cle-group.co.uk
Other manuals for Strata CIX DP-5000 series

10

Other Toshiba Telephone manuals

Toshiba Strata CIX DP-5000 series User manual

Toshiba

Toshiba Strata CIX DP-5000 series User manual

Toshiba Strata DK14 Owner's manual

Toshiba

Toshiba Strata DK14 Owner's manual

Toshiba Strata DK8 User manual

Toshiba

Toshiba Strata DK8 User manual

Toshiba Strata CTX100 Service manual

Toshiba

Toshiba Strata CTX100 Service manual

Toshiba Strata CT Instruction Manual

Toshiba

Toshiba Strata CT Instruction Manual

Toshiba Strata CTX DKT3000 Series User manual

Toshiba

Toshiba Strata CTX DKT3000 Series User manual

Toshiba PC-DKT User manual

Toshiba

Toshiba PC-DKT User manual

Toshiba Strata CIX Series User manual

Toshiba

Toshiba Strata CIX Series User manual

Toshiba DKT3220-SD - Digital Phone - Charcoal User manual

Toshiba

Toshiba DKT3220-SD - Digital Phone - Charcoal User manual

Toshiba Strata IPT User manual

Toshiba

Toshiba Strata IPT User manual

Toshiba Strata CIX DP-5000 series User manual

Toshiba

Toshiba Strata CIX DP-5000 series User manual

Toshiba Strata DK Backup User manual

Toshiba

Toshiba Strata DK Backup User manual

Toshiba Strata CIX DP-5000 series User manual

Toshiba

Toshiba Strata CIX DP-5000 series User manual

Toshiba CIX User manual

Toshiba

Toshiba CIX User manual

Toshiba STRATA CTX DKT3010-SD User manual

Toshiba

Toshiba STRATA CTX DKT3010-SD User manual

Toshiba Strata VI User manual

Toshiba

Toshiba Strata VI User manual

Toshiba STRATA CIX User manual

Toshiba

Toshiba STRATA CIX User manual

Toshiba Strata DK Backup User manual

Toshiba

Toshiba Strata DK Backup User manual

Toshiba Strata CTX28 Owner's manual

Toshiba

Toshiba Strata CTX28 Owner's manual

Toshiba Strata CTX DKT3000 Series Setup guide

Toshiba

Toshiba Strata CTX DKT3000 Series Setup guide

Toshiba 2000 User manual

Toshiba

Toshiba 2000 User manual

Toshiba Strata CIX IPT Service manual

Toshiba

Toshiba Strata CIX IPT Service manual

Toshiba Strata IP5000 series User manual

Toshiba

Toshiba Strata IP5000 series User manual

Toshiba Strata DK Backup Installation and operation manual

Toshiba

Toshiba Strata DK Backup Installation and operation manual

Popular Telephone manuals by other brands

LG G3 Stylus Dual LG-D690 Service manual

LG

LG G3 Stylus Dual LG-D690 Service manual

Unify OpenScape IP 35G HFA Installation and quick reference guide

Unify

Unify OpenScape IP 35G HFA Installation and quick reference guide

Samsung GT-E1175T Service manual

Samsung

Samsung GT-E1175T Service manual

Bogen Nyquist NQ-S1810CT-G2 Configuration guide

Bogen

Bogen Nyquist NQ-S1810CT-G2 Configuration guide

Vodavi Starplus Digital Systems Installation and maintenance manual

Vodavi

Vodavi Starplus Digital Systems Installation and maintenance manual

ClearSounds Talk500-ER Quick setup guide

ClearSounds

ClearSounds Talk500-ER Quick setup guide

Alcatel Temporis 150 user guide

Alcatel

Alcatel Temporis 150 user guide

Commax DPV-4AE user manual

Commax

Commax DPV-4AE user manual

Cisco Small Business Pro SPA 504G owner's guide

Cisco

Cisco Small Business Pro SPA 504G owner's guide

Videx 3000 Series quick guide

Videx

Videx 3000 Series quick guide

Gigaset A390 instruction manual

Gigaset

Gigaset A390 instruction manual

SpectraLink NetLink i640 Configuration and administration guide

SpectraLink

SpectraLink NetLink i640 Configuration and administration guide

Iwatsu Omega ZT-D product manual

Iwatsu

Iwatsu Omega ZT-D product manual

NEC DS1000 Quick setup guide

NEC

NEC DS1000 Quick setup guide

Nippon Skyou instruction manual

Nippon

Nippon Skyou instruction manual

NEC Aspila Topaz Quick reference guide

NEC

NEC Aspila Topaz Quick reference guide

Ericsson Dialog 4186 High user guide

Ericsson

Ericsson Dialog 4186 High user guide

Nokia NSC-1 SERIES Service manual

Nokia

Nokia NSC-1 SERIES Service manual

manuals.online logo
manuals.online logoBrands
  • About & Mission
  • Contact us
  • Privacy Policy
  • Terms and Conditions

Copyright 2025 Manuals.Online. All Rights Reserved.