manuals.online logo
Brands
  1. Home
  2. •
  3. Brands
  4. •
  5. TOTALINE
  6. •
  7. Thermostat
  8. •
  9. TOTALINE TOTALINE Gold P274-0100-C User manual

TOTALINE TOTALINE Gold P274-0100-C User manual

OWNER'S
MANUAL Residential
Non-Programmable
Thermostat
Part Numbers P274-0100-C, P274-0200-C, P274-0300-C
JIMPORTANT: Read entire instructions before program-ming the thermostat.
GENERAL
Tot_dine® thermostats are wall-mounted, low-voltage ther-
mostats which maintain room temperature by controlling the
operation of an HVAC (heating, ventilation trod air condition-
ing) system. Sepm'ate heating and cooling set points and
auto-changeover capability allow occupied and unoccupied
programming for energy savings.
During power interruption the internal memory stores tem-
perature and mode settings for an unlimited time. Batteries are
not required.
OPERATION
Thermostat Display -- The thermostat display is locat-
ed in the top center of the thermostat. See Fig. 1. The following
information can be displayed on the screen:
• mode (OFF. HEAT. COOL, EHEAT, or AUTO)
• fan setting (ON or AUTO)
• auxiliary heat status (P274-0200-C, -0300-C only)
• room temperature
• desired temperature
•reset tilter
• outdoor temperature (P274-0200-C, -0300-C only)
Thermostat Buttons --The thermostat has buttons
which are used to change the set points of the thermostat and
set the thermostat modes. The buttons are accessible from
behind the thermostat covel: To access the buttons, pull on the
hinged thermostat covel: The buttons ;ue: MODE, FAN, and
RESET FILTER. See Fig. 1.
The UP and DOWN buttons are used to change the cunent,
desired temperature set point and to scroll through program-
ming set points. The UP and DOWN buttons am located on the
fi'ont of the thermostat.
Setting Indoor Temperature Set Points
1. Press the UP or DOWN button one time. The LCD
(liquid crystal display) will illuminate and the current
temperature set point will be displayed. Next to the
temperature display, HEAT or COOL will be dis-
played. SET TEMP will appear above the temperature
display.
2. To change the temperature set point, continue to press
the UP or DOWN buttons until desired temperature is
reached. Press the MODE button to set temperature for
another setting (Heat or Cool).
3. The thermostat will automatically return to regular
operation within 5 seconds.
NOTE: The cool setting must be at least 2 degrees higher than
the heat setting for proper operation.
Fan Operation -- 33_e FAN button selects fan operation.
The fan can operate in either Fan ON or AUTO mode.
Press the FAN button to switch between fan ON or AUTO
mode. When the fan is set to ON, "FAN" is displayed in the
LCD on the thermostat. The fan will mn continuously for im-
proved air circulation while in the ON position.
When the fan is set to AUTO mode, the fan runs only as
needed to maintain indoor air temperature.
NOTE: The "FAN" indicator will not be displayed in the LCD
when thermostat is operating in AUTO mode.
Mode Operation -- The Mode button selects the operat-
ing mode of the thermostat. Pressing the MODE button will
rotate the following options on the LCD: OFF. HEAT. COOL,
AUTO, and EHEAT (heat pump models only). The mode
for each selection will be displayed on the thermostat when
selected.
NOTE: If AUTO is selected, the thermostat will enter Heating
or Cooling mode based on the room temperature and the heat-
ing and cooling set points.
Display Outdoor Temperature -- To displaythe
outdoor-air temperature on thermostats offering this feature,
simultaneously press the UP and DOWN buttons for twenty
seconds. The outdoor temperature will then be displayed on the
LCD.
NOTE: Two dashes "--" appearing on the LCD indicates that
the thermostat either does not have this feature installed or the
temperature sensor is not properly connected.
Reset Filter Display -- The thermostat will display
"FILTER" on the LCD when it is time to change or clean the
filtel:
After cleaning or changing the filter, press the RESET
FILTER button to restart the timer and turn off the indicator
Auto Changeover Operation -- The thermostat will
provide automatic changeover from Heating to Cooling mode
and Cooling to Heating mode when required. The thermostat
will automatically switch to maintain the desired temperature
setting. The thermostat does not need to be manually changed
fi_)m heating to cooling or cooling to heating operation.
Manufacturer reserves the right to
discontinue, or change at any time,
specifications or designs without notice
and without Incurring obllgaUons.
REPLACEMENT COMPONENTS DIVISION
©CARRIER CORPORATION 2004 9-04
PRINTED IN U.S.A.
LITERATURE NUMBER P274-7SO
REPLACES: 997-510011-19
CATALOG NO. 570-352
Battery Changeout- If the installation requires tile
usage of batteries, the batteries will require replacement every
12 months.
Open thermostat door and slide the battery compartment
door to the fight. Remove two AA alkaline batteries. Install
two new AA alkaline batteries following the polarity markings
(+ /-) on the thermostat.
NOTE: If installation is hard-wired, batteries are not
required and will not need to be replaced.
Error Codes --If the thermostat displays "--", "E2",
"E3", or "E4" in the LCD, an error is present. See Table 1 for
enor codes and descriptions.
Table 1 -- Error Codes
SYMPTOM WHAT TO CHECK
Blank LCD Check for 24 vac between R and C at terminal connections or battery.
"--" (2 dashes) on temperature display Temperature sensor reading out of range. Check sensor for damage. If recycling power
does not clear display, thermostat should be replaced.
"E2" on temperature display Brownout condition or too low of voltage to thermostat. Double check wiring and check for
24 vac between R and C. E2 will clear 15 sec after proper voltage is restored.
"E3" on temperature display The outdoor temperature sensor is open, not connected, or shorted.
"SERVICE FILTER" on temperature display After the selected number of hour of blower operation "FILTER" will display on LCD. This is
to remind the home owner to "check" the filter. Press RESET FILTER button to clear display
and reset timer to 0.
Cooling will not come on Select COOL mode. Set desired temperature to 10° F below room temperature. Simulta-
neously press FAN and INCREASE TEMPERATURE buttons to defeat timers. Check for
COOL ON icon and 24 vac at Y (first-stage) terminal. If present, thermostat is okay and
3roblem is with equipment or wiring. If not present, replace thermostat.
Heating will not come on Select HEAT mode. Set desired temperature to 10° F above room temperature. Simulta-
neously press FAN and INCREASE TEMPERATURE buttons to defeat timers. Check for
HEAT ON and 24 vac at Y (first-stage) terminal (with heat pump) or W/W1 (with air condi-
tioner) terminal. If present, thermostat is okay and problem is with equipment or wiring. If
not present, replace thermostat.
Mode Button
selectsbetween HEAT,
COOL, AUTO, and OFF operation.
HeM pump thermostat models also
includean EMERGENCY HEAT mode.
Up
Increase or decrease the
desired temperature setting.
LOW BATTERY Indicator_
will light when batteries
(if installed) need to be replaced.
Outdoor Temperature Display
is an optional feature that shows the
outdoor temperature on the LCD readout.
SERVICE FILTER Indicator _
lets you know it is time to clean
or replace your system's air Mter.
/
Room Temperature Display --/
shows current room temperature.
COOL ON Indicat° e---- _ /
is displayed when th
coolingequipment is /"
operating. _/
HEAT ON Indicator
is displayed when the
heating equipment is
operating.
i
AUXILIARY HEAT Indicator
is displayed when a heat pump
system is operating with auxiliary
heat air Mter.
-- Fan Button
chooses between CONTINUOUS FAN
and AUTO FAN operalion.
-- RESET FILTER Button
restarts the timer that calculates
the next air filter change or cleaning.
Fig. 1 -- Thermostat Display and Buttons
Replacement Components Division
Carrier Corporation
RESIDENTIAL THERMOSTAT
LIMITED ONE-YEAR WARRANTY
ONE-YEAR WARRANTY -- This CARRIER CORPORATION product is warranted to be free from defects in
material and workmanship under normal use and maintenance for a period of one year from the date of original
installation. A new or remanufactured part to replace the defective part will be provided without charge for the
part itself, through a qualified servicing CARRIER CORPORATION dealer or service, PROVIDED the defective
part is returned to our distributor. The replacement part assumes the unused portion of the warranty.
THIS WARRANTY DOES NOT INCLUDE ANY ADDITIONAL LABOR ALLOWANCE OR OTHER COSTS
incurred for diagnosis, repairing, removing, installing, shipping, servicing, or handling of either defective parts or
replacement parts. SUCH COSTS MAY BE COVERED BY a separate warranty provided by the installer.
LIMITATIONS OF WARRANTIES -- ALL IMPLIED WARRANTIES (INCLUDING IMPLIED WARRANTIES OF
MERCHANTABILITY) ARE HEREBY LIMITED IN DURATION TO THE PERIOD FOR WHICH THE LIMITED
WARRANTY IS GIVEN. THE EXPRESSED WARRANTIES MADE IN THIS WARRANTY ARE EXCLUSIVE
AND MAY NOT BE ALTERED, ENLARGED, OR CHANGED BY ANY DISTRIBUTOR, DEALER, OR OTHER
PERSON WHATSOEVER.
CARRIER WILL NOT BE RESPONSIBLE FOR:
1. Normal maintenance as outlined in the installation and servicing instructions or owner's manual.
2. Damage or repairs required as a consequence of faulty installation or application by others.
3. Failure to start due to voltage conditions, blown fuses, open circuit breakers or other damages due to the
inadequacy or interruption of electrical service.
4. Damage or repairs needed as a consequence of any misapplication, abuse, improper servicing, unautho-
rized alteration, or improper operations.
5. Damage as a result of floods, winds, fires, lightning, accidents, corrosive atmosphere, or other conditions
beyond the control of CARRIER CORPORATION.
6. Parts not supplied or designated by CARRIER CORPORATION.
7. CARRIER CORPORATION products installed outside the continental U.S.A., Alaska, Hawaii, and Canada.
8. Electricity or fuel costs or increases in electricity or fuel costs from any reason whatsoever including additional
or unusual use of supplemental heat.
9. ANY SPECIAL INDIRECT OR CONSEQUENTIAL PROPERTY OR COMMERCIAL DAMAGE OF ANY
NATURE WHATSOEVER. Some states do not allow the exclusion of incidental or consequential damages,
so the above limitation may not apply to you.
Model No. Unit Serial No.
Date of Installation Installed by
Name of Owner Address of Installation
Your Assurance of Quality
ALL Totaline_) products are backed with a one-year
warranty by Carrier Corporation, the world's largest
manufacturer of air conditioning, heating, and
refrigeration products.
Manufacturer reserves the right to
dlsconUnue, or change at any time,
specifications or designs without notice
and without Incurring obligations.
REPLACEMENT COMPONENTS DIVISION
©CARRIER CORPORATION 2004 9-04
PRINTED IN U.S.A.
LITERATURE NUMBER P274-7SO
REPLACES: 997-510011-19
CATALOG NO. 570-352

Other manuals for TOTALINE Gold P274-0100-C

1

This manual suits for next models

2

Other TOTALINE Thermostat manuals

TOTALINE BASIC 1H User manual

TOTALINE

TOTALINE BASIC 1H User manual

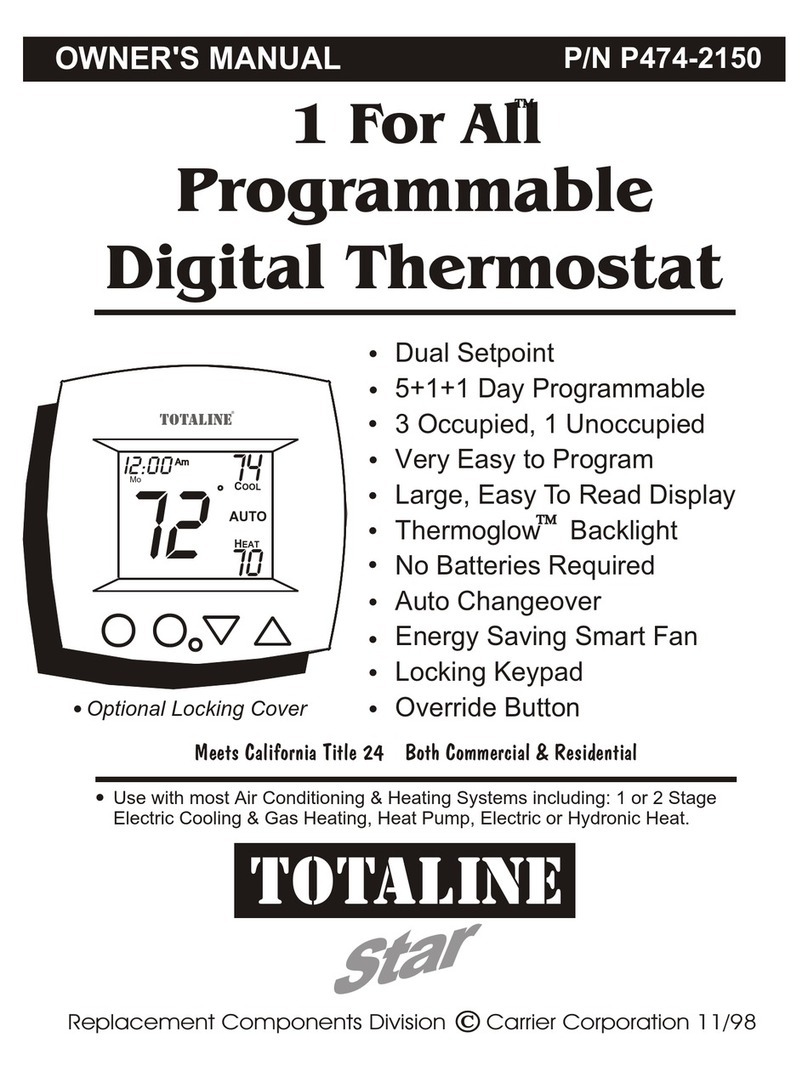
TOTALINE 1 For All User manual

TOTALINE

TOTALINE 1 For All User manual

TOTALINE TST-EGND06413SCS00 User manual

TOTALINE

TOTALINE TST-EGND06413SCS00 User manual

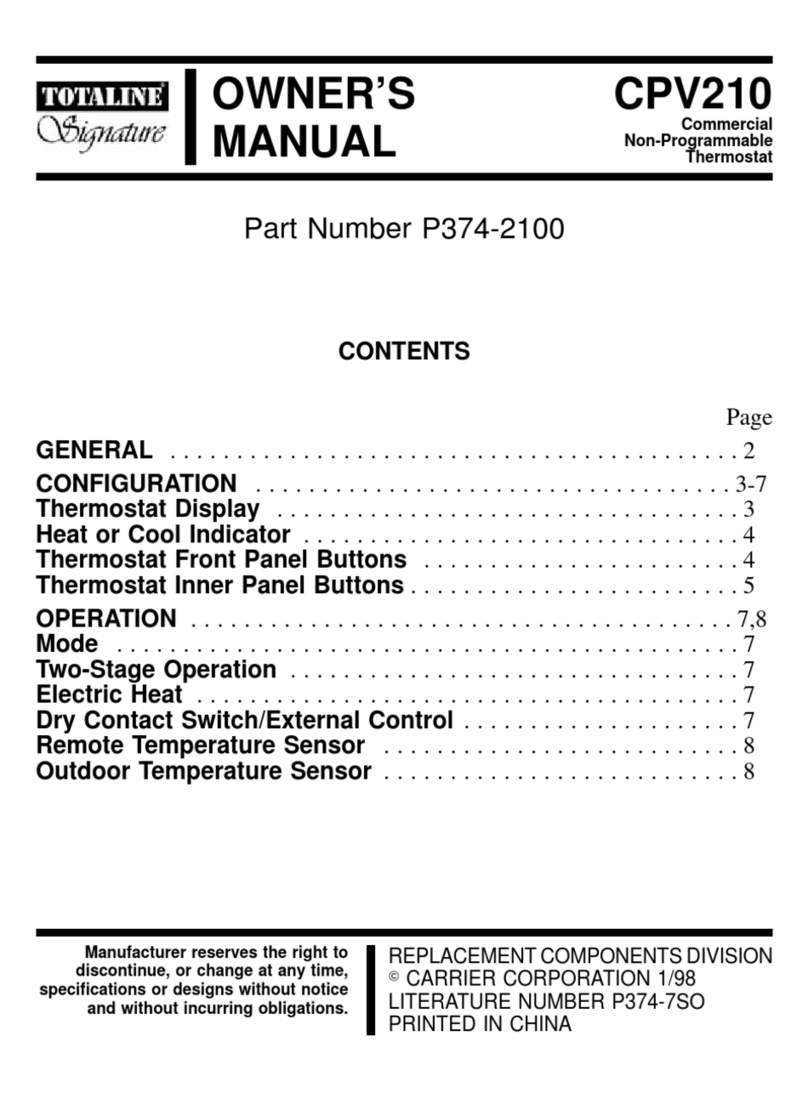
TOTALINE Signature CPV210 User manual

TOTALINE

TOTALINE Signature CPV210 User manual

TOTALINE Programmable Thermostat Assembly instructions

TOTALINE

TOTALINE Programmable Thermostat Assembly instructions

TOTALINE 1 For All P374-1000FM User manual

TOTALINE

TOTALINE 1 For All P374-1000FM User manual

TOTALINE Signature CPV230LA User manual

TOTALINE

TOTALINE Signature CPV230LA User manual

TOTALINE CPV220 User manual

TOTALINE

TOTALINE CPV220 User manual

TOTALINE Easy 1H/1C User manual

TOTALINE

TOTALINE Easy 1H/1C User manual

TOTALINE P374-1800 User manual

TOTALINE

TOTALINE P374-1800 User manual

TOTALINE P474-1100RF User manual

TOTALINE

TOTALINE P474-1100RF User manual

TOTALINE P474-1035 User manual

TOTALINE

TOTALINE P474-1035 User manual

TOTALINE Intellistat User manual

TOTALINE

TOTALINE Intellistat User manual

TOTALINE 21PHP Assembly instructions

TOTALINE

TOTALINE 21PHP Assembly instructions

TOTALINE P374-1 900 User manual

TOTALINE

TOTALINE P374-1 900 User manual

TOTALINE 1 For All User manual

TOTALINE

TOTALINE 1 For All User manual

TOTALINE P710U--21NHP User manual

TOTALINE

TOTALINE P710U--21NHP User manual

TOTALINE 1 For All User manual

TOTALINE

TOTALINE 1 For All User manual

TOTALINE P374-1100FM User manual

TOTALINE

TOTALINE P374-1100FM User manual

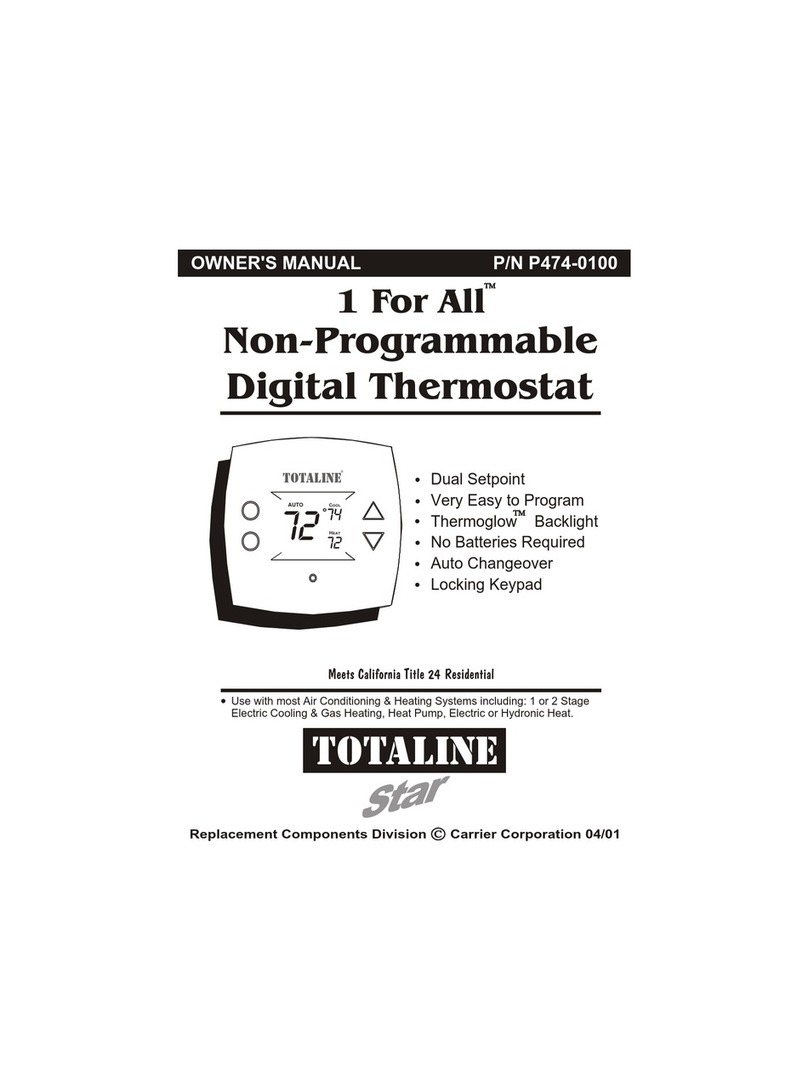
TOTALINE 1 For All P474-0100 User manual

TOTALINE

TOTALINE 1 For All P474-0100 User manual

TOTALINE Comfort Call P374-0433 User manual

TOTALINE

TOTALINE Comfort Call P374-0433 User manual

TOTALINE EZ3 User manual

TOTALINE

TOTALINE EZ3 User manual

TOTALINE P374-2200FM User manual

TOTALINE

TOTALINE P374-2200FM User manual

TOTALINE TST-EGND06413SCS09 User manual

TOTALINE

TOTALINE TST-EGND06413SCS09 User manual

Popular Thermostat manuals by other brands

Danfoss BasicPlus2 WT-DM user guide

Danfoss

Danfoss BasicPlus2 WT-DM user guide

Inspire NS1002-1CH installation guide

Inspire

Inspire NS1002-1CH installation guide

Riello CDI 15 quick start guide

Riello

Riello CDI 15 quick start guide

White Rodgers 1F95-391 Installation &  configuration guide

White Rodgers

White Rodgers 1F95-391 Installation & configuration guide

Honeywell FOCUSPRO TH6320R operating manual

Honeywell

Honeywell FOCUSPRO TH6320R operating manual

Siemens RDD100.1RFS manual

Siemens

Siemens RDD100.1RFS manual

RVP 6536A335 Series Quick reference guide

RVP

RVP 6536A335 Series Quick reference guide

Heimeier 2805-00.500 manual

Heimeier

Heimeier 2805-00.500 manual

Sygonix 2735095 operating instructions

Sygonix

Sygonix 2735095 operating instructions

BECA ENERGY CONTROLS BHT-1000 user guide

BECA ENERGY CONTROLS

BECA ENERGY CONTROLS BHT-1000 user guide

Travis Industries Wall Thermostat - Gas/Pellet user manual

Travis Industries

Travis Industries Wall Thermostat - Gas/Pellet user manual

Viconics VT7300F5500-2969 user manual

Viconics

Viconics VT7300F5500-2969 user manual

Beok Controls BOT Series quick start guide

Beok Controls

Beok Controls BOT Series quick start guide

Celect DRF4 instruction manual

Celect

Celect DRF4 instruction manual

Salus RT100 instruction manual

Salus

Salus RT100 instruction manual

Salus ERT30 instruction manual

Salus

Salus ERT30 instruction manual

Lorenzoni Lor-therm 105 instruction manual

Lorenzoni

Lorenzoni Lor-therm 105 instruction manual

Honeywell T7100D Product data

Honeywell

Honeywell T7100D Product data

manuals.online logo
manuals.online logoBrands
  • About & Mission
  • Contact us
  • Privacy Policy
  • Terms and Conditions

Copyright 2025 Manuals.Online. All Rights Reserved.