manuals.online logo
Brands
  1. Home
  2. •
  3. Brands
  4. •
  5. TOTALINE
  6. •
  7. Thermostat
  8. •
  9. TOTALINE P274-21 00 User manual

TOTALINE P274-21 00 User manual

OWNER'S
MANUAL Commercial
Thermostat
Part Number P274-21 00
GENERAL
The Totaline@7-day, commercial, programmablethenno-
statsarewall-mounted, low-voltage thennostatswhich main-
tain room temperature by controlling the operation of an
HVAC (heating,ventilation andair conditioning) system.Sep-
arateheatingandcooling setpoints andauto-changeovercapa-
bility allow occupiedandunoccupiedprogramming schedules
for energysavings.
All thennostatsallow up to 4 timeltemperaturesettingsto
be programmedper 24-hr period. Each thennostatstorespro-
gramsfor 7 independentdays.Batteriesarenot required.Dur-
ing powerintemlption theinternal memory storesprogramsfor
anunlimited time.
lockout code has been entered, the keypad will remain
unlockeduntil theuserhasstoppedpressingbuttonsfor 2min-
utes.Thelockout featureis configuredby theinstaller.
NOTE: The lockout code sequenceis Mode, Copy Previous
Day,SetTIlDe!Temp,andHold
NOTE: During lockout, the Occupied button will not be
disabled
HOLD BUTTON oPERAnoN -Pressing theHold button
disablesthe time andtemperarurescheduleandholdsthe cur-
rent desiredtemperaturesetpoint. When a Hold is active,the
HOLD annunciatoris displayed on the thermostatscreen.To
releasethe Hold, pressthe Hold button a secondtime. The
Hold will remainactiveindefinitely.
FAN BUTTON oPERAnoN -The Fan button selectsfan
operation.When thefan is setto ON, the fan will ron continu-
ously for improved air circulation. When the fan is set to
AUTO, the fan will run during heating andcooling operation
only. During setbackmode (UNl, UN2), the fan will always
bein AUTO mode,unlessprogrammedfor continuousopera-
tion by theinstallerin setup.
MODE BUTTON oPERAnoN- TheMode buttonselects
the operatingmode of the thermostat If OFF is selected,the
thermostatwill notenterHeating or Cooling mode.If HEAT is
selected,the thermostatwill only enter Heating mode (if the
room temperatureis below the heatingsetpoint). If COOL is
selected,the thermostatwill only enter Cooling mode (if the
room temperatureis abovethe cooling setpoint). If AUTO is
selected,the thermostatwill enter Heating or Cooling mode
basedontheroom temperatureandtheheatingandcooling set
points.Units alsohaveanEHEAT selection.If EHEAT is con-
figured by installer,theunit will usethe secondstageof heat-
ing to provide heatingif necessary.The annunciatorfor each
selectionwill bedisplayedonthethermostatwhenselected
AUTO-CHANGEOVER- Whenthethermostatmodeis set
to AUTO, the thermostatwill provide automaticchangeover
from Heating to Cooling mode andCooling to Heatingmode
when required The thermostat will automatically switch to
maintain the desiredtemperaturesetting.The thermostatdoes
not needto be manually changedfrom heatingto cooling or
coolingto heatingoperation.
NOTE: It is recommendedthat auto-changeovermodenot be
usedif the outdoortemperarureis consistentlylower than50 F
or greaterthan 80 F. In thesecases,selectheatingor cooling
modeonly.
SMART RECOVERY (HEAnNG MODE) -The smart
recovery function is designed to save energy by gradually
adjusting temperatures to meet scheduled set points. The
thermostathas2 schedulemodes,normal occupiedmode and
setbackmode (a time when the spaceis unoccupied). The
Smart Recovery function begins 1 to 1.5 hours before the
scheduledoccupiedmodeandgraduallyadjustsroomtempera-
ture sothe temperatureis at the occupiedmodesetpoint when
the occupied time period begins. This is more efficient than
OPERATION
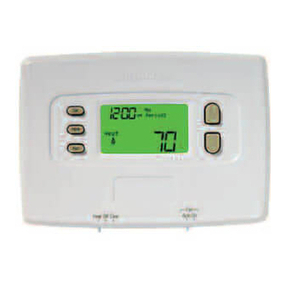
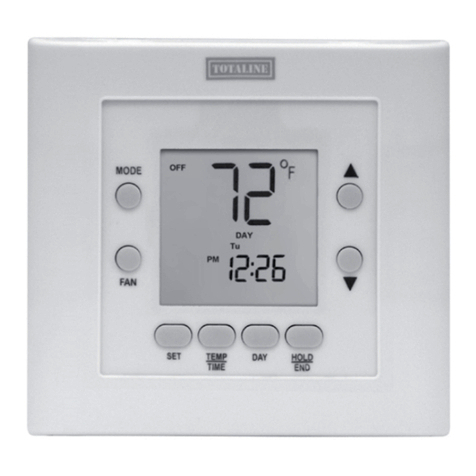
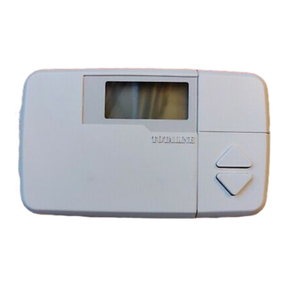
Thermostat Display -The thennostatdisplay is locat-
edin thetop centerof the thennostat SeeFig. 1.Thefollowing
infomlation canbedisplayedonthe screen:
.mode (OFF, EHEAT, COOL, AUTO, or HEAT)
.fan setting (ON or AUTO)
.hold status
.auxiliary heatstatus
.room temperature
.desired temperature
.clean filter status
.time of day
.day of the week
.schedule period (OCl, UNl, OC2, or UN2)
.outdoor temperature (optional)
.leaving air temperature (optional)
Thermostat Programming Buttons and
Operation -The thennostat has programming buttons
which areusedto changethe setpoints of the thennostat,set
themodes,and setprogram schedules.The programming but-
tons are accessiblefrom underneaththe thennostat cover. To
accesstheprogrammingbuttons,pull on the hingedthennostat
cover.SeeFig. 2. The programming buttons are:Copy Previ-
ous Day, Program,Mode, ChangeDay, End, Fan, Set TIme/
Temp,Occupied,andHold
The Up andDown buttons are usedto changethe cmrent,
desiredtemperatureset point and to scroll through program-
ming setpoints.TheUp andDown buttonsareaccessiblefrom
theoutsideof thethennostat.
The daily schedulecan be ovenidden in 3 ways: pressing
theHold button, pressingthe Up andDown buttonsto change
thetemperaturesetpoint, or pressingthe Occupiedbutton.
PROGRAMMING BU1TON LOCKOUT -The thenno-
stat has a lockout feature which will not acknowledge pro-
grammingbuttonsuntil the lockout code is entered After the
Manufacturer reserves the right to
discontinue, or change at any time,
specifications or designs without notice
and without incurring obligations.
REPLACEMENT COMPONENTS DIVISION
@CARRIER CORPORATION 11-99
PRINTED IN U.S.A. LITERATURE NUMBER P274-1S0
REPLACES: 997-550011-22
making the system nm at full capacity until the desired temper-
ature is met.
NOTE: Smart recovery does not apply to cooling operation.
Set Current Day -The Change Day button will change
the day shown on the thermostat display to the next day. If a
schedule has been entered, the thermostat will follow the
schedule of the new selected day.
Set Current Time -The Set limerremp button allows
the user to change the time displayed on the thermostat. Press
the Set T1IDerremp button. The TIME annunciator will flash.
Press the Up and Down buttons until the correct time is shown.
Hold down the buttons to quickly move through the time dis-
play. The AM and PM annunciators will automatically change.
To ensure the schedules are properly followed, make sure that
AM or PM is correct for the time chosen. When the correct
time is shown, press the End button to exit the Set lime mode.
Reset Filter -The Reset FIlter function is initiated by
pressing the Hold and Occupied buttons simultaneously. The
Reset FIlter function is used to clear the "Clean Filter" icon on
the display screen. The "Clean Filter" icon reminds the user
when it is time to change or clean the filter of the unit.
Unoccupied Override -The Occupied button is only
active during unoccupied periods. The Occupied button is
inactive during occupied periods. If the thermostat is in unoc-
copied mode and the user presses the Occupied button, the set
points are changed to the OCI set points for heating and cool-
ing. The OCI icon will flash to show the user that the thermo-
stat is in ovenide.
The thermostat will remain in ovenide until the next sched-
uled time period or for the number of allowed override hours
programmed in the thermostat configuration (Option 18)
whichever comes first
NOTE: If the set point is changed during unoccupied ovenide,
the thermostat will change the unoccupied I (UNI) setpoint.
Programming Thermostat Schedules -Before
programming the thermostat, plan the thermostat daily sched-
ule. The schedule is divided into 7 days (Monday through Sun-
day). Each day has 4 time periods (OCI, UNI, OC2, UN2).
Each time period has a start time, heating setpoint, and cooling
set point Fill in Table I below as an aid to programming the
daily schedules.
When choosing the times for OCI, UNI, OC2, and UN2,
the following rules must be followed:
.The maximum number of hours allowed from OCl to
UNl, or from OC2 to UN2 is 12 hours. For example, if
OCI has a value of 6:00 AM and UNl had a value of
5:00 PM, this would be acceptable. If however, OCI has
a value of 6:00 AM and UNI has a value of 7:00 PM, this
would not be acceptable because the difference is greater
than 12 hours.
.The value of UN2 must be greater than or equal to the
value of OC2, while the value of OC2 must be greater
than or equal to the value of UNl, and the value of UNl
must be greater than or equal to OC1. For example,
acceptablevalues would be:
OCl UNl OC2 UN2
6:00AM 5:00PM 5:00PM 10:00PM
In the exampleabove,the thermostat will be occupied from
6:00 AM to 10:00PM. However, if the following valueswere
entered,the thermostat would not be occupied as one may
expect:
OCl UNl OC2 UN2
6:00AM 7:00PM 6:00PM 12:00AM
In the new example,the thermostatwill display UN2 from
12:00AM to 6:00 AM, then OCl from 6:00 AM to 6:00 PM,
thenOC2 from 6:00PM to 7:00PM, thenUNl from 7:00 PM
to 12:00AM. The thermostat,in this example, would be occu-
pied from 6:00 AM to 7:00 PM becauseOC2 hasavalue less
thanthevalueofUNl.
PROGRAMMING MODE- To program the daily sched-
ules,perfonnthefollowing procedw-e:
1. Enter programming mode by pressing the Program
button. The PROGRAMMING annunciator will
appear on the thermostat display. The current day of
the schedule will be displayed and the current pro-
gramming time period of that day will be displayed.
The nME annunciator will flash.
NOTE: If a programming button is not pushedfor 2 minutes,
the thennostatwill exit programming mode and any changes
madewill besaved.
2. Pressthe Up and Down buttons to setthe start time for
the scheduleday and period shown.
3. Pressthe Set Timeffemp button once the correct time
is shown. The TIME annunciator will stop flashing
andthe HEAT annunciator will flash.
4. The heating and cooling set points can now be pro-
grammed The HEAT and COOL annunciators will
flash for the heating and cooling set points respec-
tively. The Set Timeffemp button is used to toggle
betweenthe time, heating, and cooling set points. Use
the Up and Down buttons to raise and lower the tem-
peraturesetpoints.
NOTE: There must be at least 2 degreesdifference between
the cooling and heating set points. The thermostat will auto-
matically changeanysetpointscloserthan2degrees.
5. Pressthe Program button to advance to the next time
period.
6. Perform Steps2 through 5 until the times andtempera-
ture set points have been entered for the entire day.
Pressthe Change Day button to move to the schedule
for the next day.
Table 1 -Daily Schedule Planner
DAY OF
THE WEEK OC1
Time I Heat I Cool ---o-N1
Time I Heat I Cool OC2
Time I Heat I Cool UN2
Time I Heat I Cool
Monday
Tuesday
Wednesday
Thursday
Friday
Saturday
Sunday
NOTE: The cooling temperature set point must be at least 2 degrees higher than the heating temperature set point.
7. Repeat Steps 2 through 6 to program the remaining
schedule days. The Copy Previous Day button can be
used to copy the previous day's schedule if the sched-
ules arethe same.
8. After all the times and set points for each day have
been entered, press the End button to finish entering
the schedule.
NOTE: The thermostat will continue to follow the sched-
ule until a new one is entered. The schedule may need to
be updated for different seasonsor prolonged changesin
temperature.
Overriding the Schedule -The schedule can be
overriddenin 3 ways:theHold button canbepressedto lock in
thecurrenttemperaturesetting,theUp or Down buttonscanbe
pressedto changethe desired temperature, or the Occupied
button can be pressedto changethe unoccupied set pointsto
OCl. The thermostat will use new set point until the next
scheduled time period starts. Once the HOLD button is
pressed, the HOLD will last indefinitely until the HOLD but-
ton is pressed again. The occupied ovenide can be used to
force the thetmostat into Occupied mode.
Display Outdoor-Air or Leaving-Air Tempera-
ture -When the Up and Down buttons are pressed at the
same time, the display will show the temperature of the sensor
wired to the thetmostat. The temperature is displayed for 4 sec-
onds with the letters "od" or "LA" (outdoor sensor or leaving
air sensor, respectively). The display then returns to normal. If
a sensor is not connected, the thennostat has been configured
for use with a remote room sensor, or the reading is out of
range, then "--" is displayed.
The valid temperature range for the outdoor-air sensor is
-38 to 145 F. The valid temperature range for the leaving-air
sensor is -38 to 145 F.
Fig. 1 -Thermostat Liquid Crystal Display
IV nt:ut:1rlL-It:n
Fig. 2 -Thermostat Display and Programming Buttons
1
Manufacturer reserves the right to
discontinue, or change at any time,
specifications or designs without notice
and without incurring obligations.
REPLACEMENT COMPONENTS DIVISION
\C)CARRI ER CORPORATION 11-99
PRINTED IN U.S.A. LITERATURE NUMBER P274-1S0
REPLACES: 997-550011-22

Other TOTALINE Thermostat manuals

TOTALINE BASIC 1H User manual

TOTALINE

TOTALINE BASIC 1H User manual

TOTALINE 1 For All P374-1000FM User manual

TOTALINE

TOTALINE 1 For All P374-1000FM User manual

TOTALINE P374-2900 User manual

TOTALINE

TOTALINE P374-2900 User manual

TOTALINE Smart P330-0110 User manual

TOTALINE

TOTALINE Smart P330-0110 User manual

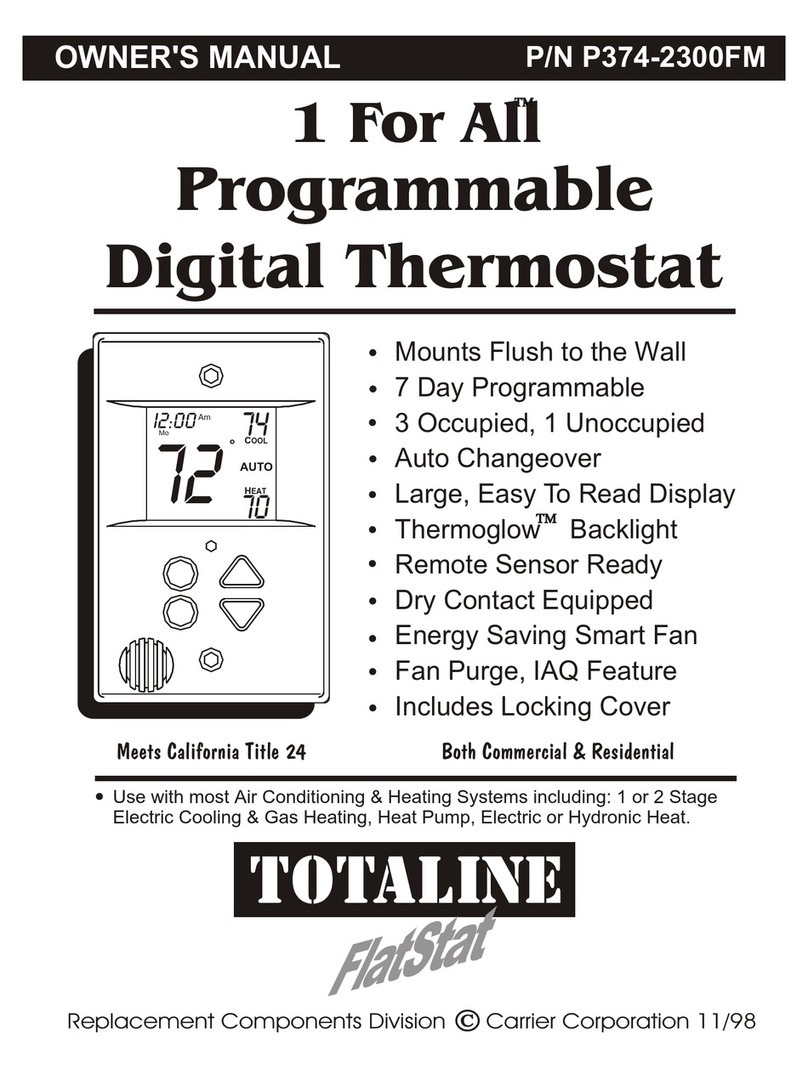
TOTALINE P374-2300FM User manual

TOTALINE

TOTALINE P374-2300FM User manual

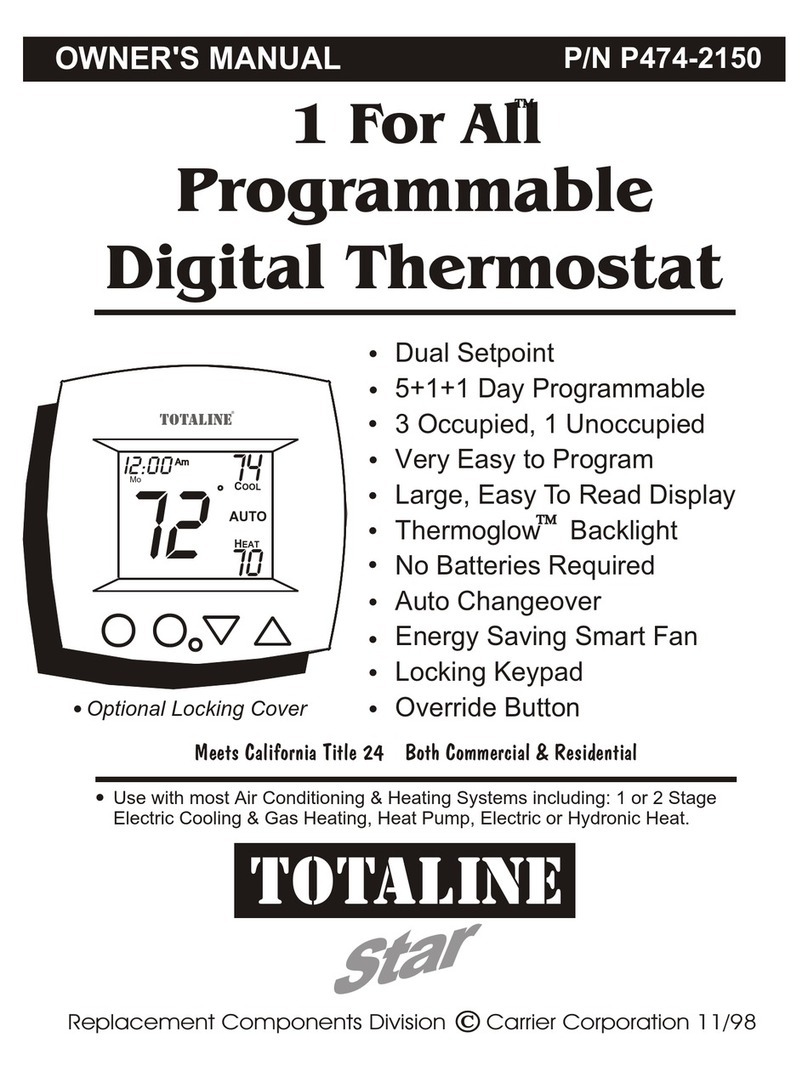
TOTALINE P/N P474-2150 User manual

TOTALINE

TOTALINE P/N P474-2150 User manual

TOTALINE Easy 1H/1C User manual

TOTALINE

TOTALINE Easy 1H/1C User manual

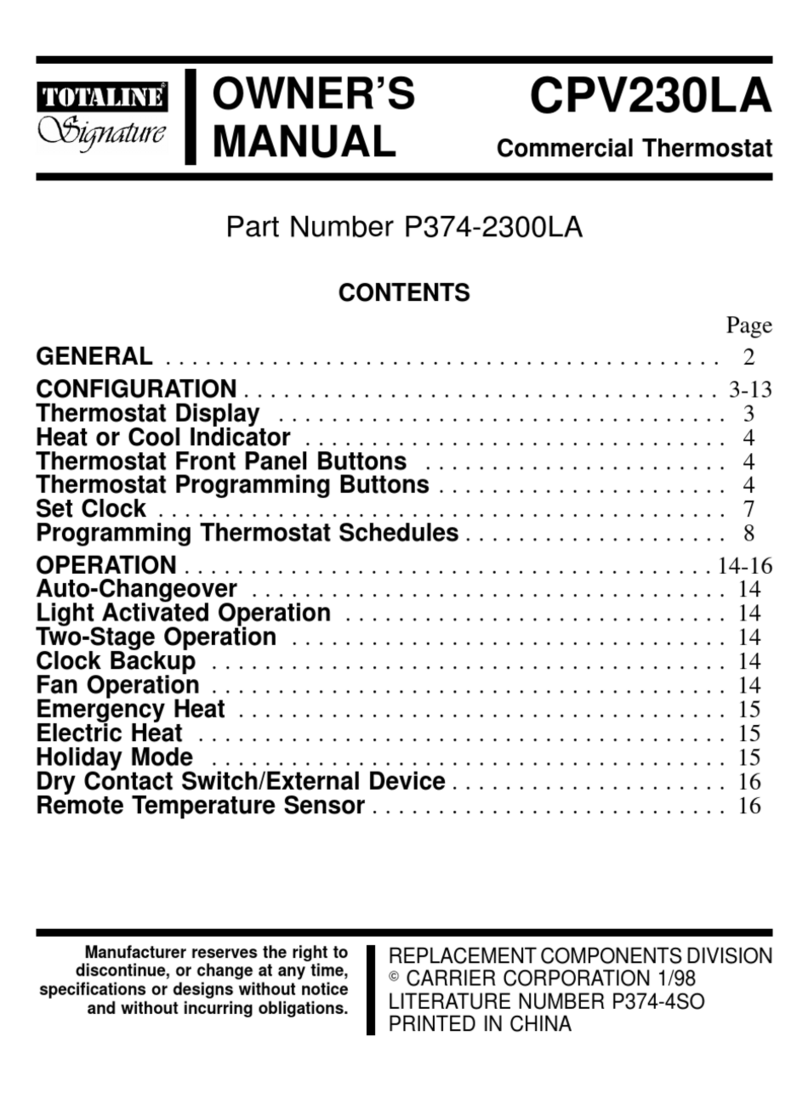
TOTALINE Signature CPV230LA User manual

TOTALINE

TOTALINE Signature CPV230LA User manual

TOTALINE P374-1 700 User manual

TOTALINE

TOTALINE P374-1 700 User manual

TOTALINE Programmable Thermostat Assembly instructions

TOTALINE

TOTALINE Programmable Thermostat Assembly instructions

TOTALINE Easy 1H/1C User manual

TOTALINE

TOTALINE Easy 1H/1C User manual

TOTALINE CPV220LA User manual

TOTALINE

TOTALINE CPV220LA User manual

TOTALINE P374-1000 User manual

TOTALINE

TOTALINE P374-1000 User manual

TOTALINE P374-2300FM User manual

TOTALINE

TOTALINE P374-2300FM User manual

TOTALINE Comfort Call P374-0433 User manual

TOTALINE

TOTALINE Comfort Call P374-0433 User manual

TOTALINE P474-0220 User manual

TOTALINE

TOTALINE P474-0220 User manual

TOTALINE TOTALINE Gold P274-0100-C User manual

TOTALINE

TOTALINE TOTALINE Gold P274-0100-C User manual

TOTALINE P710U-21PHP User manual

TOTALINE

TOTALINE P710U-21PHP User manual

TOTALINE Easy 1H/1C User manual

TOTALINE

TOTALINE Easy 1H/1C User manual

TOTALINE Deluxe 1H/1C User manual

TOTALINE

TOTALINE Deluxe 1H/1C User manual

TOTALINE Signature User manual

TOTALINE

TOTALINE Signature User manual

TOTALINE Easy Stat User manual

TOTALINE

TOTALINE Easy Stat User manual

TOTALINE Gold P274-1100 User manual

TOTALINE

TOTALINE Gold P274-1100 User manual

TOTALINE Intellistat User manual

TOTALINE

TOTALINE Intellistat User manual

Popular Thermostat manuals by other brands

Emerson White Rodgers 1E30N-910 installation guide

Emerson

Emerson White Rodgers 1E30N-910 installation guide

ICM Controls SC 3000 Installation, operation & application guide

ICM Controls

ICM Controls SC 3000 Installation, operation & application guide

ClimateMaster ATP32U01 user manual

ClimateMaster

ClimateMaster ATP32U01 user manual

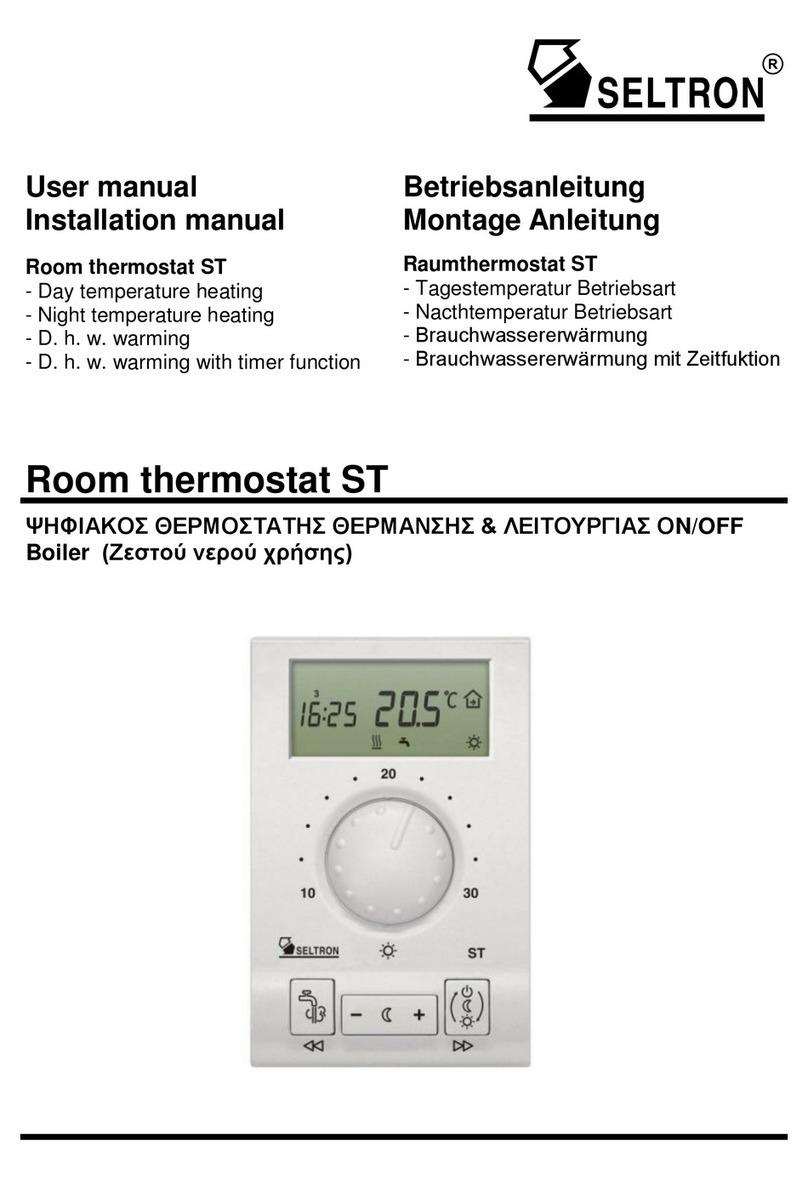
Seltron ST User's manual & installation manual

Seltron

Seltron ST User's manual & installation manual

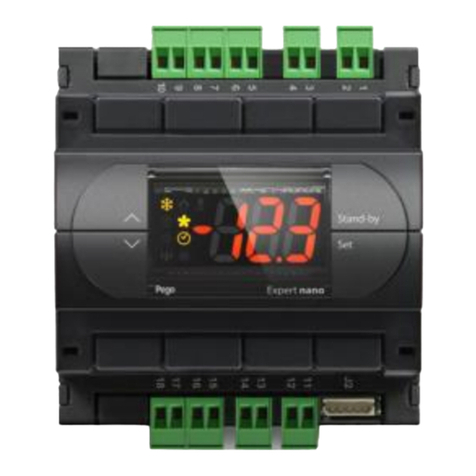
Pego Expert DIN NANO 4CK quick start guide

Pego

Pego Expert DIN NANO 4CK quick start guide

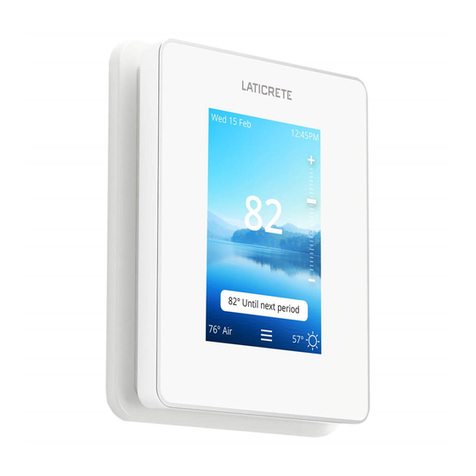
LATICRETE STRATA HEAT TDS 263 Setup manual

LATICRETE

LATICRETE STRATA HEAT TDS 263 Setup manual

Danfoss WP75-RF instructions

Danfoss

Danfoss WP75-RF instructions

Taconova NOVASTAT EL PUBLIC Wiring diagram

Taconova

Taconova NOVASTAT EL PUBLIC Wiring diagram

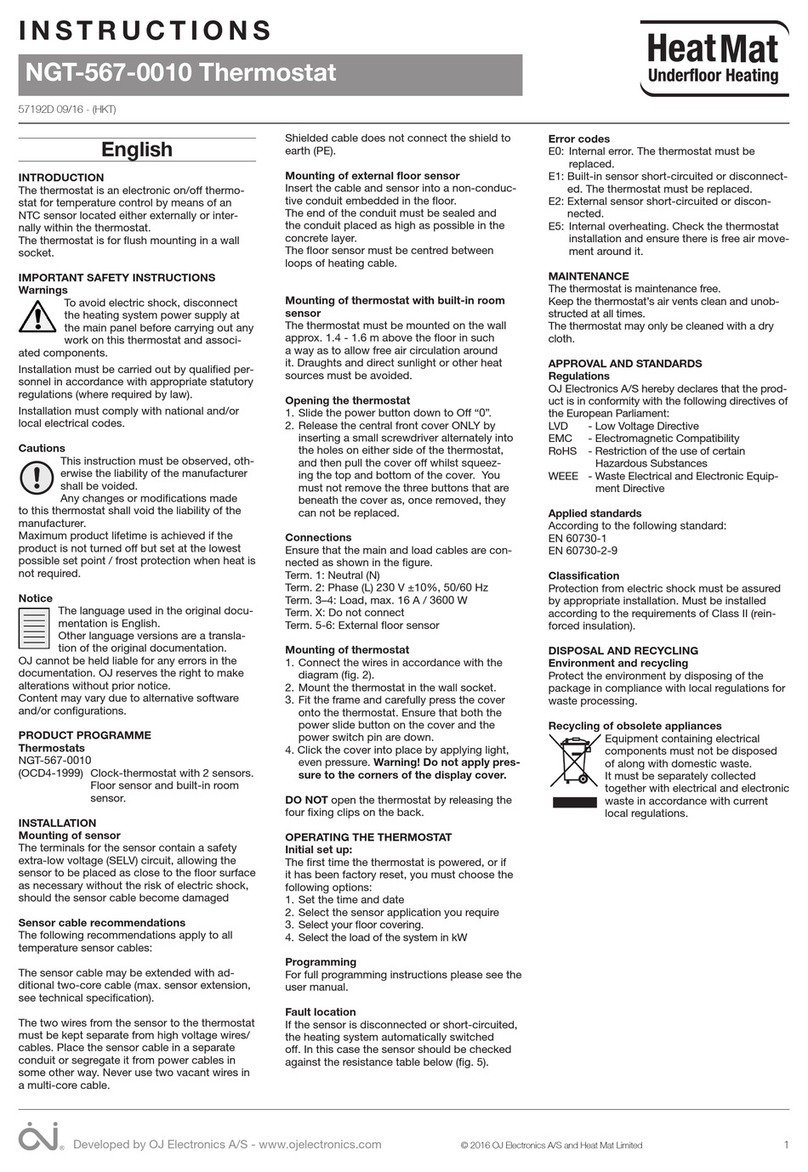
HeatMat NGT-567-0010 instructions

HeatMat

HeatMat NGT-567-0010 instructions

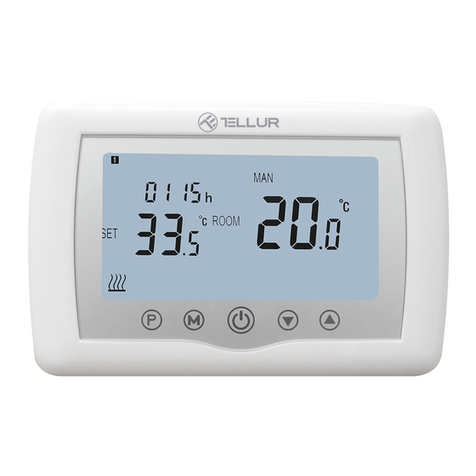
Tellur TLL331151 user manual

Tellur

Tellur TLL331151 user manual

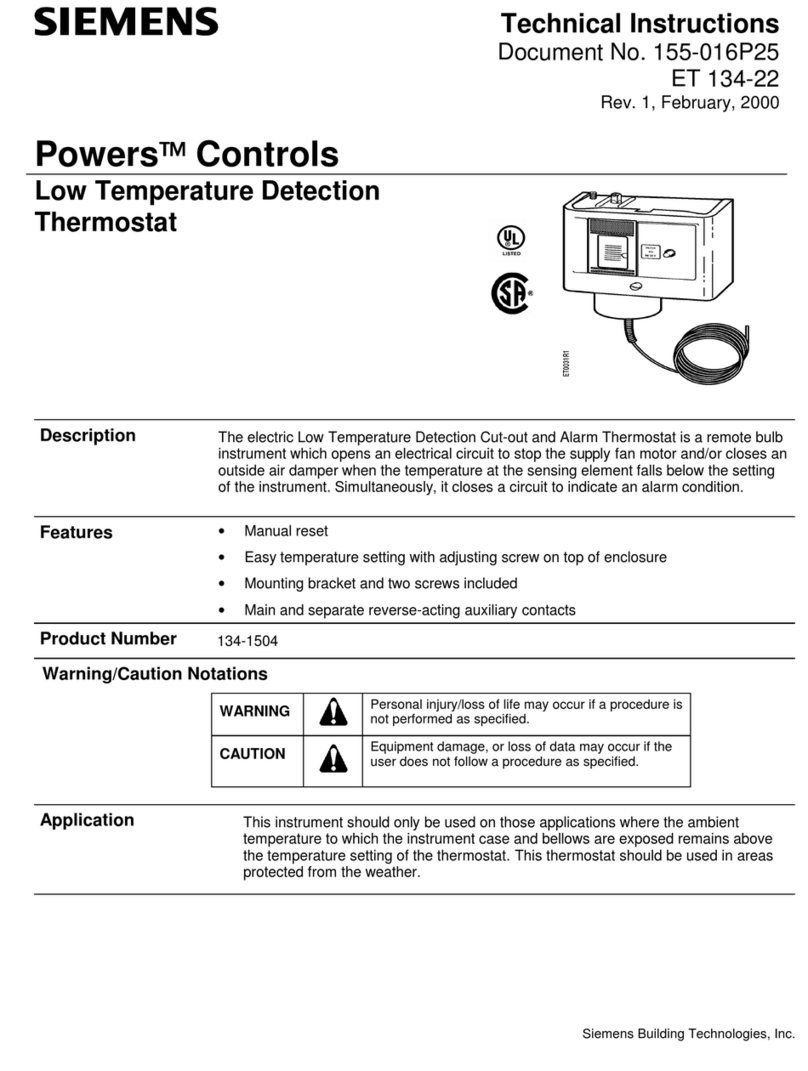
Siemens Powers ET 134 Series Technical instructions

Siemens

Siemens Powers ET 134 Series Technical instructions

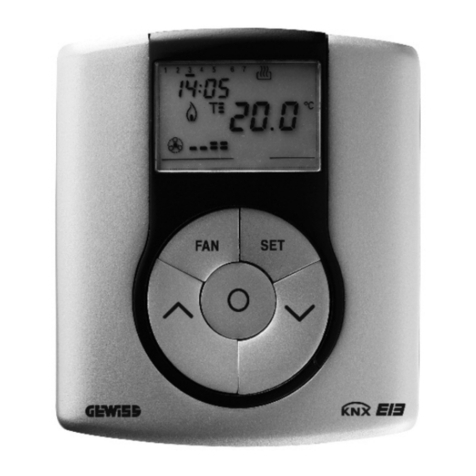
Gewiss Chorus GW 10 763 manual

Gewiss

Gewiss Chorus GW 10 763 manual

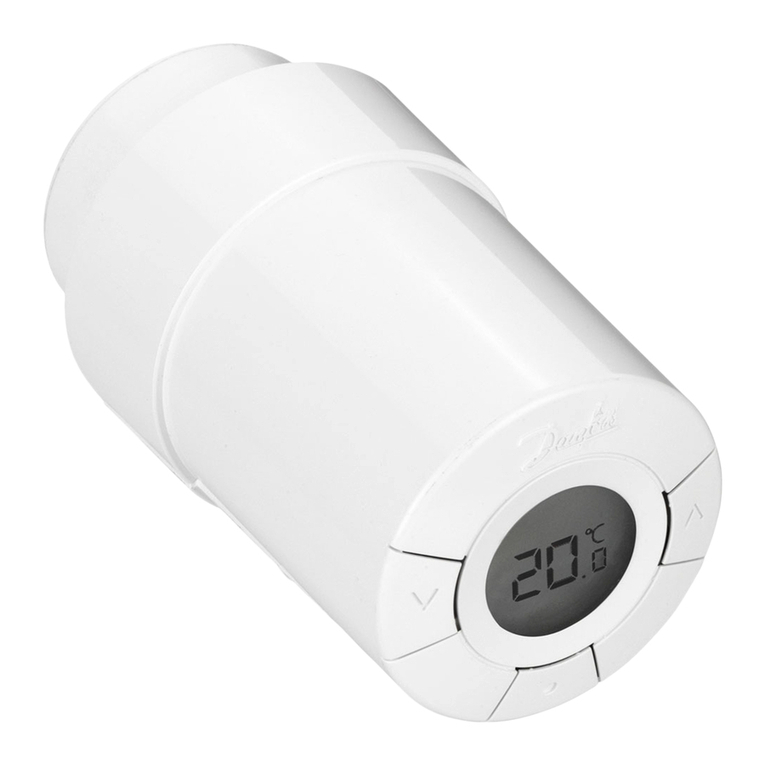
Danfoss living connect Z installation guide

Danfoss

Danfoss living connect Z installation guide

STC micro U8W instruction manual

STC

STC micro U8W instruction manual

Watts Industries WFHTRF-HC user guide

Watts Industries

Watts Industries WFHTRF-HC user guide

ESI 5 Series User instructions

ESI

ESI 5 Series User instructions

Texas Instruments LM5013-Q1EVM user guide

Texas Instruments

Texas Instruments LM5013-Q1EVM user guide

Lux Products 605/2110 SERIES Installation and operating instructions

Lux Products

Lux Products 605/2110 SERIES Installation and operating instructions

manuals.online logo
manuals.online logoBrands
  • About & Mission
  • Contact us
  • Privacy Policy
  • Terms and Conditions

Copyright 2025 Manuals.Online. All Rights Reserved.