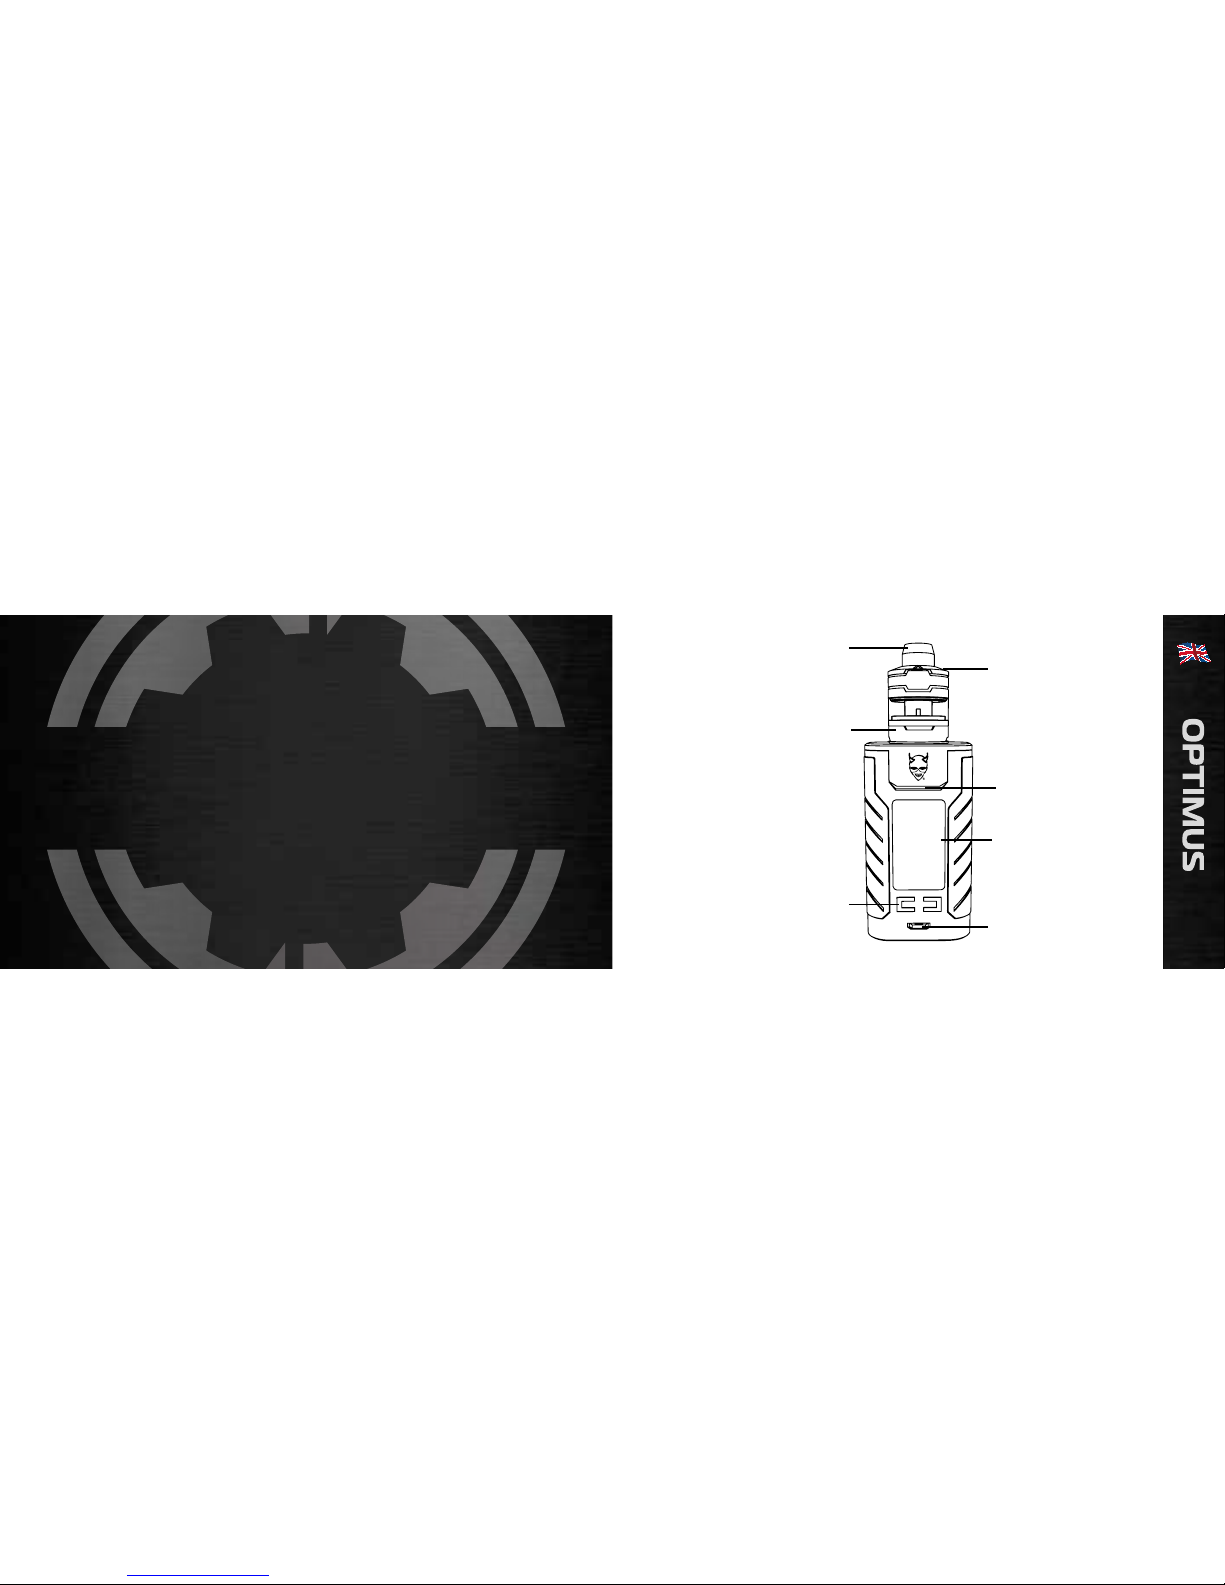
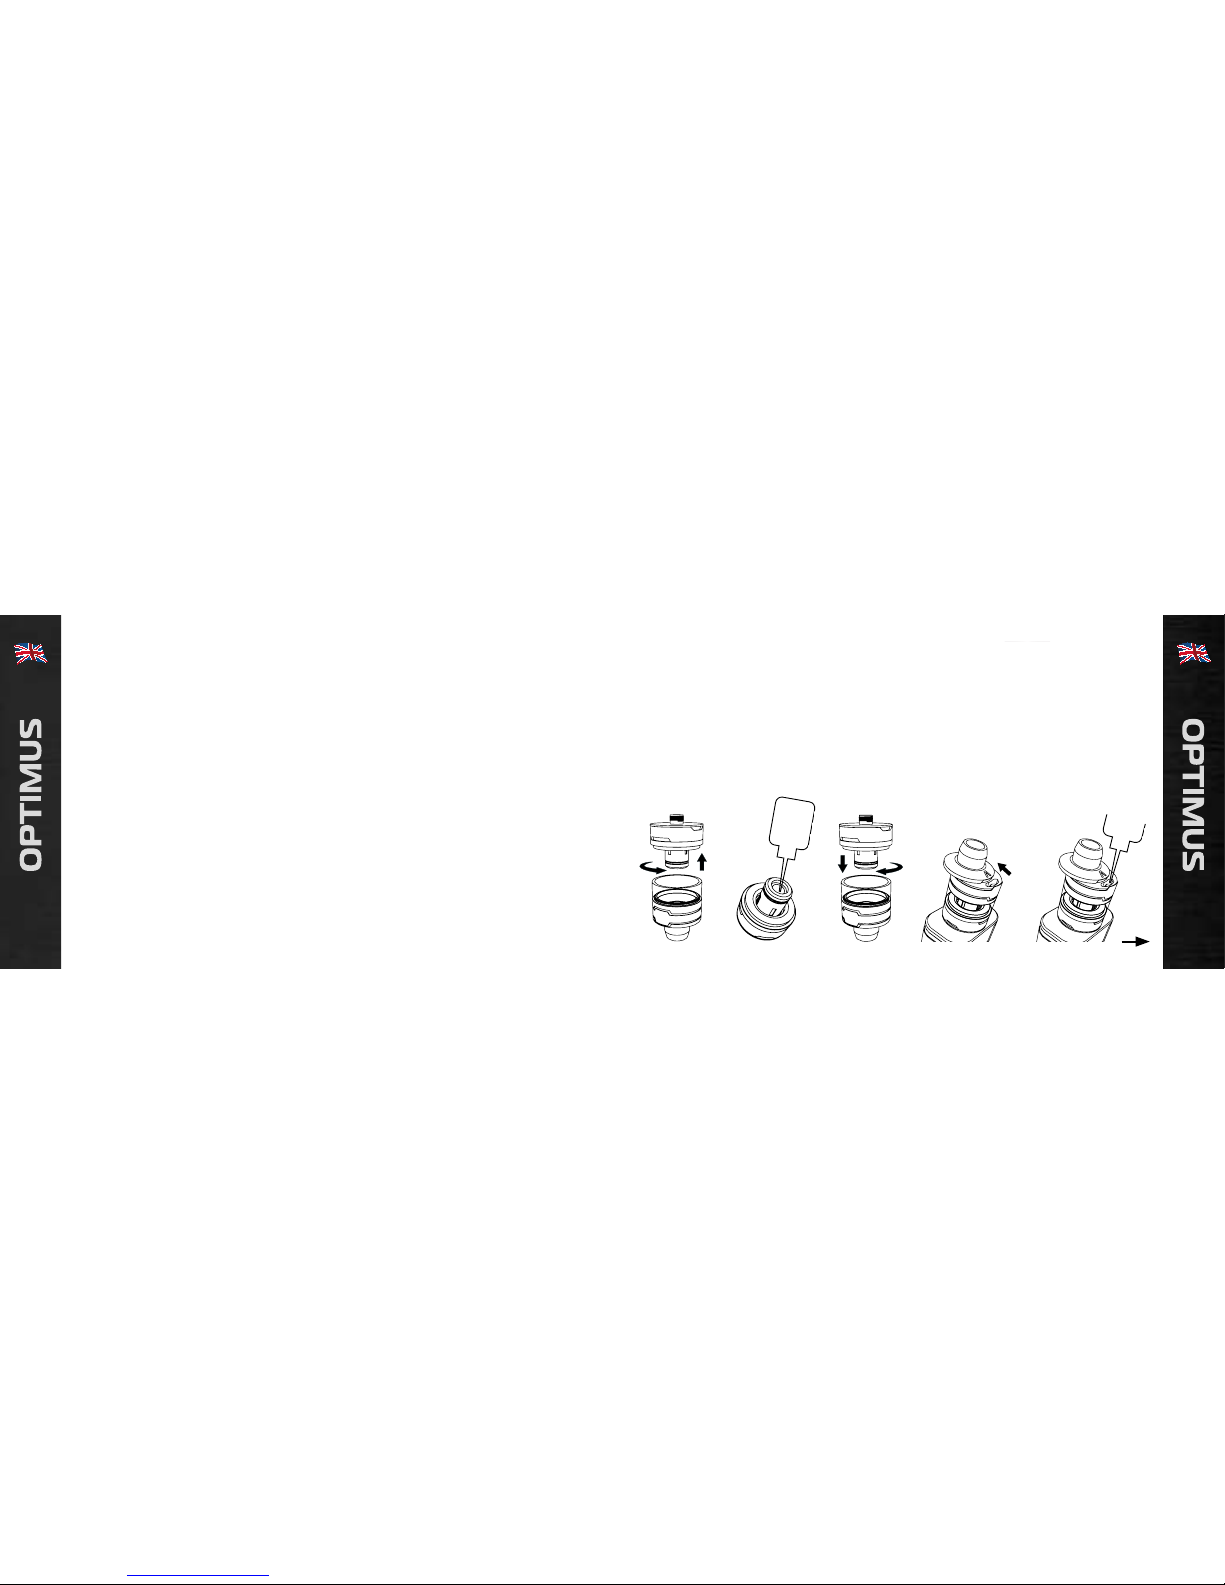
Totally Wicked OPTIMUS User manual
Other Totally Wicked Electronic Cigarette manuals

Totally Wicked
Totally Wicked Tornado EX2 User manual

Totally Wicked
Totally Wicked Polka User manual

Totally Wicked
Totally Wicked E-PIPE III User manual

Totally Wicked
Totally Wicked Rocket User manual

Totally Wicked
Totally Wicked TORNADO XS User manual

Totally Wicked
Totally Wicked Tornado II Slim User manual

Totally Wicked
Totally Wicked ARC MINI User manual

Totally Wicked
Totally Wicked GRIP User manual

Totally Wicked
Totally Wicked PSYCHE User manual

Totally Wicked
Totally Wicked OPAL User manual

Totally Wicked
Totally Wicked Corsa 200 User manual

Totally Wicked
Totally Wicked V-Pipe User manual

Totally Wicked
Totally Wicked arc Nano User manual

Totally Wicked
Totally Wicked Odyssey User manual

Totally Wicked
Totally Wicked ARC EVO User manual

Totally Wicked
Totally Wicked TORNADO NC User manual

Totally Wicked
Totally Wicked Active User manual

Totally Wicked
Totally Wicked Odyssey User manual

Totally Wicked
Totally Wicked DI6 User manual

Totally Wicked
Totally Wicked ARC PICO BABY User manual