6
Before First Use:
1. Remove the product from the box.
2. Remove any packaging from the product.
3. Please retain all packaging until you have checked and counted all the parts and the contents against
the parts list.
4. Dispose of the packaging in a responsible manner.
USING YOUR APPLIANCE
Charging the Appliance:
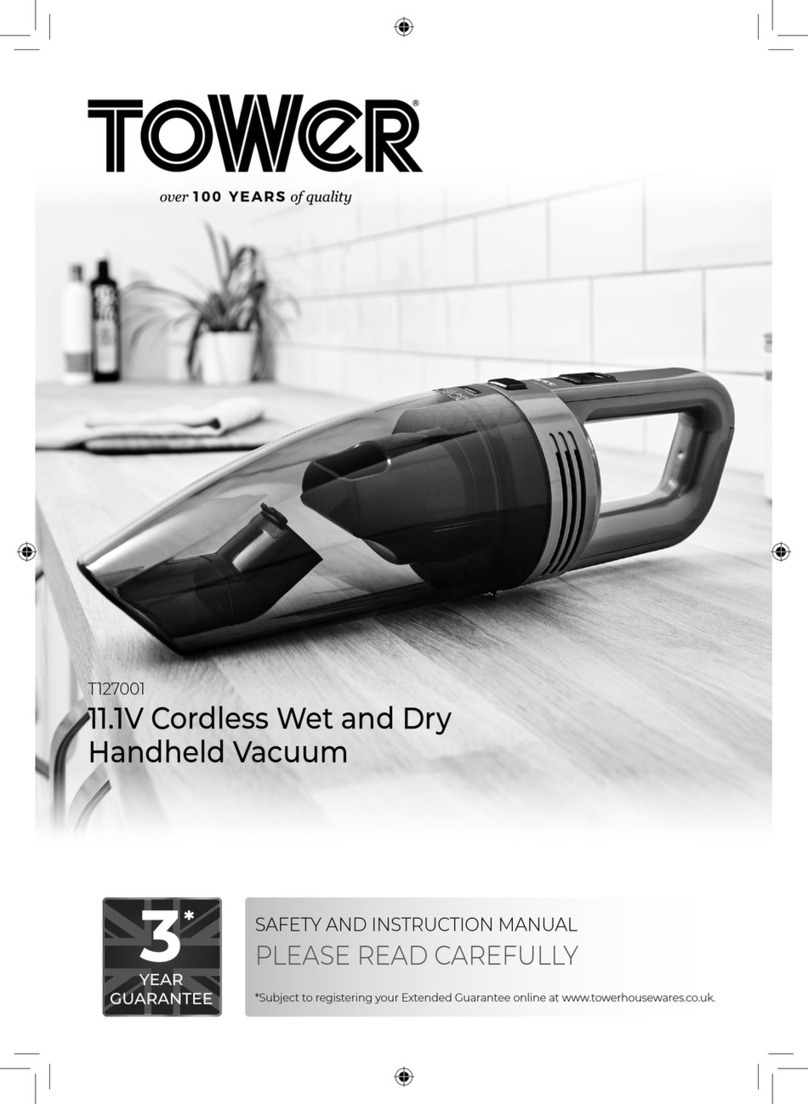
1. This unit can be charged using the included charging base, or the included car adaptor.
Note: When using the charging base to charge the vacuum cleaner, ensure it is firmly secured in place;
otherwise, the unit may not secure correctly.
2. To charge the unit through the included charging base, start by placing the vacuum on the
corresponding slot on the base. To do this, align the spike on the base with the corresponding notch on
the main body of the unit, then push the unit down until it clicks into place.
3. Once the unit is firmly secured in place, plug the charging base adaptor into a compatible mains
socket, ensuring the socket switch is in the ON position.
4. Once plugged into an active socket, the unit will automatically begin to charge. The unit’s LED screen
will turn on and display the current battery level to show the adaptor is connected to the unit, and the
vacuum is charging.
5. The unit is fully charged when the number on the unit’s LED display reads ‘100’
6. When the numbers on the unit’s LED display drop below 10, the unit needs recharging. Repeat the
steps outlined above to fully recharge the unit.
Note: To ensure optimal performance each time, the unit should be left on charge whenever it is not in use.
Note: The adaptor may become warm during the charging process. This is normal, and does not indicate
overheating or malfunction.
Note: The average charging time for this unit is 3-4 hours.
7. To charge the unit through a car lighter, plug one end of the included car charging adaptor into the
corresponding notch on the handle of the vacuum cleaner, and the other into a compatible car lighter.
The unit will automatically begin to charge. The blue LED indicator on the body of the vacuum will light
up and display the current battery level to show the adaptor is connected to the unit and the vacuum is
charging.
Turning the Appliance On and Off:
1. Push the ON/OFF button on the main body of the vacuum cleaner to turn the unit on. The unit will
automatically begin to operate at low speed. The LED display and a green light indicator will light up to
show the unit is on and operating at low speed.
2. Press the On/Off button again while the unit is operating on Low speed mode to switch to High speed
mode. The green LED indicator on the unit’s control panel will go out and a red indicator light will come
on to show the unit is operating at High speed,
3. Press the On/Off button a third time while the unit is operating at High speed to turn it off. Air will stop
emitting from the unit and the LED display and all indicators will go out to show the unit has been
turned off.
Using the Brush Accessory:
1. This unit comes complete with a brush accessory, ideal for cleaning car seats and other similar surfaces.
2. To use this accessory, attach it to the air vent at the front of the unit and push firmly down to secure it
in place.
3. To remove the accessory, pull it firmly up and away from the main body of the unit until it detaches.
Troubleshooting:
Problem Solution
The vacuum will not work
• Ensure the vacuum cleaner is fully charged. To charge the unit, plug the AC
adaptor into it, connect it to a mains socket and wait until the LED indicator
on the charger goes out.
• Check that there are no blockages to the dust tank or filter and remove as
necessary.
The vacuum will not pick-
up or the suction power
is weak
• The dust container may be full, or the filters may require cleaning. Empty the
dust container and clean the filters.
• There may be blockages in the filters or dust tank. Check for blockages and
clean the filters and dust tank as detailed in the ‘Cleaning and Care’ section.
Turning the Appliance On and Off:
1. Push the On/Off switch on the body of the unit forward to the ON position to turn the unit on.
The LED power indicator will turn on and air will begin suctioning from the unit to indicate it
has been powered up.
1. Pull the On/Off switch backwards to the OFF position when the unit is in operation to turn it
off. The LED power indicator will turn off and air will stop suctioning from the unit to indicate it
has been powered down.
Using the Accessories:
1. This unit comes complete with a full range of accessories, including:
• Crevice tool, to vacuum hard-to-reach areas.
• Round brush attachment, for cleaning upholstery or delicate fabrics.
• Wet rubber nozzle, for sucking up spillages.
2. To use any of the included accessories, attach them to the suction end of the
vacuum, ensuring they sit flush within the opening.
3. To remove an attached accessory, pull it firmly away from the main body of the
unit until it detaches.
4. Refer to the illustrations below for guidance on how to attach the accessories
