manuals.online logo
Brands
  1. Home
  2. •
  3. Brands
  4. •
  5. Toyota
  6. •
  7. Automobile Accessories
  8. •
  9. Toyota PC162-0K00H User manual

Toyota PC162-0K00H User manual

No.
1
2
3
4
5
6
7
8
1
1
1
1
8
2
1
1
Side Visor FR-RH
Side Visor FR-LH
Side Visor RR-RH
Side Visor RR-LH
Bracket
Paper Jig
Primer
Installation manual
PC162-0K00A
PC162-0K00B
PC162-0K00J
PC162-0K00K
PC162-0K00G
-
-
-
Part NamePart Number Qty Required tools
1.Clean cloth
2.White gasoline or
Alcohol 60-80%
3.Masking tape
4.Scissor or Cutter
Parts Number Model Remark
1.
INSTALLATION MANUAL
SIDE VISOR
Thank you for purchasing TOYOTA genuinr “SIDE VISOR”. This manual explain the procedure
for installtion. Please read this manual carefully to ensure correct installation.
PC162-0K00H
FORTUNER 2015
-
Installation time : 30 mins
Component Parts
1
34
2
5 6 7 8 9
2
1
3
10cm.
80cm.
2
10ซม. 50ซม.
40mm.
13mm.
20cm 33cm
1. Preparation
1.1 Open all Doors and lower all Door Glasses.
1.2 Remove upper portion of Front & Rear Door
Glass Run from the Door Panel.
1.3 Clean the Door Frame with clean cloth and
white gasoline or alcohol 60-80%
3. Applying primers
3.1 Cut the marking template from the paper provided.
3.2 Attach the marking template to the Door Frame at
the location shown in the picture.
3.3 Apply the primer to the slotted area.
CAUTION:
- Do not apply primer out of the marking area as it
will be very hard to clean them off.
2. Positioning
2.1 Cut the position template from the paper provided.
2.2 Attach the position template to the Door Frame at
the location shown in the picture (approx).
CAUTION :
- Position template shall be attach from the top edge
of Door Frame.
- Distance from the upper door edge to part edge is
13 mm. all around.
PAPER JIG FOR APPLY PRIMER
FR-LH
PAPER JIG FOR APPLY PRIMER
RR-LH
3.
4
6
5
0 mm.
4. Installing the Brackets
4.1 Place the Side Visor on the Door Frame and
mark the location of Brackets.
4.2 Install the Brackets to the marked position.
4.3 Assembly back the Glass Run.
5. Peel the liners at the end of double side tape off
around 5 cm and fold it outward on both Front
and Rear Side Visor to prepare for installation.
6. Attach the Front Side Visor to Door Frame by using
position template as a guide.
*The top edge of the Front Side Visor must be touch
with the bottom edge of the position template, while
the rear edge of the Front Side Visor must be align
with the Door edge.
** The correct assembly
condition of the Bracket
5
4. 5.
8. Check that both Front and Rear Side Visor are on
the same level.
Then slowly peel off the tape liner and press Side
Visor to the vehicle starting from the middle to the
direction shown in the picture.
10. Pull the Side Visor gently to check that adhesive
tapes are properflly attached in all area.
11. Repeat the steps 1-10 to install on the other side.
10
7. Attach the Rear Side Visor to Door Frame by using
position template as a guide.
*The top edge of the Rear Side Visor must be touch
with the bottom edge of the position template, while
the front edge of the Rear Side Visor must be align
with the door edge.
9. Assembly the Brackets
9.1 Slide the Bracket to the Emboss.
9.2 Press the Bracket to lock with the Side Visor.
CAUTION :
When installing the Brackets, use your hand to press the
outer surface of Side Visor to make sure that the Side
Visor will not be detach.
BRKT
Side Visor
BRKT
Side Visor
** The correct assembly
condition of the Bracket
Do not press the bracket
to the hole is not align.
Manually adjust the hole to
align with the emboss ffiifirst
before press the bracket to
lock with the emboss .
9
9CAUTION:
- The Side Visor must only be pressed at the adhesive
area. If pressed wrongly, the tapes may not be fully
adhere.
8
7
0 mm.
BRKT
Side Visor
CAUTION
1
2
2

Other Toyota Automobile Accessories manuals
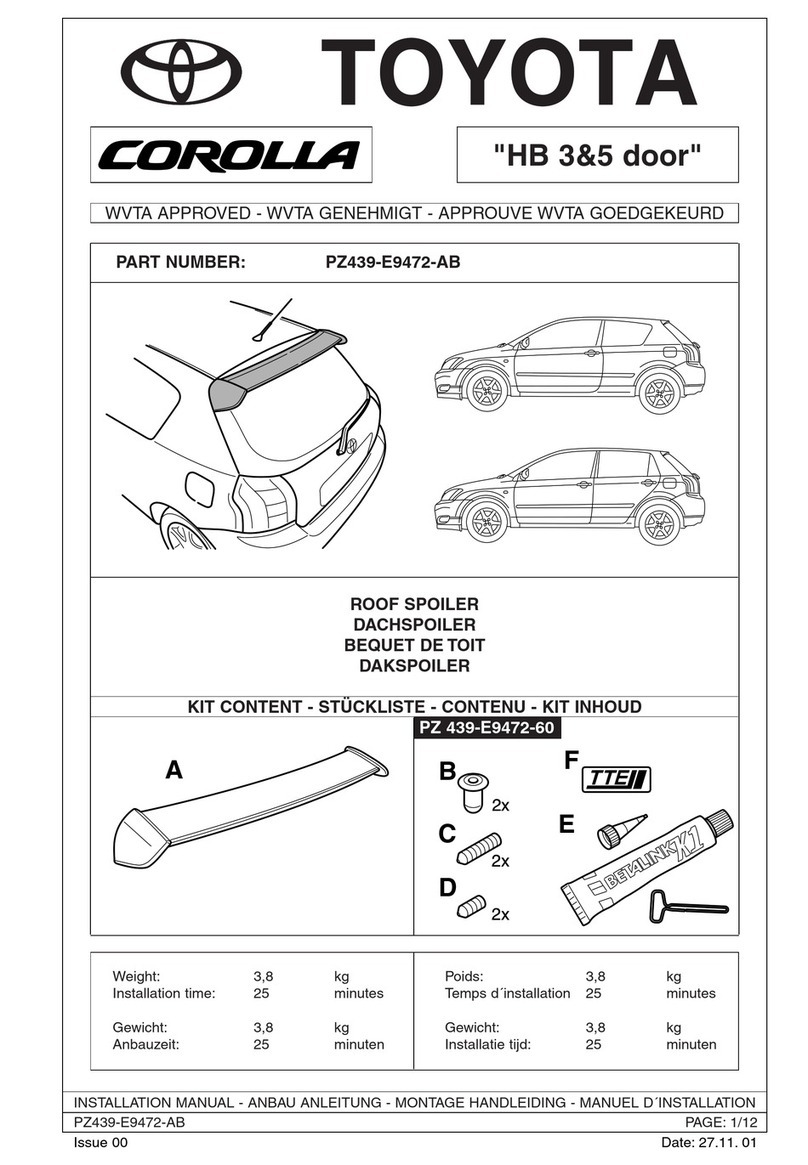
Toyota PZ439-E9472-AB User manual

Toyota

Toyota PZ439-E9472-AB User manual

Toyota PT427-89060 User manual

Toyota

Toyota PT427-89060 User manual

Toyota PZQ72-48050 User manual

Toyota

Toyota PZQ72-48050 User manual

Toyota IHF1700 User manual

Toyota

Toyota IHF1700 User manual

Toyota Avensis 2006 TNS600 User manual

Toyota

Toyota Avensis 2006 TNS600 User manual

Toyota Bluetooth hands-free system User manual

Toyota

Toyota Bluetooth hands-free system User manual

Toyota 30-5SDK5 User manual

Toyota

Toyota 30-5SDK5 User manual

Toyota PZQ22-89220 User manual

Toyota

Toyota PZQ22-89220 User manual

Toyota I Site DHU4 User manual

Toyota

Toyota I Site DHU4 User manual

Toyota PW5D0-0R001 User manual

Toyota

Toyota PW5D0-0R001 User manual

Toyota Bluetooth SWC User manual

Toyota

Toyota Bluetooth SWC User manual

Toyota PZQ14-60120 User manual

Toyota

Toyota PZQ14-60120 User manual

Toyota 2010 Sienna User manual

Toyota

Toyota 2010 Sienna User manual

Toyota PT278-42130 User manual

Toyota

Toyota PT278-42130 User manual

Toyota PZ4AG-19060-98 User manual

Toyota

Toyota PZ4AG-19060-98 User manual

Toyota handsfree communication User manual

Toyota

Toyota handsfree communication User manual

Toyota PVM User manual

Toyota

Toyota PVM User manual

Toyota BSM User manual

Toyota

Toyota BSM User manual

Toyota PT278-48140 User manual

Toyota

Toyota PT278-48140 User manual

Toyota 2005 Yaris User manual

Toyota

Toyota 2005 Yaris User manual

Toyota PC170-0K006 User manual

Toyota

Toyota PC170-0K006 User manual

Toyota TM4875A User manual

Toyota

Toyota TM4875A User manual

Toyota PZ409-00290-00 User manual

Toyota

Toyota PZ409-00290-00 User manual

Toyota interface kit for ipod User manual

Toyota

Toyota interface kit for ipod User manual

Popular Automobile Accessories manuals by other brands

PUTCO MOLLE PANELS RAM 1500 Instruction guide

PUTCO

PUTCO MOLLE PANELS RAM 1500 Instruction guide

Tomei 194017 installation manual

Tomei

Tomei 194017 installation manual

Lancia 5P0839462A quick start guide

Lancia

Lancia 5P0839462A quick start guide

Parksafe Automotive CAMINTER15 manual

Parksafe Automotive

Parksafe Automotive CAMINTER15 manual

Motoalliance MA11915 quick guide

Motoalliance

Motoalliance MA11915 quick guide

Diamondback 270 installation guide

Diamondback

Diamondback 270 installation guide

Scosche ITCFDOSAB manual

Scosche

Scosche ITCFDOSAB manual

Dynojet Power Commander FC Installation instructions manual

Dynojet

Dynojet Power Commander FC Installation instructions manual

Metra Electronics 107-FD1B installation instructions

Metra Electronics

Metra Electronics 107-FD1B installation instructions

Whispbar K742W Fitting instructions

Whispbar

Whispbar K742W Fitting instructions

Whispbar K553W Fitting Instructions for Basic Carrier

Whispbar

Whispbar K553W Fitting Instructions for Basic Carrier

Prorack K765 Fitting Instructions for Basic Carrier

Prorack

Prorack K765 Fitting Instructions for Basic Carrier

Whispbar K389W Fitting Instructions for Basic Carrier

Whispbar

Whispbar K389W Fitting Instructions for Basic Carrier

Curtis 47587416001 Installation & owner's manual

Curtis

Curtis 47587416001 Installation & owner's manual

AA Products KSX105 instruction manual

AA Products

AA Products KSX105 instruction manual

OMNISTOR OMNIBIKE ELITE instructions

OMNISTOR

OMNISTOR OMNIBIKE ELITE instructions

Cycle Country ATV PLOW MOUNT Assembly & owners manual

Cycle Country

Cycle Country ATV PLOW MOUNT Assembly & owners manual

Subaru J101CFJ270 installation manual

Subaru

Subaru J101CFJ270 installation manual

manuals.online logo
manuals.online logoBrands
  • About & Mission
  • Contact us
  • Privacy Policy
  • Terms and Conditions

Copyright 2025 Manuals.Online. All Rights Reserved.