connection
User gUide
M8 3 female points
1
4black
NC
3
blue
- LED
brown
1
3
4
+ LED
- LED
CONTINUOUS MODE CONNECTION
FRONT VIEW OF THE PRODUCT’S CONNECTOR
!350 mA MAX
+ LED
The product has to be
plugged to a power supply
with current control,
set up at 350 mA.
P2/4 P3/4
eqUiPment secUrity
WARNING : this product needs to be supplied by a power supply with current control.
It means that the current has to be controlled, not the voltage. The maximum value of the current must
be respected. If the product is supplied with a xed voltage, it can lead to its destruction.
During the set up, the light has to be switched off
and unplugged. Please use the xing holes designed
for that purpose (see scheme above). We recommend
the using of M3 screws (not supplied) with a tightening
torque from 0.5 to 1.5 Nm. We also recommend the
use of a threadlocker (not supplied) to avoid any risk
of loosening.
fixing
dimensions
Length
(mm)
Height
(mm)
Width
(mm)
A B C
ThinLED1 23 20 13
User secUrity
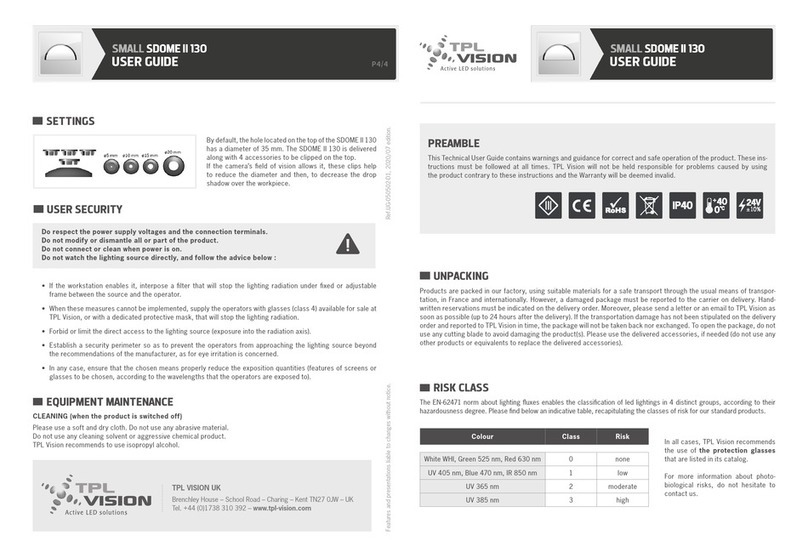
Do respect the power supply voltages
and theconnection terminals.
Do not modify or dismantle all
or part of theproduct.
Do not connect or clean when power is on.
Do not watch the lighting source directly,
and follow the advice below :
• If the workstation enables it, interpose a lter that will
stop the lighting radiation under xed or adjustable
frame between the source and theoperator.
• When these measures cannot be implemented, supply
the operators with glasses (class 4) available for sale
at TPLVision.
• Forbid or limit the direct access to the lighting source
(exposure into the radiation axis).
• Establish a security perimeter so as to prevent theope-
rators from approaching the lighting source beyond
therecommendations of themanufacturer, as for eye
irritation is concerned.
• In any case, ensure that the chosen means properly
reduce the exposition quantities (features of screens or
glasses to be chosen, according to the wavelengths that
the operators are exposed to).
eqUiPment maintenance
CLEANING (when the product is switched off)
Please use a soft and dry cloth. Do not use any abrasive material. Do not use any cleaning solvent or aggressive chemical
product. TPL Vision recommends to use isopropyl alcohol.
diffUser & Polariser
(oPtional kit)
•Inserteithertheopaqueorthesatindiffuser
into the bracket.
•Polarisation:insertclearwindowintobracket,
remove film on polariser and apply polariser
to the clear window within the bracket. Be
careful, any fingerprints on the polariser can
degrade the polarisation.
•Insert the bracket onto the ThinLED 1.
Then, use the 2 fastening screws to secure
theassembly.
DIFFUSER
POLARISER
(if required)
BRACKET
Fastening
SCREW
Fastening
SCREW
thinled 1
oPerating conditions
Not for outdoor use.
