TRAXXAS.com
Traxxas, 1100 Klein Road, Plano, TX 75074,
Traxxas encourages you to register your charger online at Traxxas.com/register.
EZ-Peak 5amp NiMH AC/DC Fast Charger
The Traxxas EZ-Peak 5amp is a versatile, easy-to-use peak-detecting charger that can be
operated with convenient AC power (100-240V) in your shop or at the track or with DC
power (12-18VDC) for field use. The EZ-Peak 5amp’s advanced software and adjustable
charge rate make it simple to charge all common NiMH and NiCad 4-8 cell (4.8-9.6V) R/C
batteries. EZ-Peak 5amp uses sophisticated peak-detecting technology to make certain
your battery pack receives a full charge for maximum performance and run time. The
built-in receiver plug port allows the EZ-Peak 5amp to charge receiver batteries without
an adapter. A 5-volt/1-amp USB port is also provided for convenient charging of phones,
music players, and other devices. DO NOT use EZ-Peak 5amp with LiPo, LiIon, or
LiFe batteries. WARNING! For best charging results and your safety, it is essential
that you read and understand these instructions before using the EZ-Peak 5amp.
Charging and discharging batteries has the potential for serious injury and damage
to property. Use care when charging and follow all instructions and cautions.
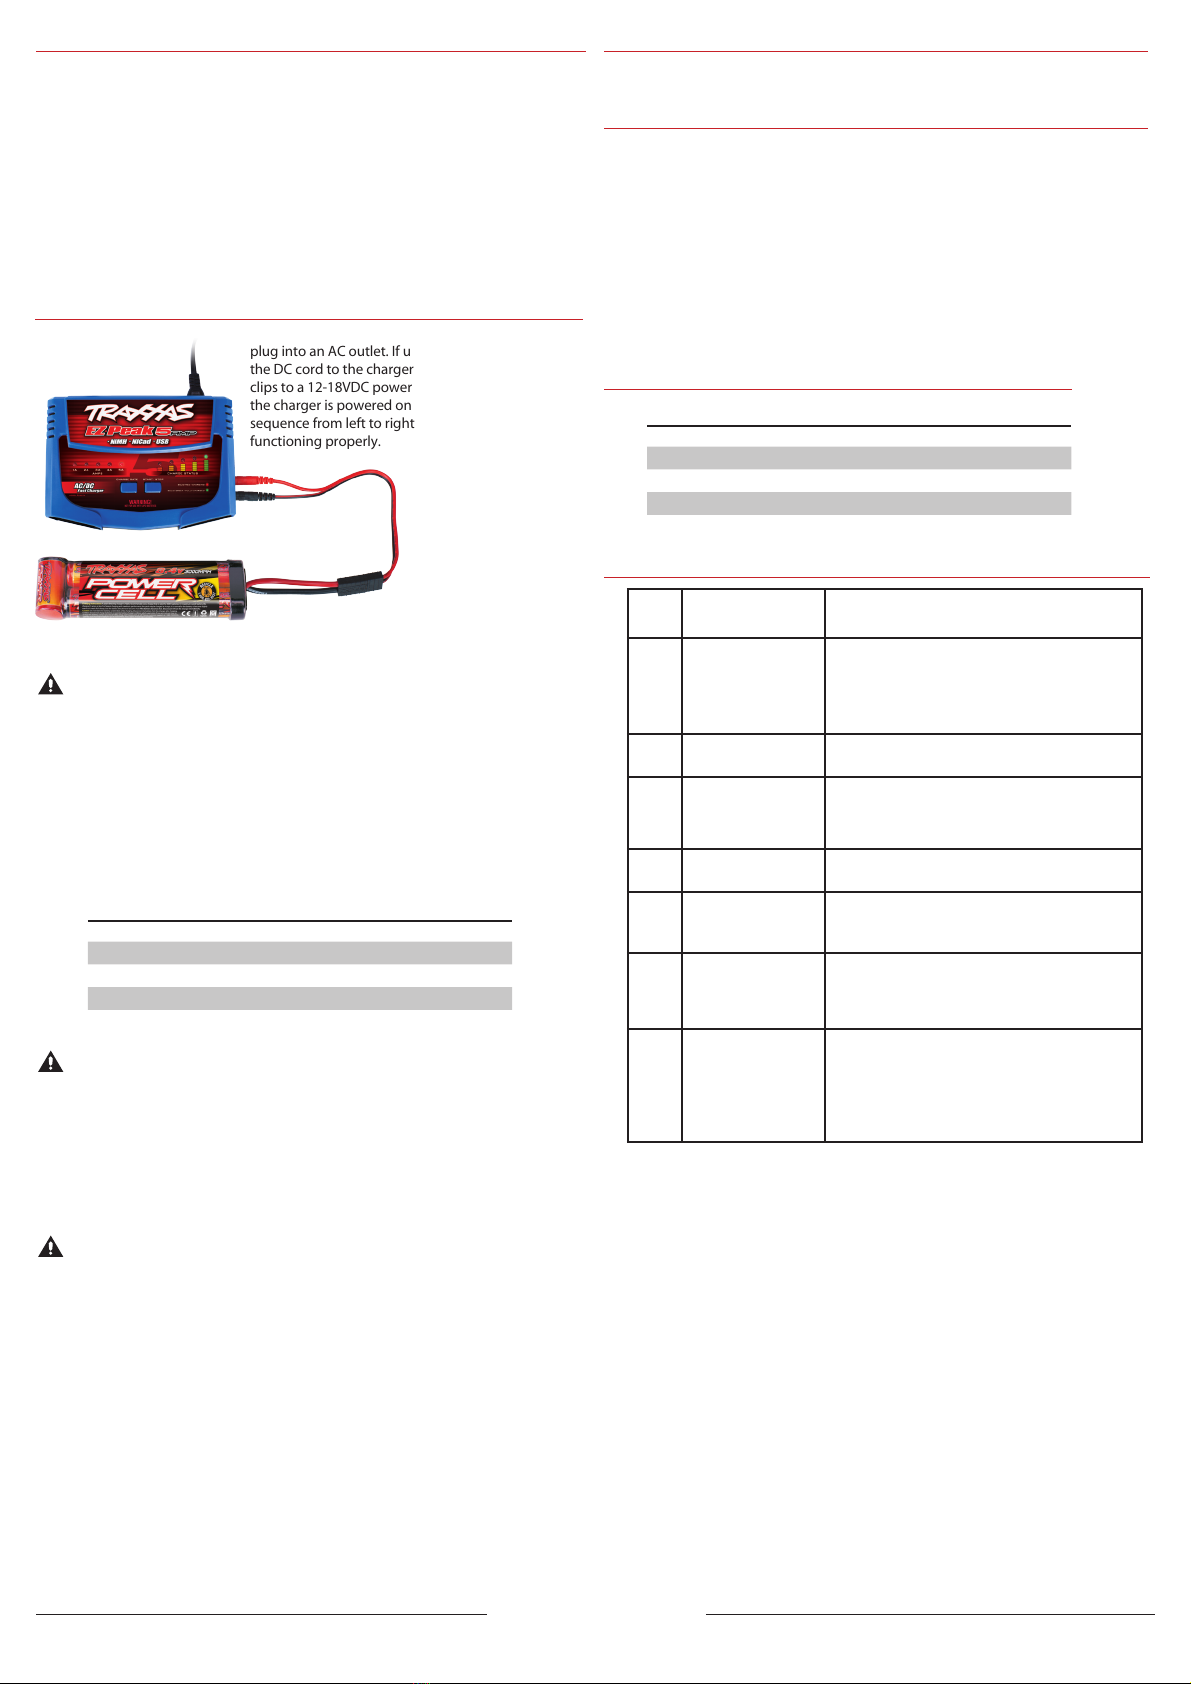
1. Plug the AC cord into the charger and insert the
plug into an AC outlet. If using DC power, connect
the DC cord to the charger and attach the alligator
clips to a 12-18VDC power supply or battery. When
the charger is powered on, the LEDs will light in
sequence from left to right to confirm all the LEDs are
functioning properly.
2. Insert the correct charge
lead for your connector
type into the Charger
Output ports. CAUTION:
Be sure to observe correct
polarity; install the red (+)
wire into the red (+) port
and the black (-) wire into
the black (-) port.
3. Plug the battery into the
charge lead.
DO NOT use the receiver port and +/- output ports simultaneously to charge a
receiver battery and another battery simultaneously. This will damage the charger.
NEVER charge receiver batteries at more than 1amp. Charging at higher charge rates
may overheat the battery, causing permanent damage.
Note: The EZ-Peak 5amp features a port for charging receiver packs. Simply plug
the receiver pack directly into the port.
4. Select the charge rate by pressing the CHARGE RATE button. The EZ-Peak 5amp will
advance to the next charge rate each time you press the button. Higher charge rates
will decrease charge time, but may reduce the battery’s cycle life. Traxxas suggests the
maximum charge rate of 5amps be used only for batteries with capacities over 3400mAh.
WARNING! NEVER charge LiPo, LiIon, or LiFe batteries with the EZ-Peak 5amp. Charging
lithium batteries with EZ-Peak 5amp will cause catastrophic battery failure, including fire.
5. Press and hold the START/STOP button to begin charging. The EZ-Peak 5amp
will beep once and the first Charge Status LED will glow to indicate charging is in
progress. Note: Regardless of the battery’s initial charge level, EZ-Peak 5amp’s Charge
Status LEDs will always light in sequence from left to right as the battery charges.
Note: If you wish to stop charging before the EZ-Peak 5amp indicates the pack is fully
charged, press and hold the START/STOP button. The EZ-Peak 5amp will beep once, and
the Charge Status LEDs will turn off to indicate charging has been halted.
WARNING! Do not leave the charger and battery unattended while charging.
Monitor the battery while charging. It is normal for the battery to become warm as it
nears full charge, but the battery should not become hot. If the battery becomes hot (over
122° F) while charging, disconnect it from the charger immediately.
6. When the EZ-Peak 5amp detects the battery is fully charged, it will beep 10 times,
and the green Charge Status LED will remain lit until the battery is disconnected.
Tip: EZ-Peak 5amp features a battery-disconnect alarm. If the battery is disconnected
while charging, EZ-Peak 5amp will beep at one-second intervals and flash the Charge
Status LEDs. To switch off the alarm, press and hold the START/STOP button.
Tip: EZ-Peak 5amp features an internal safety timer that will shut the charger off if battery
voltage peak is not detected after 90 minutes. If this occurs, the charger will display Error
Code 7. Refer to EZ-Peak 5amp Charger Error Codes for more information.
Tip: EZ-Peak 5amp beeps each time the CHARGE RATE and START/STOP buttons are
pushed. To turn this feature off, press CHARGE RATE and START/STOP at the same time.
Repeat to turn the beep feature back on.
Using the USB Port
Plug your USB-compatible device into the USB charge port to power or begin charging
your USB-compatible devices. The port may also be used while charging R/C batteries.
Charger Specifications
AC Input .................................................................................................................100-240V
DC Input ......................................................................................................................12-18V
Charge Current Range ................................................................ 1.0–5.0A (50W Max.)
NiCad/NiMH Battery Cell Count ..................................................4-8 Cells (4.8-9.6V)
Receiver Battery Charging ..................................................4-5 Cells (4.8-6.0V) at 1A
USB Charging ..............................................................................................................5V/1A
Net Weight .....................................................................................................................340g
Dimensions ......................................................................... 147mm x 104mm x 40mm
Protection .......................................... Reverse polarity, short circuit, and overload
Trickle-Charge Current................................................... 1/20 of fast-charge current
AC Power Cord .........................Type SPT-2; 2x18AWG diameter w/C7 plug type
DC Power Cord ....................... Type SPT-2; 2x18AWG diameter w/C8 plug type
Battery Voltage
EZ-Peak Charger Error Codes
Warranty Information
Traxxas electronic components are warranted to be free from defects in materials and
workmanship for a period of 30 days from the date of purchase.
Limitations: Any and all warranty coverage does not cover replacement of parts and
components damaged by abuse, neglect, improper or unreasonable use, crash damage,
water or excessive moisture, chemical damage, improper or infrequent maintenance,
accident, unauthorized alteration or modification, or items that are considered
consumable. Traxxas will not pay for the cost of shipping or transportation of a defective
charger to us. This warranty is limited to the charger only and does not cover batteries
or other accessories used in conjunction with the charger.
Traxxas Lifetime Electronics Warranty
After the expiration date of the warranty period, Traxxas will repair the EZ-Peak 5amp
for a flat rate of $30.00 U.S. plus $5.00 U.S. for shipping and handling. Other mechanical
repairs will be estimated separately. The covered repairs are limited to non-mechanical
components that have NOT been subjected to abuse, misuse, or neglect. Products
damaged by intentional abuse, misuse, or neglect may be subject to additional charges.
Traxxas liability, in no case, shall be greater than the actual purchase price of this
product. For replacement, product must be returned in brand new condition, with
packaging and itemized sales receipt.
Using the EZ-Peak 5amp Charger
Error
Code Explanation Solution
1
The battery is
disconnected from the
charger or there is a
bad connection to the
charger.
a. Check the connection between the charger and
the battery.
b. Press and hold the START/STOP button to turn
off the alarm.
2There is a short circuit
on the charge output.
Check the charge lead and the battery for a short.
3The battery polarity
is reversed.
Make sure the charge lead is connected properly to
the charger. If the charge lead is connected properly,
then check the battery wiring to ensure it is wired
correctly.
4DC input voltage is
out of range.
Check the DC voltage input. It may be too high
(greater than 18V) or too low (less than 12V).
5
The number of
battery cells is too
low.
Charger will only operate with 4-, 5-, 6-, 7-, or 8-cell
battery packs.
6
The internal charger
temperature is
too high.
Verify that the fan is operating during charging.
If it is not, the charger may overheat. If the fan is
operating correctly and you continue to receive
this error, contact Traxxas Support.
7
The internal
90-minute safety
timer has expired.
a. If the battery is very hot, discontinue use of the
charger and contact Traxxas Support.
b. The charge rate is too low. Select the charge rate
for your battery from the Maximum Recommended
Charge Rate table to ensure the safety timer does not
expire before the charge has completed.
Number of 1.2V Cells Rated Nominal Voltage
4 4.8V
5 6.0V
6 7.2V
7 8.4V
8 9.6V
Battery Capacity (mAh) Charge Rate (A)
600-1400 1
1400-2000 2
2000-2700 3
2700-3400 4
3400-5300 5
Maximum Recommended Charge Rates


