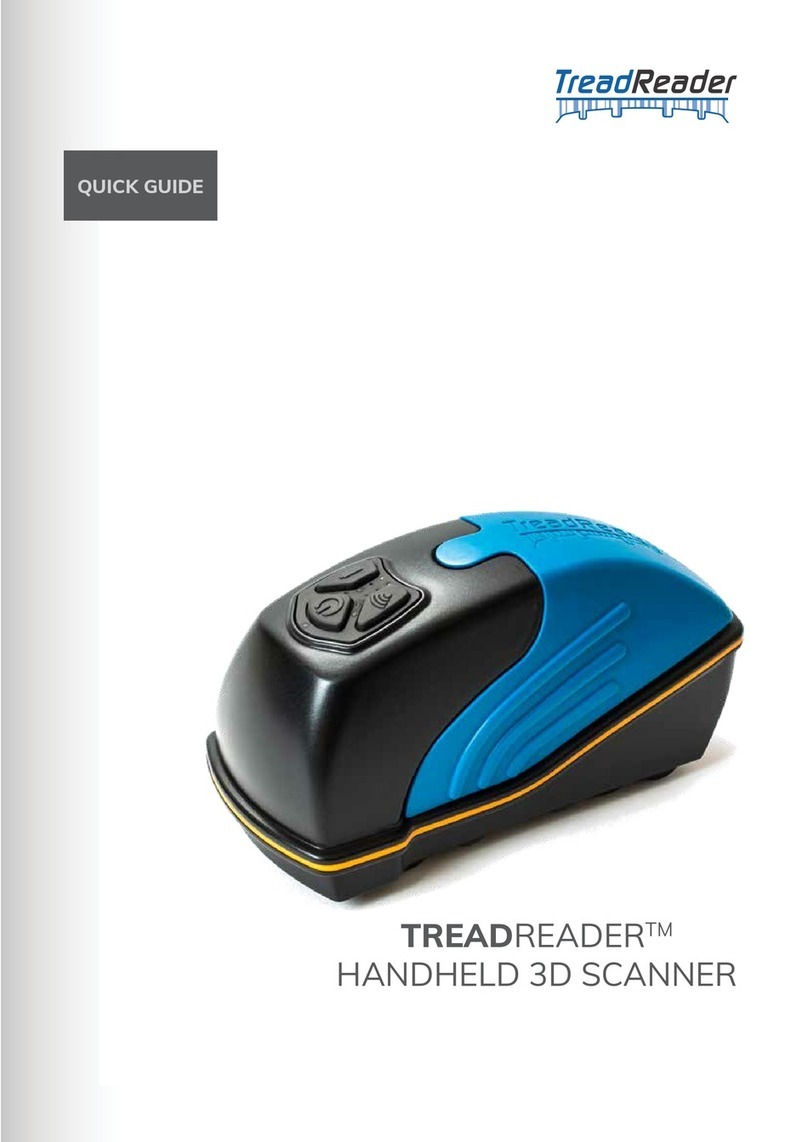
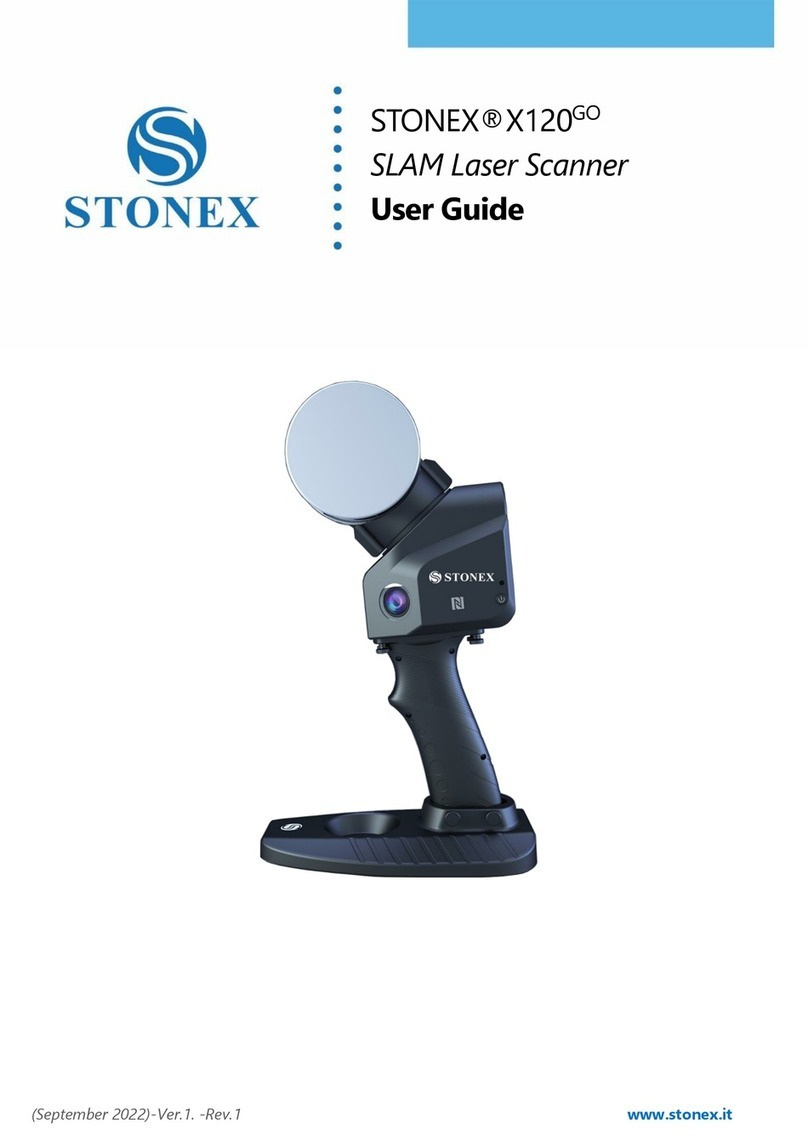
TreadReader HANDHELD User manual

TreadReader HandHeld 3D Scanner for Heavy Duty Vehicles
Operator Manual
en-GB , EAZ0155Y02A, Rev. 0

Document information
1 Operator Manual EAZ0155Y02A, Rev. 0 - en-GB
1 Document information
1.1 Document Summary
This document describes the handling of the TreadReader HandHeld 3D Scanner for use with Heavy Duty
vehicles.
1.1.1 Language
en-GB
1.1.2 Document number and Revision
EAZ0155Y02A, Rev. 0.3c
1.2 CE Marking and declaration of conformity
This product conforms to:
• EU directive 2014/30/EU – Electromagnetic conformity
• EU directive 2012/19/EU – Waste electrical and electronic equipment
• UK Electromagnetic Compatibility Regulations 2016
Snap-on Equipment S.r.l. Via Prov. Carpi, 33 2015 Correggio (RE) Italy
1.2.1 Disclaimer
Only those applications of TREADREADER™ tyre measurement products as specified within this
product literature, technical information, and warranty statements is recommended.
Snap-on accepts no liability for use of its products in applications other than those for which they are
designed. It is the responsibility of the driver, or vehicle owner, or operator, to ensure tyres have
sufficient tread depth, are defect free and are in a roadworthy condition.

Document information
EAZ0155Y02A, Rev. 0 - en-GB Operator Manual 2
Table of content
1Document information ....................................................................................... 1
1.1 Document Summary ............................................................................................................... 1
1.1.1 Language ............................................................................................................................ 1
1.1.2 Document number and Revision......................................................................................... 1
1.2 CE Marking and declaration of conformity .............................................................................. 1
1.2.1 Disclaimer............................................................................................................................ 1
2Safety Information.............................................................................................. 4
2.1 Danger, Warning, Caution definition ....................................................................................... 6
2.1.1 Laser ................................................................................................................................... 6
2.1.2 Electrical Warnings.............................................................................................................. 6
2.1.3 Mechanical Warnings .......................................................................................................... 7
2.1.4 Important notices................................................................................................................. 7
2.1.5 General Importance ............................................................................................................ 7
2.2 Safety Signs and placement ................................................................................................... 8
2.2.1 Label and label position ...................................................................................................... 8
3Specifications ................................................................................................... 10
3.1 TREADREADERTM HandHeld scanner.................................................................................12
3.2 Dimensions............................................................................................................................ 13
3.3 Main specifications ................................................................................................................ 13
3.4 Buttons and LED’s on the HandHeld scanner ...................................................................... 13
3.4.1 Buttons .............................................................................................................................. 14
3.5 Operating systems ................................................................................................................ 15
3.6 TreadReader™ mobile app................................................................................................... 15
3.7 Home screen, not connected to TreadManager™................................................................ 16
3.8 Home screen, connected to TreadManager™...................................................................... 17
4Operator information ....................................................................................... 20
4.1 TreadManager™ request, login and setup the first time....................................................... 22
4.1.1 Request a TreadManager™ account ................................................................................ 22
4.1.1.1 Send a request by email ........................................................................................... 22
4.1.1.2 Request access via TreadReader™ app .................................................................. 22
4.1.2 User profiles in TreadManager™ ...................................................................................... 24
4.2 Login to TreadManager™ in the app .................................................................................... 24
4.3 Scanner Connectivity ............................................................................................................ 26
4.3.1 Connect the scanner first time .......................................................................................... 26
4.3.2 Connect the scanner (already paired)............................................................................... 30
4.3.3 Turning OFF the scanner .................................................................................................. 33
4.3.4 Check the battery power ................................................................................................... 33

Document information
3 Operator Manual EAZ0155Y02A, Rev. 0 - en-GB
4.4 Charging................................................................................................................................ 34
4.5 Start scanning ....................................................................................................................... 36
4.6 Normal Scan.......................................................................................................................... 36
4.6.1 Create a report .................................................................................................................. 40
5Maintenance Instructions ................................................................................ 44
5.1 Cleaning ................................................................................................................................ 46
5.1.1 Cleaning the optical Window............................................................................................. 46
5.1.2 Empty stones or grit .......................................................................................................... 47
6Troubleshooting ............................................................................................... 50
6.1 LED’s and errors ................................................................................................................... 52
6.2 LED indicated errors ............................................................................................................. 52
6.2.1 Battery temperature too low. LED 5 and 10 blinking.........................................................53
6.2.2 Battery temperature too high. LED 5 and 8 blinks ............................................................53
6.2.3 Fuel gauge fault. LED 9 blinks .......................................................................................... 53
6.2.4 Charge level is too low (<1% left). LED 10 blinks ............................................................. 54
6.2.5 Battery voltage is too low (below 3.4V). LED 10 blinks..................................................... 54
6.3 Charging errors ..................................................................................................................... 54
6.3.1 Timeout error while charging completion. LED 4 and 8 blinking....................................... 55
6.3.2 Timeout error while fast charging...................................................................................... 55
6.3.3 Timeout error while slow charging .................................................................................... 55
6.4 Other faults............................................................................................................................ 56
6.4.1 Current limit exceeded. LED 8 blinks ................................................................................ 56
6.4.2 Voltage limit exceeded. LED 8 blinks................................................................................ 56
6.4.3 Error undetermined. LED 8 blinks ..................................................................................... 56

Safety Information
EAZ0155Y02A, Rev. 0 - en-GB Operator Manual 4
2 Safety Information

Safety Information
5 Operator Manual EAZ0155Y02A, Rev. 0 - en-GB

Safety Information
EAZ0155Y02A, Rev. 0 - en-GB Operator Manual 6
2.1 Danger, Warning, Caution definition
In this manual we use the following definition of Danger, Warning, Caution.
DANGER means if the danger is not avoided, it will cause death or
serious injury.
WARNING means if the warning is not heeded, it can cause death or
serious injury.
CAUTION means if the precaution is not taken, it may cause minor or
moderate injury.
2.1.1 Laser
Caution
Class 1 Laser product
Do not view the laser directly with an unprotected eye or optical instrument.
Lasers are potentially hazardous to the eye.
Caution
Class 1 Laser product
This product contains a laser that could be damaged during unauthorized
repair or disassembly, which could result in hazardous exposure to laser
radiation.
2.1.2 Electrical Warnings
Caution!
This product contains a Li-Ion battery. Do not heat or burn. Do not charge at
temperatures below 0ºC (32ºF) or over 45ºC (113ºF).
!
!

Safety Information
7 Operator Manual EAZ0155Y02A, Rev. 0 - en-GB
2.1.3 Mechanical Warnings
Caution
Avoid shock and vibration to this product. Use the wrist lanyard provided to
avoid dropping the device.
2.1.4 Important notices
Note
Only use the charger, adaptor and cable supplied with this product in order to
avoid damaging the device.
Fully charge the device battery before the first use.
A copy of the user manual can be found at treadreader.com/library.
2.1.5 General Importance
Caution
Avoid continuous exposure to dust and liquid spray to this product.
Caution!
Avoid direct exposure to aggressive substances, e.g. reactive chemicals,
cleaning agents.
Note
Do not attempt to open this product as there are no user-serviceable
parts and the warranty will be voided.
!
!
!

Safety Information
EAZ0155Y02A, Rev. 0 - en-GB Operator Manual 8
2.2 Safety Signs and placement
2.2.1 Label and label position
The following labels are affixed to this product in accordance with relevant directives.

Safety Information
9 Operator Manual EAZ0155Y02A, Rev. 0 - en-GB

Specifications
EAZ0155Y02A, Rev. 0 - en-GB Operator Manual 10
3 Specifications

Specifications
11 Operator Manual EAZ0155Y02A, Rev. 0 - en-GB

Specifications
EAZ0155Y02A, Rev. 0 - en-GB Operator Manual 12
3.1 TREADREADERTM HandHeld scanner
The TREADREADER™ HandHeld scanner is a compact and lightweight device. It is quick and easy
to use and eliminates errors associated with tread depth gauges.
The scanner is positioned on one edge of the tyre and operated by pushing it across the tread face. A
3D scan of each tyre constructed from up to 300,000 measurement points is used to calculate tread
depths with an accuracy of <0.2mm or 0.008”.
The 3D models of the tyre tread obtained using the TREADREADER™ HandHeld scanner can be
viewed, alongside the calculated tread depths, on a tablet.
A report containing vehicle identification, 3D tyre scans with colour-coded tread warning, and error
alarms for every axle and tyre position is available in TreadManager after scanning and syncing.

Specifications
13 Operator Manual EAZ0155Y02A, Rev. 0 - en-GB
3.2 Dimensions
The dimensions of the HandHeld scanner are 186mm x 96mm x 84mm or 7.3”x 3.8”x 3.3”.
3.3 Main specifications
Description
Specification
Dimensions
(LxWxH) 186mm x 96mm x 84mm (7.3” x 3.8” x3.3”)
Scan zone
50mm (2”) wide patch x 26mm (1”) max.tread depth
Weight
< 650g
Measurement accuracy
< 0.2mm (0.008”)
Laser
Class 1, 660nm, visible laser, max power output is less < 0.1mW
Operating temperature
0°C to 50°C (32°F to 122°F)
Environmental rating
IP54
Power
5V DC rechargeable Li-Ion battery
System requirement
Android® 9.0 and iOS® 13.0 (or later)
3.4 Buttons and LED’s on the HandHeld scanner
There are three buttons on the HandHeld scanner. The LED’s indicate power (on/off), connectivity,
battery level and scanner status.

Specifications
EAZ0155Y02A, Rev. 0 - en-GB Operator Manual 14
3.4.1 Buttons
Below is the general description of the use and interaction of the buttons on the HandHeld scanner.
Throughout the manual there are other uses for the buttons and combinations of button presses.
Position
Description
Function
Power (On/Off)
Holding down the power button for 2 seconds will turn the
scanner on/off.
When device is powered ON, Holding down Power button at the
same time as the Connect button, device will return to factory
settings and loose any pairing.
Connect button
This button does not have a function in normal operation.
If pressed for 3 seconds, the device will buzz 5 times and restart.
A long press, resets the link to the mobile device/App. ("Forget"
option of ScanID in the Comms list of the mobile device is
required before new connection.)
Battery Level
check button
Holding down the battery button for 1 second will indicate the
battery level as shown by the LED’s 8-9.
Power on led
Indicates that the HandHeld scanner is on.
A vibration will indicate the on/off event.
Network
mode/transmitting
data
Once paired with a mobile device, it indicates that the scanner is
transmitting data to the application
Device connected
to the application
Indicates that a connection is made to the HandHeld scanner
from the application.
Device enable
and ready for
connection
Indicates that the device is enabled. After powering the scanner
on (and this LED turning on), it needs around 7-10 seconds to be
fully ready for a connection from the mobile application.
Battery status*** / Scanner Status
67 - 100% /
Ready to scan
Shows the battery level (if the battery button is pushed down for 1
second or more)
/Indicates that the scanner is ready to scan.
34 - 66%
Shows the battery level (if the battery button is pushed down for 1
second or more).
0 - 33% / Fault
Shows the battery level (if the battery button is pushed down for 1
second or more).
/Indicates various error messages.

Specifications
15 Operator Manual EAZ0155Y02A, Rev. 0 - en-GB
3.5 Operating systems
TreadReader™ requires:
•Android® 9.0 or later
•iOS® 13.0 (or later)
TreadReader™ app released after 11.53.1.0 include the ability to upload scans to TreadManager™.
3.6 TreadReader™ mobile app
The mobile app for phones or tablets, controls the Handheld scanner and can be downloaded from
Google Play® or Apple App Store®. The following QR code can be used to get a direct link to the
TreadReader™ app.

Specifications
EAZ0155Y02A, Rev. 0 - en-GB Operator Manual 16
3.7 Home screen, not connected to TreadManager™
The Home screen, from here you could start a new Workorder or continue work on an existing
workorder. This is where you end up when you push the [Home] button.
Field for entering the truck License Plate and search field for previous
scanned vehicles or to show saved axle configurations.
The Ok button. Tap this button to start scanning the truck.
Sync button, tapping this button makes TreadReader™ sync with the
TreadManager™ database where the data of the truck is stored.
Tapping this button will show the scan performed. The list will
show the approved, and disapproved tyres, on the trucks, based on limits
set in configuration.
Tapping this button will show all layouts saved to TreadManager™.
This is the [Home] button. Tap this to jump to this Home screen.
This will open the last scan performed.

Specifications
17 Operator Manual EAZ0155Y02A, Rev. 0 - en-GB
Tap this button to go the Settings menu.
Tap the help button to open the following link:
www.treadreader.com/library
3.8 Home screen, connected to TreadManager™
In this screen the TreadReader™ App is connected to TreadManager™. This will list the scans saved
to TreadManager™.
Field for entering the truck License Plate and search field for previous
scanned vehicles or to show saved axle configurations.
The Ok button. Tap here to start scanning the truck.
Sync button, tapping this button makes TreadReader™ sync with the
TreadManager™ database where the data of the truck is stored.
Tapping this button will show the scan performed. The list will show the
approved, and disapproved tyres, on the trucks, based on limits set in
configuration.

Specifications
EAZ0155Y02A, Rev. 0 - en-GB Operator Manual 18
Tapping this button will show all layouts saved to TreadManager™. This view
does not show approved or disapproved tyres.
If coloured (not grey) it means that this data is stored locally on the device.
If coloured (not grey) it means that this data is stored in TreadManager™.
Gray means invalid scan.
Red tyre means that at least one groove was below the lowest limit set locally
in the App or synced from the TreadManager™ Workshop settings.
Amber tyre means that
means that at least one groove
is between the highest
limit (Green tyre) and above the lowest limit (Red tyre). All according to limit
set locally in the App or synced from the TreadManager™ Workshop settings.
Green tyre means that all grooves was above the highest limit set locally in
the App or synchronised from the TreadManager™ Workshop settings.
This is the [Home] button. Tap this to jump to this Home screen.
This will open the latest scan performed.
Tap this button to set the settings for TreadReader™ App.

Specifications
19 Operator Manual EAZ0155Y02A, Rev. 0 - en-GB
Other manuals for HANDHELD
2
Table of contents
Other TreadReader Scanner manuals
