manuals.online logo
Brands
  1. Home
  2. •
  3. Brands
  4. •
  5. TRIGA
  6. •
  7. Marine Equipment
  8. •
  9. TRIGA TR-LOC2100 User manual

TRIGA TR-LOC2100 User manual

PN LS10188-003TR-E:A 04/27/21 ECN: 151608
TR-LOC2100
Product Installation Document
TRIGA Life Safety Systems, LLC
7600 Olde Eight Rd, Hudson, Ohio, 44236-1057
Tel: +1 330-577-5199, Email: info@trigaglobal.com
1 Description
The TR-LOC2100 Local Operator Console is a combination ECS-RVM
Remote Voice Module and it is associated with the TR-RD2R/G keypad
annunciator which is compatible with the Emergency Communication
System.
NOTE: The installation and wiring of this device shall be done in
accordance with the NFPA 72 and the local ordinances.
Figure 1 TR-LOC2100 Cabinet
1.1 Compatibility
The TR-LOC2100 is compatible with the Triga Series, TR-2100/ECS
Fire Alarm Control Panel (FACP). For additional information, refer to
the following FACP Installation Manuals.
1.2 Electrical Ratings
The electrical ratings are as follows.
2 Mounting the Cabinet
1. Open the cabinet door, remove the dead front panel screws, and
open the dead front panel.
2. Remove the AC power and disconnect the backup batteries from
the main control panel.
3. When you mount the cabinet, two options are as follows:
• If you mount the cabinet on the interior walls, use the
appropriate screws such as #10 sheet rock or concrete screw to
anchor into plaster.
• If you mount on concrete, especially when moisture is expected,
attach a piece of ¾”(1.91cm) plywood to the concrete surface
and then attach the TR-LOC2100 to the plywood.
2.1 Surface Mounting
Use the mounting holes in the back of the cabinet to mount the cabinet
on the wall surface.
1. Using the dimensions in Figure 2, mark and pre-drill the holes in
the wall for the center top keyhole mounting bolts.
2. Place the backbox over the top screw, level or align and secure it.
3. Install the remaining fasteners and tighten the fasteners.
Figure 2 Cabinet Mounting Holes
2.2 Recessed Mounting
To recess mount the cabinet, refer to the following steps.
1. Cut a recess hole.
There should be 1.5" (3.81cm) to 1.75" (4.45 cm) space of the
cabinet extending from the wall. This space should be measured
from either the top edge or the bottom edge to the exterior side of
the sheet rock.
2. To mount the cabinet to the wall studs, insert a screw through the
cabinet’s side mounting holes and into the wall stud. Then, secure
it.
Document Document Part Number
TR-2100/ECS Manual LS10143-003TR-E
Triga ECS Manual LS10262-002TR-E
• Standby Current: 105mA
• Alarm Current: 175mA
key shaped holes
bottom mounting holes
16” (40.64cm)
26.5”
(67.31cm)
2 PRELIMINARY: TR-LOC2100 Product Installation Document — P/N LS10188-003TR-E:A 04/27/21
3. To reinstall the doors, first align the top hinge and then align the
lower hinge. See Figure 3.
Figure 3 Cabinet Door and Dead Front Panel Removal
2.3 Board Layout
Figure 4 illustrates the TR-2100 back view of the board.
Figure 4 TR-LOC2100 Board (Back View)
3 Wiring to an FACP
To properly wire the TR-LOC2100 to the FACP SBUS, refer to the
Figure 5.
Figure 5 Wiring the to the FACP
3.1 Microphone Installation
To install the microphone, do the following.
1. Clip the microphone into the microphone clip. See Figure 6.
Figure 6 Microphone with the Microphone Clip
2. Insert the microphone cord through hole on the side of the dead
front panel. See Figure 7.
3. Connect the microphone cord.
Figure 7 Microphone Cord Inserted Through the Dead Front
Panel Hole
4. Attach the strain relief clip to the microphone cord. The strain relief
clip should have about 2¾” (6.99 cm) of microphone cord through
it. See Figure 8.
.
Figure 8 Strain Relief Clip Installation
5. Push the strain into the hole in the dead front panel.
6. Restore the AC power and reconnect the backup batteries.
3.2 Optional Accessory
The optional accessory is the THUMBLTCH - Turn latch lock (it is not
intended for UL® installations).
dead
front panel
hinge pin
cabinet door
SBUS
VBUS2
VBUS1
SBUS address
DIPs
Audio
Input
Audio
Trigger
dead front panel
mounting holes
Aux
Aux
supervised
power-limited
FACP
microphone
clip
Connect
microphone
2¾
”
(6.99 cm)

Other TRIGA Marine Equipment manuals

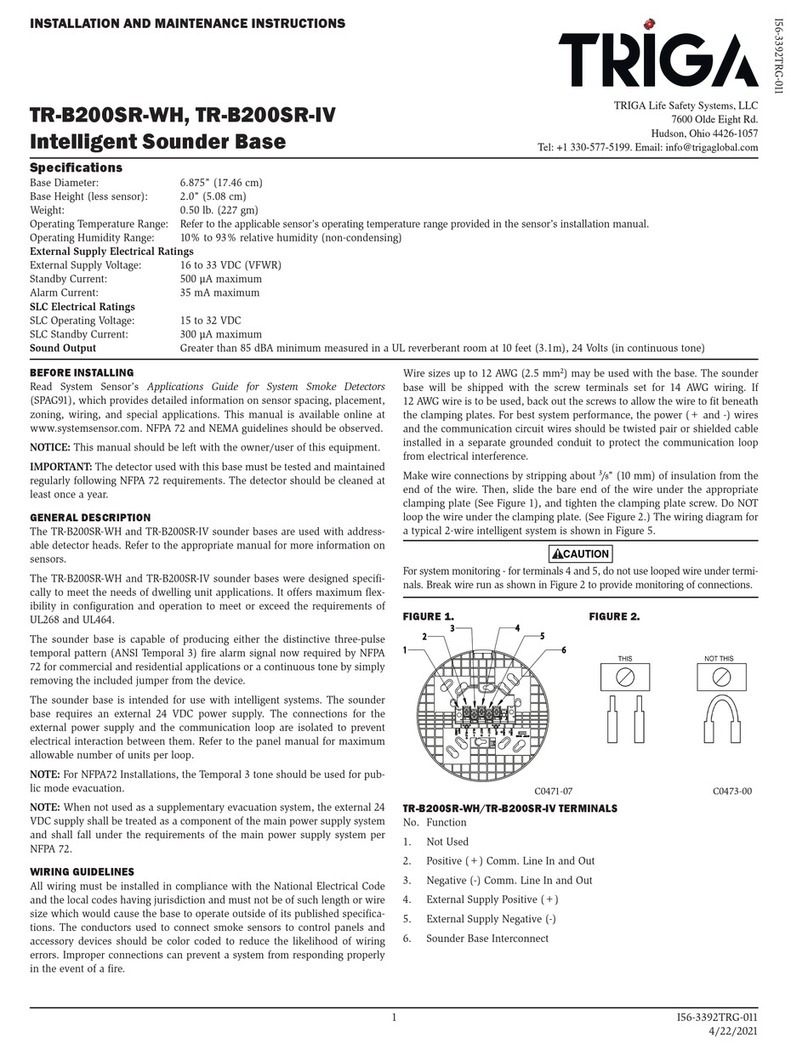
TRIGA TR-B200SR-WH User manual

TRIGA

TRIGA TR-B200SR-WH User manual

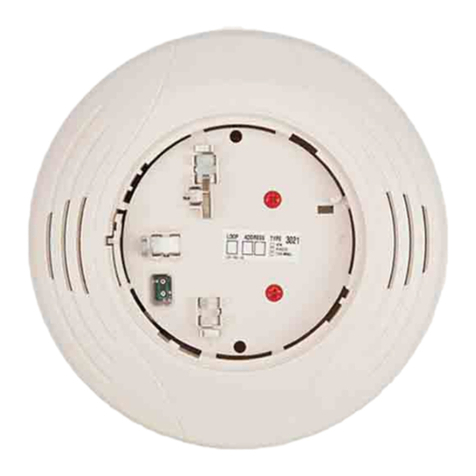
TRIGA TR-B200S-LF-WH User manual

TRIGA

TRIGA TR-B200S-LF-WH User manual

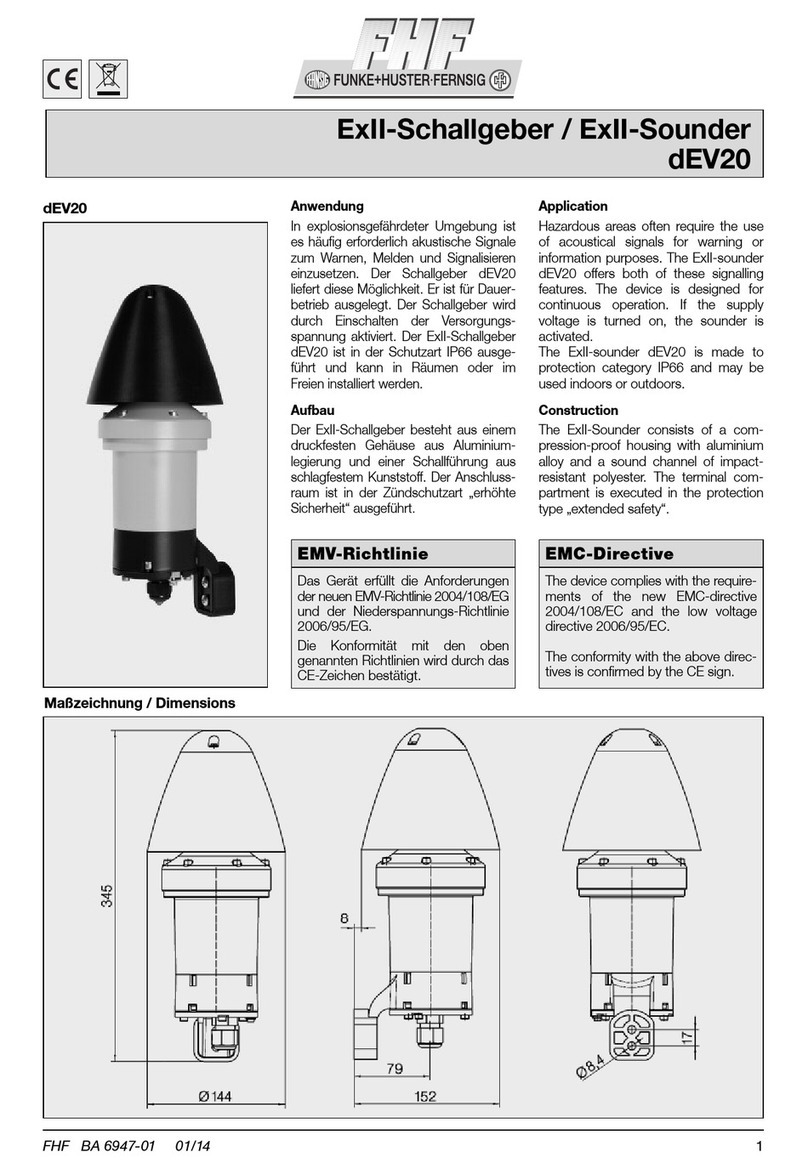
TRIGA TR-B200SR-LF-WH User manual

TRIGA

TRIGA TR-B200SR-LF-WH User manual

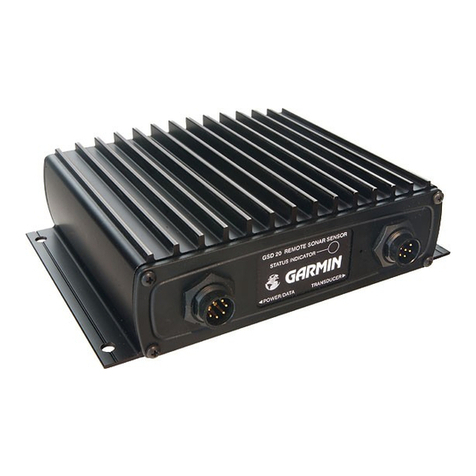
TRIGA TR-B200S-WH User manual

TRIGA

TRIGA TR-B200S-WH User manual

Popular Marine Equipment manuals by other brands

Murphy HelmView HV750 Operation manual

Murphy

Murphy HelmView HV750 Operation manual

Alamarin Jet AJ 285 Repair manual

Alamarin Jet

Alamarin Jet AJ 285 Repair manual

Boss Audio Systems MR1308UAB user manual

Boss Audio Systems

Boss Audio Systems MR1308UAB user manual

B&G RAM T2 user manual

B&G

B&G RAM T2 user manual

jotron MPA 1600 User and installation manual

jotron

jotron MPA 1600 User and installation manual

Glendinning Cablemaster User's installation and operation manual

Glendinning

Glendinning Cablemaster User's installation and operation manual

Dual MXDM70 Installation & owner's manual

Dual

Dual MXDM70 Installation & owner's manual

UniPOS FD 7204S instruction manual

UniPOS

UniPOS FD 7204S instruction manual

Texecom Premier Elite Odyssey 5-W quick start guide

Texecom

Texecom Premier Elite Odyssey 5-W quick start guide

SurTec Star-vox 22PSER001 manual

SurTec

SurTec Star-vox 22PSER001 manual

JRC JQE-103 - brochure

JRC

JRC JQE-103 - brochure

Seafloor EchoBoat 160 ASV manual

Seafloor

Seafloor EchoBoat 160 ASV manual

Simrad TP10 user guide

Simrad

Simrad TP10 user guide

AIS DNVMR10ID3S-M2-5RT user guide

AIS

AIS DNVMR10ID3S-M2-5RT user guide

Andersen 58ST FS product manual

Andersen

Andersen 58ST FS product manual

GST C-9404 quick start guide

GST

GST C-9404 quick start guide

Simrad NL - SPEED LOG REV C instruction manual

Simrad

Simrad NL - SPEED LOG REV C instruction manual

Furuno FI-70 Operator's manual

Furuno

Furuno FI-70 Operator's manual

manuals.online logo
manuals.online logoBrands
  • About & Mission
  • Contact us
  • Privacy Policy
  • Terms and Conditions

Copyright 2025 Manuals.Online. All Rights Reserved.