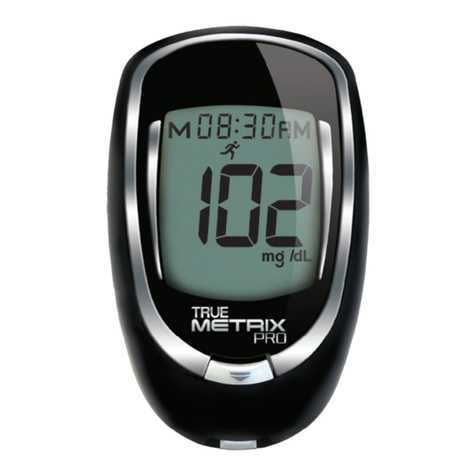
Trividia Health TRUE METRIX PRO User manual

Use only with TRUE METRIX®PRO
Blood Glucose Test Strips
Call for assistance
Monday - Friday,
8AM-8PM Eastern Standard Time
English or Spanish
1-800-803-6025
www.trividiahealth.com
© 2021 Trividia Health, Inc.
TRUE METRIX PRO and the Trividia Health
logo are trademarks ofTrividia Health, Inc.
RE4TVHP03 Rev. 54
Owner’s
Booklet
Manufactured by:
Fort Lauderdale, FL 33309 U.S.A.
PRO
Professional Monitoring
Blood Glucose System
C
M
Y
CM
MY
CY
CMY
K
TMX_PRO_OB_CVR_RE4TVHP03r54.pdf 1 5/11/21 14:14

Notes
Fast Test Guide
Expected Results for people without diabetes:
Plasma Blood Glucose Result1
Before eating < 100 mg/dL
2 hours after eating < 140 mg/dL
For quick reference only, not intended as a substitute for
complete instructions. Please read entire Owner’s Booklet
and product Instructions for Use before testing.
INSERT
TEST STRIP
1 2
APPLY
BLOOD SAMPLE
2 simple steps
Professional Monitoring
Blood Glucose System
C
M
Y
CM
MY
CY
CMY
K
TMX_PRO_OB_CVR_RE4TVHP03r54.pdf 2 5/11/21 14:14

7
Description of System
Meter
①“ ◀ ” Button
Decrease numbers in Meter Set Up; remove ALT
Symbol; move backward by date/time when viewing
results and Averages in Memory; scroll through Event
Tags to mark results (if feature on).
②“ • ” Button
Turn meter on to view Average values, to view results
in Memory, to access Meter Set Up, and turn on Event
Tags in Meter Memory.
③“ ▶ ” Button
Increase numbers in Meter Set Up; add ALT Symbol;
move forward by date/time when viewing results and
Averages in Memory; turn on Event Tags in Meter Set
Up.
Top of Meter
1 32
TMX_PRO_OB_GutsENG_RE4TVHP03r54.indd 7TMX_PRO_OB_GutsENG_RE4TVHP03r54.indd 7 5/11/21 14:135/11/21 14:13

①Display Screen
Shows results, messages, user prompts, information.
②Test Port
Insert TRUE METRIX PRO Test Strip here, contact
blocks facing up.
③Strip Release Button
Releases test strip aer testing for disposal.
④Battery Door
Use one non-rechargeable 3V lithium battery
(#CR2032), positive (“+”) side up
(see Changing Battery).
⑤Meter Label
Contains serial number of meter.
⑥Data Contacts
Connects meter with computer for data upload.
8
2
1
Front of Meter
3
4
5
Back of Meter
6
TMX_PRO_OB_GutsENG_RE4TVHP03r54.indd 8TMX_PRO_OB_GutsENG_RE4TVHP03r54.indd 8 5/11/21 14:135/11/21 14:13

9
Full Display Screen
1. Result is from Memory
2. Time, Date
3. Time is AM/PM
4. Event Tag Symbols
5. Result is from 7-, 14-, or 30-day Average
6. Test Result
7. Control Symbol
8. Battery Symbol
9. Alternate Site (ALT) Symbol
10. Drop Symbol - Apply blood or control solution
11. Temperature Symbol
12. Test Reminder Symbol
13. Ketone Test Alert Symbol
14. Unit of Measure (Note: Factory set to mg/dL,
cannot be changed by user.)
3
4
2
1
7
6
5
8
910 11 12
13
14
TMX_PRO_OB_GutsENG_RE4TVHP03r54.indd 9TMX_PRO_OB_GutsENG_RE4TVHP03r54.indd 9 5/11/21 14:135/11/21 14:13

10
①Contact End -
Insert into Test Port with contact
blocks facing up
.
②Sample Tip -
Touch Tip to top of drop of sample
(blood or control solution) aer Drop Symbol
appears in the Display.
Note: Insert test strip into meter before touching Sample
Tip to blood or control solution drop.
Sample Placement
Correct Incorrect
• Allow sample drop to be drawn into Sample Tip
until testing begins (meter beeps and dashes move
across Display)
.
• Do not smear or scrape drop with test strip.
• Do not apply more sample to Sample Tip aer testing
begins.
• Do not apply blood or control to top of test strip.
Do not insert Sample Tip with sample into Test Port.
May damage meter.
Test Strip
12
Top of Test Strip
TMX_PRO_OB_GutsENG_RE4TVHP03r54.indd 10TMX_PRO_OB_GutsENG_RE4TVHP03r54.indd 10 5/11/21 14:135/11/21 14:13

①Lot Number (LOT) - Used for identification
when calling for assistance.
②Expiration Dates (EXP) - Write date first opened
on vial label. Discard vial and unused test strips
if either the open vial expiration date or the date
printed next to EXP on vial label has passed,
whichever comes rst. See the test strip Instruc-
tions for Use for open vial expiration date.
Caution! Use of test strips or control solution past the
Expiration Dates may give incorrect test
results. Discard out-of-date products and test
with new products.
③Control Test Range - Range of numbers in
which Control Test result must fall to assure the
system is working properly.
11
Test Strip Vial Label
1
2
3
May 30, 2022
2
TMX_PRO_OB_GutsENG_RE4TVHP03r54.indd 11TMX_PRO_OB_GutsENG_RE4TVHP03r54.indd 11 5/11/21 14:145/11/21 14:14

12
Control Bottle Label
①Lot Number (LOT) - Used for identification
when calling for assistance.
②Expiration Dates (EXP) - Write date first opened
on bottle label. Discard bottle if either 3 months
aer rst opening or date printed next to EXP on
bottle label has passed, whichever comes rst.
③Control Solution Level (1, 2, or 3) - We
recommend testing at least 2 levels of control
solution. Call 1-800-803-6025, Monday - Friday,
8AM-8PM EST, for assistance in obtaining
dierent levels of control solution.
Control Solution (Control)
12
3
May 30, 2022
TMX_PRO_OB_GutsENG_RE4TVHP03r54.indd 12TMX_PRO_OB_GutsENG_RE4TVHP03r54.indd 12 5/11/21 14:145/11/21 14:14

Contact Blocks
Face Up
13
Quality Control Testing
To assure accurate and reliable results,
TRUE METRIX PRO oers two kinds
of Quality Control Tests. ese tests
ensure that TRUE METRIX PRO is
working properly and testing technique
is good.
Automatic Self-Test
An Automatic Self-Test is performed
by the meter each time a test strip is
inserted correctly into the Test Port.
Insert a test strip into the Test Port.
e meter is working properly if:
~ the full Display appears, then
~ the time appears in the upper
part of the Display, and then,
~ the Drop Symbol begins to blink.
If an error message appears in the Display,
the meter will not perform a test.
See Troubleshooting or call for assistance
(see Booklet cover for phone number).
Caution! If any segments are missing in the Display
when meter is first turned on, do not use the
meter for testing. Call for assistance.
Full Display
Drop Symbol
Error Message
TMX_PRO_OB_GutsENG_RE4TVHP03r54.indd 13TMX_PRO_OB_GutsENG_RE4TVHP03r54.indd 13 5/11/21 14:145/11/21 14:14

14
Control Test
We recommend performing Control Tests to check the
performance of the system.
Control Tests should be performed:
• Before using the System for the rst time,
• For practice to ensure testing technique is good,
• When opening a new vial of test strips,
• If results seem unusually high or low, based on
patient's condition,
• If a vial has been le opened or exposed to extreme
heat or cold, or humidity,
• Whenever a check on the performance of the system is
needed,
• If meter damage is suspected (meter was dropped,
crushed, wet, etc.).
Note: It is important to perform Control Tests with more
than one level of control solution. ree levels of
TRUE METRIX Control Solution are available
for Control Tests. Call 1-800-803-6025, Monday -
Friday, 8AM-8PM EST, for assistance in obtaining
dierent levels of control solution.
Caution! Ranges printed on test strip vial label are for
Control Test results only and are not to be used
for management of patient’s blood glucose.
Do not drink control solution.
TMX_PRO_OB_GutsENG_RE4TVHP03r54.indd 14TMX_PRO_OB_GutsENG_RE4TVHP03r54.indd 14 5/11/21 14:145/11/21 14:14

How to Test Control Solution
Use ONLY TRUE METRIX Control Solution with
the TRUE METRIX PRO Meter and Test Strips.
1. Check dates on control solution label
and test strip vial label. Do not use
control solution or test strips if
Expiration Dates have passed.
(Control solution - 3 months aer
rst opening or date next to EXP on
bottle label; test strips – aer open
vial expiration date (see test strip
Instructions for Use) or date next to
EXP on vial label.) Discard expired
products and use new products.
2. Allow control solution, vial of test strips and
meter to adjust to room temperature. Write date
first opened on both control solution bottle label
and test strip vial label.
3. Gently swirl or invert control solution bottle to
mix.
DO NOT SHAKE!
4. Remove one test strip from vial. Close strip vial
immediately. Use test strip quickly aer removal
from vial.
15
May 30, 2022
TMX_PRO_OB_GutsENG_RE4TVHP03r54.indd 15TMX_PRO_OB_GutsENG_RE4TVHP03r54.indd 15 5/11/21 14:145/11/21 14:14

16
5. Insert test strip into Test Port.
Meter turns on.
Note:
If test strip has been out of the vial
too long before testing, an error
message appears upon insertion
of the test strip into the meter.
Release and discard old test strip.
Use new test strip for testing.
6. Wait until Drop Symbol appears in
Display. Keep test strip in meter until
testing is finished.
Note: If Strip is removed before testing is finished, an error
message appears. Release and discard old test strip.
Use new test strip for testing.
7. With cap removed, turn control
solution bottle upside down.
Squeeze one drop of control
solution onto a clean tissue. Wipe
o bottle tip and discard tissue.
8. Gently squeeze a drop of control
solution onto a small piece of
unused aluminum foil or clear
plastic wrap. Dispose aer use.
LB0010
9 JUNE 2009
Contact Blocks
Face Up
Drop Symbol
TMX_PRO_OB_GutsENG_RE4TVHP03r54.indd 16TMX_PRO_OB_GutsENG_RE4TVHP03r54.indd 16 5/11/21 14:145/11/21 14:14

9. With test strip still in meter, touch
edge of Sample Tip to top of drop of
control solution. Allow drop to be
drawn into test strip. Remove test
strip from drop when meter beeps.
10. Dashes appear across the Display to
show meter is testing.
Note:If meter does not beep and begin
testing soon aer drawing up sample,
release and discard test strip. Repeat
test with new test strip. If problem
persists, see Troubleshooting.
11. Compare meter result to
Control Test range printed on
test strip vial label for level of
control solution you are using.
If result is in range, system can
be used for testing blood. If
result does not fall within
range, repeat test using a new
test strip.
Note: Control Test result shows the
Control Symbol in the Display.
17
Meter testing
(Example only.
Does not represent actual
Control Test ranges.)
Control Symbol
Test Strip
Vial Label
Control Solution
Bottle Label
TMX_PRO_OB_GutsENG_RE4TVHP03r54.indd 17TMX_PRO_OB_GutsENG_RE4TVHP03r54.indd 17 5/11/21 14:145/11/21 14:14

CAUTION! If Control Test result is outside range,
test again. If result is still outside range,
system should not be used for testing
blood. Call for assistance (see Booklet
cover for phone number).
12. Aer result is shown, Strip
Release Button flashes. Hold
meter with test strip pointing
down. Press Strip Release Button
to release and discard test strip
into appropriate container. Meter
turns o.
Note:Removing test strip before result displays
cancels the test. An error message appears and
the result is not stored in Memory. Retest with
a new test strip and do not remove before result
is displayed.
18
TMX_PRO_OB_GutsENG_RE4TVHP03r54.indd 18TMX_PRO_OB_GutsENG_RE4TVHP03r54.indd 18 5/11/21 14:145/11/21 14:14

19
Blood Glucose Testing
Obtaining a Blood Sample
Refer to your facility approved method for lancing to
obtain a blood sample for blood glucose testing.
Follow the facility's precautions for blood-borne
pathogens or refer to Biosafety in Microbiological and
Biomedical Laboratories (BMBL) practice guidelines at
http://www.cdc.gov/biosafety/publications/bmbl5/ .
"Protection of Laboratory Workers From Occupationally
Acquired Infections, Approved Guidelines - ird Edition."
Clinical and Laboratory Standards Institute (CLSI) M29-A3
.
Venous whole blood collected only in sodium heparin
tubes may be used for testing. Mix well before use.
DO NOT use sodium uoride (grey top) vacutainer
tubes. is may cause false low glucose results.
Caution!
• ALL parts of the TRUE METRIX PRO
blood glucose monitoring system could carry
blood-borne pathogens aer use, even aer
cleaning and disinfecting.
2
• You should clean and disinfect the meter aer
each use to prevent the transmission of blood-
borne pathogens.
• ONLY use auto-disabling single use lancing
devices/lancets to obtain capillary blood sample.
• A new pair of gloves should be worn before
obtaining blood sample from each patient.
TMX_PRO_OB_GutsENG_RE4TVHP03r54.indd 19TMX_PRO_OB_GutsENG_RE4TVHP03r54.indd 19 5/11/21 14:145/11/21 14:14

20
Tips for Fingertip Sampling
1. Select ngertip. Clean area with soap and warm
water, rinse or use an approved disinfectant to clean
the area. Dry thoroughly.
2. Lance nger.
3. To help blood drop form, lower the hand to a level
below the heart and gently massage the nger from
palm to ngertip. Allow the blood drop to form
before attempting to apply the test strip. Apply sample
to Sample Tip.
4. Discard all biohazard materials into appropriate
container. Wash hands aer taking o gloves.
TMX_PRO_OB_GutsENG_RE4TVHP03r54.indd 20TMX_PRO_OB_GutsENG_RE4TVHP03r54.indd 20 5/11/21 14:145/11/21 14:14

21
Tips for Forearm Sampling
Important Notes Regarding Forearm Testing
4
• Check with the patient's Doctor or Diabetes
Healthcare Professional to see if forearm testing is
appropriate for the patient.
• Results from the forearm are not always the same as
results from the nger.
• Use nger for testing instead of forearm for more
accurate results:
~ Within 2 hours of eating, exercise, or taking insulin,
~ If the patient’s blood glucose may be rising or falling
rapidly or their results oen uctuate,
~ If the patient is ill or under stress,
~ If the glucose result may be low or high,
~ If symptoms of low or high glucose levels are not
evident.
1. Select area. Clean the area with soap and warm water,
rinse or use an approved disinfectant. Dry thoroughly.
2. Rub area vigorously or apply a warm, dry compress to
increase blood ow.
3. Lance forearm. Apply sample to Sample Tip.
4. Discard all biohazard materials into appropriate
container. Wash hands aer taking o gloves.
Caution! Used test strips and lancets are considered
biohazardous. Dispose used test strips and
lancets into approved biohazard container.
TMX_PRO_OB_GutsENG_RE4TVHP03r54.indd 21TMX_PRO_OB_GutsENG_RE4TVHP03r54.indd 21 5/11/21 14:145/11/21 14:14

22
How to Test Blood
1. Check dates on test strip vial being used. Do not use
if either the open vial expiration date (see test strip
Instructions for Use) or the date printed next to
EXP on vial label has passed, whichever comes rst.
2. Clean the area to be lanced with an approved
disinfectant. Dry thoroughly.
3. Remove one Strip from vial. Close vial
immediately. Use test strips
quickly aer removal from vial.
4. With meter o, insert test strip
Contact End (blocks facing up)
into Test Port. Meter turns on.
Keep test strip in meter until
testing is finished.
To mark test as alternate site
(forearm) result, press “ ▶ ”
Button. ALT Symbol appears in
Display. Press “ ◀ ” Button to
remove ALT Symbol.
5. Wait until Drop Symbol appears
in Display.
Note:
If test strip has been out of the vial too long
before testing, an error message appears upon
insertion of the test strip into the meter. Release
and discard old test strip. Use new test strip for
testing.
ALT
Symbol
Drop
Symbol
TMX_PRO_OB_GutsENG_RE4TVHP03r54.indd 22TMX_PRO_OB_GutsENG_RE4TVHP03r54.indd 22 5/11/21 14:145/11/21 14:14

23
6. Obtain the blood sample.
Allow drop to form
(see Obtaining a Blood Sample).
7. With test strip still in meter, touch
Tip of test strip to top of blood drop
and allow blood to be drawn into test
strip. Remove Sample Tip from blood
drop immediately aer the meter
beeps and dashes appear across the
meter Display.
Note: If meter does not begin testing soon aer touching
Sample Tip to drop, discard test strip. Repeat test
with new test strip and new blood drop. If problem
persists, see Troubleshooting.
8. Dashes appear across Display
to show meter is testing.
9. Aer the test is finished, result is
displayed. e Strip Release Button
flashes. Record result as required by
your facility.
TMX_PRO_OB_GutsENG_RE4TVHP03r54.indd 23TMX_PRO_OB_GutsENG_RE4TVHP03r54.indd 23 5/11/21 14:145/11/21 14:14

24
10. Hold meter with test strip pointing
down. Press Strip Release Button to
discard test strip in the appropriate
container. Meter turns o. Result
is stored in Memory with date and
time.
11. Discard all biohazard materials into appropriate
container. Wash hands aer taking o gloves.
Note: Removing test strip before result displays cancels
the test. An error message appears and result is not
stored in Memory. Retest with a new test strip and do
not remove before result is displayed.
Caution! Used test strips and lancets are considered
biohazardous. Dispose used test strips and
lancets in approved biohazard container.
TMX_PRO_OB_GutsENG_RE4TVHP03r54.indd 24TMX_PRO_OB_GutsENG_RE4TVHP03r54.indd 24 5/11/21 14:145/11/21 14:14
Other manuals for TRUE METRIX PRO
1
Table of contents
Other Trividia Health Blood Glucose Meter manuals
Trividia Health
Trividia Health TRUE METRIX PRO User manual
Trividia Health
Trividia Health TRUE METRIX GO User manual
Trividia Health
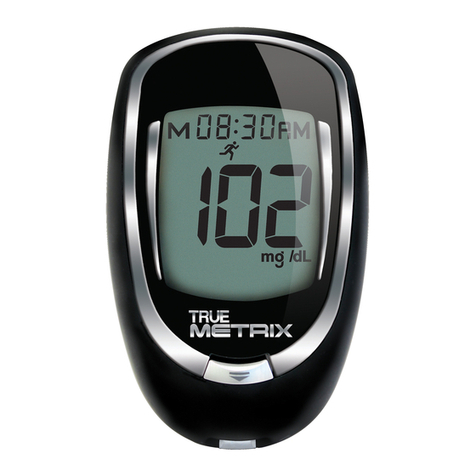
Trividia Health True Metrix User manual
Trividia Health
Trividia Health True Metrix User manual
Trividia Health
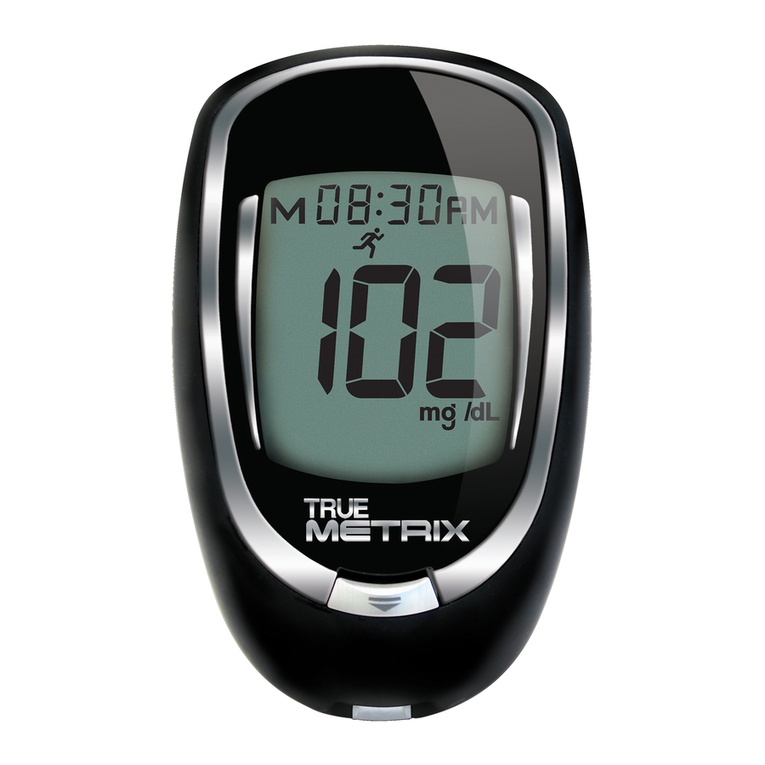
Trividia Health Metrix User manual
Trividia Health
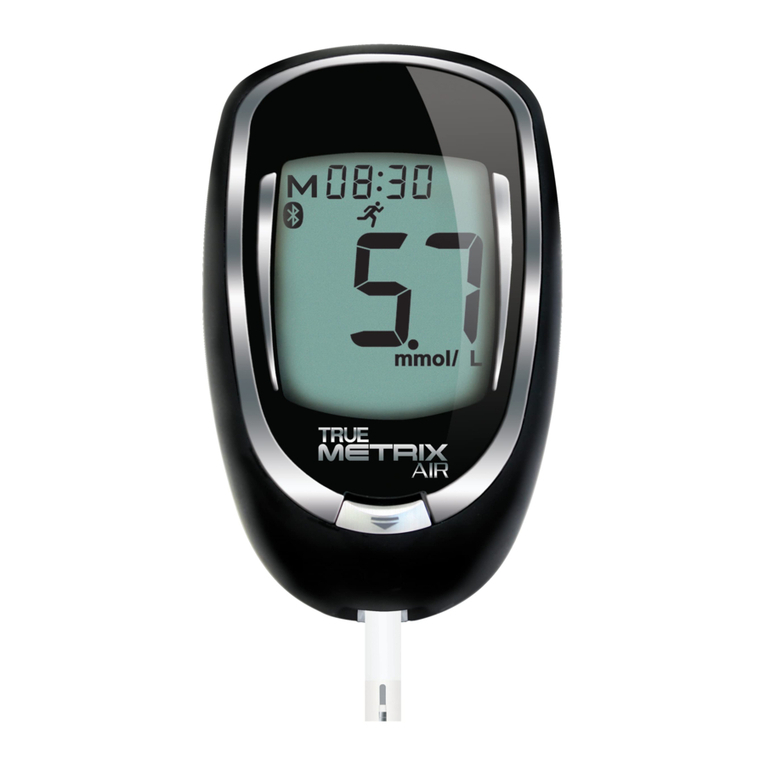
Trividia Health True Metrix User manual

Trividia Health
Trividia Health True Metrix User manual
Trividia Health
Trividia Health TRUEbalance User manual
Trividia Health
Trividia Health TRUEtrack User manual
Trividia Health
Trividia Health STADA Gluco Result User manual

