manuals.online logo
Brands
  1. Home
  2. •
  3. Brands
  4. •
  5. Trojan
  6. •
  7. Home Gym
  8. •
  9. Trojan Stealth 3100 User manual

Trojan Stealth 3100 User manual

Other Trojan Home Gym manuals

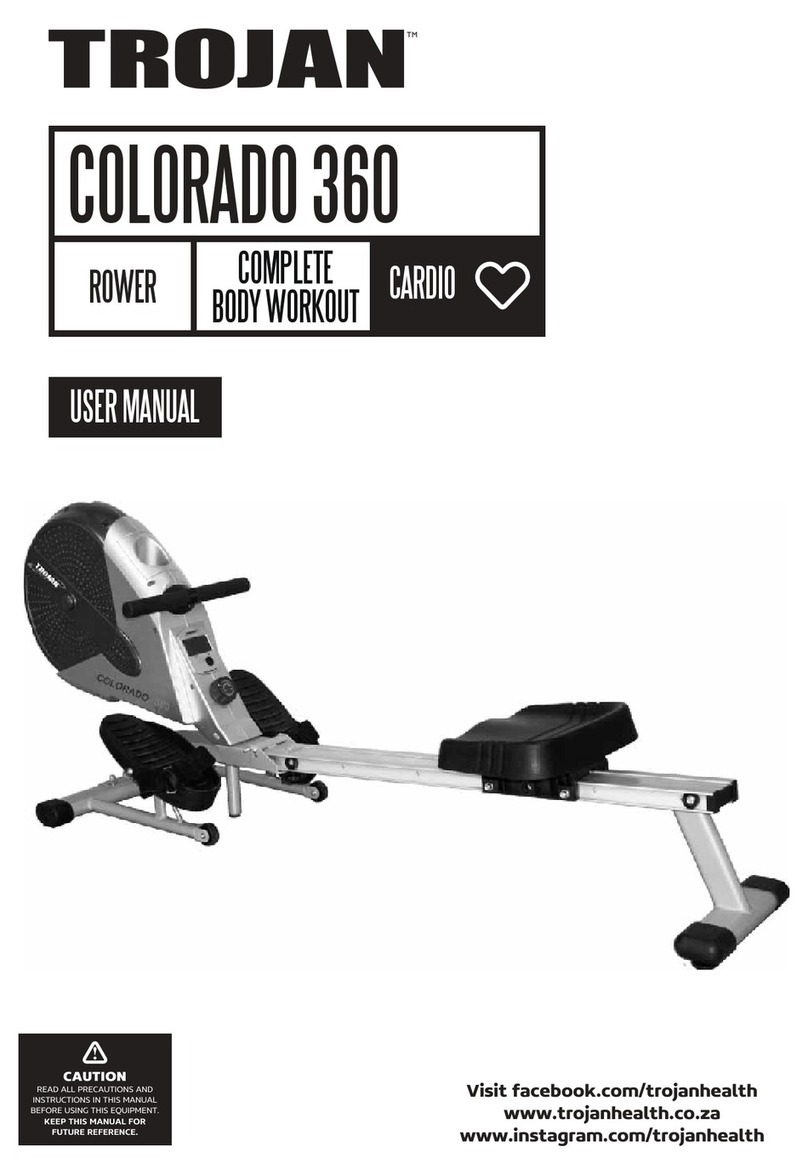
Trojan Colorado 370 User manual

Trojan

Trojan Colorado 370 User manual

Trojan iSMART 600 Installation guide

Trojan

Trojan iSMART 600 Installation guide

Trojan CONCEPT 200 Installation guide

Trojan

Trojan CONCEPT 200 Installation guide

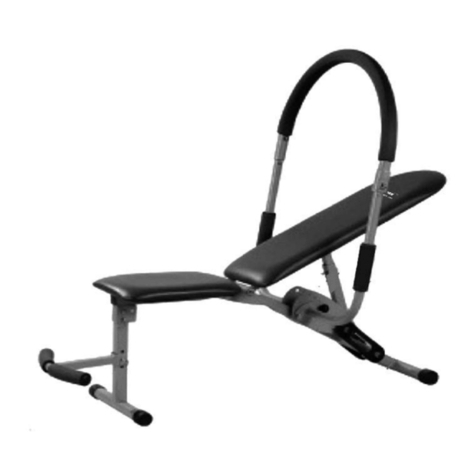
Trojan AB BURNER 200 Installation guide

Trojan

Trojan AB BURNER 200 Installation guide

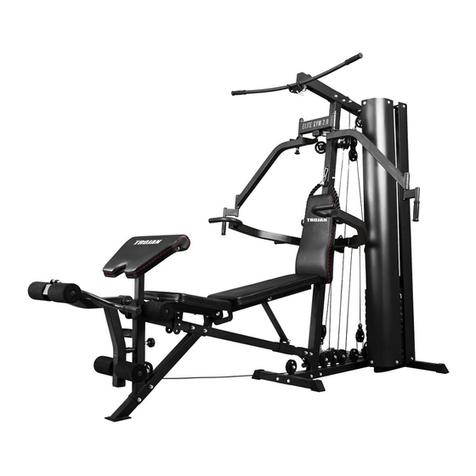
Trojan ELITE GYM 2.0 User manual

Trojan

Trojan ELITE GYM 2.0 User manual

Trojan CONTENDER 320 User guide

Trojan

Trojan CONTENDER 320 User guide

Trojan POWER STACK 500 Assembly instructions

Trojan

Trojan POWER STACK 500 Assembly instructions

Trojan BODY CHAMP 350 Installation guide

Trojan

Trojan BODY CHAMP 350 Installation guide

Trojan Power Stack 510 Installation guide

Trojan

Trojan Power Stack 510 Installation guide

Trojan ELITE GYM 1.0 User manual

Trojan

Trojan ELITE GYM 1.0 User manual

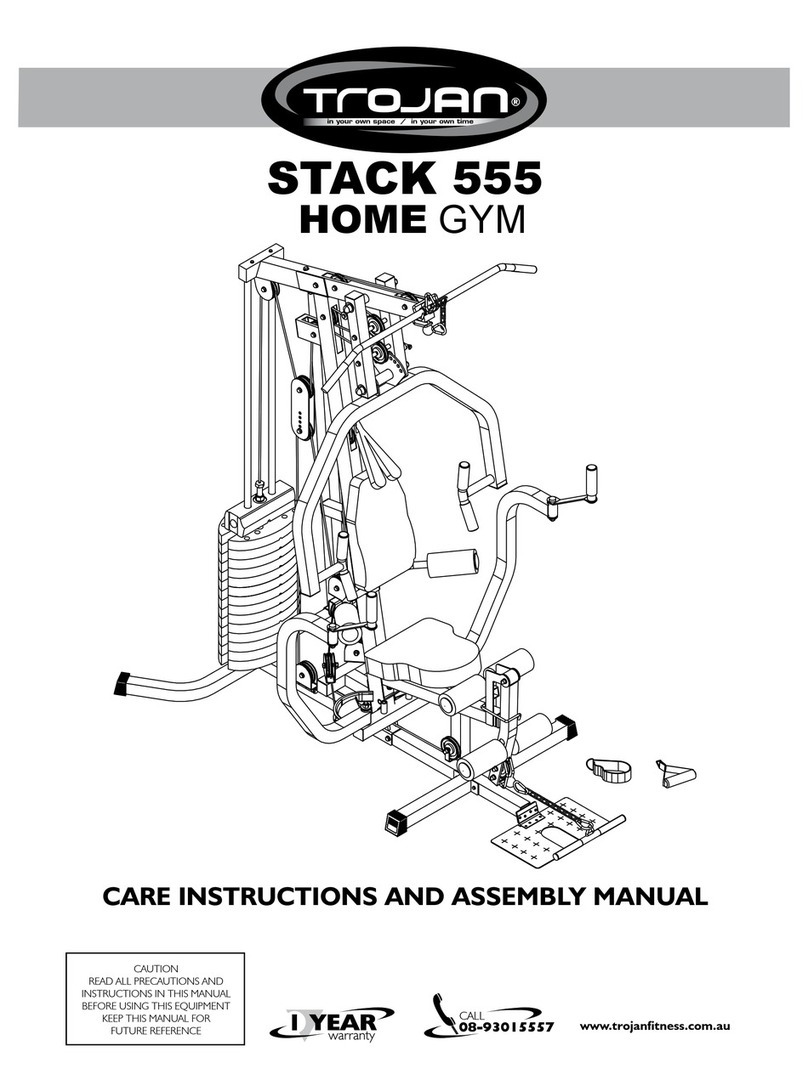
Trojan Stack 555 Installation guide

Trojan

Trojan Stack 555 Installation guide

Trojan RECUMBENT 400 User manual

Trojan

Trojan RECUMBENT 400 User manual

Trojan OLYMPIAD 300 Installation guide

Trojan

Trojan OLYMPIAD 300 Installation guide

Trojan Challenger 150 User guide

Trojan

Trojan Challenger 150 User guide

Trojan ELITE GYM 1.0 User manual

Trojan

Trojan ELITE GYM 1.0 User manual

Trojan FOCUS 360 User guide

Trojan

Trojan FOCUS 360 User guide

Trojan VISION 360 Installation guide

Trojan

Trojan VISION 360 Installation guide

Trojan POWER RACK 400 Installation guide

Trojan

Trojan POWER RACK 400 Installation guide

Trojan LEVERAGE 100 Installation guide

Trojan

Trojan LEVERAGE 100 Installation guide

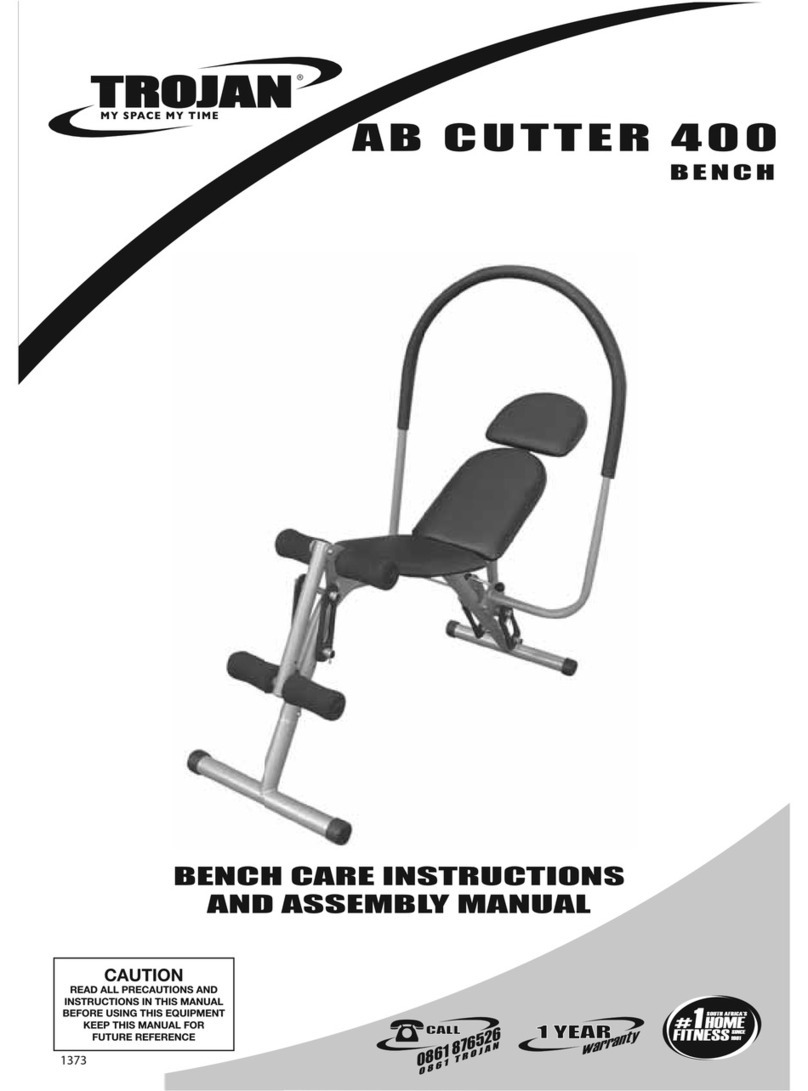
Trojan AB CUTTER 400 Installation guide

Trojan

Trojan AB CUTTER 400 Installation guide

Trojan CHALLENGER 140 Installation guide

Trojan

Trojan CHALLENGER 140 Installation guide

Trojan SIT UP 100 Installation guide

Trojan

Trojan SIT UP 100 Installation guide

Trojan VISION 350 User guide

Trojan

Trojan VISION 350 User guide

Trojan AB CRUNCH 100 Installation guide

Trojan

Trojan AB CRUNCH 100 Installation guide

Popular Home Gym manuals by other brands

T.D.S. 3501 Assembly instructions

T.D.S.

T.D.S. 3501 Assembly instructions

Body Solid EXM1950 Assembly instructions

Body Solid

Body Solid EXM1950 Assembly instructions

Horizon Fitness OXFORD 6 manual

Horizon Fitness

Horizon Fitness OXFORD 6 manual

Energetics Multi Trainer 5.1 owner's manual

Energetics

Energetics Multi Trainer 5.1 owner's manual

Precor Discovery Series owner's manual

Precor

Precor Discovery Series owner's manual

Matrix MG-PL Series Service manual

Matrix

Matrix MG-PL Series Service manual

Reebok Tbr2i Manuale d'istruzioni

Reebok

Reebok Tbr2i Manuale d'istruzioni

Weider 8300 Hard Drive manual

Weider

Weider 8300 Hard Drive manual

Pure Fitness 8526HE owner's manual

Pure Fitness

Pure Fitness 8526HE owner's manual

Weider 8700 I Bedienungsanleitung

Weider

Weider 8700 I Bedienungsanleitung

Bowflex Sport 001-6961 Assembly instructions

Bowflex

Bowflex Sport 001-6961 Assembly instructions

NordicTrack E8200 Competition Bench Bedienungsanleitung

NordicTrack

NordicTrack E8200 Competition Bench Bedienungsanleitung

Insportline RW600 user manual

Insportline

Insportline RW600 user manual

Weider WEMC10161 user manual

Weider

Weider WEMC10161 user manual

Body Solid GHYP-345 owner's manual

Body Solid

Body Solid GHYP-345 owner's manual

Evo TAHOE 5105 user manual

Evo

Evo TAHOE 5105 user manual

ParaBody 40 Assembly instructions

ParaBody

ParaBody 40 Assembly instructions

JLL Ventus Pro Air Power instruction manual

JLL

JLL Ventus Pro Air Power instruction manual

manuals.online logo
manuals.online logoBrands
  • About & Mission
  • Contact us
  • Privacy Policy
  • Terms and Conditions

Copyright 2025 Manuals.Online. All Rights Reserved.

OWNER'S MANUAL
INCLUDES:
* PARTS LIST
* EXPLODED VIEW
* ASSEMBLY STEPS
BIG WINDOW DISPLAY & HAND
PULSE SENSOR FOR USER'S
CONVENIENCE!!
For your benefit, read this manual carefully before you use the cycle!!
Retain this manual for future reference.
◄1 ►
◆
◆
I
IM
MP
PO
OR
RT
TA
AN
NT
T
P
PR
RE
EC
CA
AU
UT
TI
IO
ON
NS
S
◆
◆
W
WA
AR
RN
NI
IN
NG
G!
!!
!
1. It is the responsibility of the owner to ensure that all the users are adequately informed of all
precautions. Use the exercise cycle only as described in this manual.
2. Use indoors on a level surface. Keep the cycle away from moisture and dust. Place a mat under
to protect the floor or carpet.
3
. Inspect and tighten all parts regularly. Replace any worn parts immediately.
4
. Keep children under the age of 12 and pets away from this cycle at all times.
5
. The cycle should not be used by persons weighing more than 112.5kg. (250 lbs)
6. Wear appropriate clothing when exercising; do not wear loose clothing that could become
caught on the cycle. Always wear athletic shoes when using.
7
. If you feel pain or dizziness while exercising, stop immediately and cool down.
8. The pulse sensor is not a medical devise. Various factors, including the user’s movement may
affect the accuracy of heart rate readings. The pulse sensor is intended only as an exercise aid
in determining heart rate trends in general.
9. The exercise cycle is intended for in-home use only. Do not use in a commercial, rental, or
institutional setting.
11. Befor e beginning this or any exercise program, consult your physician. This is especially
important for persons over the age of 35 or persons with pre-existing health problems. Read all
instructions before using. Trojan assumes no responsibility for personal injury or property
damage sustained by or through the use of this product.
B
BE
EF
FO
OR
RE
E
Y
YO
OU
U
B
BE
EG
GI
IN
N
Congratulation for selecting the exercise cycle.
Cycling is one of the most effective exercises for
increasing cardiovascular fitness, building endurance
and toning the entire body. The exercise cycle offers
an impressive array of features designed to let you
enjoy this healthful exercise in the comfort and
privacy of your own home.
Before reading further, please familiarize yourself
with parts labeled in the drawing.
◆
◆
P
PA
AR
RT
TS
S
L
LI
IS
ST
T
◆
◆
N
NO
OT
TE
E!
!!
!
Some parts may have been pre-assembled for shipping purpose. If a parts is not found in the
parts bag, check to see if it has been pre-assembled.
Place all parts of the exercise cycle in a cleared area and remove the packaging materials until
assembly is completed.
Assembly tools and batteries are included.
◄2 ►
NO. DESCRIPTION Q'TY NO. DESCRIPTION Q'TY
1 MAIN FRAME 1 15 NOT APPLICABLE ON THIS MODEL 1
2 FRONT STABILIZER 1 16 DOMED HEAD SOCKET BOLTS
(M8 X 15MM) 3
3 REAR STABILIZER 1 17 CURVED WASHER 3
4 SQUARE HEAD BOLT M8*15MM 4 18 SADDLE ADJUSTING KNOB 1
5 FLAT WASHER 4 19 HANDLEBAR 1
6 END CAP (PRE-ASSEMBLED) 4 20 HANDLEBAR GRIP(PRE-ASSEMBLED) 1 PAIR
7 DOMED NUTS M8 4 21 HANDLEBAR LOCKING KNOB 1
8 SADDLE 1 22 PEDALS R & L 1 PAIR
9 SADDLE STEM 1 23 PROGRAMMALBE COMPUTER 1
10 LOWER STEM 1 23a COMPUTER & SCREWS
(PRE-ASSEMBLED ON COMPUTER) 4
11 NUT & WASHER
(PRE-ASSEMBLED ON SADDLE) 3 24 HAND GRIP PUSLE SENSOR PADS
(PRE-ASSEMBLED) 2
12 HANDLE BAR STEM 1 25 CHAIN COVER, L 1
13 LOWER FLAT CABLE (to servo motor) 1 26 CHAIN COVER, R 1
14 UPPER CABLE(to programmable
computer) 127 MULTI SPANNER 1
S
ST
TE
EP
P
2
2.
.
Fix the saddle (8) on the saddle stem (9) with
pre-attached nuts and washers (11).
Insert the assembled saddle stem (9) into lower
stem (10) and adjust the saddle stem to desired
height and secure with saddle adjusting knob
(18).
N
NO
OT
TE
E!
!
Before exercising, check the knob being
tightened completely for safety.
S
ST
TE
EP
P
1
1.
.
Place the front stabilizer (2) and rear
stabilizer (3) to the main frame (1) then
fix it in place with the bolts (4), washers
(5) and nuts (7) in accordance with the
directions of the drawing.
◆
◆
A
AS
SS
SE
EM
MB
BL
LI
IN
NG
G
S
ST
TE
EP
PS
S
◆
◆
◄3 ►
S
S
T
T
E
E
P
P
3
3
.
.
Firmly connect lower flat cable with upper flat
cable ( both pre-assembled on the main frame
and handlebar stem respectively ) before
inserting the handlebar stem(12) onto the
ain frame (1).
m
Use the domed head bolts (16) and curved
washers (17) to secure the handlebar stem
(12) in place.
Ensure the lower flat cable (13) and upper
cable
(
14
)
are not tan
g
led or
p
inched.
S
S
T
T
E
E
P
P
4
4
.
.
Release the handle bar knob (21) which is
pre-assembled on the handlebar clamp.
Insert the handlebar (19) to the handlebar
clamp and fix it with handle bar knob (21)
and washer.
Place the computer (23) on the top bracket
of the handlebar stem(12). Plug the upper
flat (14) and hand grip pulse sensor wire(24)
to the appropriate reception holes located at
the computer’s back panel. Fix the computer
with four small screws (23a).
S
S
T
T
E
E
P
P
5
5
.
.
IMPORTANT : Identify the right pedal (mark
“ R ” ) and the left pedal (mark “ L ” ) prior
to assembly the pedals.
Tighten the right pedal (22) clockwise into
the right side of crank arms by multi
-spanner (tool). However, the left pedal
(22) (not shown on the left drawing) should
be tighten anticlockwise to the left side of
crank with the same tool.
N
NO
OT
TE
E!
!
The socket of the upper flat cable MUST
protrude out of the of handlebar stem before
installing the handlebar stem to the main
frame, if not, pull out the socket .
Take note that fail to connect the upper and
lower flat cable firmly may cause the compu-
ter’s operation abnormal or completely
malfunction.