manuals.online logo
Brands
  1. Home
  2. •
  3. Brands
  4. •
  5. Trust
  6. •
  7. UPS
  8. •
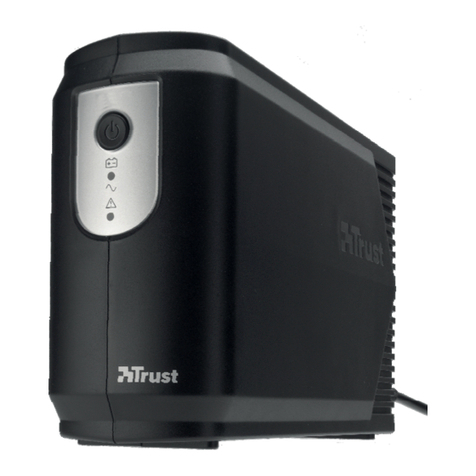
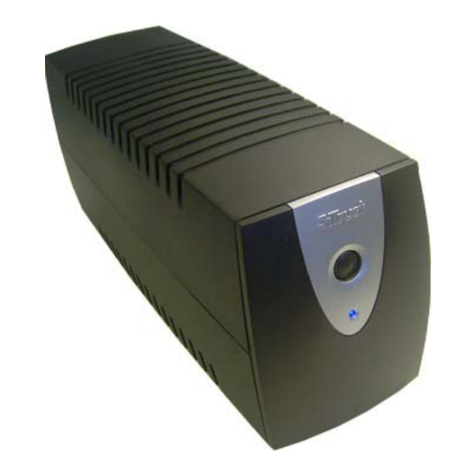
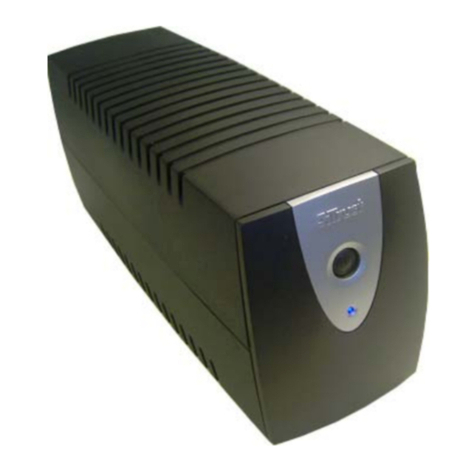
  9. Trust 400 User manual

Trust 400 User manual

Other Trust UPS manuals

Trust Energy Protector 325 User manual

Trust

Trust Energy Protector 325 User manual

Trust Wireless Tablet Series User manual

Trust

Trust Wireless Tablet Series User manual

Trust PW-4130M 1300VA MNGT UPS User manual

Trust

Trust PW-4130M 1300VA MNGT UPS User manual

Trust PW-5040S User manual

Trust

Trust PW-5040S User manual

Trust PW-4040T User manual

Trust

Trust PW-4040T User manual

Trust PW-4000T User manual

Trust

Trust PW-4000T User manual

Trust 17238 User manual

Trust

Trust 17238 User manual

Trust PW-5060S 600VA UPS User manual

Trust

Trust PW-5060S 600VA UPS User manual

Trust 17678 User manual

Trust

Trust 17678 User manual

Trust 14948 User manual

Trust

Trust 14948 User manual

Trust UPS 1000 VA User manual

Trust

Trust UPS 1000 VA User manual

Trust 17938 User manual

Trust

Trust 17938 User manual

Trust 1300 VA User manual

Trust

Trust 1300 VA User manual

Trust 18162 User manual

Trust

Trust 18162 User manual

Trust PW-4120M User manual

Trust

Trust PW-4120M User manual

Trust 17681 User manual

Trust

Trust 17681 User manual

Trust 1000 User manual

Trust

Trust 1000 User manual

Trust 14948 User manual

Trust

Trust 14948 User manual

Trust PW-4055T User manual

Trust

Trust PW-4055T User manual

Popular UPS manuals by other brands

AEG Protect 3.M 2.0 manual

AEG

AEG Protect 3.M 2.0 manual

Alpha Novus FXM 650 Installation and operation manual

Alpha

Alpha Novus FXM 650 Installation and operation manual

CyberPower RB12120X2A user manual

CyberPower

CyberPower RB12120X2A user manual

Pylontech Victron & Pylontech US5000 manual

Pylontech

Pylontech Victron & Pylontech US5000 manual

BEL LDX-U20 user manual

BEL

BEL LDX-U20 user manual

Mustek PowerMust 530(B) Plus Startup manual

Mustek

Mustek PowerMust 530(B) Plus Startup manual

Emerson Liebert NXL series Operation and maintenance manual

Emerson

Emerson Liebert NXL series Operation and maintenance manual

MAKELSAN BOXER SERIES user manual

MAKELSAN

MAKELSAN BOXER SERIES user manual

Block PC-0524-400-0 manual

Block

Block PC-0524-400-0 manual

CyberPower CP585LCD user manual

CyberPower

CyberPower CP585LCD user manual

Eaton 3S Advanced user's guide

Eaton

Eaton 3S Advanced user's guide

CyberPower Office Tower Series UPS 1000 user manual

CyberPower

CyberPower Office Tower Series UPS 1000 user manual

CyberPower BM100 quick start guide

CyberPower

CyberPower BM100 quick start guide

Best Power 610 quick start guide

Best Power

Best Power 610 quick start guide

Best Power Unity/I UT3K user manual

Best Power

Best Power Unity/I UT3K user manual

Mustek PowerMust 400 Offline user manual

Mustek

Mustek PowerMust 400 Offline user manual

Xantrex Trace 512 UR-UPS owner's manual

Xantrex

Xantrex Trace 512 UR-UPS owner's manual

Forza SL-1501UL user manual

Forza

Forza SL-1501UL user manual

manuals.online logo
manuals.online logoBrands
  • About & Mission
  • Contact us
  • Privacy Policy
  • Terms and Conditions

Copyright 2025 Manuals.Online. All Rights Reserved.

TRUST ENERGY PROTECTOR 400
1
UK
Instructions when using for the first time Chapter
1. Connecting (3.1)
2. Use (3.2)
3. Testing (3.3)
1 Introduction
This instruction manual is for users of the ENERGY PROTECTOR 400.
No knowledge of computers is necessary to install this product.
Please contact one of the Trust Customer Care Centers if you have any problems.
2 Safety
Carefully read the following instructions before use:
-Disconnect the power plug from the mains supply before cleaning the device. Do
not use a liquid cleaner or a spray to clean the device. Clean the device with a
damp cloth.
-Do not use this device in a damp environment, such as a bathroom, damp
basement or swimming pool.
-Make sure the UPS is placed on a firm surface, such as your desk or the floor.
-Make sure nothing is placed on the power cable. Do not place this device in an
area where the cable can become worn as a result of people walking over it.
-Never insert objects into the slits on the front of the UPS, because you may touch
live components. This may cause a fire or give you an electric shock.
-Do not try to repair this device yourself. If you open or remove the casing, you
may accidentally touch live components.
-This device may only be repaired by qualified personnel.
-The outputs may have a high voltage, even when the device is turned off.
-Only replace a burnt fuse by the same type of fuse which has the same value.
This will prevent the chance of damage.
-Under the following circumstances, remove the plug from the power socket and
have the device repaired by qualified personnel:
-The cable or plug is damaged.
-Liquid has entered the device.
-The device has been dropped or the casing has been damaged.
-The device is not operating correctly.
BATTERY:
The battery may only be replaced by qualified personnel.
The battery must not be opened or damaged. If the battery is opened or damaged,
electrolyte may be released, which is harmful to skin, eyes and the environment.
To prevent an explosion, do not expose the battery to a naked flame.
!
TRUST ENERGY PROTECTOR 400
2
3 Installation
3.1 Connecting
Note: Turn the computer off before connecting the device.
1 Electricity input for the mains
supply.
2 Electricity output for the
connected device.
3 Fuse holder.
4 Telephone/modem connection IN
5 Telephone/modem connection
OUT
Table 1: Connections
See figure 1.
1. Connect your device to the electricity output (2) on the UPS.
2. Connect the power cable to the electricity input (1) on the UPS.
3. Connect the power cable to the plug socket.
4. Connect the telephone/modem connection IN (4) to the telephone socket.
5. Connect the telephone/modem cable for your telephone/modem to the
telephone/modem connection OUT (5) on the UPS.
6. Your device is now protected against a power surge and the loss of power.
3.2 Use
1 ON / OFF button
2 LED indicator for normal use (green). This is lit if
there is sufficient mains power and the battery is
being charged.
3 LED indicator for battery power (yellow). This is lit if
there is no longer a mains supply and your device
is powered by the UPS.
4 LED indicator for an empty battery (red). This is lit if
the battery is empty or if the battery must be
replaced because it is faulty.
See figure 2.
Note: The battery is charged when the plug is inserted into the plug socket.
Charge the battery for 4 hours before use.
TRUST ENERGY PROTECTOR 400
3
UK
3.3 Checking after the installation
Note: The FAQ’s for simple questions and solutions can be found at
www.trust.com/13163.
The UPS can be tested by disconnecting the power cable (do this after the UPS has
been charged for at least 4 hours).
4 Troubleshooting
Method
1. Read the solutions given below.
2. Check for up-to-date FAQ’s, drivers and instruction
manuals on the Internet (www.trust.com/13163).
Problem Possible cause Solution
The ON/OFF button has
not been pressed or has
not been pressed for long
enough.
Press the ON/OFF button for
more than 3 seconds.
The UPS is not
turned on. The
indicator is not
lit.
The battery voltage is too
low.
Recharge the UPS.
The power cable is loose. Connect the power cable
correctly.
The fuse is burnt. Replace the fuse.
The UPS
remains in the
battery mode.
The mains supply is too
high, too low or there is a
power failure.
This is normal. If this lasts for a
long period of time, contact
your electricity supplier.
The backup time
is too short.
The battery has not been
fully charged.
Recharge the UPS.
The UPS is placed under
a heavy load.
Disconnect the less important
devices.
There is a
continuous
beeping noise. The battery voltage is too
low.
Recharge the UPS.
The red LED is
lit.
The battery is empty. Fully recharge the UPS. If this
does not solve the problem, the
battery must be replaced.
!
TRUST ENERGY PROTECTOR 400
4
If you still have problems after trying these solutions, please contact one of the Trust
Customer Care Centers. You can find more information at the back of this instruction
manual. Please have the following information available:
•The article number. This is 12275.
•A good description of what does not work.
•A good description of when the problem occurs.
5 Technical specifications
Input voltage 165 VAC - 280 VAC
Frequency 50 Hz ± 5%
Power output [VA] 400
Battery type Lead-acid maintenance-
free
Battery capacity 7 Ah
Charging time 8 hours
Surge current protection [KJ] 0.320
RFI filter Yes
Number of outputs 2