Page 2of 24
V3.6
Contents
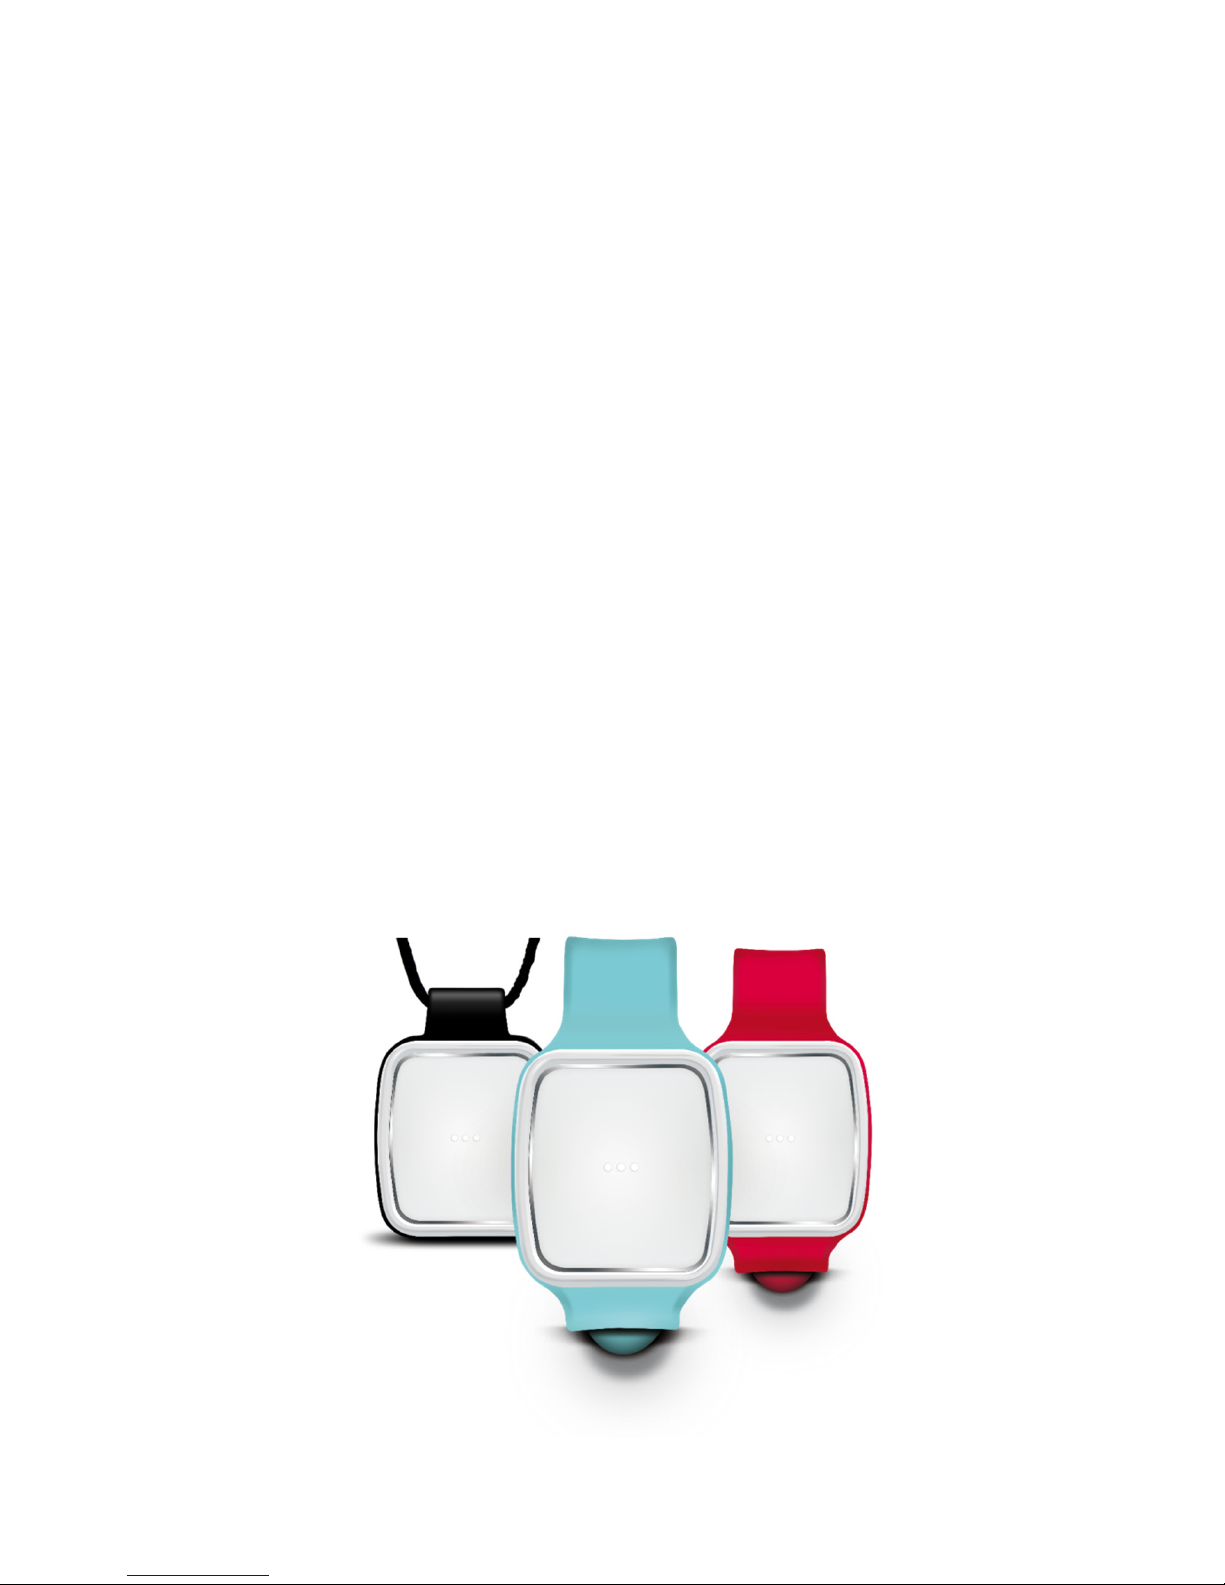
Introduction 3
Exiting from Storage Mode ................................................................................4
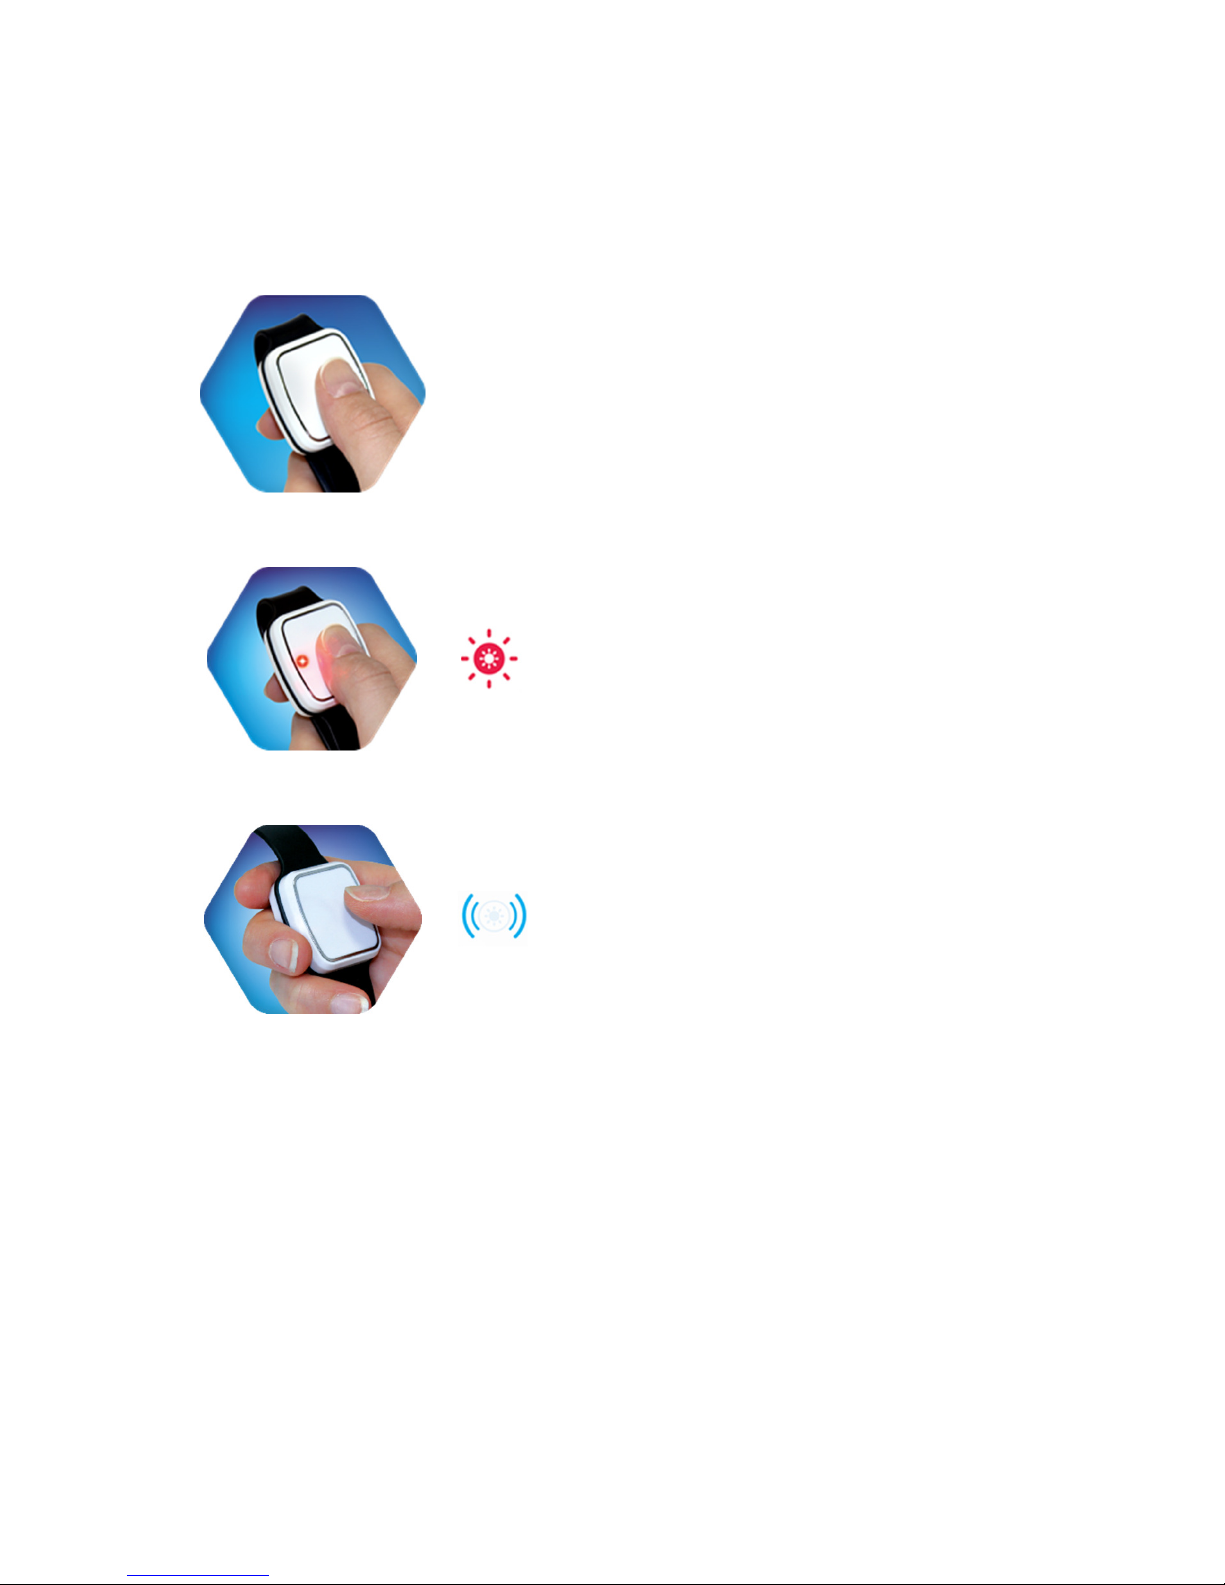
Entering Program mode .....................................................................................5
Configuration Selection .....................................................................................6
Radio Protocol Selection ...................................................................................7
Wearing Mode Selection ....................................................................................8
Checking Wearing Mode Configuration ...........................................................9
Demo Mode........................................................................................................10
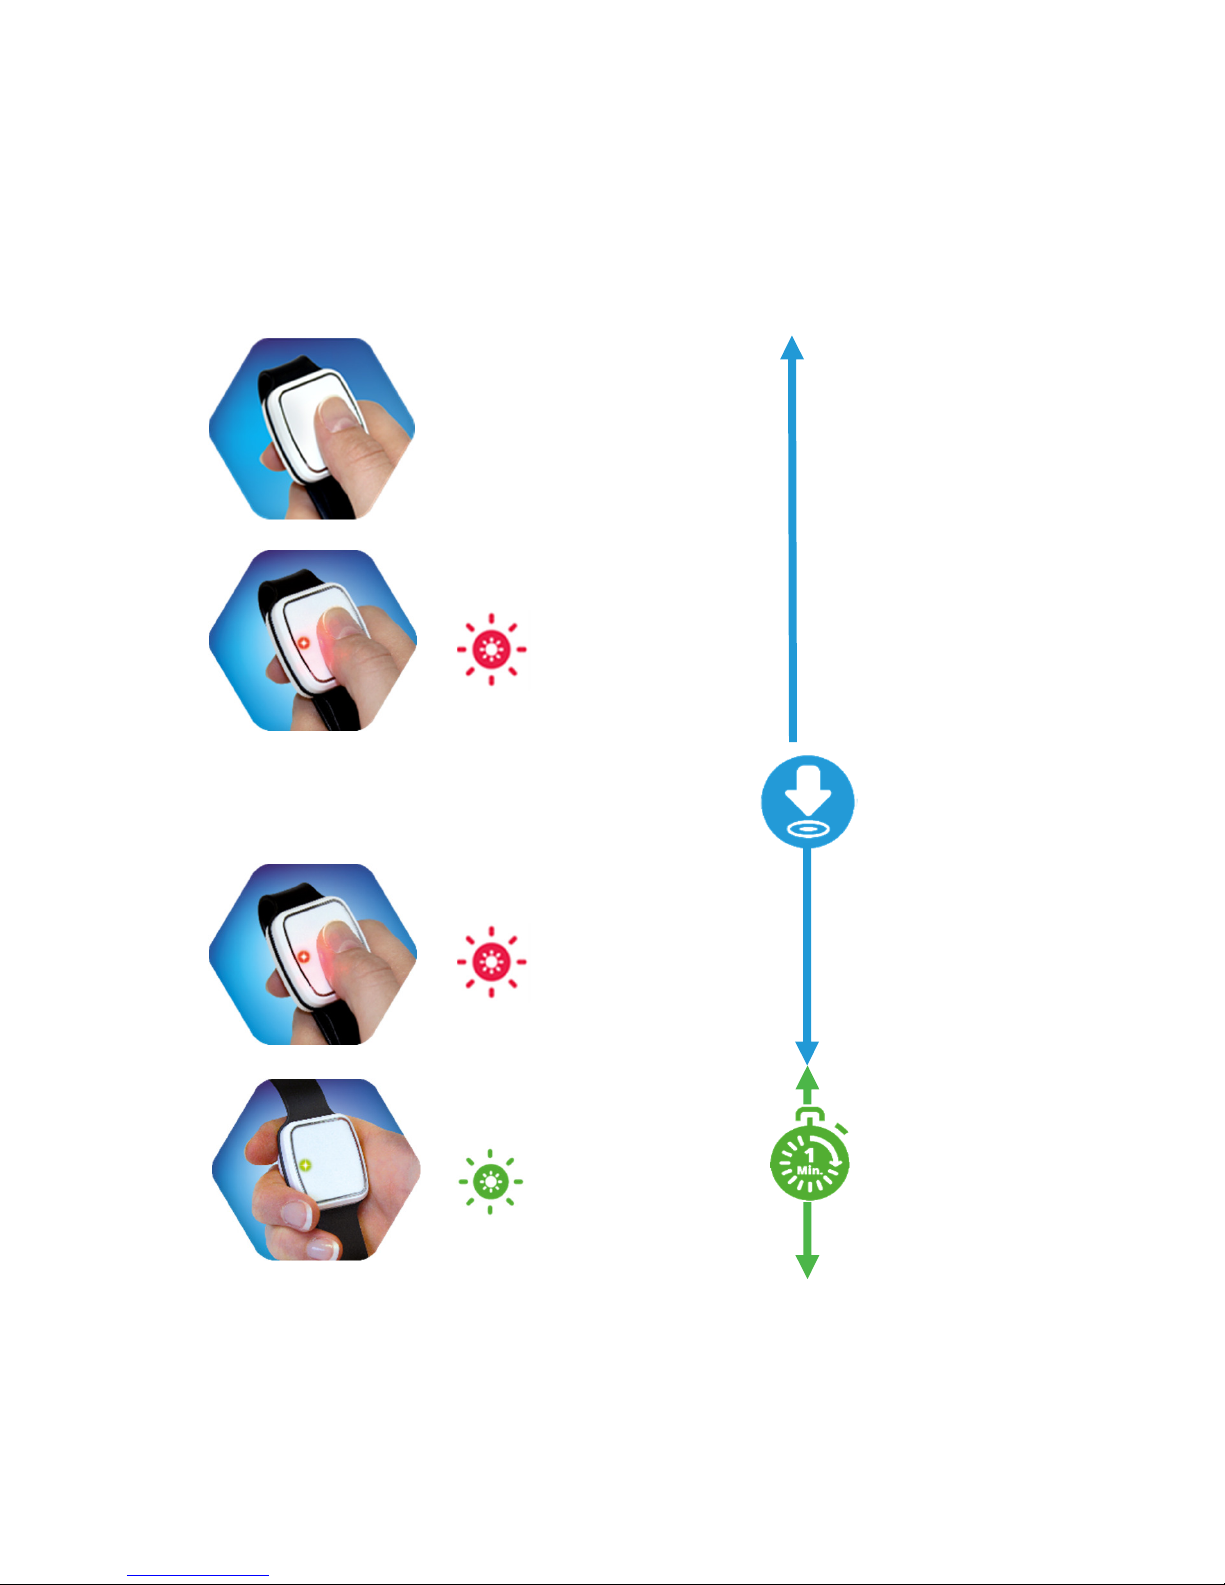
Simulating a fall in active mode. .....................................................................11
Alarm Cancellation ...........................................................................................14
Putting Vibby into Storage Mode ....................................................................15
Battery Replacement ........................................................................................16
Removing the Wrist Strap ................................................................................19
Fitting a replacement Wrist Strap ...................................................................20
Ensuring the Wrist Strap is Correctly Installed .............................................21
Fitting a neck cord to the Vibby ......................................................................22
Spares and Accessories ..................................................................................23
Low Battery Calls..............................................................................................24
Technical Details...............................................................................................24