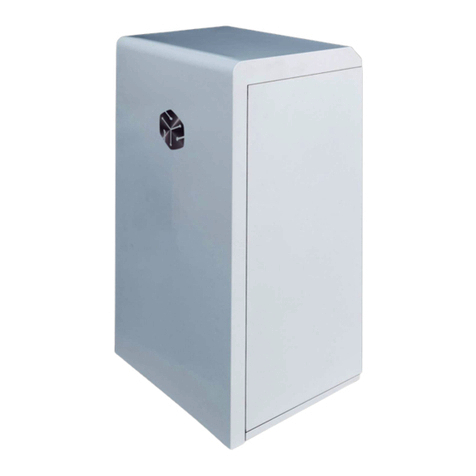
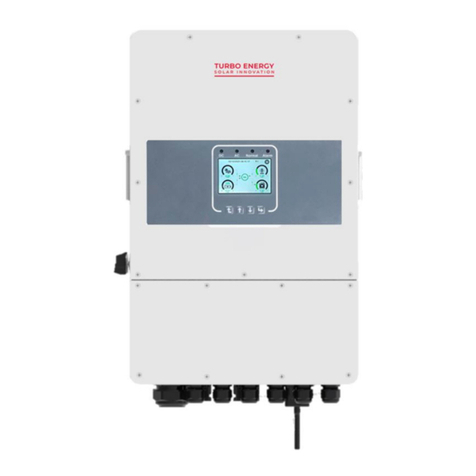
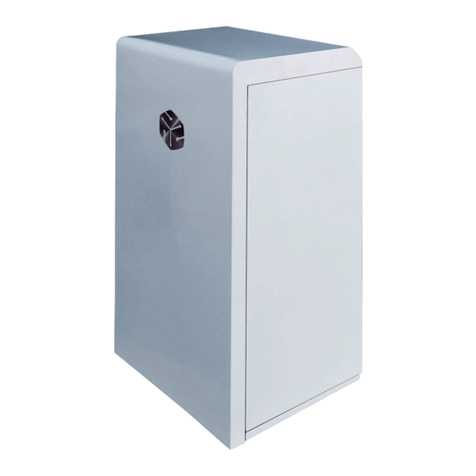
Turbo Energy SUNBOX 5.0 Series User manual

Instruction
manual
SunBox Series 5.0

This instruction manual, including all parts there, is protected by copyright. The
use outside of copyright requires the express consent of the company TURBO
ENERGY S.L. This applies to both copies, translations, microfilms, and storage on
computer systems.
Editor: Turbo Energy S.L.
Important note: The satisfaction of the end user will depend heavily on having
made an adequate estimate of the demand, power, and energy, present and
future, to which the equipment will be subjected. Improper calculation may not
provide adequate and sufficient service.
Safety recommendations:
Please read the following information carefully before installing and
implementing the product. The installation and commissioning of the system must
comply with the Electrotechnical Low Voltage Regulation (REBT), and its
complementary technical instructions, specifically, the ITC_BT 03, 04, 05 and 40,
and the rest of the current regulations, either locally or regionally. Non-compliant
use, use of the product in applications and/or configurations not in accordance
with this manual, and/or modifications during assembly will result in warranty
cancellation and all liability will be disclaimed.
Solar energy systems must be grounded (lightning protection).
Electrical connections must be made exclusively by a specialist technician.
This manual is intended to be a document that facilitates the correct installation
of the SunBox equipment. However, once installed it is important to pay attention
to the monitoring of maintenance instructions in order to maintain over time the
functional and aesthetic characteristics inherent in the installation.
The correct use and the compliance with the maintenance requirements to be
performed will depend heavily on the inevitable rate of aging of the installation.
Similarly, the manufacturer will only assume responsibility if the equipment has
defects of origin and will recline it if equipment contained in this manual is not
maintained, or does not use manufacturer-approved spare parts.
Please read this manual carefully before starting the installation.
1
Content
1. Scope ...................................................................................................................... 2
2. Safety instructions ................................................................................................... 2
3. Description and operation .................................................................................... 3
4. Specifications....................................................................................................... 7
5. Installation and assembly....................................................................................... 8
5.1 Installation options .......................................................................................... 10
5.2 Gen-Port........................................................................................................... 13
5.3 DC wiring ......................................................................................................... 14
5.4 AC wiring ......................................................................................................... 14
5.5 Grounding ....................................................................................................... 15
5.6 Recommendations for the installation of 48V 5.1kWh Lithium Series
batteries................................................................................................................. 15
5.7 Wheels mounting ............................................................................................ 16
5.8 Start-up............................................................................................................. 17
6. Inverter/Charger Configuration .......................................................................... 18
6.1 Basic setup menu............................................................................................ 18
6.2 Battery setup menu......................................................................................... 19
6.3 System work mode.......................................................................................... 20
6.4 Grid setup ........................................................................................................ 22
6.5 Gen Port setup ................................................................................................ 22
6.6 Advanced functions ....................................................................................... 23
6.7 Device info ...................................................................................................... 23
7. Wi-Fi connection setup ........................................................................................ 24
8. Maintenance recommendations........................................................................ 29
9. Troubleshooting .................................................................................................... 29

1. Scope
This manual refers to the installation, operation, and maintenance of hybrid
photovoltaic solar equipment SunBox.
Proper installation, as well as proper maintenance, are essential to ensure
optimal performance and make the most of system capabilities.
This manual is complementary and is presented indivisibly with the following
additional documents:
oInstruction Manual and Datasheet for Hybrid Inverter (Hybrid Series 48V
5.0)
oInstruction Manual and Datasheet for Batteries (Lithium Series 48V
5.1kWh)
For any other questions about the inverter or the battery, consult the
corresponding manuals that can be found on the Turbo Energy website.
2. Safety instructions
To ensure correct installation it is recommended:
i. Use safe mounting tools and install safety devices. Use ladders in good
condition and check that they are securely fixed (~ 70 °) on firm
support points.
ii. Use the appropriate PPE for assembly: approved protective glasses,
safety shoes, gloves and helmet.

3. Description and operation
Description:
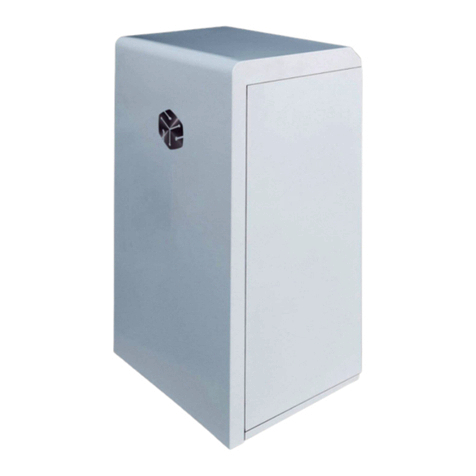
The SunBox consists of a mounted and wired cabinet prepared to include up to
2 Turbo Energy Lithium Batteries (Lithium Series 48V 5.1kWh) and a Turbo Energy
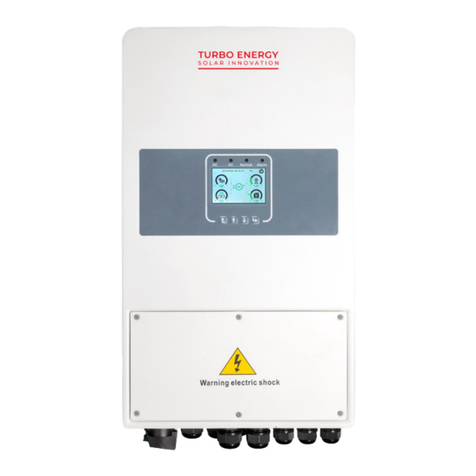
Single Phase Hybrid Series 48V 5.0.
The system includes several protections for both DC and AC:
Continuous current (DC)
-Four 16A fuses
AC (Protections)
-A magnetothermal switch
The machine has fast MC4 links that facilitate the connection of each string.
In terms of support and handling, the system includes four wheels that can
support a load of 280 Kg.
Operation mode:
The SunBox can work in Self-consumption mode and in Off-Grid mode, and for
this, the SunBox has a switch to toggle between both modes.

1. Off-grid mode
It is a mode to be completely independent from the grid, working only with
photovoltaic generation and batteries.
To set the Off-grid mode, the switch must be in the position Off-grid mode, and it
is necessary to remove the FMB and FMR fuses indicated bellow.

2. Self-consumption mode
For the general mode of operation and depending on the energy coming from
the photovoltaic panels, there are two different situations:
a) When the demand for electricity consumption is lower than the energy
produced by photovoltaic panels, the Inverter transforms the DC into AC
to meet the demand for electricity, while charging the batteries with
excess power. In this way energy is accumulated for later use at times
when energy production is not sufficient.
b) When the demand for electricity consumption exceeds the energy
produced by photovoltaic panels, the Inverter transforms the DC into AC
and takes the missing power from the batteries or the grid, depending on
whether the batteries are charged or not, to meet the demand for
electricity.
i. When the batteries are sufficiently charged, the inverter transforms the
energy stored in DC to AC to 220V to supply the load. When the
batteries are left with the minimum charge level that allows them to
ensure a proper operation, they are automatically disconnected to
protect the system.

ii. When the batteries do not have enough charge level to ensure proper
operation, the inverter takes the missing power to meet the demand
from the grid. In this way the system works in parallel with the grid and
with photovoltaic panels.
Furthermore, in this mode, in the event of a network failure, the switch
automatically switches to off-grid mode to continue its correct operation and
comply with anti-island regulations.
In short, the Inverter performs the functions of energy balancing and ensures
the operation of the system.

4. Specifications
Batteries
•Manufacturer: Turbo Energy SL
•Model: Lithium Series 48V 5.1kWh
•Attached data sheet and instruction manual.
Inverter/Charger
•Manufacturer: Turbo Energy SL
•Model: Single Phase Hybrid Series 48V 5.0 (HIS5000/48)
•Attached data sheet and instruction manual.
Model
SunBox Series 5.0
Photovoltaic panels data
Max. photovoltaic field power
6500 Wp
PV voltage range
100-500 V
MPPT working range
125-425V
Starting voltage
150V
Independent MPPT
2
Maximum current per MPPT
13A
Category DC surges
II
AC Output (Self-
consumption with grid)
Maximum power
11500W
Rated output voltage
230V
Rated output frequency
50/60Hz
AC Output (Self-
consumption with grid / Off-
grid)
Nominal power
5000W
Maximum power
5500W
Rated output voltage
230V
Rated output frequency
50/60Hz
Batteries data
Capacity
5,1kWh / 10,2kWh
Usable capacity
4,60kWh / 9,20kWh
DoD
90%
Cycles at 90% DoD
>6000
Cells
Metal Can
Type of technology
LiFePO4
Nominal battery voltage
51,2V
Max. Charge/discharge
current
50A
BMS communication
CAN
DC protections (by MPPT)
4 x Fuse holder and fuse
1000Vdc/15A
Integrated
AC protections
Magnetothermic Grid
Integrated
Magnetothermic Load
Integrated
General data
Communication with the Portal
Wi-Fi
IP rating
IP20
User interface
APP
Weight (Kg)
95Kg
Switch Self-consumption to Grid
Automatic
Dimensions (width*height*depth)
600*1400*600mm
Certificates and Regulations
Network connection regulations
RD1699
Safety regulations
IEC/EN62109-1 & -2
EMC
EN61000-6-1,
EN61000-6-2,
EN61000-6-3,
EN61000-6-4,
EN61000-4-16,
EN61000-4-18,
EN61000-4-29

5. Installation and assembly
Recommendations for setting up strings
Preliminary recommendations for installation
The installation of the SunBox should be carried out in a place protected from
inclement weather, and it is especially relevant that its location is kept dry and
avoid potentially flooded areas. The operating temperature range should be
considered, which must not exceed 50ºC or be less than 0ºC. Take appropriate
measures to ensure the operating temperature range.
Recommendations for system connection:
Below is a simplified scheme of the interior of the SunBox Series 5.0:

The equipment is prepared so that the installer simply has to connect the input
of panels, grid, loads and batteries, if applicable, to the place indicated below.
All protections specified in the schematic are included and pre-assembled, thus
facilitating the function of the installer.
•Photovoltaic panels must be connected in series to the input specified
below. Internally connects to its corresponding fuses.
•The inverter's grid output is protected with its differential and automatic
switches. It must be connected after the magnetothermal of the general
housing frame and to the specified internal terminals of the SunBox by a 6
mm 2 hose.
•The CT-meter comes pre-assembled and connected inside the SunBox.
•In case batteries need to be installed, the SunBox Series 5.0 comes ready
to store up to 2 Turbo Energy Lithium Series 48V 5.1kWh batteries. Its
installation is explained below.
*The Grid and Load outputs in normal grid operation will be the same as they are
internally connected, however, in case of grid failure, if the system stays running
in off-grid, the inverter opens the contact that joins the grid and load and leaves
the load output running in off-grid. This is because the inverter cannot operate in
island mode, therefore the automatic must be separated from the frame so that
it can operate in off-grid. The operation in off-grid will depend on whether the
corresponding batteries have been installed and will operate by solar energy
and batteries only for the duration of renewable energy. It should be noted that
the power will be limited to 5 kW, therefore it is not possible to include loads that
require a lot of power.

5.1 Installation options
Option 1
For load powers lower than 11 kW (5kW if in off-grid mode), the general
connection of the SunBox will be as shown in the following diagram:
It is the simplest configuration and avoids manipulation of the load connections.
As all the power from the network passes through the equipment (Load output)
and it distributes the energy, it implies that the maximum power of the loads is
11kW in self-consumption mode and 5kW in off-grid mode.
Optionally, a manual switch can be installed between the loads and the network
to prevent possible equipment failures from affecting the loads.

Option 2
In the case of connecting load powers greater than 11kW in self-consumption
mode, the configuration to be carried out is as follows:

In this way, we have a series of critical loads connected to the Load output (up
to a maximum of 5 kW) that will allow the panels and / or batteries to supply them
with energy despite a grid failure. The rest of the loads above 11kW must be
connected on the grid side.
Optionally, a manual switch can be installed between the Load-side (critical)
loads and the network to prevent potential equipment failures from affecting the
loads.
In the case of not needing to connect critical loads and wanting to simplify the
installation, all the loads can be put on the grid side as follows (but in the event
of a grid failure, the loads are left without supply even though there is generation
photovoltaic and / or battery):

5.2 Gen-Port
The SunBox has an intelligent input / output that can provide the equipment with
different functionalities.
Generator input
The output of a generator can be connected to this input, so that the off-grid
installation can rely on this source for power supply. The maximum power value
is 5000 W.
Microinverter or inverter input
The output of microinverters or inverters can be connected to this input, with a
total power of up to 5000W. This is a great advantage, since the number of
photovoltaic panels in the installation can be increased.
For example, if 3 microinverters of 1600 W are installed in series, we will have a
total of 4800 W (<5000W). If we connect 4 400W photovoltaic panels per
microinverter, we will have a total of 12 extra panels in our installation.
Smart Load
This mode uses this input as an output and receives power only when the battery
SOC and PV power are above a user-programmable threshold.
For example, if you have an auxiliary electric water heater connected to this
output, with this functionality you can program that, if the SOC of the battery is
above 95% and the solar production is more than 500W, the water heater will
heat up with that surplus energy.
To connect inputs or outputs to this port, remove the screws and open the front
cover of the inverter.

5.3 DC wiring
The series of photovoltaic panels shall be carried out as indicated in section 4.1.
The cabinet already has the right protections installed for continuous sockets.
To access the connections, open the back door of the SunBox cabinet. It is very
important to note that each positive must be connected to its negative in the
cabinet, for this it is recommended to mark the cables or make connections one
at a time until the installation is complete.
5.4 AC wiring
To connect Grid and Load open the back door of the SunBox cabinet and
connect to the pointed and identified terminals with colors, phase gray, neutral
blue, yellow and earth green.

5.5 Grounding
Connect ground wire to the ground plate on the grid side, preventing electric
shock if the original protective conductor fails. Using the auxiliary connecting
elements we must connect the grounding, both to the rack and to the structure
of photovoltaic modules.
Make sure that the grounding of all elements are connected to each other via
the ground wire.
5.6 Recommendations for the installation of 48V 5.1kWh Lithium
Series batteries
To install 48V 5.1kWh Lithium Series batteries, follow these steps:
1. Make sure the inverter is turned off and has no grid connection.
2. Make sure the battery is also turned off.
3. Set up battery switches as follows:
•One battery:
•Two batteries:
•Three or more batteries:
1=ON
0=OFF
1
3
2
4
(Master battery)
1=ON
0=OFF
1
3
2
4
(Bottom battery)
(Master battery)
(Middle batteries)
1=ON
0=OFF
1
3
2
4
1=ON
0=OFF
1
3
2
4
(Bottom battery)

4. Place the battery in the capsule structure with the corresponding screws.
5. If you incorporate a pair of batteries, connect them in parallel and to the
inverter. If you only have one battery, connect it directly to the inverter (picture
detail).
6. Connect the RJ cable to the CAN port of the master battery. Also connect the
Master Battery to the slaves with the corresponding RJ connector (picture detail).
Do not pull or force the communication cables in a way that can bend or
damage the connection ports. These ports can be easily broken if not
handled properly.
Power cables must have a section of 25mm2.
For more information read the attached Lithium Series 48V 5.1kWh battery
manual.
5.7 Wheels mounting
The SunBox has 4 wheels that must be mounted using the included screws and
washers.
Cable de comunicaciones
entre baterías
Cable de comunicaciones
entre baterías
INVERSOR

The order of placement of the elements is Grower washer, DIN 125 washer and
screw.
5.8 Start-up
Once you are finished with all connections, the machine is ready to start working.
It will proceed as follows:
1. Reset the DC and AC protections at the back of the cabinet.
2. Start the Batteries. To do this, press the Power button (On/Off) for 2-4
seconds. The BMS will start, and both the LCD screen and the power
button will light up.
3. Connect the loads as specified in the previous scheme, and ready for
service.

6. Inverter/Charger Configuration
To configure the inverter, it is necessary to modify parameters on its screen to
adjust them to the characteristics of our installation.
To do this, it is necessary to access the system configuration menu through the
main screen, by clicking on the icon in the upper right.
6.1 Basic setup menu
The first thing will be to set the date and time at the time of installation.
Other manuals for SUNBOX 5.0 Series
1
Table of contents
Other Turbo Energy Inverter manuals

Turbo Energy
Turbo Energy 1600 Series User manual

Turbo Energy
Turbo Energy Three Phase SunBox Series 10.0 User manual

Turbo Energy
Turbo Energy Lithium Series User manual

Turbo Energy
Turbo Energy Lithium Series User manual

Turbo Energy
Turbo Energy Lithium Slim Series User manual

Turbo Energy
Turbo Energy Hybrid Series User manual

Turbo Energy
Turbo Energy SunBox H User manual

Turbo Energy
Turbo Energy HYBRID 48V 5.0 Series User manual

Turbo Energy
Turbo Energy SUNBOX 5.0 Series User manual

Turbo Energy
Turbo Energy Lithium Slim Series User manual