Tyco Electronics ET 1900L User manual

1900L 19-inch LCD Touchmonitor User Guide
[Model ET1900L]

EloTouchSystems
1900L 19-inch LCD Touchmonitor
User Guide
RevisionA
P/N E483389
Elo TouchSystems
1-800-ELOTOUCH
www.elotouch.com

Elo TouchSystems 1900L User Guide 3
Copyright © 2008 Tyco Electronics. All Rights Reserved.
No part of this publication may be reproduced, transmitted, tran-
scribed, stored in a retrieval system, or translated into any language or
computer language, in any form or by any means, including, but not
limited to, electronic, magnetic, optical, chemical, manual, or other-
wise without prior written permission of Elo TouchSystems.
Disclaimer
The information in this document is subject to change without notice.
Elo TouchSystems makes no representations or warranties with
respect to the contents hereof, and specifically disclaims any implied
warranties of merchantability or fitness for a particular purpose. Elo
TouchSystems reserves the right to revise this publication and to make
changes from time to time in the content hereof without obligation of
Elo TouchSystems to notify any person of such revisions or changes.
Trademark Acknowledgments
IntelliTouch, APR (Acoustic Pulse Recognition), Elo TouchSystems, TE
Logo, and Tyco Electronics are trademarks. Other product names
mentioned herein may be trademarks or registered trademarks of their
respective companies. Elo TouchSystems claims no interest in trade-
marks other than its own.

Elo TouchSystems 1900L User Guide 4
Table of Contents
Chapter 1: Introduction.................................................................5
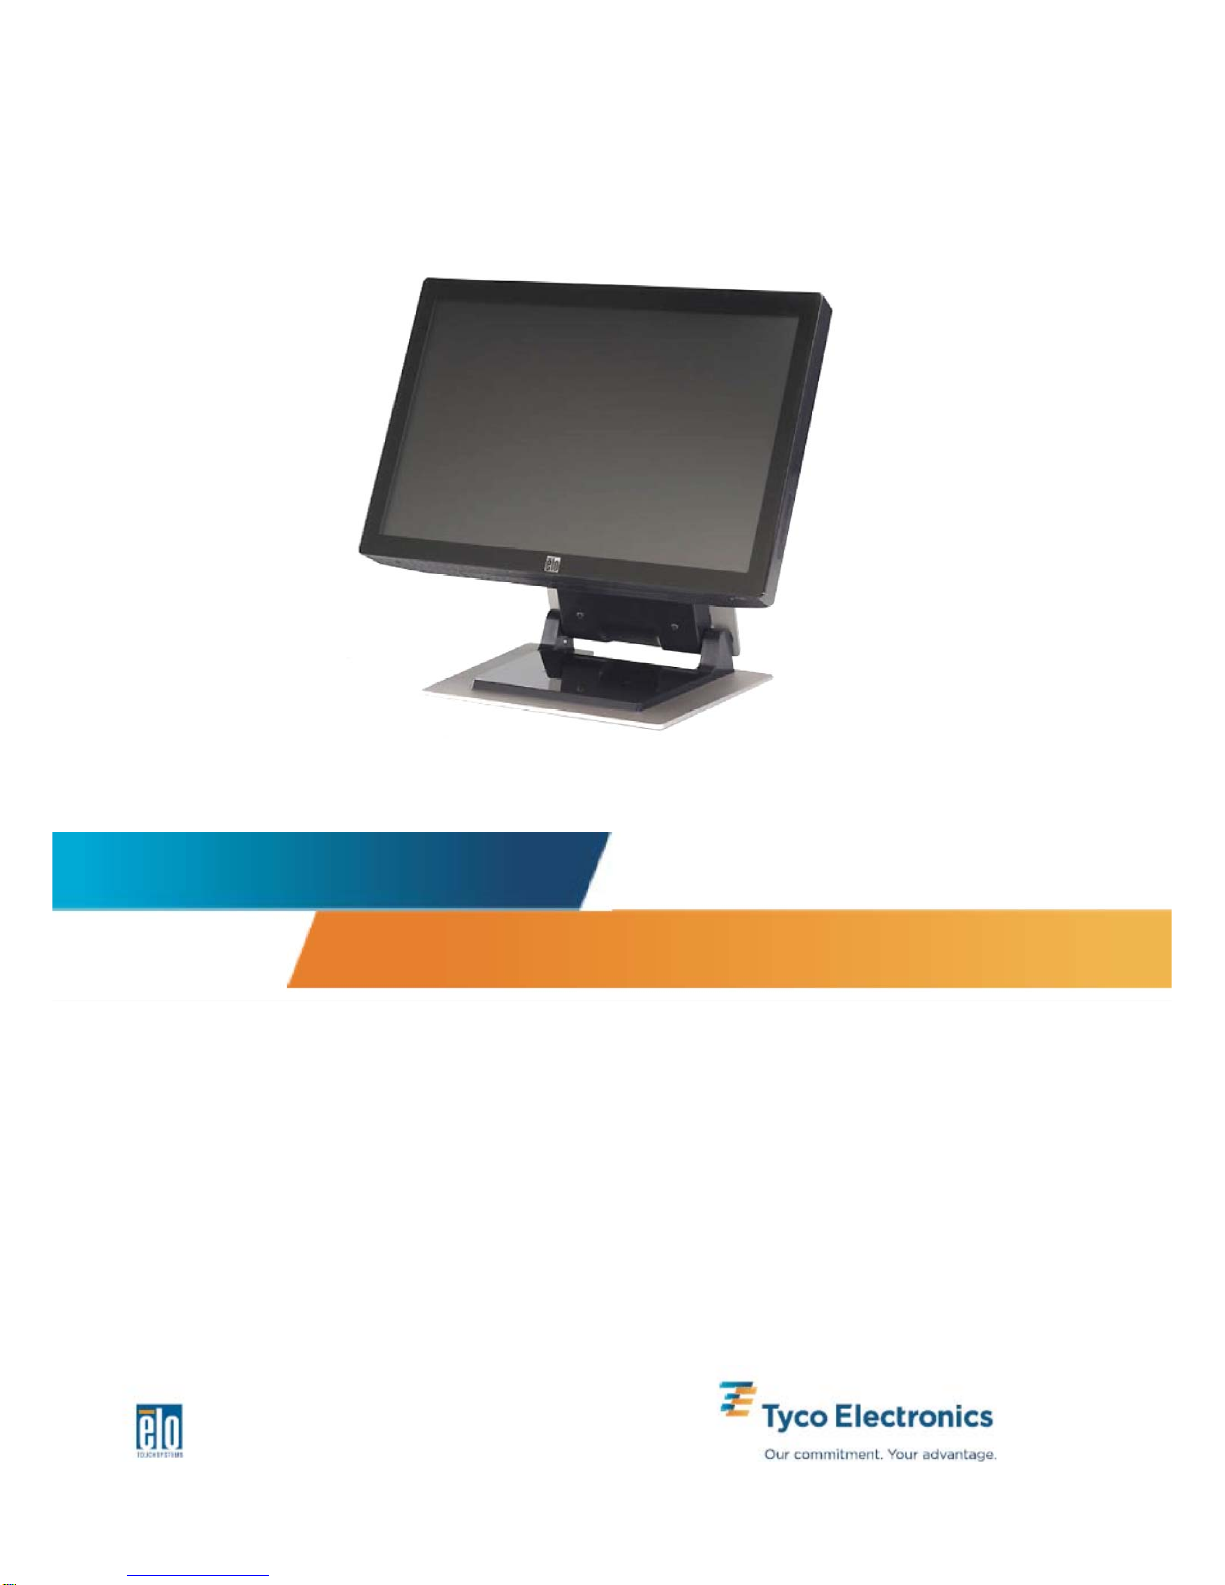
AbouttheProduct ...............................................................................................................5
Precautions..........................................................................................................................6
Chapter 2: Installation and Setup ................................................7
UnpackingYourTouchmonitor ............................................................................................. 8
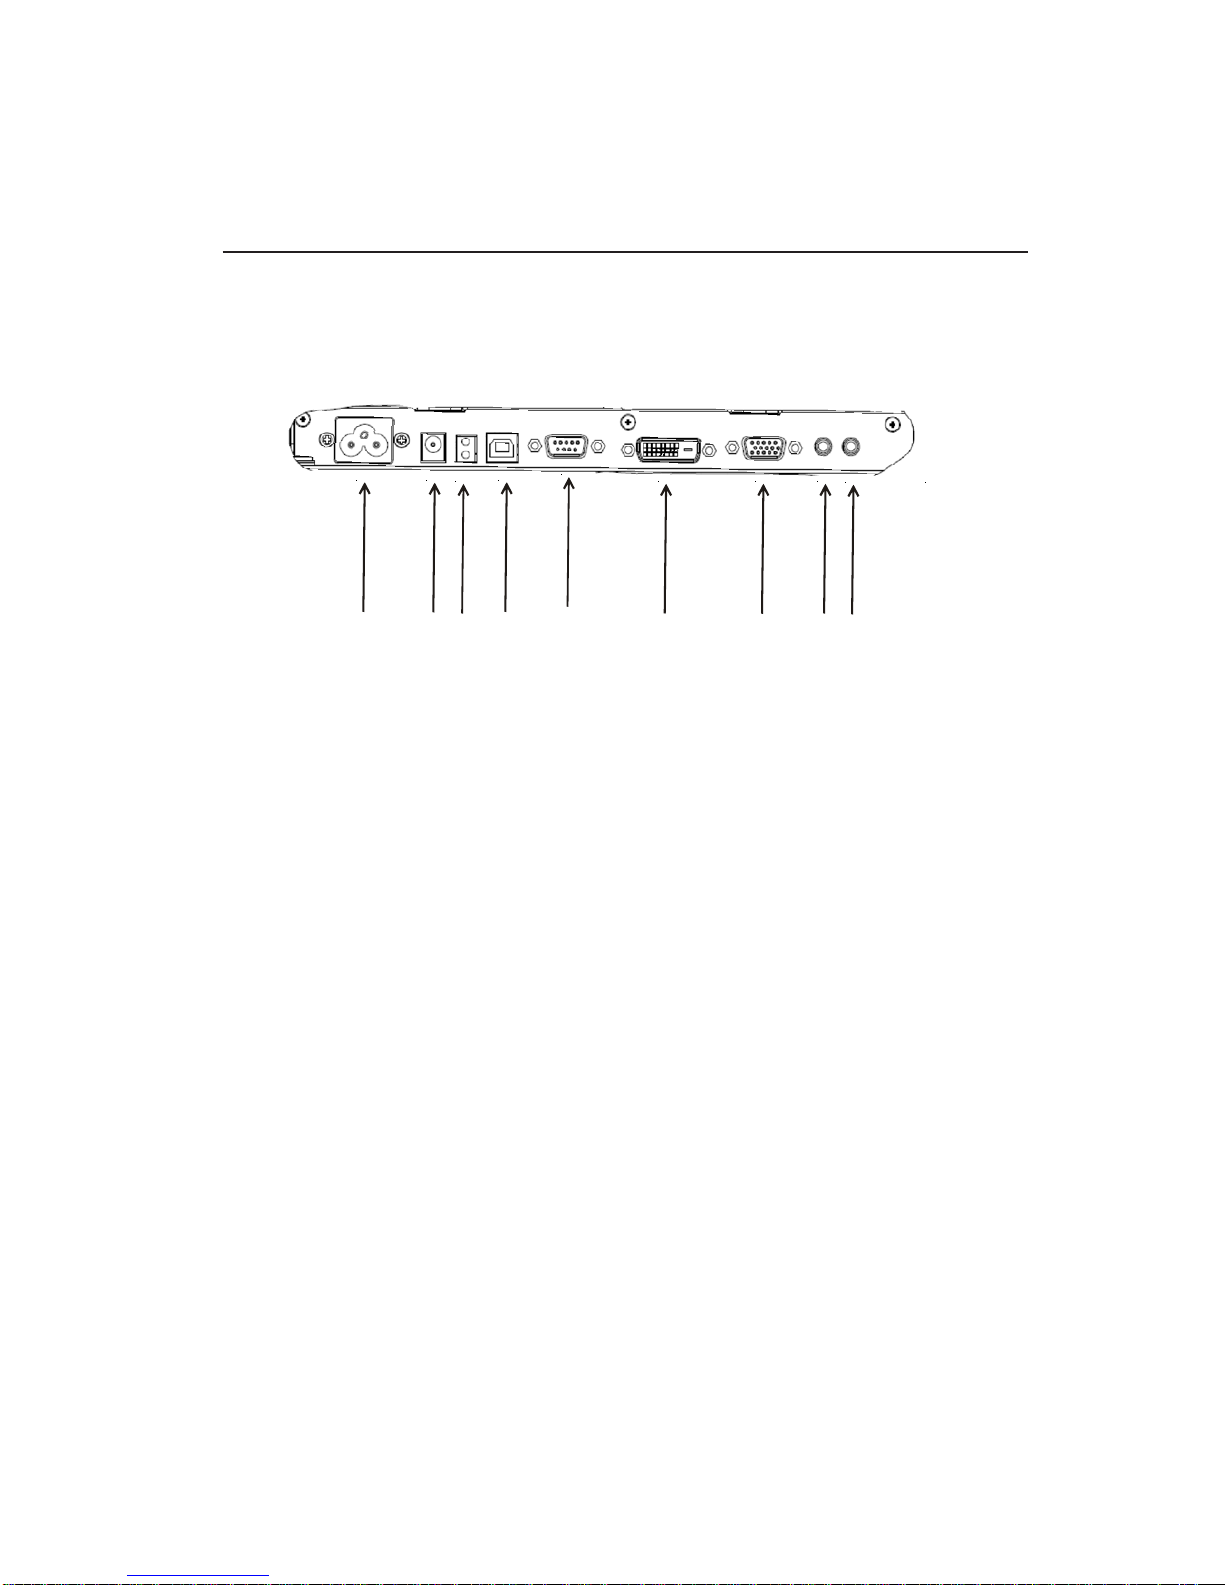
ConnectingtheCablestotheTouchmonitorand Computer ...................................................9
InstallingtheTouchDriver .................................................................................................. 10
MonitorOverviewandDimensions .................................................................................... 11
MonitorMountingandOrientation .....................................................................................12
Chapter 3: Operation...................................................................15
AboutTouchmonitorAdjustments ......................................................................................15
On-ScreenDisplay(OSD)Control Panel ...........................................................................16
PresetDisplayModes........................................................................................................ 20
SpeakersandAudioFeatures ............................................................................................ 21
Chapter 4: Troubleshooting .......................................................22
SolutionstoCommonProblems ......................................................................................... 22
TechnicalSupport .............................................................................................................. 23
Appendix A: Touchmonitor Safety ............................................24
CareandHandlingofYourTouchmonitor ...........................................................................25
Warning............................................................................................................................. 25
WasteElectricalandElectronic Equipment(WEEE)Directive .............................................25
Appendix B: Technical Specifications......................................26
1900LSpecifications .........................................................................................................26
Regulatory Information ...............................................................29
Warranty ........................................................................................32

Elo TouchSystems 1900L User Guide 5
C H A P T E R
1
INTRODUCTION
About the Product
The Elo TouchSystems 1900L touchmonitor senses touch on the
display in a completely new way, by recognizing the unique pattern of
sounds. Consisting only of a glass overlay mounted in front of the LCD
panel, Elo’s 1900L zero-bezel Acoustic Pulse Recognition (APR)
delivers benefits that combine the ultimate in optical qualities with a
stylish, easy to clean, seamless front face.
Wide-aspect displays like the Elo 1900L are easier to use and incorpo-
rate into the workplace than traditional desktop touchmonitors. Wide-
screen format displays allow extra content on screen and are ideal in
corporate environments for spreadsheets, publishing, and dual-
window applications.
The 1900Lis available in both zero-bezelAPR and IntelliTouch Surface
Acoustic Wave touch technologies.
Typical applications for the 1900L include: point-of-sale (POS), point-
of-service, digital signage, loyalty systems, kiosk information systems,
light industrial shop-floor automation and home control.
•Wide-screen format provides more application space
•Sleek, integrated design offers a stylish look for public venues
•AC and DC power for maximum input flexibility
•User-lockable on-screen display – designed for public access
•Adjustable height stand provides the flexibility to be raised or
lowered to meet the application’s height requirements

Elo TouchSystems 1900L User Guide 6
•VGAand DVI-Dvideo input(DVI-Dnot availablein Europe)
•Space-saving built-in speakers
•Sealed screen is resistant to water, dust, grease
•One-time factory calibration for easy deployment and integration
•Pure glass construction provides superior optical performance
and the true-flat surface is easy to clean
•VESA compliance makes wall or arm-mounting possible
For more detailed information, please visit our website:
www.elotouch.com.
Precautions
Follow all warnings, precautions, and maintenance as recommended
in this user’s manual to maximize the life of the unit. SeeAppendixA
for more information on touchmonitor safety.

C H A P T E R
2
INSTALLATION AND SETUP
This chapter discusses how to install and set up your LCD
touchmonitor and how to install Elo TouchSystems driver software.

Elo TouchSystems 1900L User Guide 8
Touchmonitor
VGAVideocable
USB Cable
Unpacking Your Touchmonitor
Checkthatthe following itemsarepresent:
Serial Cable
(notavailable with
APR models)
TouchTools or APR CD and
QuickInstall Guide
DVI-DCable
(notavailable with
European models)
AND/
OR
Power Cable
AND/
OR
InputAudio
Cable

Elo TouchSystems 1900L User Guide 9
To connect the touchmonitor to the computer:
1Tilt the monitor to reveal the connector panel in the recessed area underneath the
bottomedge of the monitor.
2Connect theAC power cable to the connector panel and connect the other end to the
power outlet.
3Connect either the USB cable OR the serial cable to the connector panel. Note: Do
not use both. This cable connects the touchmonitor to your computer. Attach the
other end to your computer.
4Connect the video cable (VGA) or the DVI-D cable to the connector panel.Tighten
by turning the two thumb screws clockwise to ensure proper grounding. Connect the
other end to your computer.
5Connect the audio cable to theAudio Input on the connector panel and connect the
other end to your computer.
6Press the power button on the side panel of the monitor to turn on the monitor.
Connecting the Cables to the Touchmonitor and Computer
Connector Panel Underneath the Monitor
Power VGADVI-D
USB
LED
DC
in Audio
Input Audio
Output
Serial

Elo TouchSystems 1900L User Guide 10
Installing the Touch Driver
Your Elo touchmonitor is Plug-and-Play compliant. Information on the
video capabilities of the touchmonitor is sent to the video display
adapter when the computer’s operating system starts. If the
computer’s operating system detects the touchmonitor, follow the
instructions on the screen to install a generic Plug-and-Play monitor.
Elo TouchSystems provides touchscreen driver software that allows
your touchmonitor to work with your computer. Drivers are located on
the enclosed CD.
The latest versions of drivers and driver information for all operating
systems, including those that are not included with the CD, are avail-
able on the Elo TouchSystems website at www.elotouch.com/sup-
port/downloads/.
To install the Touch Driver, follow the steps below:
1Insert the TouchTools or APR CD in your computer’s CD-ROM
drive.
2Click on Install Driver for This Computer.
3Follow the on-screen instructions to complete the installation.
If there are no on-screen instructions when you install the
TouchTools or APR CD :
1Click Start > Run.
2Click the Browse button to locate the EloCd.exe program
on the CD-ROM.
3Click Open, then OK to run EloCd.exe.
4Follow the directions on the screen to complete the driver
installation.

Elo TouchSystems 1900L User Guide 11
Monitor Overview and Dimensions
Note:
Dimensions are in millimeters.
Detailedmechanicaldrawingscanbefoundat: www.elotouch.com

Elo TouchSystems 1900L User Guide 12
Monitor Mounting and Orientation
Option 1— Mount on Flat Surface with Stand
PortraitOrientationshownabove
LandscapeOrientationshownabove

Elo TouchSystems 1900L User Guide 13
Monitor Mounting and Orientation (continued)
Option 2 — Mount using VESA
Rearviewofmonitorinlandscapeorientationshownabove
Rearviewofmonitorinportraitorientationshownabove

Elo TouchSystems 1900L User Guide 14
Attaching the Stand to a Mounting Surface
Option 1 — Mounting from the top.
Slide out stand base cover. Use 4 screws to
attach stand to surface.
Option 2 — Mounting from the bottom.
Attach to the surface using the holes shown above.
Monitor Mounting and Orientation (continued)

Elo TouchSystems 1900L User Guide 15
C H A P T E R
3
OPERATION
About Touchmonitor Adjustments
Your touchmonitor probably does not require adjustment. However,
variations in video output and application may require adjustments to
your touchmonitor to optimize the quality of the display.
For best performance, your video source should be at 1440 X 900
resolution, at 56–76 Hz refresh rate. Operating in other resolutions
degrades video performance.
For input video outside the refresh rate and dot clock ranges, the
monitor does not automatically adjust, but displays an “Out of Range”
(OOR) message and the On-screen Display (OSD) menu, which
ordinarily allows you to change monitor settings, is then disabled.
Note: Do not operate the touchmonitor if you see the OOR mes-
sage, or LCD damage may result. If you see the OOR message, set
the video mode to one within the allowable range.

Elo TouchSystems 1900L User Guide 16
On-Screen Display (OSD) Control Panel
The On-Screen Display (OSD) control panel is located on the side of
the monitor, as shown above.
OSD Control Buttons
The OSD control buttons allow you to change settings on the moni-
tor screen. The five buttons shown above are:
OSD Menu Functions
The control buttons have the following functions:
MENU Displays or exits the OSD Menus
UP 1) Enters brightness and/or contrast of the OSD (if no
OSD is currently displayed on screen)
2) Increases value of OSD adjustment choice
3) Selects OSD choice counterclockwise
1 MENU
2UP
3DOWN
4SELECT
5 POWER
1
2
3
4
5

Elo TouchSystems 1900L User Guide 17
After adjusting the values, the monitor automatically saves
the changes.
OSD Lock/Unlock
You can lock and unlock the OSD feature. The monitor is shipped with
the OSD unlocked, no OSD can be displayed or used.
To lock the OSD:
1Press the MENU button and UP button simultaneously for 2
seconds. Awindow appears displaying “OSD Unlock.”
2Continue to hold the buttons down for another 2 seconds and the
window toggles to “OSD Lock.”
Power Lock/Unlock
You can lock and unlock the Power feature. When the power is
locked, pressing the power switch does not turn off the monitor. The
monitor is shipped with the power unlocked.
To lock the power:
1Press the MENU button and the DOWN button simultaneously for
2 seconds. A window appears displaying “Power Unlock.”
2Continue to hold the buttons down for another 2 seconds and the
window toggles to “Power Lock.”
NOTE: By default, the OSD screen disappears if
no input activities are detected for 30 seconds.
DOWN 1)Adjusts audio volume or selects Mute option (if no
OSD is currently displayed on screen)
2) Decreases value of OSD adjustment choice
SELECT 1) SelectsAnalog or Digital
2) Selects adjustment choices from the
OSD menus.
POWER Turns the monitor on or off.

Elo TouchSystems 1900L User Guide 18
OSD Control Options
AutoAdjust
• Automatically adjusts video timing parameters (VGA only).
Luminance
Brightness
• Adjusts the brightness.
Contrast
• Adjusts the contrast.
Image Setting (VGA only)
H. position
• Moves the image left or right on the screen.
V. position
• Moves the image up or down on the screen.
Clock
• Stretches the image horizontally.
Phase
• Adjusts the phase of the dot clock to image data.
Color
• Sets the color temperature.
Audio
•Adjusts audio volume or selects Mute option.
OSD
OSD H. Position
• Moves the OSD menu screen left or right.
OSD V. Position
• Moves the OSD menu screen up or down.
OSD Timeout
• Adjusts amount of time that the OSD menu is displayed.
Language
• Selects the language used for the OSD menu from English,
French, German, Spanish, Italian, Traditional Chinese, Simplified
Chinese, or Japanese.

Elo TouchSystems 1900L User Guide 19
Recall
Color Recall
• Restores default color temperature settings.
Recall Defaults
• Restores original factory settings for H-position,
V-position, Clock, and Phase for the current video mode
(VGA only).
• Restores original factory settings for all other parameters
and video inputs, except language.
Miscellaneous
Aspect Ratio
• Selects Fill Screen or Fill to aspect ratio.
Sharpness
• Adjusts sharpness of video.
DDCCI Function
• Enables or disables the Display Data Channel
Command Interface (DDCCI) function.
Display Information
• Information is displayed at the bottom of the Main Menu
regarding the input horizontal/vertical synchronizing
signal.

Elo TouchSystems 1900L User Guide 20
Preset Display Modes
The touchmonitor comes with preset settings for commonly used
video modes. It automatically adjusts the picture size and centering for
any of the video modes listed in Appendix B, 1900L Specifications,
under “Preset Display Modes.”
Table of contents
Other Tyco Electronics Touchscreen manuals

Tyco Electronics
Tyco Electronics 1525L Series User manual

Tyco Electronics
Tyco Electronics ET2200L User manual

Tyco Electronics
Tyco Electronics ELO 1519L-7CAA-0-GY-G User manual

Tyco Electronics
Tyco Electronics POSMicro Elo 1928L User manual

Tyco Electronics
Tyco Electronics Elo TouchSystems ET1225L-7SWC-1 User manual

Tyco Electronics
Tyco Electronics 2639L User manual

Tyco Electronics
Tyco Electronics 1935L User manual

Tyco Electronics
Tyco Electronics Elo Entuitive Touchmonitor ET1925L Series User manual

Tyco Electronics
Tyco Electronics B-Series User manual