PAGE 1 OF 5 0823 IH-10947
H-10947
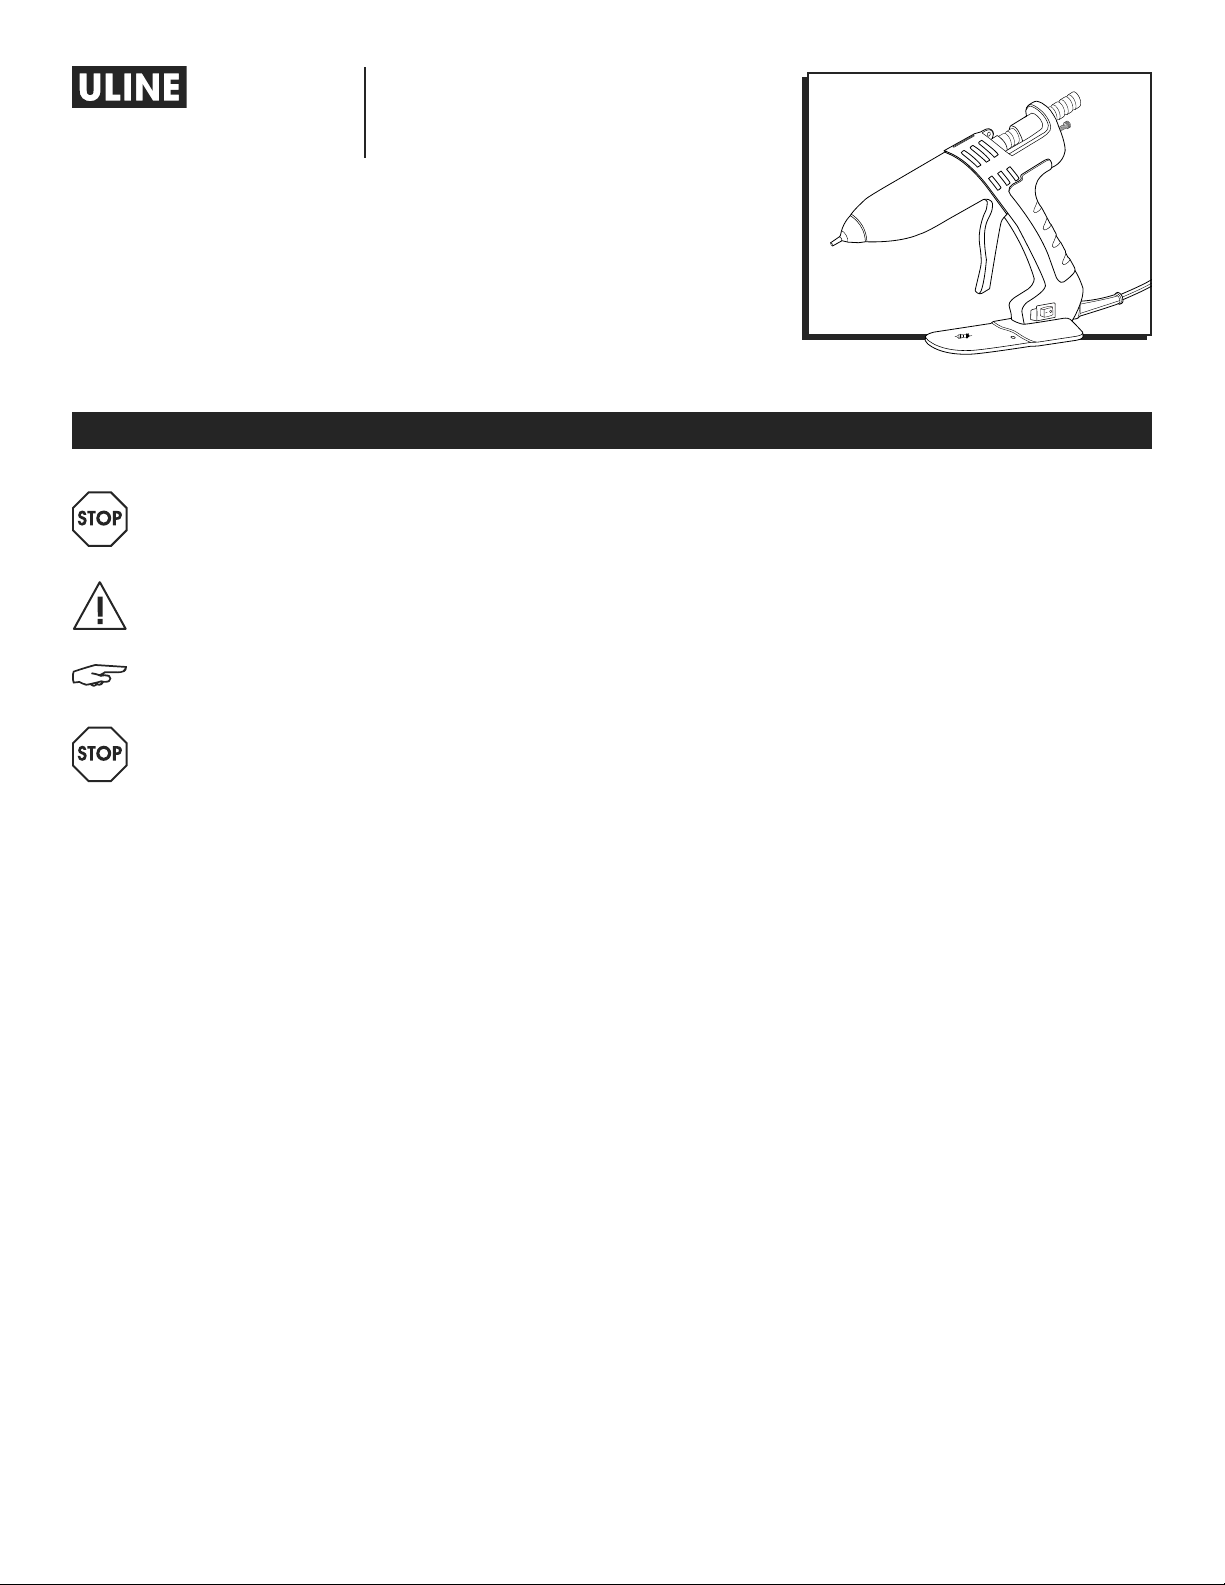
3M™ TC/TC-Q
GLUE GUN
1-800 -295-5510
uline.com
WARNING! Indicates a hazardous situation
which, if not avoided, could result in serious
injury or death.
CAUTION! Indicates a hazardous situation
which, if not avoided, could result in minor or
moderate injury and/or property damage.
NOTE: Indicates a situation which, if not
avoided, could result in property damage.
WARNING! To reduce the risk of electrical shock
or injury, observe the following safety rules:
• This appliance is not intended for use by
people (including children) with reduced
physical, sensory or mental capabilities,
or lack of experience and knowledge,
unless they have been given supervision or
instruction concerning use of the appliance
by a person responsible for their safety.
• Children or people needing supervision
should be supervised to ensure they do not
play with the appliance.
• Operate and service the glue gun only as
described in these instructions.
• Connect glue gun only to a properly
grounded outlet.
• Do not unplug the glue gun by pulling on the
cord. Grasp the plug, not the cord, to unplug.
• Do not handle the plug or glue gun with wet
hands.
• Do not use the glue gun outdoors or on wet
surfaces.
• Do not use glue gun if cord or plug is
damaged.
• Do not use glue gun if it is not working
properly or has been damaged, submerged
in water or left outdoors.
• Use only authorized replacement parts. Use
of other replacement parts may cause
hazardous conditions or damage to the glue
gun. Repairs should only be performed by a
qualified repair person.
• If supply cord is damaged, it must be
replaced by a qualified repair person or
Uline. Reach out to Uline at 1-800-295-5510
for assistance.
• Do not use near highly flammable materials.
• If an extension cord is used, use an extension
cord that complies with local electrical
requirements and is properly rated for your
application. Use of an improper extension
cord may cause electrical shock.
• Do not clean or remove the 3M™ hot melt
adhesive with solvent. It may cause a fire.
For additional health and safety information,
see product label and safety data sheet for
3M™ hot melt adhesive used.
• Do not modify the plug provided with
the glue gun or use with an adaptor or
ungrounded outlet. Improper grounding
connection of the glue gun may cause
electric shock. Check with a qualified
electrical or service person to determine
whether the plug is properly grounded. If the
plug will not fit the outlet, have a qualified
electrician or service person install the
proper outlet.
SAFETY