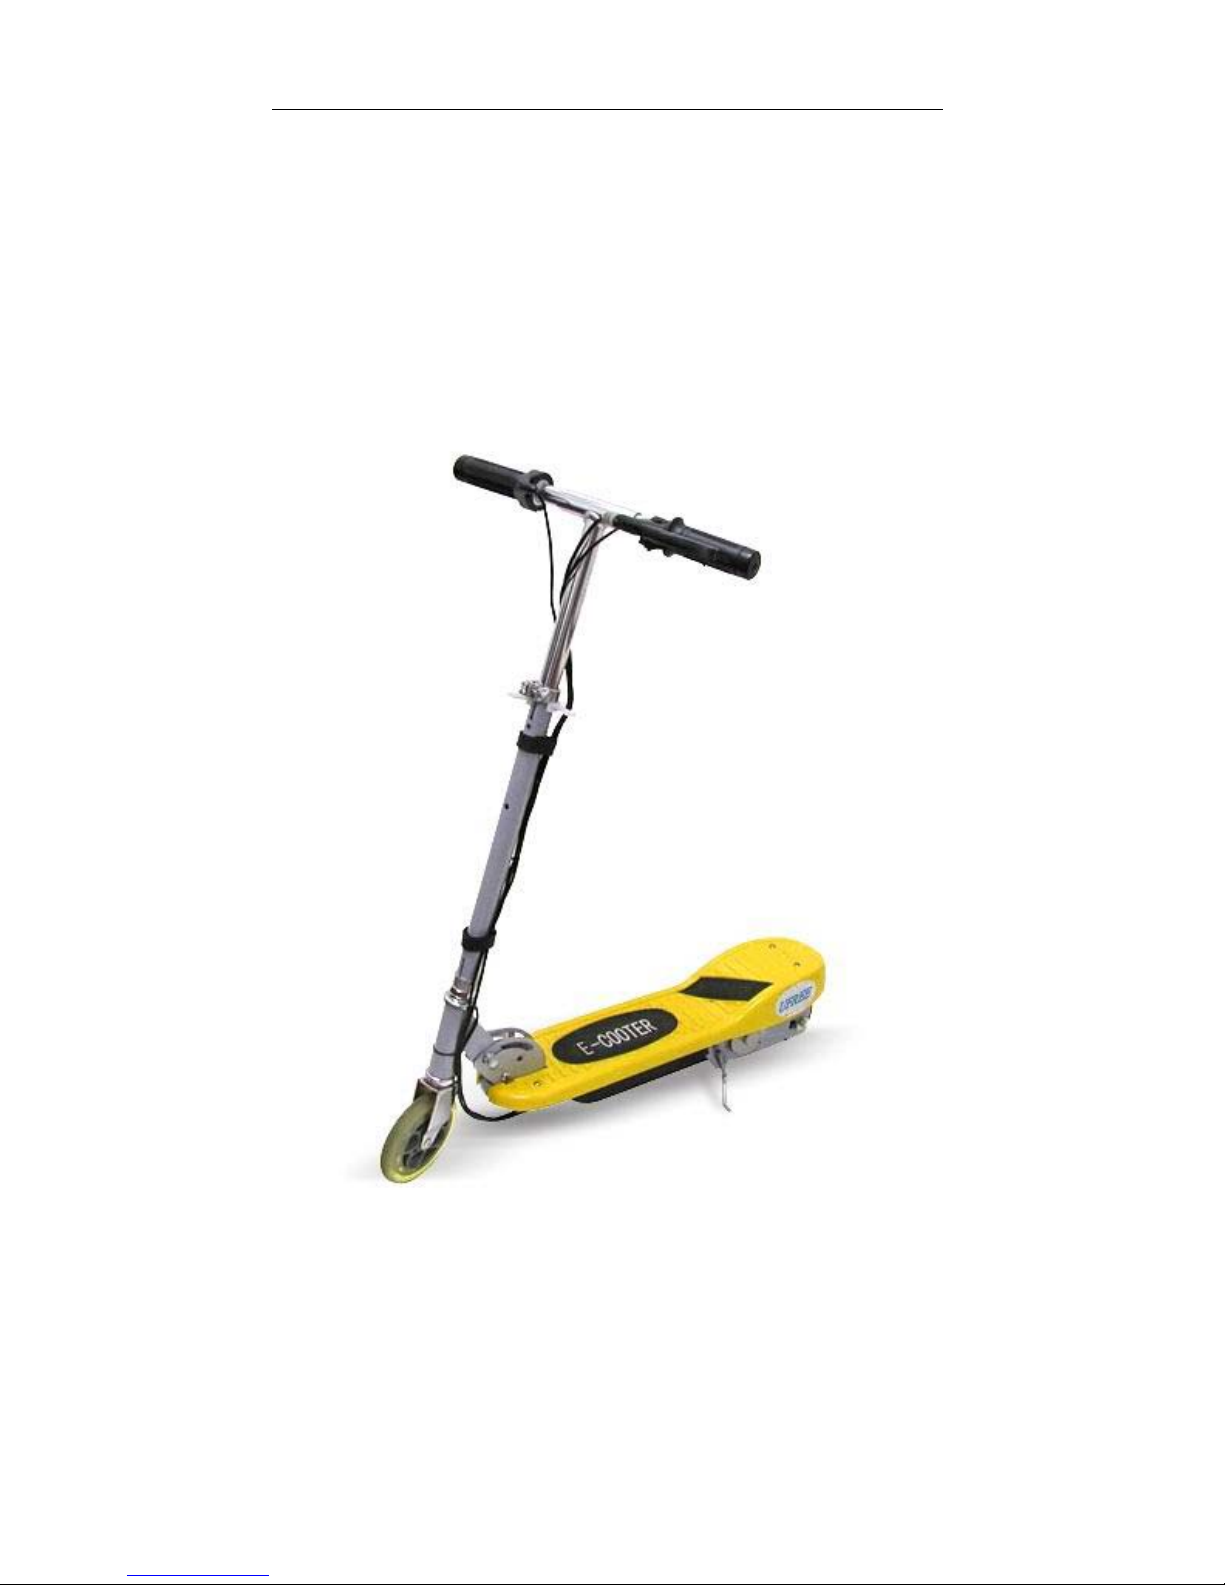
UFREE SCOOTER www.scooter-manufacturer.com
2
WARNING
BEFORE YOU ATTEMPT TO RIDE THE SCOOTER, PLEASE READ AND
UNDERSTAND THE FOLLOWING:
•NEVER RIDE THE SCOOTER ON PUBLIC STREETS OR ROADS. CHECK LOCAL
ORDINANCES WHERE RIDING IS PERMISSIBLE.
•MINIMUM AGE IS RECOMMENDED AT 10 YEARS OLD TO OPERATE THE
SCOOTER. MAXIMUM RIDER WEIGHT IS 180LB.
•ALWAYS WEAR AN APPROVED SAFETY HELMET WHEN RIDING. BE
COOL...BE SAFE!
*WEAR SHOES WHEN RIDING, NEVER BAREFOOTED.
•AVOID RIDING ON GRAVEL SAND. GRASS SLICK OR WET SURFACES. SCOOTER
IS DESIGNED TO BE USED ON DRY SMOOTH SURFACES.
•NEVER RIDE SCOOTER OVER CURBS OR JUMPS. THIS SCOOTER IS NOT
DESIGNED FOR THIS TYPE OF RIDING. THE RETAILER, DISTRIBUTOR,
IMPORTER, AND MANUFACTURER WILL NOT BE RESPONSIBLE FOR ANY
INJURIES TO THE RIDER OR DAMAGES TO THE SCOOTER THAT OCCUR FROM
THIS TYPE OF RIDING OR ACTIVITIES.
•POWER IS AT FULL POWER WHEN FOOT OPERATED POWER SWITCH (THROTTLE)
IS ENGAGED. BE PREPARED.
•BRAKE IS DESIGNED TO CONTROL SPEED AS WELL AS FOR STOPPING.
•NEVER RIDE THE SCOOTER WITH MORE THAN ONE PERSON. MULTIPLY RIDERS
COULD LEAD TO LOSS OF CONTROL.
•KEEP HANDS, FEET, HAIR, AND SHOESTRINGS AWAY FROM ALL MOVING
PARTS.
•NEVER LEAVE CHILDREN UNATTENDED WITH THE SCOOTER. THIS COULD
LEAD TO POTENTIAL HAZARDS!
•FAMILIARIZE YOURSELF WITH THE SCOOTER AND CHECK ALL FASTENERS FOR
TIGHTNESS BEFORE EACH USE.
•DO NOT STORE BATTERIES NEAR HIGH TEMPERATURES, BATTERIES CAN
EXPLODE.
•DO NOT EXPOSE CHARGER TO MOISTURE OR USE IF DAMAGED. REGULARLY
CHECK THE CORD. PLUG & ENCLOSURE FOR ANY DAMAGE THE CHARGER
MUST NOT BE USED UNTIL THE DAMAGE IS REPAIRED.
•NEVER OPERATE SCOOTER WHILE IMPAIRED.
CAUTION: IT IS RECOMMENDED TO ALWAYS PUSH START THE SP007 TO
REDUCE THE START LOAD ON THE MOTOR. YOUR SCOOTER MOTOR WILL
HAVE A MUCH LONGER LIFE WITH PUSH ASSISTANCE. CAUTION:
ELECTRICALLY OPERATED TOY! RECOMMENDED TRANSFORMER MUST BE
USED. CAUTION: THE TRANSFORMER IS NOT A TOY! RISK OF ELECTRIC SHOCK!
CAUTION: CHARGER FOR DRY LOCATION AND WDOOR USE ONLY!
CHARGE BATTERY AFTER EVERY USE