8 GB / IE / NI
Input voltage
(charging port): 15 V/1 A
Output voltage
(USB port): 5 V/2 A
Capacity: 9800 mAh / 5 V
Max� current draw: 14 A
Working pressure: 2�5 bar
Maximum pressure: 10 bar
Continuous operation: max� 7 min*
Air flow rate: 20 l/min
* Continuous operation: do not operate the inte-
grated compressor continuously for longer than
7 minutes� Following this, include a rest period
of 15 minutes�
Changes to technical and visual aspects of the
product may be made as part of future develop-
ments without notice� Accordingly, no warranty
is offered for the physical dimensions, infor-
mation and specifications in these operating
instructions� The operating instructions cannot
therefore be used as the basis for asserting a
legal claim�
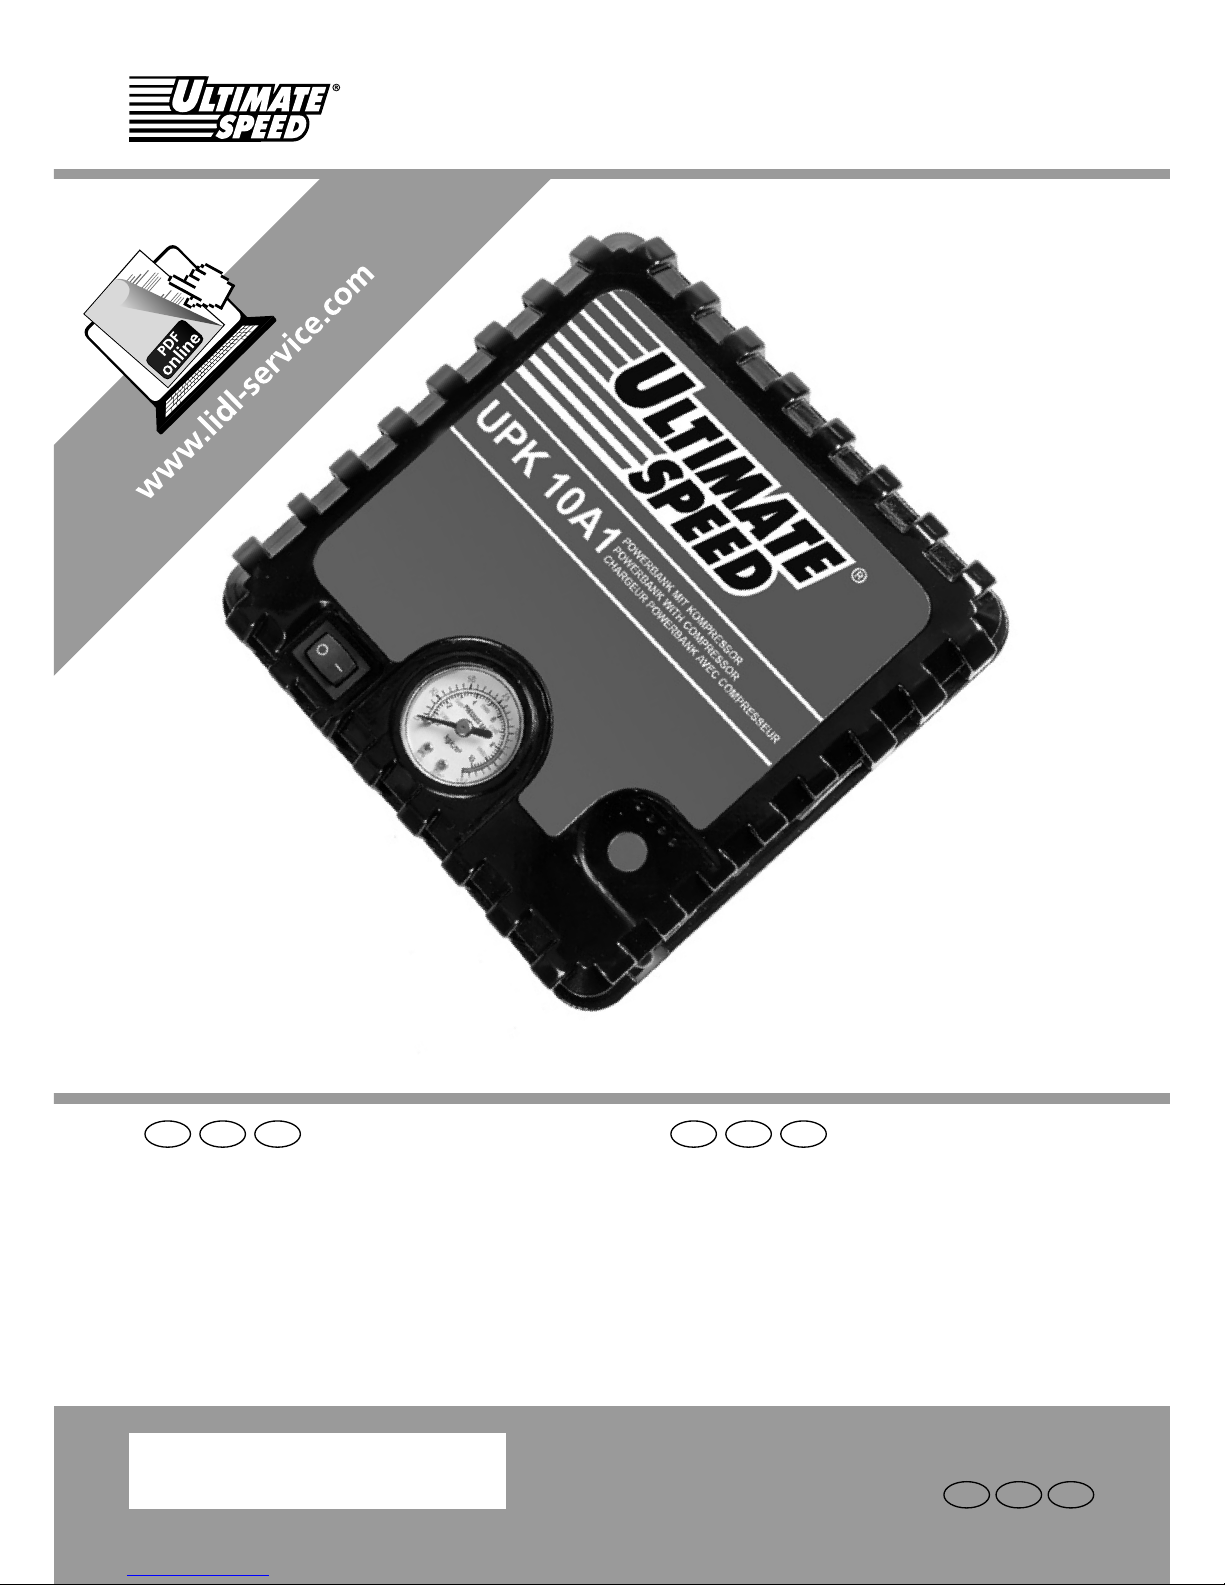
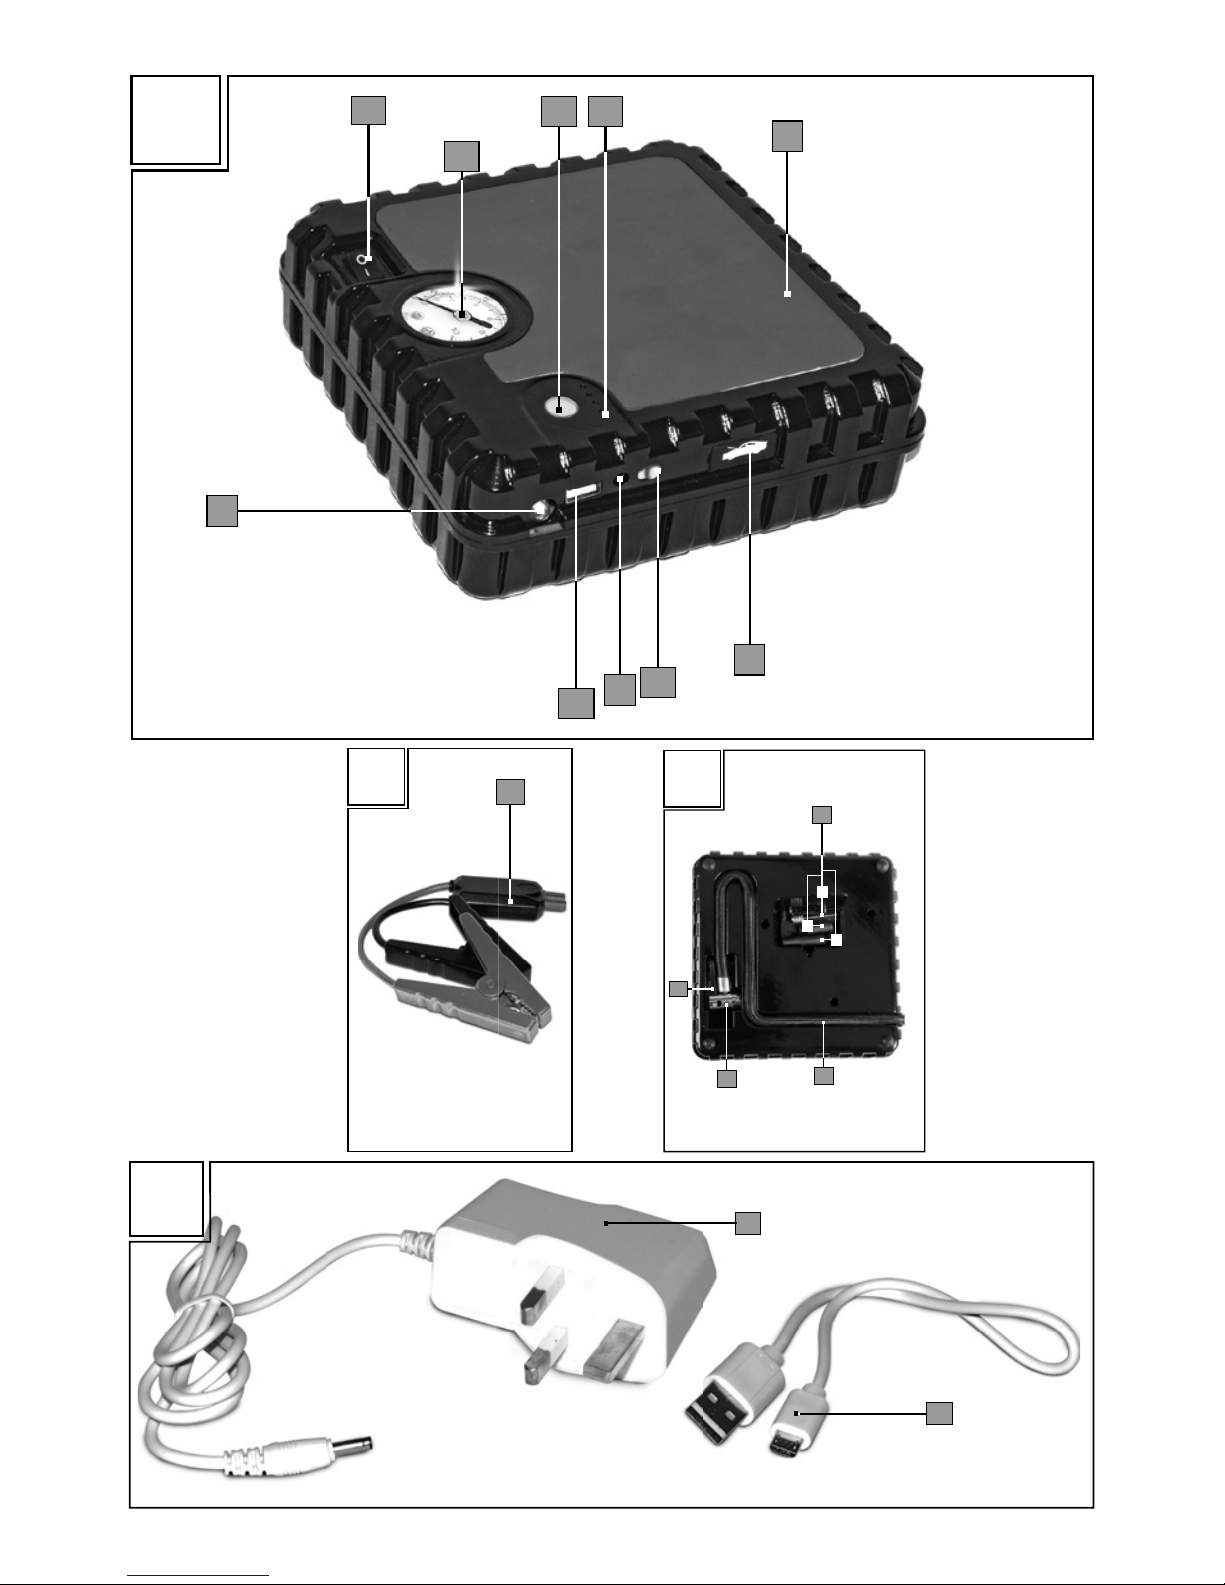
• Package contents
1 power bank with compressor
1 USB cable
1 jumper cable
1 AC adapter
3 valve adapters
1 set of operating instructions
SAFETY INSTRUCTIONS
PLEASE READ THROUGH
THE OPERATING IN-
STRUCTIONS CAREFULLY BEFORE
USE� THESE FORM PART OF THE
PRODUCT AND MUST BE AVAIL-
ABLE AT ALL TIMES!
This section covers the basic
safety instructions applicable
when working with the device�
Personal safety:
This device may be used by chil-
dren aged 8 years and older,
and by persons with reduced
physical, sensory or mental
capacities, or a lack of expe-
rience and knowledge, if they
are supervised or have been
instructed in how to use the
device safely and understand
the dangers that may arise when
using it� Do not allow children
to play with the device� Clean-
ing and day-to-day maintenance
must not be performed by chil-
dren without supervision�
Do not allow children to play
with the device at any time�
Keep the device away from
people – especially children –
and household pets�
Within the working area, the
user is responsible for any dam-
age or injury to third parties that
was caused by the use of the
device�
During operation, never point the
device at yourself or other per-
Introduction/Safety instructions