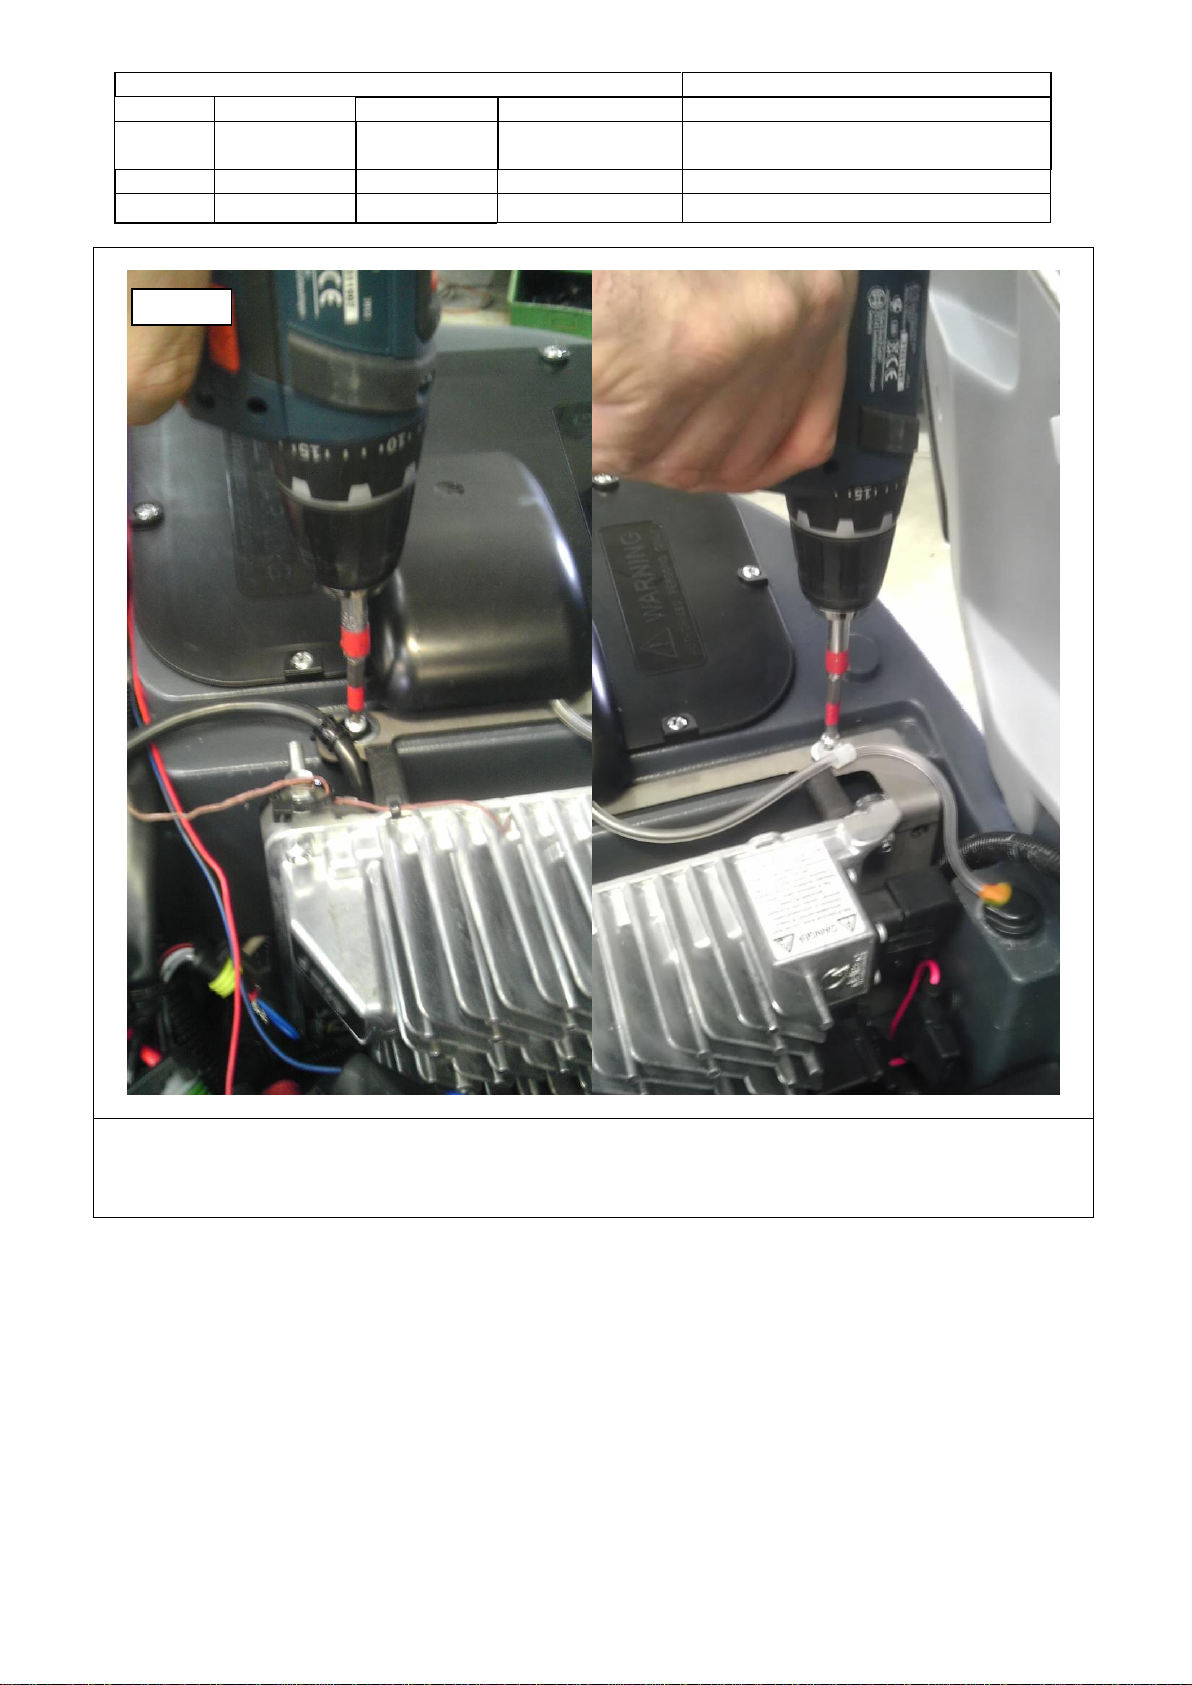
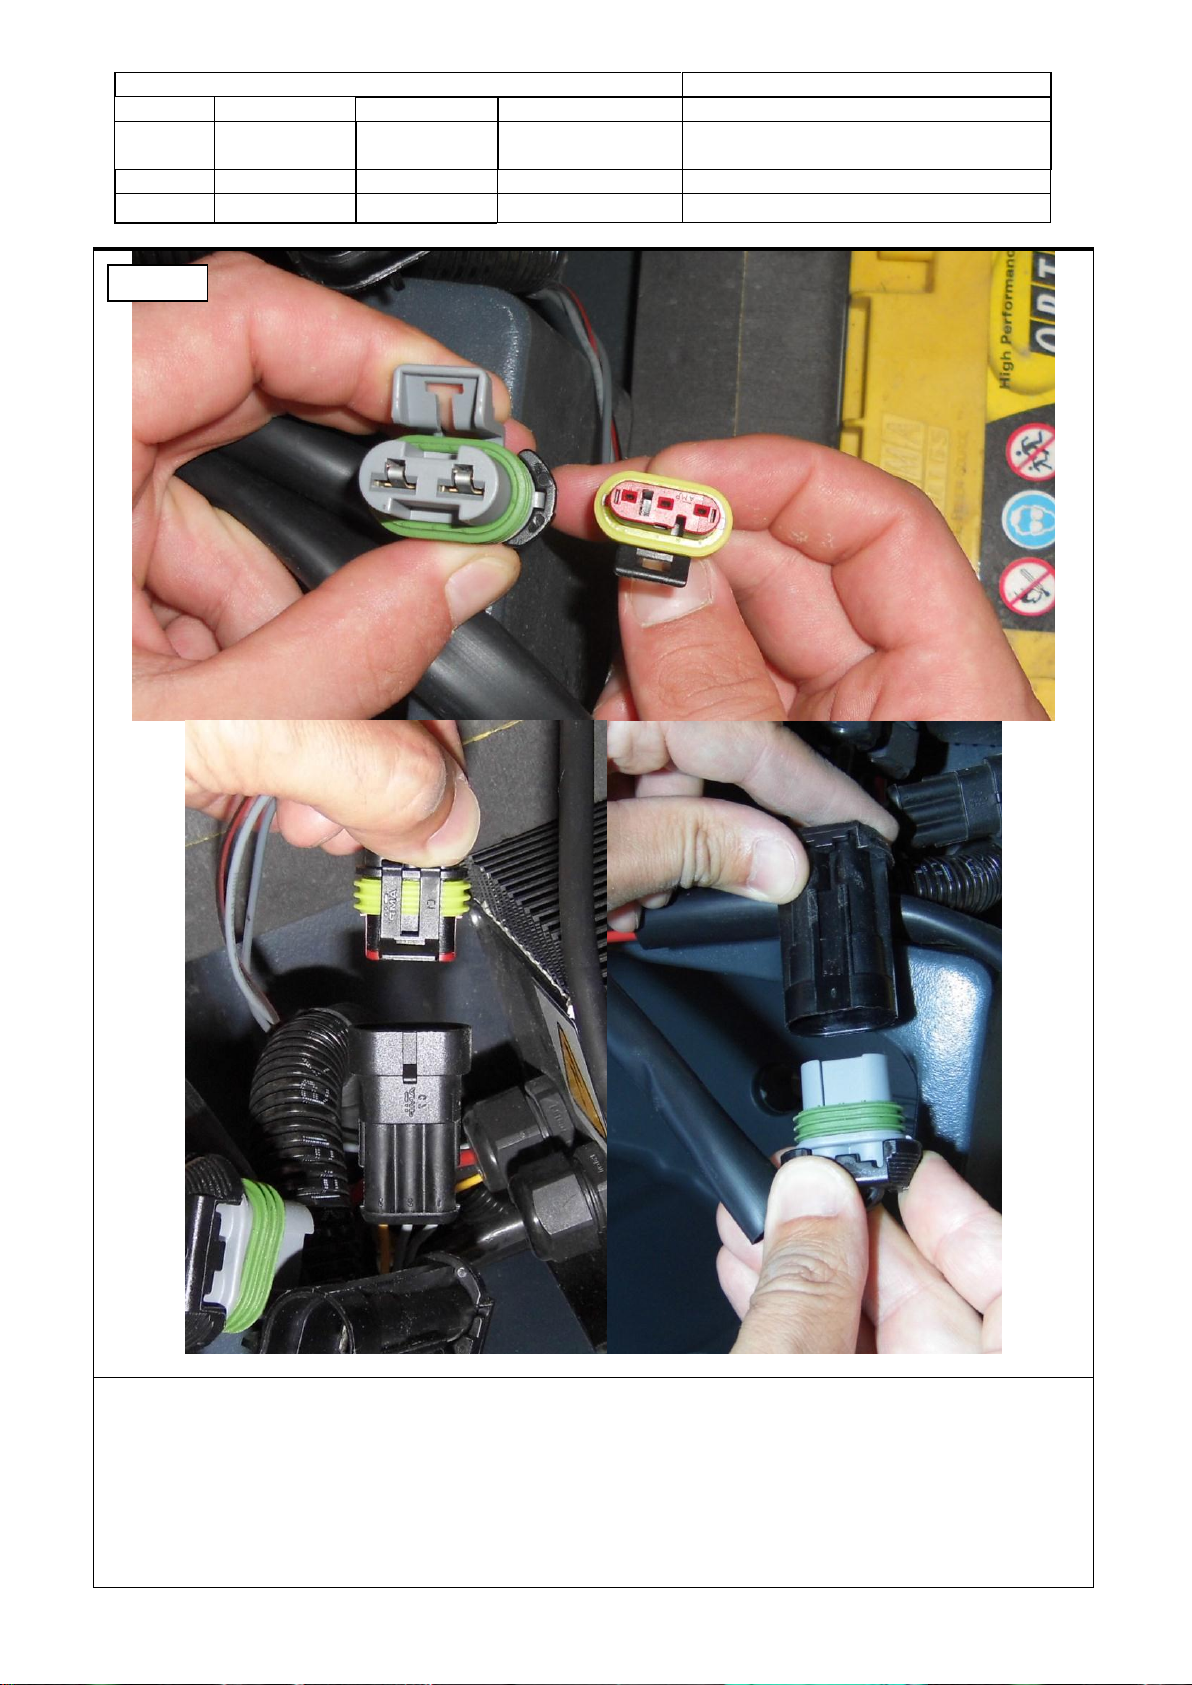
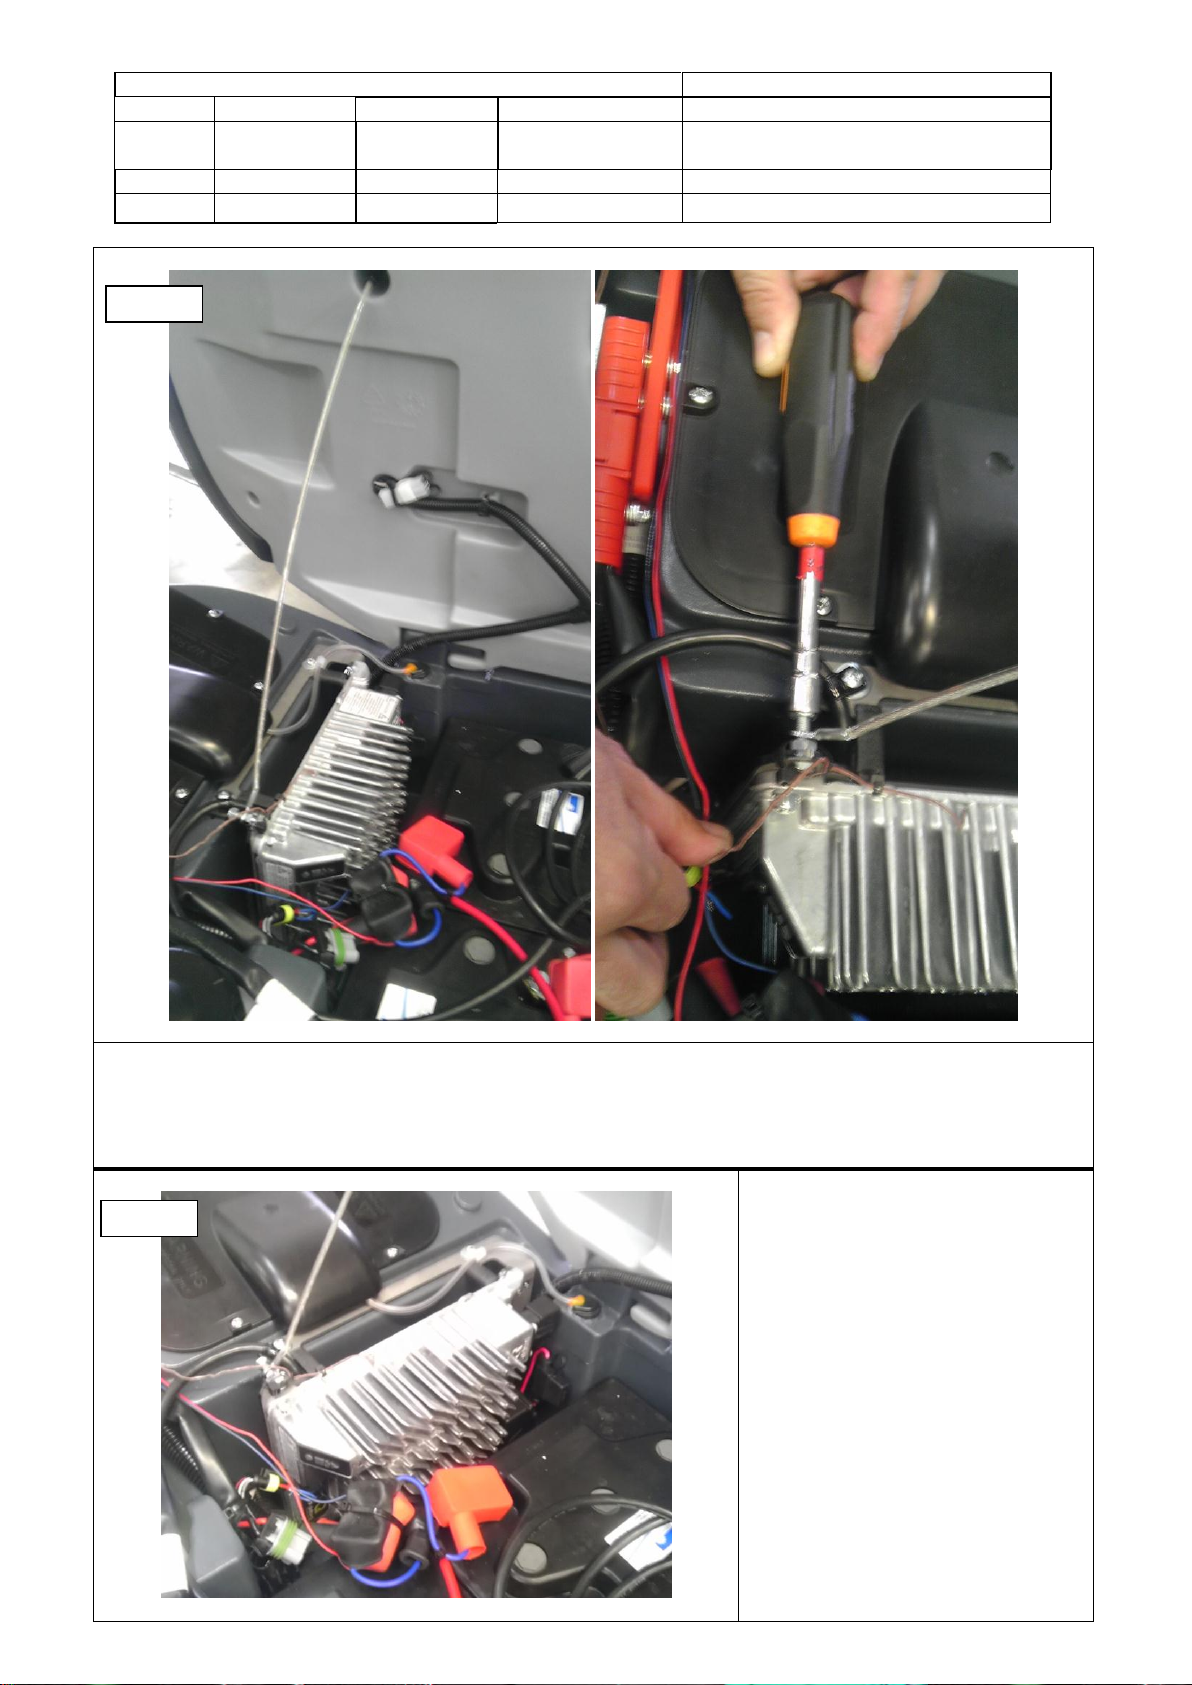
INSTALLATION INSTRUCTIONS
Installation Instruction for
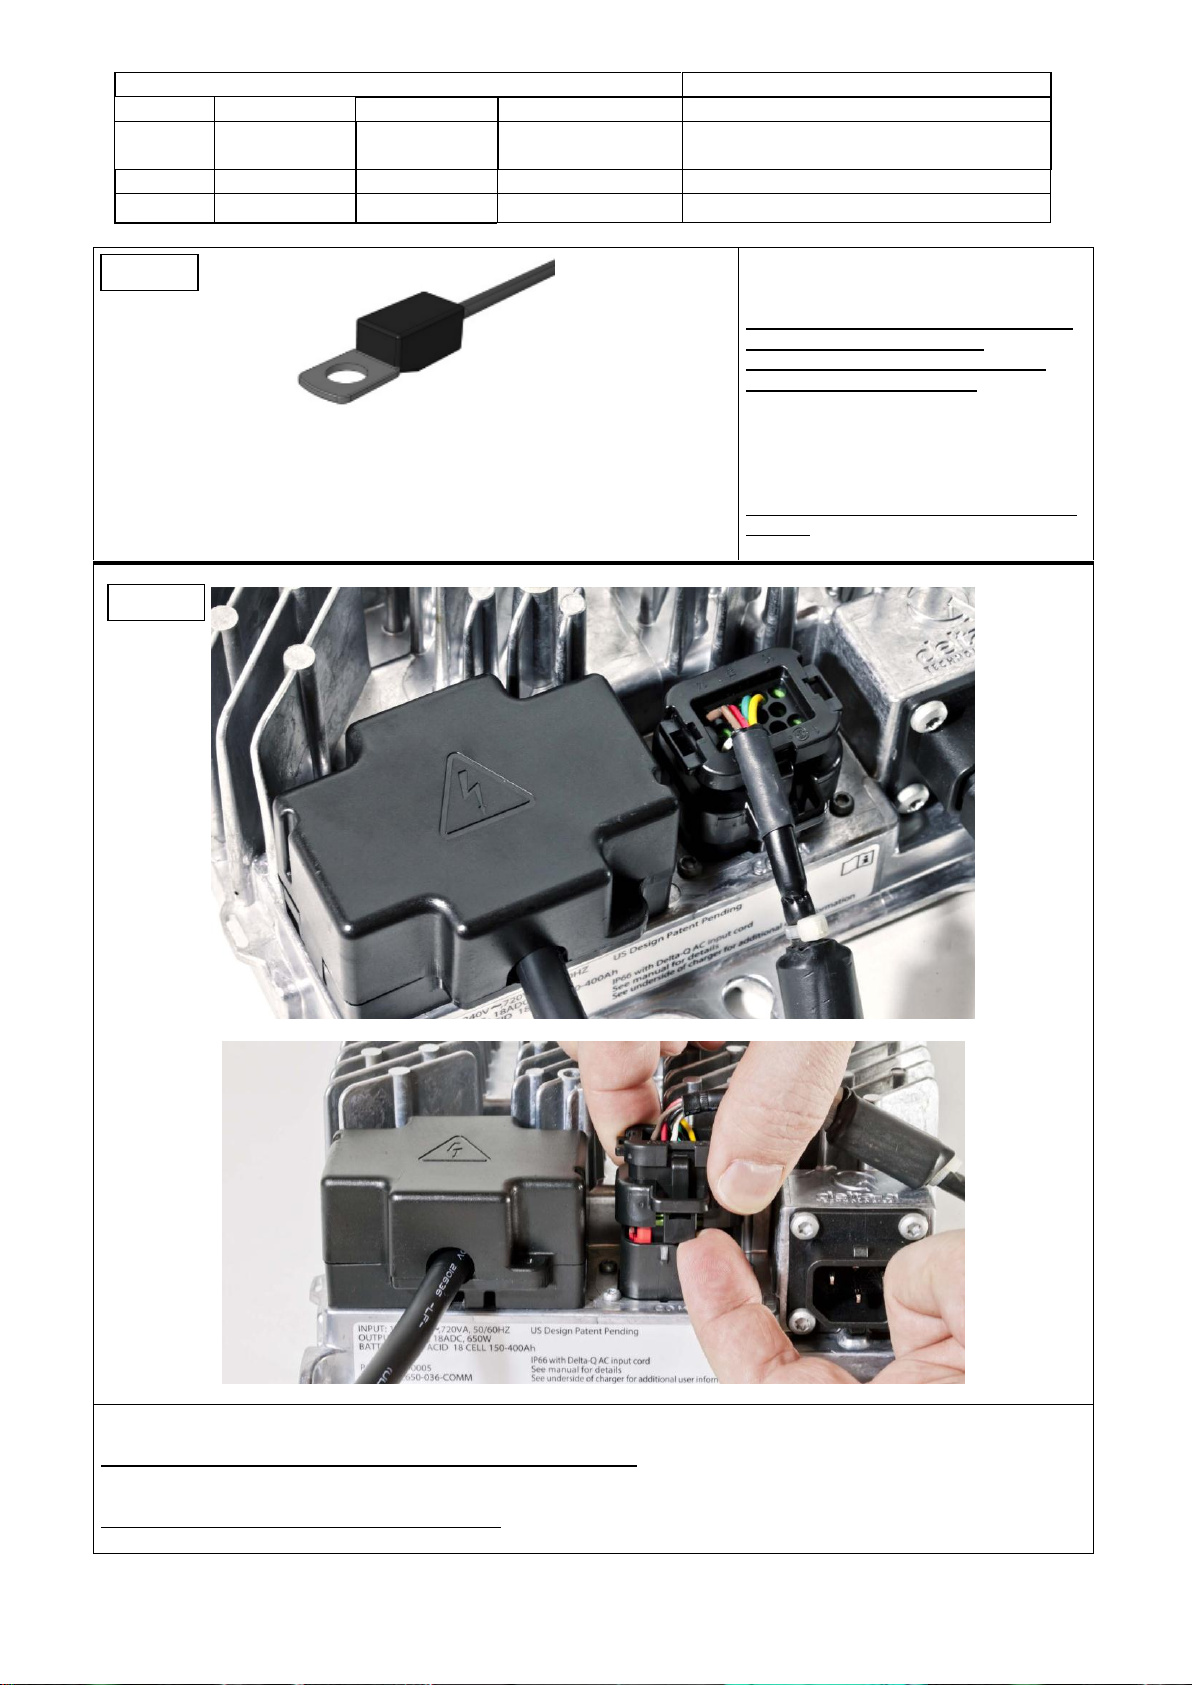
Selezione profilo di ricarica Delta-Q IC 650
Delta-Q IC 650 Charge Profile Selection
Scollegare il cavo di alimentazione (A)
dal caricabatteria, o dalla presa a muro.
Attendere 30 sec. che il relè del
caricabatteria si apra.
Disconnect AC input (A) from the charger,
or from the wall outlet. Wait 30 seconds
for the input relay to open.
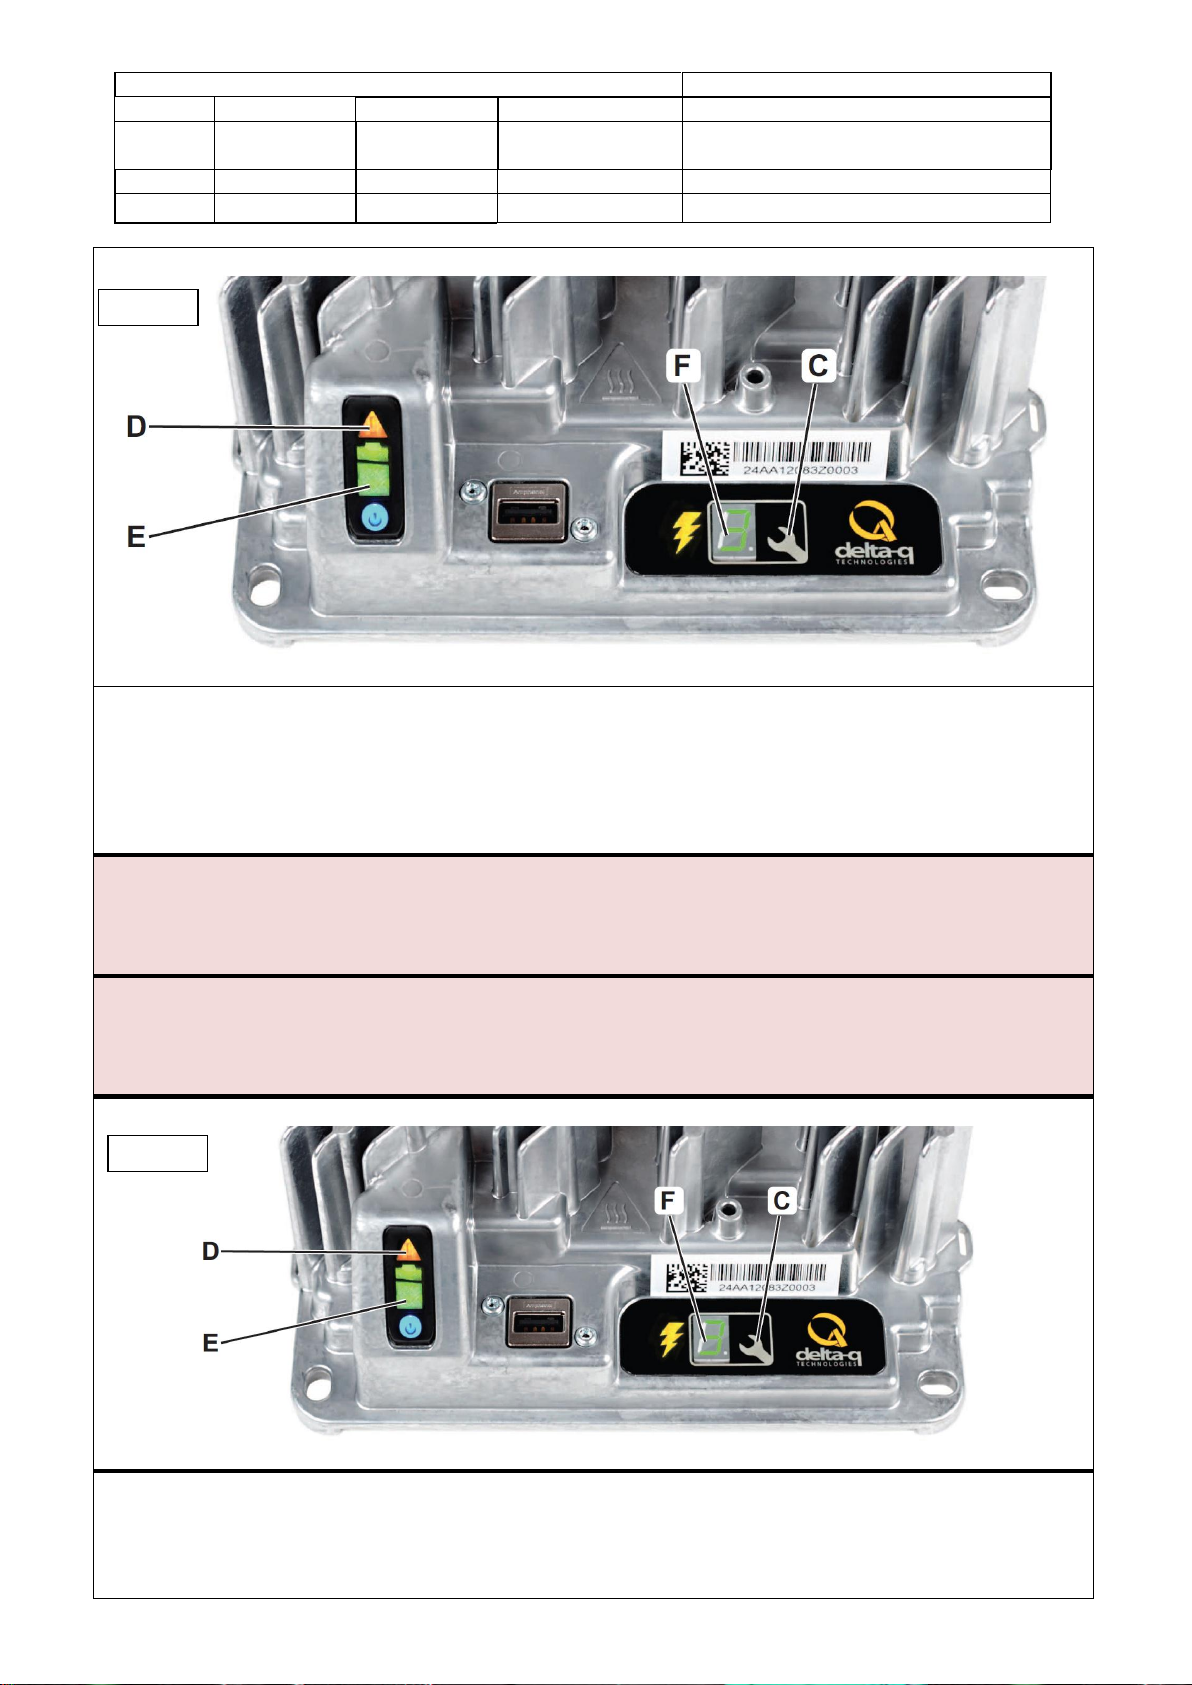
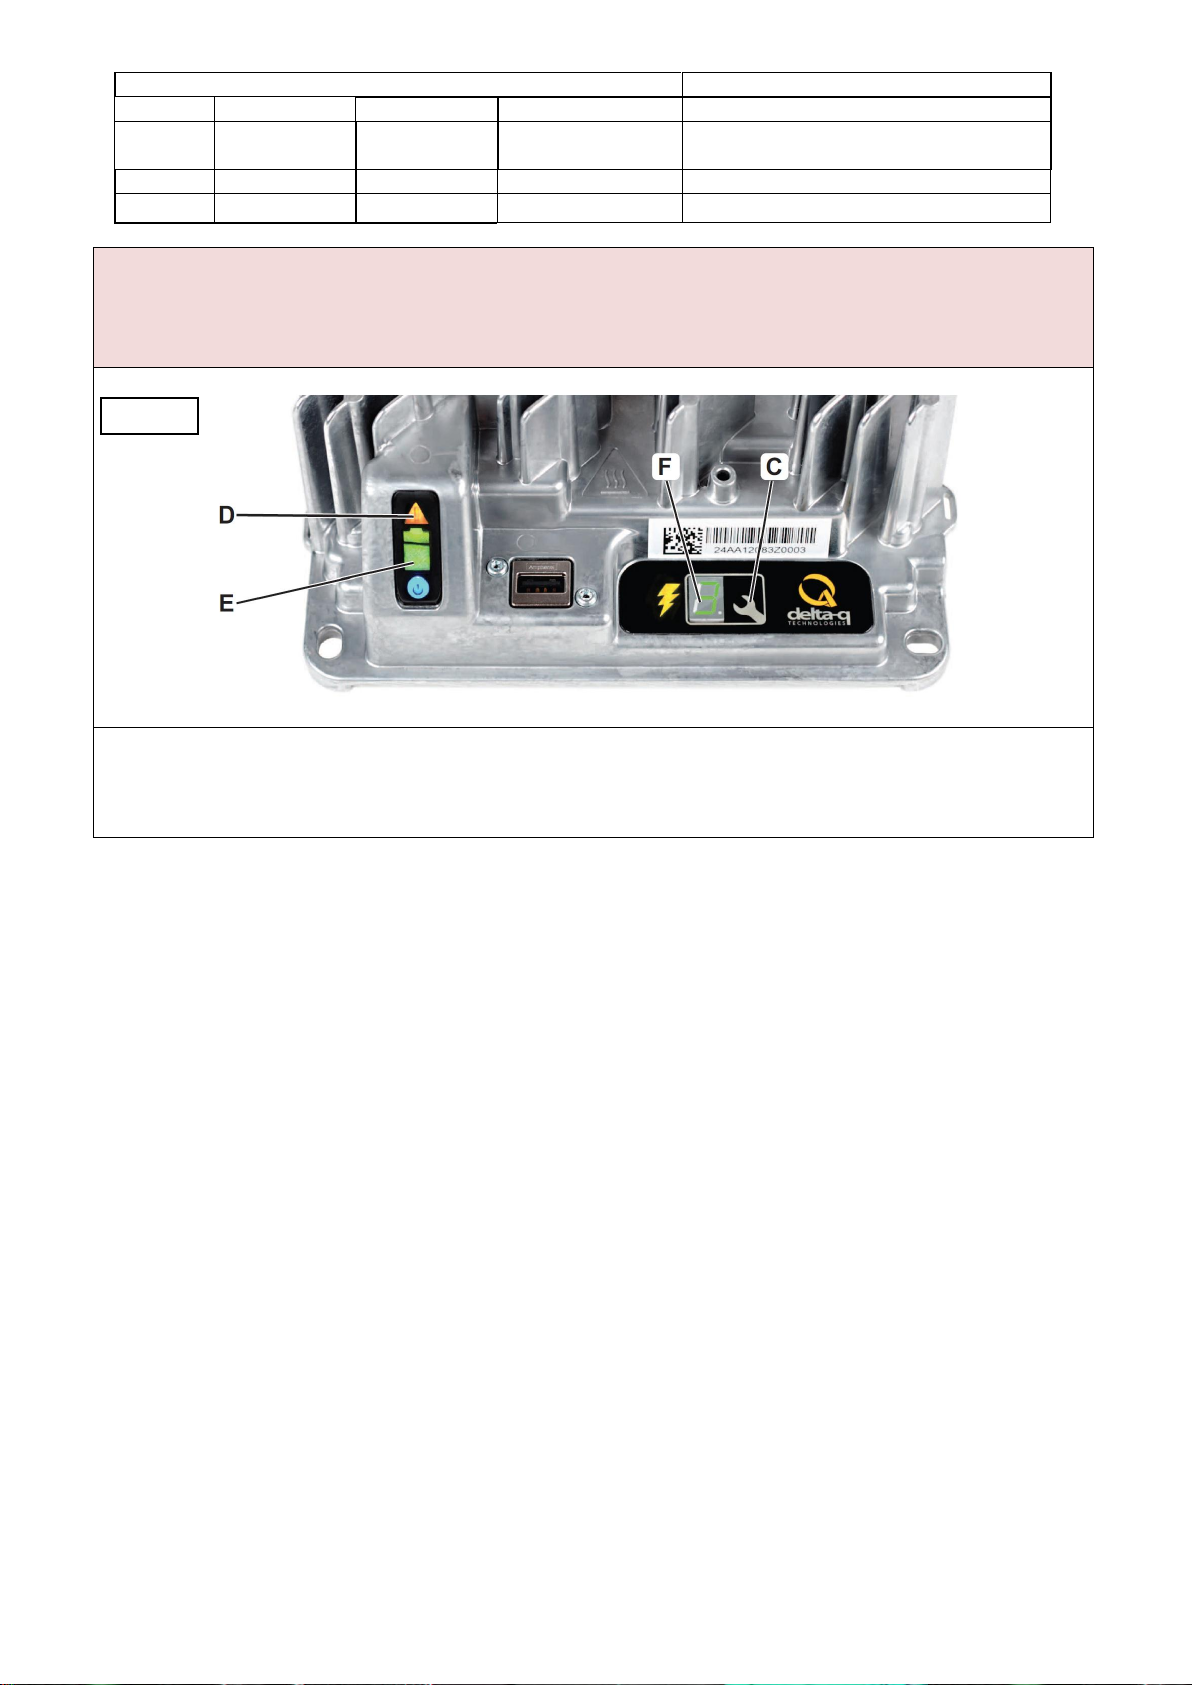
Mantenendo premuto il pulsante di
selezione profilo di carica (C),
ricollegare il cavo di alimentazione (B).
Tenere premuto il pulsante finché
l’indicatore (D) si accenda di colore
ambra e l’indicatore di carica della
batteria (E) inizi a lampeggiare di colore
verde.
While reconnecting AC input (B), press
and hold the
Select Charge Profile Button (C). Hold the
button until
Error Indicator (D) is on and Amber in
color and Battery
Charging Indicator (E) starts flashing
Green.