manuals.online logo
Brands
  1. Home
  2. •
  3. Brands
  4. •
  5. LulzBot
  6. •
  7. 3D Printer
  8. •
  9. LulzBot Mini User manual

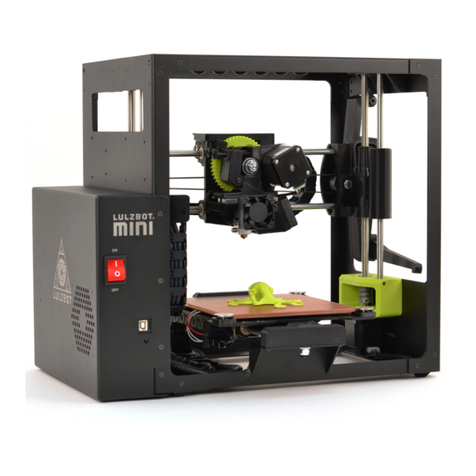
LulzBot Mini User manual

Thank you for choosing the LulzBot™ Mini desktop 3D printer and welcome to the
LulzBot community. This Quick Start Guide will familiarize you with the proper use and
operation of your LulzBot Mini, and by the time you finish, you will have your very own
3D printed rocktopus, the mascot of the LulzBot Mini.
Every LulzBot Mini is covered by a one-year warranty and customer support, so if you
have questions along the way, please contact us by emailing
support@LulzBot.com
or
calling
+1 -970-377-1111
. Learn more at
LulzBot.com/support
. Now let's get you 3D
printing!
Readthe includedUserSafetySheetcompletelybefore beginningthe QuickStart. Findthe fulluser
manualforyourLulzBotMinionline atLulzBot.com/Mini.
STEP
1
Carefully remove the top piece of protective foam and other included materials.
Then place your LulzBot Mini on a flat and level surface with 30 centimeters (1 2 inches)
of clearance in every direction.
1a
Your LulzBotMinicomes with an octopus that was made byyour3D printerduringthe finalstage
ofquality assurance. Severaltools formaintainingyourLulzBotMiniare also included. Learn more
abouthowto use them in the maintenance section atthe endofthis QuickStartGuide.
Unpac Your LulzBot™ Mini Des top 3D Printer
Remove all packaging foam and confirm everything on the Packing List is included
in the box. Save all of the provided packaging materials in case you need to transport
your 3D printer in the future.
1B
ON
OFF
STEP
2
Download and Install the Software for Your LulzBot™ Mini
Visit LulzBot.com/Cura to find download and installation instructions for Cura LulzBot
Edition, the software that will control your 3D printer. Even if you already have Cura
installed on your computer, visit LulzBot.com/Cura anyway to get the latest version of
Cura LulzBot Edition.
Unableto downloadCura LulzBotEdition from the Internet?Youcan also findinstallation packages
on the includedUSB thumb drive thatcomes with yourLulzBotMini.
STEP
3
Configure Cura LulzBot Edition for Your LulzBot™ Mini
Launch Cura LulzBot Edition. Begin the Configuration Wizard and select LulzBot
Mini and click
Next
. In the Tool Head Selection window select Standard LulzBot Mini and
click
Next
.
3A
Click
Finish
to complete the Configuration Wizard. Cura LulzBot Edition is now
installed and ready for use.
3b
STEP
4
Connect and Power On Your LulzBot™ Mini
ON
OFF
OFF
ON
Check that the power switch is off Connect the USB cable
Power on
Connect the power cord
STEP
5
Prepare the Model for Your First 3D Print
A 3D model named rocktopus will automatically load onto Cura LulzBot Edition's
virtual print bed the first time you run the software. The rocktopus is the first object
you will 3D print on your LulzBot Mini.
5A
Ifthe rocktopus model is notpresenton the virtualprintbed you can downloaditfrom
LulzBot.com/rocktopus
orfrom theincludedUSB thumb drive then loaditusingthe
LoadModel
button in themain Curainterface.
Filamentis the name forthe materials yourLulzBotMiniuses to 3D printobjects. The included
sample filamentis a plasticknown as High ImpactPolystyrene orHIPS.
Locate the included 1 meter (40 inch) green or yellow coil of HIPS sample filament.
We strongly recommend using the included HIPS sample filament for your first
rocktopus 3D print.
5B
STEP
5
Continued...
On the left side of the screen under “Material,” select
HIPS (eSUN)
. Then under
"Select a quickprint profle," select
Standard
.
5C
STEP
6
Control Your LulzBot™ Mini and Set the Temperature
Continued...
6
STEP
Using your computer, click the
Control
button on the main Cura interface. A new
window called the Printer Interface will open.
6A
Ifthe Controlbutton does notappear verify that the drivers fullyinstalled duringStep 2. Reinstall
Cura ifnecessary.
YourLulzBotMiniis testedforqualityassurance before beingpackaged. You willneedto remove
the remainingfilamentleftin the toolheadfrom this process before loadingnew filamentforyour
nextprint. 240ºCis the requiredhotendtemperature to remove HIPSfrom the toolhead. See Step
14 forthe requiredtemperature forothermaterials.
Using the Printer Interface window, raise the hot end temperature up to 240 C by
typing 240 under “Temperature,” then clicking
Set
in the Printer Interface window.
Monitor the current printer temperature using the status bar at the top of the Printer
Interface window.
6B
Temperature Status
Temperature Control
HIPSFilament
HotEnd
Thehotendis nowheatingup to 240ºC(464ºF)andcan burn yourskin.
Veryhot!
Do nottouch!
STEP
7
Lower the Hinged Idler and Remove Loaded Filament
IdlerRetainer
HingedIdler
Locate the tool head of your LulzBot Mini. Using the idler retainer, compress the
springs with your thumb and slide up, allowing the hinged idler to move freely. Then
lower the hinged idler counter-clockwise.
7A
Wait until the status bar of the Printer Interface shows the Temperature has
reached 240 C.
7B
Once the Temperature has reached 240 C, pinch the HIPS filament loaded in the
tool head and remove it by pulling up.
7C
HIPSFilament
STEP
8
Prepare and Load Filament
OFF
ON
FilamentHolder
Face the front of your LulzBot Mini. Find the filament holder, which is mounted to
the top right corner of the printer frame. Rotate the filament holder counter-clockwise
into an upright and locked position.
8A
ON
OFF
We strongly recommend using the included 1 meter HIPS filament sample for your
first rocktopus print. Mount the HIPS filament sample on the filament holder so the
filament can feed down into the tool head.
8B
HIPSFilamentSample
ToolHead
Continued...
8
STEP
ON
OFF
Locate the feed hole in the extruder body where you removed the loaded filament
during Step 7. Filament feeds through this hole and down into the hot end for printing.
8C
Thehotendis stillheatedto 240ºC(464ºF) andcan burn yourskin.
FeedHole
ToolHead
Make sure the idler retainer is touching the springs so it is out of the way. Then
push the HIPS filament down into the feed hole in the extruder body and through the
hot end until a small amount of filament comes out of the tip of the nozzle.
8D
The HIPSfilamentsample shouldtravelapproximately100 millimeters (4 inches) down through the
extruderbodyandinto the hotend.
FeedHole
IdlerRetainer
STEP
9
Raise the Hinged Idler
IdlerRetainer
HingedIdler
Using your thumb, compress the springs with the idler retainer and rotate the hinged
idler clockwise into an upright position. Lock the hinged idler into place by sliding the
idler retainer back down.
STEP
10
Verify Print Extrusion
Make sure your LulzBot Mini is ready for printing by verifying the printer's ability
to extrude filament. Using your computer, click the
Extrude 1 0
button in the Printer
Interface and look for filament to feed through the nozzle.
10A
Extrusion istheterm forwhen filamentfeeds through the toolheadandoutthe nozzle.
10
STEP
Continued...
If you do not see filament coming through the nozzle and the drive gear stops
moving, click the
Extrude 1 0
button once more and wait. Repeat as needed until you
see consistent and repeatable extrusion.
10B
ExtrudedFilament
Wait ten seconds for the filament to cool, then remove the extruded filament
with the included tweezers.
10C

Other manuals for Mini

4

Other LulzBot 3D Printer manuals

LulzBot TAZ 6 Instruction Manual

LulzBot

LulzBot TAZ 6 Instruction Manual

LulzBot TAZ 3.0 User manual

LulzBot

LulzBot TAZ 3.0 User manual

LulzBot TA Instruction Manual

LulzBot

LulzBot TA Instruction Manual

LulzBot TAZ 5 User manual

LulzBot

LulzBot TAZ 5 User manual
LulzBot TAZ 5 User manual

LulzBot

LulzBot TAZ 5 User manual

LulzBot Mini 2 User manual

LulzBot

LulzBot Mini 2 User manual

LulzBot TAZ User manual

LulzBot

LulzBot TAZ User manual

LulzBot TAZ User manual

LulzBot

LulzBot TAZ User manual

LulzBot Mini User manual

LulzBot

LulzBot Mini User manual

LulzBot TAZ Pro S Instruction Manual

LulzBot

LulzBot TAZ Pro S Instruction Manual

LulzBot TAZ 5 User manual

LulzBot

LulzBot TAZ 5 User manual

LulzBot TAZ 4 User manual

LulzBot

LulzBot TAZ 4 User manual

LulzBot Mini User manual

LulzBot

LulzBot Mini User manual
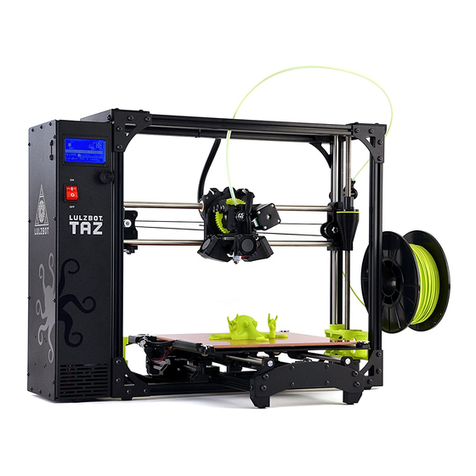
LulzBot TAZ 6 Instruction Manual

LulzBot

LulzBot TAZ 6 Instruction Manual
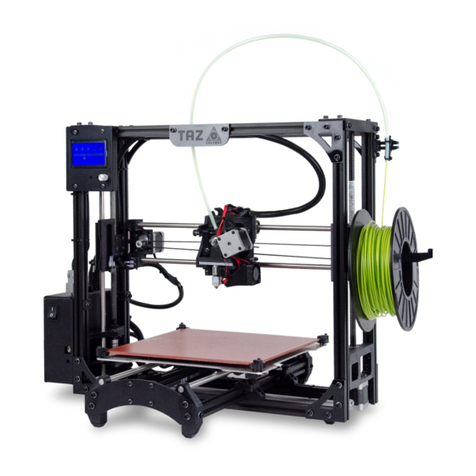
LulzBot TAZ 6 User manual

LulzBot

LulzBot TAZ 6 User manual

LulzBot TAZ User manual

LulzBot

LulzBot TAZ User manual

LulzBot TAZ Workhorse User manual

LulzBot

LulzBot TAZ Workhorse User manual

LulzBot TAZ Instruction Manual

LulzBot

LulzBot TAZ Instruction Manual

LulzBot TAZ 6 User manual

LulzBot

LulzBot TAZ 6 User manual

LulzBot TAZ User manual

LulzBot

LulzBot TAZ User manual

LulzBot TAZ User manual

LulzBot

LulzBot TAZ User manual

LulzBot Mini User manual

LulzBot

LulzBot Mini User manual

LulzBot TAZ 5 User manual

LulzBot

LulzBot TAZ 5 User manual
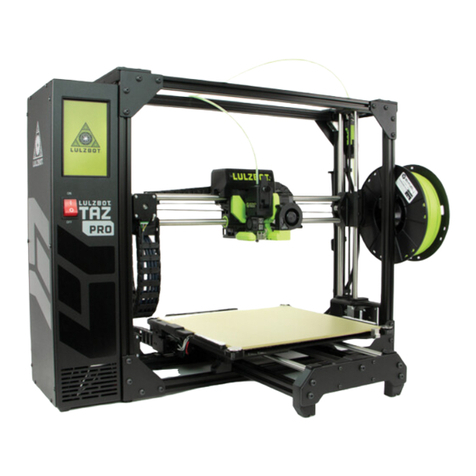
LulzBot TAZ SideKick User manual

LulzBot

LulzBot TAZ SideKick User manual

Popular 3D Printer manuals by other brands

3D Systems sPro user guide

3D Systems

3D Systems sPro user guide

Creality HALOT-LITE user manual

Creality

Creality HALOT-LITE user manual

copymaster3D VORON0 Assembly manual

copymaster3D

copymaster3D VORON0 Assembly manual

Felix Storch Pro L Series Service manual

Felix Storch

Felix Storch Pro L Series Service manual

Stratasys Eden260V user guide

Stratasys

Stratasys Eden260V user guide

Creality CR-Laser Falcon user manual

Creality

Creality CR-Laser Falcon user manual

MUTOH Value 3D MagiX MF-1100 Operation manual

MUTOH

MUTOH Value 3D MagiX MF-1100 Operation manual

Flashforge Guider 2 quick start guide

Flashforge

Flashforge Guider 2 quick start guide

ProJet MJP 5600 user guide

ProJet

ProJet MJP 5600 user guide

BobsCNC RP9V2 Assembly instructions

BobsCNC

BobsCNC RP9V2 Assembly instructions

Monoprice MP Mini Delta V2 user manual

Monoprice

Monoprice MP Mini Delta V2 user manual

PhotoCentric AIR WASH L installation guide

PhotoCentric

PhotoCentric AIR WASH L installation guide

Sindoh DP200 Series user manual

Sindoh

Sindoh DP200 Series user manual

3DGence DT3 manual

3DGence

3DGence DT3 manual

Monoprice 15710 user manual

Monoprice

Monoprice 15710 user manual

Ortur 4 V2 manual

Ortur

Ortur 4 V2 manual

Snapmaker J1 user manual

Snapmaker

Snapmaker J1 user manual

CraftBot Plus quick start guide

CraftBot

CraftBot Plus quick start guide

manuals.online logo
manuals.online logoBrands
  • About & Mission
  • Contact us
  • Privacy Policy
  • Terms and Conditions

Copyright 2025 Manuals.Online. All Rights Reserved.