5
2. DISCLAIMERS
UV Medico A/S with registered oce at Søren Frichs Vej 40E, 8230 Åbyhøj - Denmark, or
any of its aliates, does not accept any liability for material damage, including damage to
the Product or personal injury caused by non-observance by the user of the safety instruc-
ons in the Manual or the applicable laws. As such UV Medico A/S shall among others not
be liable for any damage or injury if the Product is used contrary to or for purposes other
than its intended use, is installed, used, maintained or repaired negligently or contrary to
the instrucons menoned in the Manual or on the Product; also in the case the Product is
modied, and when safety devices and features are disregarded or overridden.
3. SAFETY INSTRUCTIONS AND WARNINGS
3.1. User manual
Every person using the Product must read and understand the contents of the Manual
and familiarise themselves with it before any use of the Product, and must strictly observe
the instrucons set out herein. If you are an employee or are acng on behalf of another
person, your employer/that person must instruct you in accordance with the Manual and
ensure that all instrucons set out herein are complied with.
Do not use the Product if that is not the case.
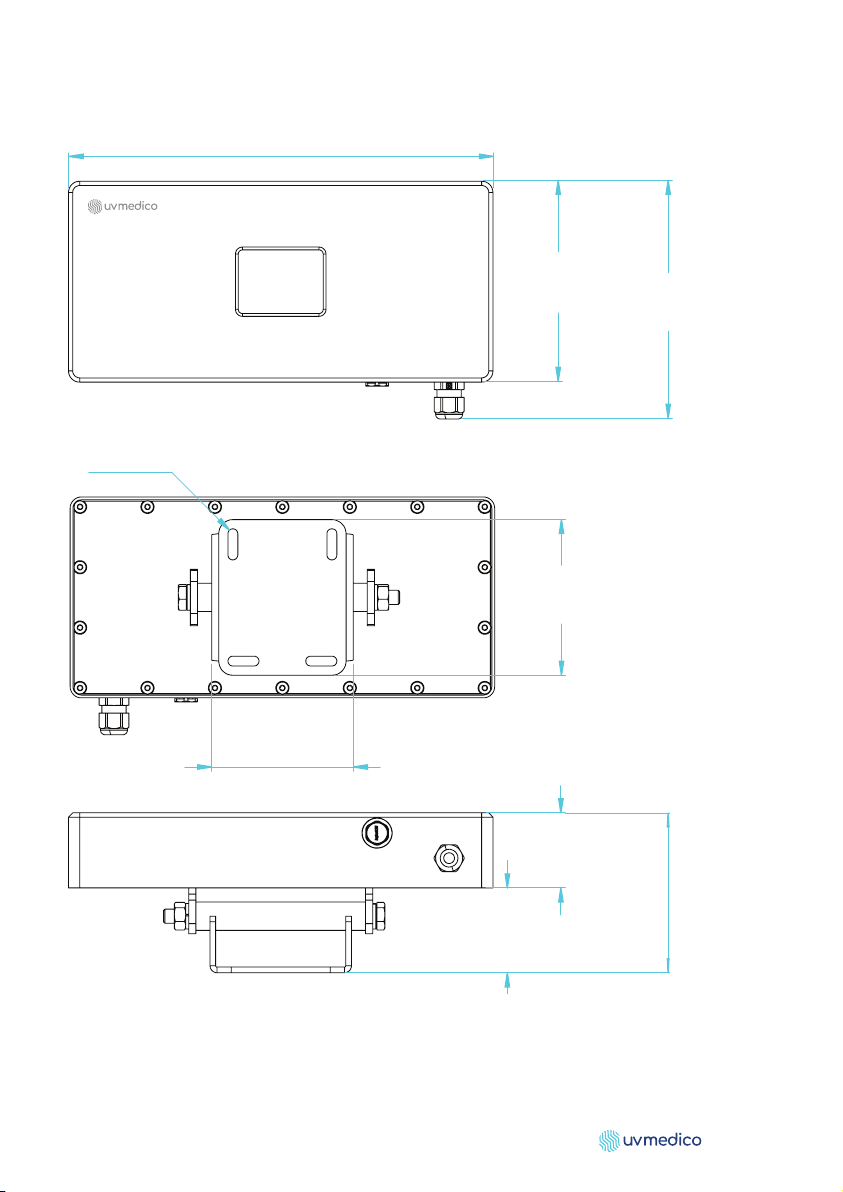
3.2. Intended use and installaon
The Product is intended exclusively for air and surface disinfecon. Using the Product for
other purposes is contrary to its intended use and is done at own risk.
To ensure safe use of the Product, its installaon, including all its safety features and
devices, and its maintenance and repair, must be carried out correctly by a qualied
installer. All of the Product safety features and devices must be mounted and may not be
removed but for the purpose of maintenance and repair.
The Product is not intended to be used by minors. Any use of the Product by minors,
regardless of whether or not under the supervision of an adult, is at own risk.
3.3. Safety features of the Product
Each Product is equipped with the following safety features:
• Fuse: to protect the unit from overcurrent.
• Far UV-C lter: to ensure only safe Far UV-C light is emied.
UV222 Industrial does not have either moon or distance sensors, so moon-based set-
ngs will appear greyed out.