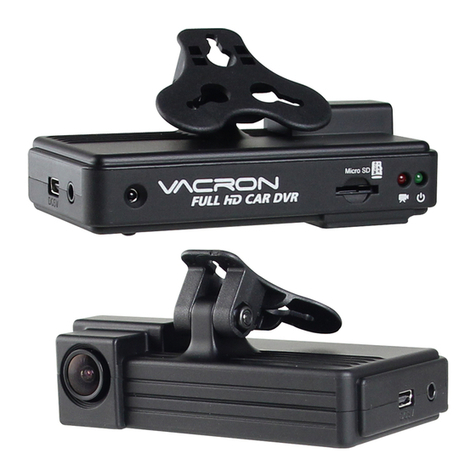
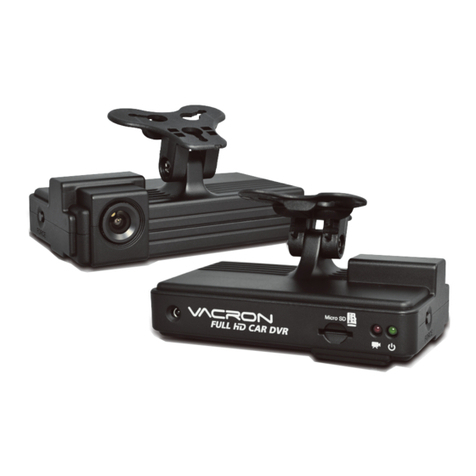
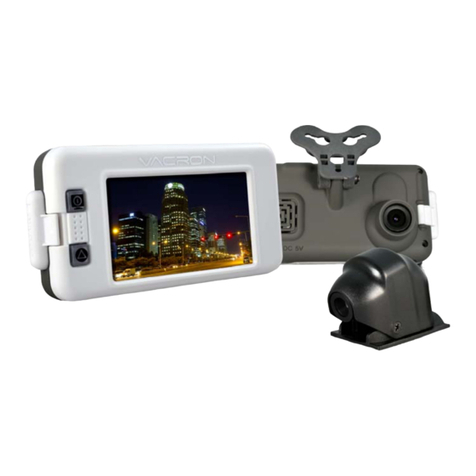
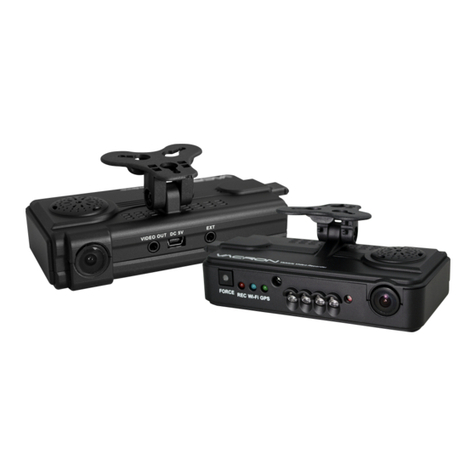
Vacron CDR-E06 User manual

Vehicle Digital Video Recorder
Manual
2011 JAN. V1.0
Optional

i
CONTENTS
A.Features.................................................................................1
B.Specifications........................................................................2
C.Front Panel............................................................................3
D.Rear Panel.............................................................................3
E.Dimension..............................................................................4
F.Recording and Stop Recording..........................................4
G.Playback................................................................................5
H.CF Card Record Files Illustration.....................................10
I.Format CF Card..................................................................11

1
A. Features
1. The image quality is clear and uninterrupted at speed 120km/Hr.
2. Video Output Switch: Select Rear view camera or camera for
DVR to display on LCD.
3. Recording formats: D1.
4. With external Noise-canceling microphone, video and audio can
be recorded synchronously.
5. The video player is built in the CF card. Users can playback the
recorded video by inserting the CF card into the PC. No software
installation is needed.
6. Friendly PC viewer, easy to use!
7. Complete recording event lists provided and easily to be
searched.
8. Complete record of time /date can be shown on the screen while
is on the process of playback.
9. New design of wide range of input voltages.
10. Insert the CF card and power-on, it will begin recording
automatically.
11. The image is stored with CF card, anti-vibration while vehicle is
traveling.
12. With special file format, last record can be kept when power-off.
13. Driving routes are recorded and can be showed in Google Map
when playback.
14. Driving video and audio can be recorded.

2
B. Specifications
Items Specifications
Video signal Input 1 Vp-p composite video input, 75 ohms
Video signal output 1 Vp-p composite video output, 75 ohms
Voltage Range 11V~ 14.5V (Suitable for Motorcycles and Cars)
Power consumption: +12V @ 400mA (Without cameras)
Operating
Temperature Inside the car: -5℃~65℃.
Storage Device CF card (Speed 233X or above, 8G/16G/32G)
Recording Format
Record Mode: Constant Recording when Power on.
Video compression Format: MPEG4
Audio compression Format: PCM
Recording Resolution Record: 720x240 ( NTSC) / 720x288 (PAL)
Play: 720x480 ( NTSC) / 720x576 (PAL)
Recording Frame D1-30 fps ( NTSC) / D1-25 fps (PAL)
Recording Content Footage including DATE, TIME
LED Indicator
RED: Flashing during recording
YELLOW: System Error
GREEN: Power
Control Button Reserved
Sound Notification
Buzzer Notification:
(A)Normal Startup: One long and two short beeps.
(B)After startup for 5 minutes: When “Recording Error”, “G-
mouse not connected”, “GPS positioning not ready” are
detected, the buzzer will sound three short beeps per 3 sec.
and continue for 60 seconds.
Software Player Application for Windows OS.
Accessories Standard: Software CD (Manual, Player), Cables
Optional: 8G CF card, G-MOUSE
Input Voltage DC+11V ~ DC+14.5V
Video Input / Output
(Rear View Priority)
When power-on, it will start recording the front camera
images into CF card. You can also enable/disable to display
live view on LCD monitor.
Rear View Video
Input / Output
On “R” Shift, the Video output will be switched to Rear View
Camera and display automatically; However Rear View
camera’s video will not be saved into CF card.
Map Google Map
Notice
1. Please avoid direct sunlight exposure.
2. Please do not install the machine in high temperature place
(ex. Engine room).
3. Please install G-mouse outside the car to have a better
signal reception.
4. Please install the CF card properly to prevent the connect
pin broken.
5. Please turn the power off before removing the CF card.
Size 115mm(W)x102mm(D)x30mm(H)
Weight 0.27kg
3
C. Front Panel
D. Rear Panel
Green LED (Power On)
RED LED (REC) Slow Flashing:
Recording video and audio
Fast Flashing: Recording video only.
Audio Record / Stop CF Card Slot
Yellow LED (Error)
Power In
Video Out
Video In Audio In
1. Signal GND
2. Power GND
3. SW2
4. N.C
5. DC 12V Input
(DC11~14.5V)
6. SW1
GPS Mouse
1. N.C
2. N.C
3. N.C (Reserved: For expansion
Output to GPS)
4. Output DC+5v±10%,
Max.400mA
5. GND (GND)
6. GPS Input
(For GPS GPRMC packets)
Camera Input
1. GND
2. N.C
3. DC12V (DC11~14.5v)
4. Video Input

4
E. Dimension
UNIT: mm
F. Recording and Stop Recording
1. Turn on/Recording:
Turn on the power and wait for 1 minute. When the buzzer beeps
(one long and two short beeps), System Initialization is completed.
During the recorder booting up, the three LED lights will light up at
the same time.
Once the yellow LED light is turned off, the red LED light will start
flashing and the recording is in progress.
Light indicator:
Red light: Slow flashing - video & audio recorded simultaneously,
fast flashing - video recorded only.
Yellow light: Error (Please inspect all peripheral to see whether
the installation is correct).
Green light: Power on.
2. Turn off/Stop recording:
Remove or turn off the power, the power indicator will be off and
it stop recording.
Green LED (Power On)
Red LED (REC)
Yellow LED (Error)

5
G. Playback
1. How to read the files from CF card?
a. Take out the CF card, then insert into card reader.
b. Connect the CF card to PC USB port.
c. Loading all data from the CF card; or copy all data into sub-
directory of PC
2. Playback
Execute the CarPlayer in the folder.
The screen shot is listed below. Click Play button to
play from CF card or HD automatically. Or Play by
choosing 『Event list』. Play button icon will change from
to when playback in process.
Actual Recording Image
3. Operation Instruction
a. Event list: When each time the power on to the power off, then
forms one『event recording』.
b. Date: Choose the date of the recorded files.
c. Functional button operation interface is as follows:
Main Windo
w
Minute
Hou
r
Time BAR
Date
Year/Month
Even List
ID Start End Time
Toolbox

6
(1) / Play/Pause Compound key: First Click will show
to choose files from CF card or Hard Disk. Click
to play the selected files. When it is in playing process, the
play key will be changed to pause key .
(2) Stop key.
(3) Fast forward: the fast forward will play in double of
original speed after clicking in each time. (Max.240
frames/sec).
(4) Slow motion; the playing speed will reduce to half of
current playing speed after click the key in each time, the
slowest forward can be up to 1 frame per second. The current
playing fps will present in the viewing window on the top of
left-hand corner.
(5) Utility Box: Format CF card, CF Card Set, System Set
and Version Information.
i.Format CF card: Browse the path, select the CF drive and
format it.
ii.CF Card Set:
Time Synchronization
Step 1: Set correct time on PC before proceeding
synchronize time procedures. Click [CF Card Set] ->
[Synchronize]. The current time will appear in the time
block. “Check Time OK!” will show on the screen after
synchronization.
Play
/
Pause
Settings
Backup
Google Map
Frame Rate
Snapshot
Bit Rate ON/OFF
Image Rotate
Exit
A
udio ON/OFF
Slow Forward
Fast ForwardStop
Minimize

7
Step 2: Remove the CF Card from the CF card reader and
install the card in the video recorder.
★Remark: If G-MOUSE is installed, the System Time will be
synchronized automatically.
Recording frame rate
Recording speed setup: 25 / 20 / 10 / 5 / 4 / 2 / 1fps,
please choose the suitable frame Rate. 30fps is
recommended for cars, trucks, and heavy motor; 10fps is
for scooter which runs in cities where there are many
traffic lights. And 5fps or less is ideal for still recording.
iii.System Set
Snapshot path: select a path to save the snapshots.
After storage path is selected, click and "snapShot
success" will appears on the screen and “SnapShot”
folder will be created as well.
All snapshot images will be saved in the SnapShot folder.
Language Set: English/ Simplified Chinese / Traditional
Chinese.

8
iv.Version Information: Player version, Firmware version and
Date.
(6) Info for Frame Rate: Fps of Playing display (ON/OFF).
(7) Info for Bite Rate: (ON/OFF).
(8) Audio (ON/OFF).
(9) Backup.
i. Backup format can be .REC or .AVI up to your selection.
ii. The default Video compression format is Microsoft
Video 1.
iii. Export GPS tracking data(W or W/O)
iv. Enter Backup Start Time.
v. Enter Backup End Time.
★Remark: File only can be backup successfully when the footage is
available between selected time.
(10) Snapshot
After click the snapshot button, the system will create a
“SnapShot” sub-folder under the “CarPlayer” folder. All
snapshots will be saved in the “SnapShot” sub-folder.

9
(11) 180 degree upside down.
Normal display
Press to display upside
down images.
Press the again to go back to right side up images.
(12) MAP: Launch Google Map to show the driving tracks.
(PC should be connected to internet)
(13) Minimize the window.
(14) Turn off the software.
d. Viewing window: Double-click the viewing window will display in
full screen mode, double-click again to return to the original state.
e. Hour/Minute & Date: It allows the user to choose the recording
date/hour/minute which wish to play. During playing back it will
state in different color for different meaning.
■Red means『Record of event』
■Green means『The data between records』
□White means『No data』
f. Scrolling BAR: Press & hold the left button of the mouse to forward/
rewind the playing video.
g. File loading status: Show the loading status of file.
Google Map

10
H. CF Card Record Files Illustration
There are 3 folder on CF card when we review it on PC.
1.Car Player 2.Records 3.System
(1) The content of Car Player folder
SnapShot folder is for the snapshot images.
Car Player.exe , is the Video Player, Double click the .exe file
to launch the software and then choose the『event list』to
playback.
CarPlayer-CCD V2.0.CAR is the『Storage files of program
DATA』.
CarPlayerUpdate.exe is the『System Updating (Reserved) 』.
config.ini is the『Storage files of languages Configuration』.
zh_CN.dll the『Simplified Chinese interface resources files』.
zh_TW.dll the『Traditional Chinese interface resources files』.
★Remark: All files are indispensable, please don’t move or delete any files,
in order to avoid causes the software to be unable to use or regret of the
segment of recording files carelessly losing.
(2) The content of Records folder
In the Records files(Take the 8GB-CF card as the example), the
system will be divided into 15 of recording files as 『Event record』
area, 00010015 The first four digits are『serial number of video
clips』, the last four digits are『the sum of total video clips』,
therefore 00010015 means the first video clip of total 15 video clips.

11
The reason system automatically divide into several pre-video
recording files depending on the CF card capacity in order to avoid
the data losing when power failure suddenly happened which the
data can still be recorded to the last second without worry
regrettable matter of the data losing.
(3) The content of System folder
System folder is recording program folder.
Programs folder is main program folder.
Updates folder is empty in normal cases.
★Remark: All files in Programs folder are indispensable. Caution!
Please DO NOT remove or delete any files from CF card after
formatted to avoid losing data.
I. Format CF Card
When CF card need to be formatted?
Brand New or used CF card (front other device), it is necessary to
format the card before install on DVR.
Step by Step:
Step 1. Insert the CD into the PC, select to CarPlayer folder.
Step 2. Execute the CarPlayer program , user interface is below.
Step 3. Click to enter the setup menu.

12
Step 4. Insert the CF card into the reader and connect the reader
to the USB port of the PC.
Step 5. Click「Browse」to select the right CF drive (For example,
Drive G:), then click「Format」to format the CF card.
Step 6. The system will ask if you are sure to format the CF card.
Then click “Yes” to format it.
★Remark: During the formatting process, the progress will be displayed. After the
progress reaches 100%, the formatting process is finished.
★Remark: All files generated after formatting are indispensable. Caution! Please do
not remove or delete any files from CF card to avoid malfunction.
Table of contents
Other Vacron Dashcam manuals

Vacron
Vacron VVG-CBN33B User manual

Vacron
Vacron VG01 User manual

Vacron
Vacron VVG-CBE57 User manual

Vacron
Vacron VVG-CBN13 (G) User manual

Vacron
Vacron VVG-CBN12 User manual

Vacron
Vacron CDR-E07D User manual

Vacron
Vacron CDR-E07 User manual

Vacron
Vacron CDR-E07 User manual

Vacron
Vacron CDR-E26 User manual

Vacron
Vacron VVG-CBE57 User manual

Vacron
Vacron VVH-MDE204 User manual

Vacron
Vacron VVG-CBE36 Owner's manual

Vacron
Vacron Vehicle Video Recorder User manual

Vacron
Vacron EN-CDR-E05 User manual

Vacron
Vacron VVH-MDE31D User manual

Vacron
Vacron CDR-E07 Use and care manual

Vacron
Vacron VVG-MDE50 User manual

Vacron
Vacron VVA-CBE27 User manual

Vacron
Vacron MDE16 User manual

Vacron
Vacron VVH-MD657 User manual