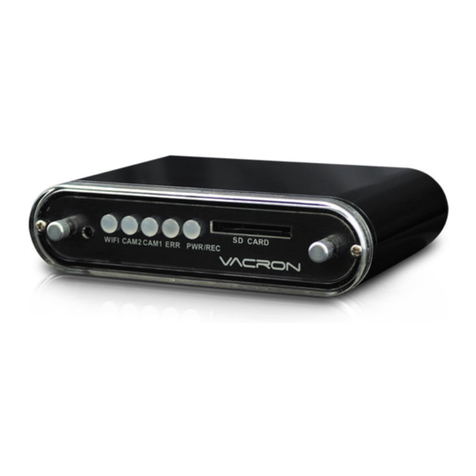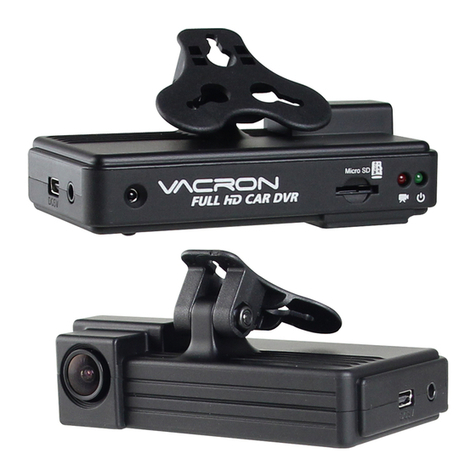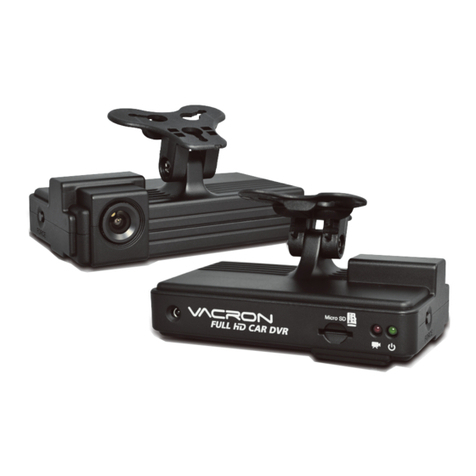
Quick Start Guide
Full HD / 1080P
Please contact your local dealer if you have any question on this product.
Installation Guide
SD Card Installation
Warning
(1). Recommended Class 10 or above 8GB at least, up to 128GB.
(2). If the memory card is not formatted by the player, the device will
automatically erase all the data.
(3). Please DO NOT use micro SD card adaptor. The adaptor could cause
recording stability.
(4). Memory card has its limit on written times. It is suggested to check SD
card files with PC player Carbox player periodically.
(5). When the SD card life monitor index is less than 5%, the red light of
the device will flash for 10 seconds, and the warning notice will be displayed for 10 seconds on screen.
After 10 seconds, it will return to the normal status. When the SD card life monitor index is 0%, the light
of the device keeps flashing, and the screen displays the warning notice continuously.
(6). The SD card may be not compatible to the device due to changes or adjustments in the
manufacturing’s process. This device cannot guarantee compatibility with all SD cards which are
available in the markets. If there is a possible SD card compatibility problem, please replace the model
or brand of SD card.
(7). In the event of impact and high vibration, it may cause damage to the SD card. It is recommended
to check and back up important data regularly.
(8). When an accident happens, please remove the memory card from the device immediately and set
it at writing protection condition to avoid record being over written or tampering.
(a) This device should be installed on the windshield of clean and dry.
(b) The best location must be in the range of the moving wipes.
(c) Format the memory card in the DVR prior the very first recording.
(d) Set time zone and timing on OSD.
Notice
OSD Menu Vacron Viewer
1. Reboot/Record
Reboot the DVR system ready in 20
seconds. DVR starts recording.
2. Power Off/Stop
It stops recording once power is off,
build-in capacitor offer 3 seconds
extra power to make sure file is well
stored. User can remove the memory
card after the indication light is off.
(1). Recording window pops up and force
recording activates immediately when press
emergency bottom.
(2). If SD card is removed or damaged during
recording, machine will show blue screen and
ask user to insert valid SD card. If SD card is
not inserted, machine will turn into protection
mode and screen will turn black. To start up
machine, please insert SD card and
re-powering the video recorder. (unplug and
plug in the recharger)
Warning
Recording &
Stop Recording Remote Controller(OPTIONAL)
Check the mercury cell is installed in
correct direction. (Check the pole)
Check if the cell power is exhaust.
Check if the sensor is covered.
Check if it nears by Fluorescent Lamp.
How to check if the remote
controller is workable?
Emergency
REC
Play
Menu
Navigator
Enter
Stop
*Notes:
(1). To do this, the software should be installed
DirectX 9.0 or above.
(2). Support OS: WINDOWS 7,8,10, does not
support MAC OS.
(3). The recommended hardware requirements:
i5 above grade 3.1GHZ, RAM: 4G or more,
more preferably independent display card.
NTSC / PAL
Time setting
Eco-saving monitor
Microphone
G-Sensor
SD card format
SD card life monitor
Firmware Version
OSD
Screen
on/off
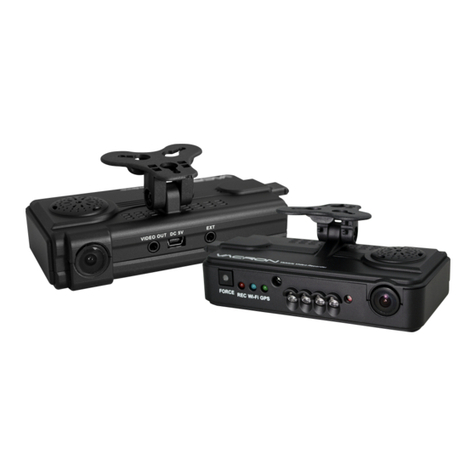
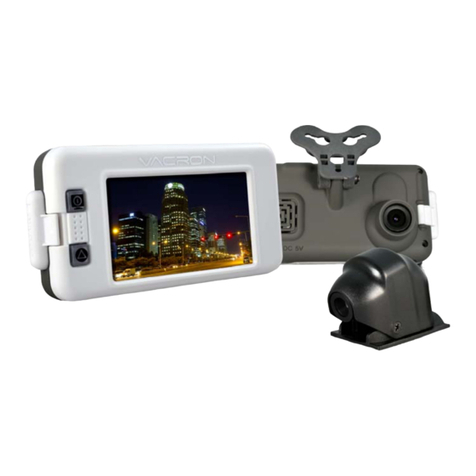
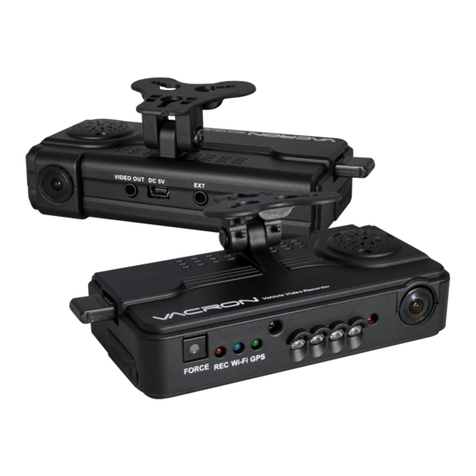
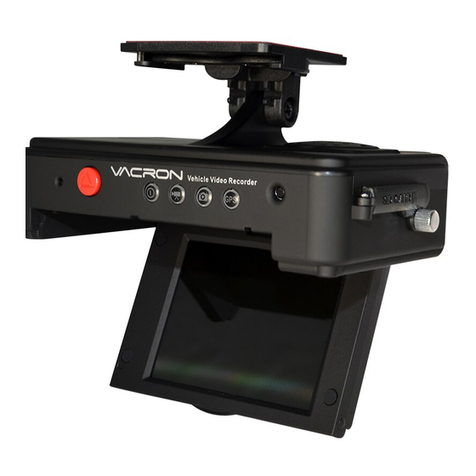
Product Diagram
1. DC5V Power In
2. Lens
3. Battery
4. TFT LCD
5. IR Receiver
6. Emergency Record
7. Menu/Left & Right
8. Up/Light+
9. Down/Light -
10. Enter/Play
11. SD Card Slot
LED Indicator:
Red: Under normal operation-recording
Safety Precautions
Please Take and review some testing videos initially to make sure the images were recorded
correctly.
Please note that manufacturer, its subsidiaries and affiliates, and its distributors are not liable for
consequential damages arising from any malfunction of main device accessory, including memory
device that results in the failure of an image to be recorded or to be recorded in a way that is
machine readable.
Before using the product, please ensure that you read the safety precautions described below.
Always ensure that the product is used correctly.
• Use only recommended power sources.
• Do not attempt to disassemble, alter or apply heat to the product.
• DO not apply multi cigarette lighter adapters-Applying such devices will cause unstable power
input to damage the vehicle video recorder.
• Please always make sure all power connectors are fully secured.
• Avoid dropping or subjecting the product to severe impacts.
• To avoid the risk of injury, do not touch the interior of the product if it has been dropped or
otherwise damaged.
• Stop using the product immediately if it emits smoke, a strange smell, or otherwise behaves
abnormally.
• Do not use organic solvents such as alcohol, benzene, or thinner to clean the product.
• Do not let the product come into contact with water (e.g. sea water) or other liquids.
• Do not allow liquids or foreign objects to enter the VVR.
• Do not place the VVR near or in direct flame.
• Do not handle the power cord with wet hands.
• Do not use the equipment in a manner that exceeds the rated capacity of the electrical outlet
or wiring accessories.
• Do not use if the power cord or plug are damaged, or not fully plugged into the outlet.
• Do not allow dirt or metal objects (such as pins or keys) to contact the terminals or plug.
• Avoid using, placing or storing the product in the humid or dusty areas.
2019 JULY. V1.0
H11AN33B00
Fast Blinking Red: Force recording
Green:Low light indicator
5. Plug in the Cigarette charger.
2. Find the optimal position of
device on the windshield.
3. Adjust the view angle properly.
4. Plug in the DC5V Power Supply. 6. VVR Installation.
Best location
Cigar lighter
1. Install the device on the windshield
by “Stick-Holder” type
Stick-Holder
2.5"
MIC
Built-in
view 120º
Full HD
1080P
Standard: Cigarette Lighter Adapter / Bracket / Monitor Mount
(3M double sided tape included) / Quick User Guide / 16GB SMART CARD
/ CD Rom
Optional: SD Card USB Reader / IR Remote Controller
※Specifications shall be changed subject to necessary update.
6
5
1 2
3
7 8 9 10
11
4


