manuals.online logo
Brands
  1. Home
  2. •
  3. Brands
  4. •
  5. VALCOBABY
  6. •
  7. Stroller
  8. •
  9. VALCOBABY Spark Installation and operation manual

VALCOBABY Spark Installation and operation manual

© Copyright
VE 2013
vs250713
FURTHER INFORMATION:
www.valcobaby.com.au
Find us on:
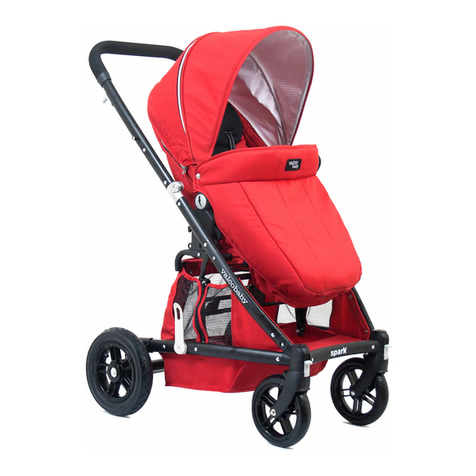
SPARK
Stroller
PRODUCT REFERENCE GUIDE
Thank you for purchasing a quality VALCO BABY
product. Please read and follow the instructions
outlined in this guide carefully. Familiarise yourself
with the construction and safety features;
be sure that you understand all the warnings and
safety guidelines before use.
Important: Please read the following
instructions carefully before assembling
this product. Retain this guide in a safe place
for future reference.
SEAT
HOOD
REAR BRAKE AXLE
BUMPER BAR
BOOT COVER
BASSINET LINING
& MATTRESS
2x FRONT WHEELS
2x REAR WHEELS
2x AXLES
FRAME
Due to our policy of continuous product development,
this product is constantly evolving. It is possible that
some features or procedures outlined here have
changed since this document was written. If you are
unsure of any procedure shown here, please contact
us via the web at [email protected] to obtain the
most up to date information before use. Include the
batch number and model number, which can be found
on a sticker on the frame.
All pictures and diagrams herein are provided for illustration
purposes only.
Actual product, colour or fabric may vary.
VALCO BABY reserves the right to modify or alter any
specification or colour without notice or obligation to
modify any product previously purchased.
SPARK
Stroller
1>PARTS LIST
DISCLAIMER
a
aa
c
b
b
e
e
a
d
d
a
5>FRONT WHEELS 6>INSTALL SEAT
a
2>TO OPEN
3>REAR AXLE 4>REAR WHEELS
7>SEAT MODE
8>BASSINET MODE
10>HOOD
9>BUMPER BAR
c
b
a
a
a
a
b
11>HARNESS
12>BRAKES 13>BOOTCOVER/APRON
14>FOLDING
ab
c
d
e
a
a
b
PRESS
HERE TO
RELEASE
1>PARTS LIST
Seat, Frame, 2x front wheels, 2x rear wheels,
2x axels, bumper bar, hood, rear brake axle,
boot cover, bassinet lining and mattress
2>TO OPEN
Lay the stroller frame flat on the ground with
the handle on top. Release the frame lock if
engaged (a)
Lift the handle upward and clockwise until it
locks to a vertical position. Continue to lift the
handle (b) until you feel the chassis lock into
the open position (e)
Even when fully assembled, your Spark can
be folded and opened with the seat installed
in either direction as well as in bassinet mode.
To open when your Spark is in bassinet mode
or when the seat is installed facing the handles
and in fully reclined position:
• Release the frame lock (a)
• With your foot on the rear brake bar, and
holding the stroller at either side by the handle
pivot hinges (c), lift the lower chassis as far as
possible (until it locks is the most preferable).
This will allow the handle to clear the rear of
bassinet or seat.
• Swing the handle over the bassinet/seat until
it locks in place.(d).
• Check that the lower chassis has engaged
fully at (e)
IMPORTANT WARNING: ALWAYS TEST THAT
ALL LATCHES ARE SECURELY ENGAGED
BEFORE USE.
3>REAR BRAKE AXLE
With the larger brake pedal facing outward,
align the rear axle housing with the rear stroller
legs. Insert each rear leg into the corresponding
housing of the rear axle. Press in the locking
button (a) on the leg while simultaneously
pushing the axle housing as far as it will go
until it engages. Repeat for the other leg.
Test that each leg has fully engaged in the axle
housing.
4>REAR WHEELS
Pressing on the axle release button (a), insert
the axle through the outside of the metal hub
and through the nylon brake cog.
IMPORTANT: INSERT THROUGH OUTSIDE
OF THE WHEEL - THE SIDE WHICH DOES
NOT HAVE THE BRAKE COG SPROCKETS
While pressing the axle release button (a),
insert the wheel axle into the wheel housing
of the frame at the rear of the stroller chassis.
Keeping the axle release button depressed,
insert the wheel as far as it will go into the
channel. Release the button and pull the
wheel slightly back toward you ensuring that
it has locked securely into place. Repeat this
procedure for the other wheel.
To remove a rear wheel, firmly grasp the wheel
spokes while pressing the axle release button.
Gently pull the wheel free of the wheel housing.
5>FRONT WHEELS
Line each front wheel pin (a) with the
corresponding front wheel housing. Depress
the housing button while inserting the wheel
pin into the wheel housing and push it up until
it clicks into place.
The front wheels of your stroller offer either a
full, 360º swivel action or a locked position.
To lock the front wheel, turn the wheel so that
the bulk of it is beneath the stroller and push
down on the wheel lock (b) until it locks into
position. Repeat this procedure for the other
side.
IMPORTANT WARNING: ALWAYS TEST THAT
THE LOCKS ARE FULLY ENGAGED BEFORE USE.
6>INSTALL SEAT
Line up the seat housing (a) with the
corresponding connectors located on either
side of the stroller frame. Lower the seat onto
the connectors and gently push the seat down
until it clicks securely into place (b).
NOTE: YOUR SEAT CAN BE INSTALLED
EITHER FORWARD OR REARWARD FACING.
To remove the seat, simultaneously lift both
triggers (c) in the seat housing (these can be
operated using either the front or rear triggers)
and lift the seat unit from the frame.
7>SEAT MODE
The stroller seat has 3 positions. To recline
or incline the seat simultaneously push the
recline buttons located on either side of the
seat housing (a) and move the seat into the
desired position.
NOTE: SPECIAL CARE MUST BE TAKEN
WHEN ADJUSTING THE SEAT POSITION
WITH A CHILD IN THE STROLLER.
8>BASSINET MODE
When using your Spark with a newborn,
the most comfortable configuration is as a
bassinet.
WARNING: THE BASSINET MODE MUST
ONLY BE USED UNTIL YOUR BABY IS
DEVELOPED ENOUGH TO SIT UP UNAIDED.
To convert your seat from stroller to bassinet
mode:
• Remove the bumper bar
• Remove the hood
• Adjust the seat to the fully reclined position.
• Release the 4 buckles (a) beneath the seat
at both ends.
• Unzip the footwell (b)
• Push down on the seat surface to create the
bassinet interior.
Install the bassinet lining with ERGO Base
INSTRUCTIONS
•
Place the lining over the bassinet interior and
align the openings in the lining with the bassinet
housing and hood connection sites (c).
• Secure the lining over the bassinet sides to the
Velcro tabs located on the bassinet outer body.
• Reinstall the hood and bumper bar.
• Attach the bootcover/apron to the open foot
of the bassinet, locating and securing to the
snaps at the side of the bassinet body.
To convert your bassinet to a stroller seat.
• Reverse the process out lined previously
• Remove the apron and lining
• Zip up the footwell
• Buckle all support straps beneath the seat
• Install the hood and bumper bar
IMPORTANT MATTRESS WARNING
Unlike cribs that have rigid sides, the bassinet
mattress is specially designed to prevent
suffocation. The mattress is designed to be
a snug fit and should not exceed 30mm in
thickness. Using a thicker or different sized
mattress may allow a child’s head to Get
between the mattress and the side of the
bassinet causing suffocation. To help prevent
suffocation from entrapment, USE ONLY THE
MATTRESS PROVIDED.
NEVER use additional mattress or padding.
Use only the fitted sheet provided.
WARNING: DO NOT USE THIS BASSINET
ONCE THE CHILD CAN SIT UP UNAIDED
9>BUMPER BAR
Insert each side of the bumper bar fitting into
the corresponding housing (a) in the seat
frame until you hear it click into place.
The bumper bar can be opened as a “gate” for
easy access pressing on one of the release
buttons (b) and lifting the side out of the
housing. For full removal, repeat this process
for the other side.
10>HOOD
Locate the hood stud fixtures found on either
side of the stroller, and align hood clamp to
studs. Attach clamp onto frame (a).
Your SPARK hood is designed to provide
maximum shade and comfort for your child by
incorporating our EXPANDA HOOD section.
To increase/decrease the hood size
Open the EXPANDA HOOD section fully
using the zip. Gently pull your hood forward;
extending it as far as is required.
When no longer needed, fold the EXPANDA
HOOD backward, allowing it to fold in on itself.
Gently zip the section closed being mindful not
to catch any of the fabric in the zipper teeth.
11>HARNESS
Your stroller harness is specifically designed
with many built in safety features.
This includes the requirement that, when
opened, all straps are released so that no
dangerous loops can be formed causing a
strangulation hazard.
WARNING: USE THIS HARNESS AT ALL TIMES.
Closing your harness: Slide each of the
shoulder strap bottom guides (a) into the
corresponding channel (b) on the top of each
side strap prong. Insert each completed prong
into the central buckle housing (c).
Carefully adjust the harness straps to snugly fit
your child by adjusting the sliders (d) located
on each strap. The harness should be fitted to
your child’s body, tight enough so that they
cannot wriggle free of the straps but, loose
enough, so as not to cause any discomfort.
For even more flexibility, the height at which
your shoulder straps are fitted to the stroller
can be adjusted at 3 pointse).
To change the shoulder strap position:
From the rear of the seat, thread the top of
the strap back through the harness slot (it fits
through the slot.
Rethread the strap back through the desired
slot from the front of the seat
Opening your harness: Press the central
housing button (e). This will release both side
prongs from the central housing. The shoulder
and waist straps will release automatically from
each other.
If the shoulder and waist straps do not
automatically disengage from each other,
manually slide the guides of the waist channels.
Your harness will separate into 5 sections.
IMPORTANT WARNING: WHEN NOT IN USE, BE
SURE THE SHOULDER AND WAIST STRAPS ARE
ALWAYS DISCONNECTED FROM THE CENTRAL
HOUSING AND EACH OTHER.
12>BRAKES
Press down on the long leg of the brake lever
(a) located on the rear axle to simultaneously
engage the brake in both rear wheels.
To release, press down on the shorter leg with
your foot.
IMPORTANT WARNING: ALWAYS TEST
THAT THE BRAKES ARE SECURELY
DISENGAGED BEFORE USE.
13>BOOTCOVER
Attach the bootcover/apron to the open foot of
the bassinet or seat, locating and securing to
the snaps at the side of the bassinet body.
14>FOLDING
Your Spark can be folded with the seat in facing in
either direction as well as in bassinet mode.
• Release the handle by simultaneously lifting
the triggers (a).
• Swing the handle over the seat/bassinet
body. As it passes the central pivot joint (b) the
lower frame will automatically release and the
stroller will fold down completely.
• The chassis will lock in the closed position
automatically.
WARNING: TO AVOID INJURY OR DEATH





 
 



•NEVER USE ON STAIRS OR ESCALATORS.




! .











.





AVOID SUFFOCATION HAZARDS:








CARE & MAINTENANCE: Should the chassis become wet, dry off promptly before storing. If this pram is used near the ocean or salted roads, spray the chassis and
seat frame with water and dry. We recommend a rust inhibiting product should be used to prevent rust and fatigue on metal parts.

environment you must wipe down the axles and wheels then lubricate them monthly.


.
FURTHER INFORMATION: valcobaby.com.au
!

Other VALCOBABY Stroller manuals

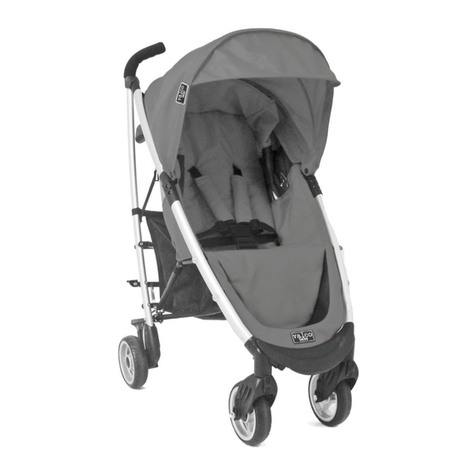
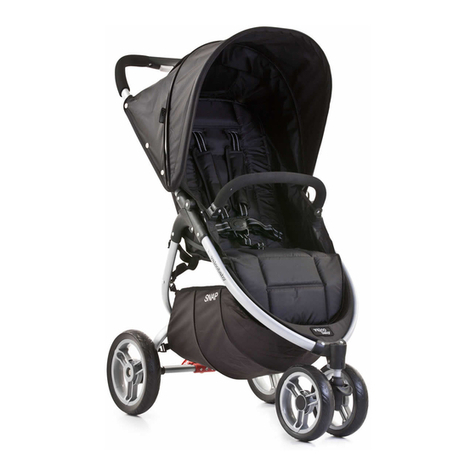
VALCOBABY ION Installation and operation manual

VALCOBABY

VALCOBABY ION Installation and operation manual

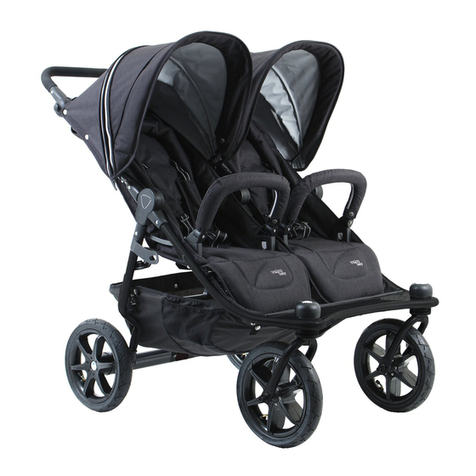
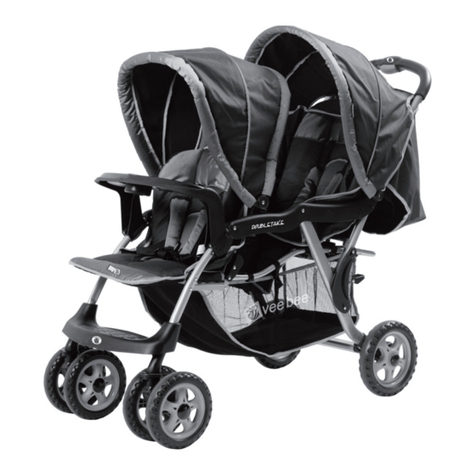
VALCOBABY TRIMODE Installation and operation manual

VALCOBABY

VALCOBABY TRIMODE Installation and operation manual

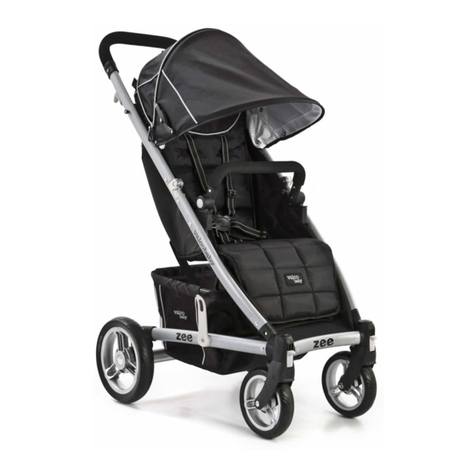
VALCOBABY Zee Installation and operation manual

VALCOBABY

VALCOBABY Zee Installation and operation manual

VALCOBABY BASSINET User manual

VALCOBABY

VALCOBABY BASSINET User manual

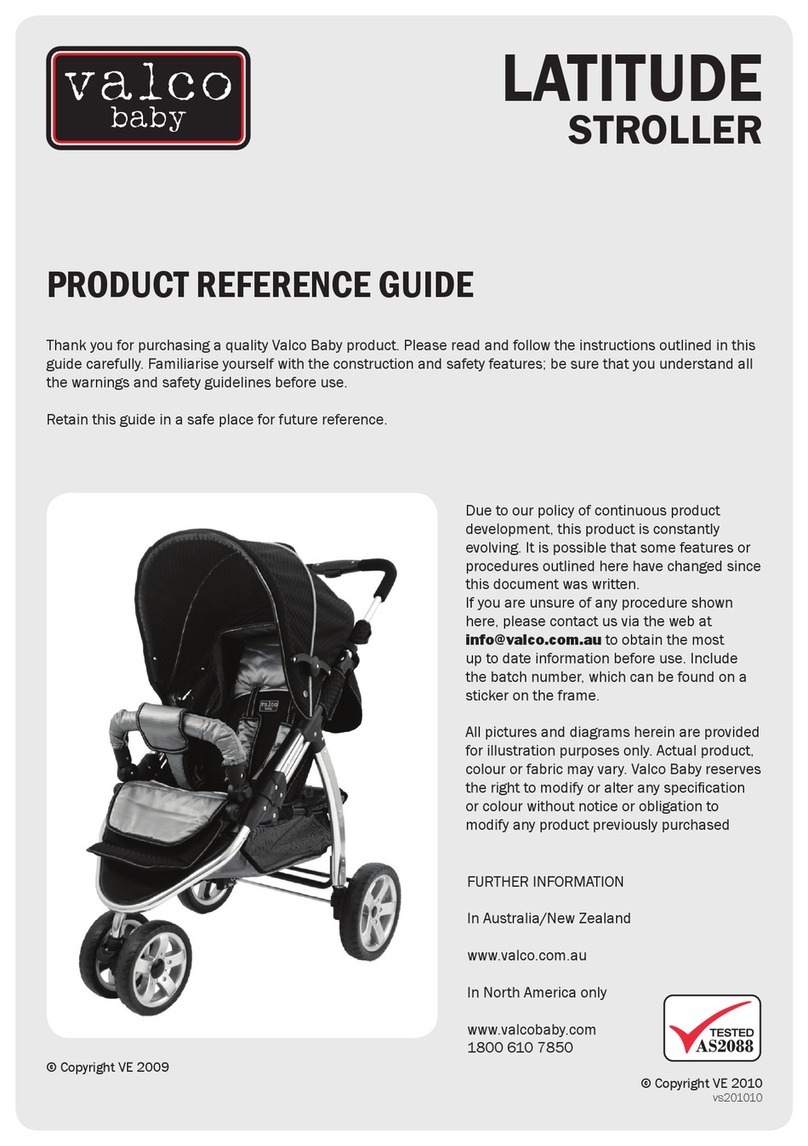
VALCOBABY Latitude Stroller Installation and operation manual

VALCOBABY

VALCOBABY Latitude Stroller Installation and operation manual

VALCOBABY Titan User manual

VALCOBABY

VALCOBABY Titan User manual

VALCOBABY Mini Marathon Installation and operation manual

VALCOBABY

VALCOBABY Mini Marathon Installation and operation manual

VALCOBABY EZ Rider Installation and operation manual

VALCOBABY

VALCOBABY EZ Rider Installation and operation manual

VALCOBABY Runabout Series Installation and operation manual

VALCOBABY

VALCOBABY Runabout Series Installation and operation manual

VALCOBABY snap ultra Installation and operation manual

VALCOBABY

VALCOBABY snap ultra Installation and operation manual

VALCOBABY REBEL Q Installation and operation manual

VALCOBABY

VALCOBABY REBEL Q Installation and operation manual

VALCOBABY EVO2 for 2 Installation and operation manual

VALCOBABY

VALCOBABY EVO2 for 2 Installation and operation manual

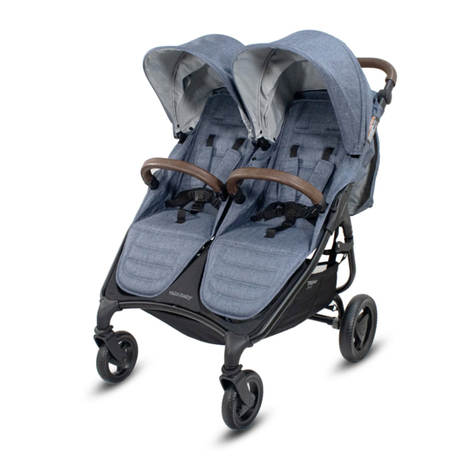
VALCOBABY Slim Twin Installation and operation manual

VALCOBABY

VALCOBABY Slim Twin Installation and operation manual

VALCOBABY ZEE Installation and operation manual

VALCOBABY

VALCOBABY ZEE Installation and operation manual

VALCOBABY Vee Bee SCOUT Installation and operation manual

VALCOBABY

VALCOBABY Vee Bee SCOUT Installation and operation manual

VALCOBABY prism Installation and operation manual

VALCOBABY

VALCOBABY prism Installation and operation manual

VALCOBABY Tri Mode Series Installation and operation manual

VALCOBABY

VALCOBABY Tri Mode Series Installation and operation manual

VALCOBABY Vee Bee Dash Installation and operation manual

VALCOBABY

VALCOBABY Vee Bee Dash Installation and operation manual

VALCOBABY ZeeTwo User manual

VALCOBABY

VALCOBABY ZeeTwo User manual

VALCOBABY VEE BEE LIO Installation and operation manual

VALCOBABY

VALCOBABY VEE BEE LIO Installation and operation manual

VALCOBABY RunAbout Tri-mode series Installation and operation manual

VALCOBABY

VALCOBABY RunAbout Tri-mode series Installation and operation manual

VALCOBABY Tri-Mode Twin Installation and operation manual

VALCOBABY

VALCOBABY Tri-Mode Twin Installation and operation manual

VALCOBABY VEEBEE CO-RIDER User manual

VALCOBABY

VALCOBABY VEEBEE CO-RIDER User manual

VALCOBABY T3 PLUS User manual

VALCOBABY

VALCOBABY T3 PLUS User manual

Popular Stroller manuals by other brands

Phil & Teds dot instruction manual

Phil & Teds

Phil & Teds dot instruction manual

Baby Trend StrideZ 1963CT instruction manual

Baby Trend

Baby Trend StrideZ 1963CT instruction manual

Baby Jogger CITY MICRO SINGLE Assembly instructions

Baby Jogger

Baby Jogger CITY MICRO SINGLE Assembly instructions

Phil & Teds Inline Dash Survival guide

Phil & Teds

Phil & Teds Inline Dash Survival guide

Steelcraft EX3 instruction manual

Steelcraft

Steelcraft EX3 instruction manual

Foppapedretti UP3 Assembly instructions

Foppapedretti

Foppapedretti UP3 Assembly instructions

MaxiCosi Leona user manual

MaxiCosi

MaxiCosi Leona user manual

Baby Jogger city ELITE Assembly instructions

Baby Jogger

Baby Jogger city ELITE Assembly instructions

Baby Jogger DELUXE PRAM Assembly instructions

Baby Jogger

Baby Jogger DELUXE PRAM Assembly instructions

MaxiCosi Citi CX Instructions for use

MaxiCosi

MaxiCosi Citi CX Instructions for use

Baby Trend SG34 instruction manual

Baby Trend

Baby Trend SG34 instruction manual

EasyGO duo comfort user manual

EasyGO

EasyGO duo comfort user manual

Baby Trend Quick Step JG94C15M instruction manual

Baby Trend

Baby Trend Quick Step JG94C15M instruction manual

Steelcraft SAVVI Instruction book

Steelcraft

Steelcraft SAVVI Instruction book

Baby Trend Tango ST01 A Series instruction manual

Baby Trend

Baby Trend Tango ST01 A Series instruction manual

icklebubba Moon manual

icklebubba

icklebubba Moon manual

Baby Trend EZ Ride Plus Travel System instruction manual

Baby Trend

Baby Trend EZ Ride Plus Travel System instruction manual

Etac Convaid Metro User and service manual

Etac

Etac Convaid Metro User and service manual

manuals.online logo
manuals.online logoBrands
  • About & Mission
  • Contact us
  • Privacy Policy
  • Terms and Conditions

Copyright 2025 Manuals.Online. All Rights Reserved.