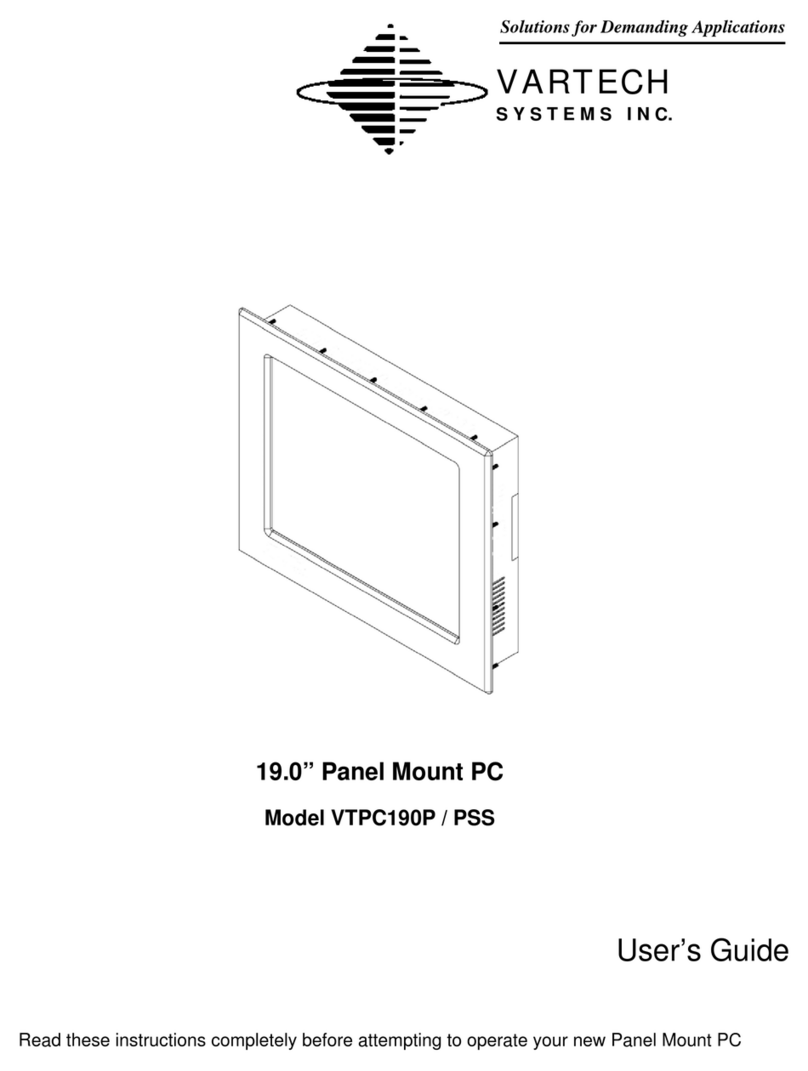
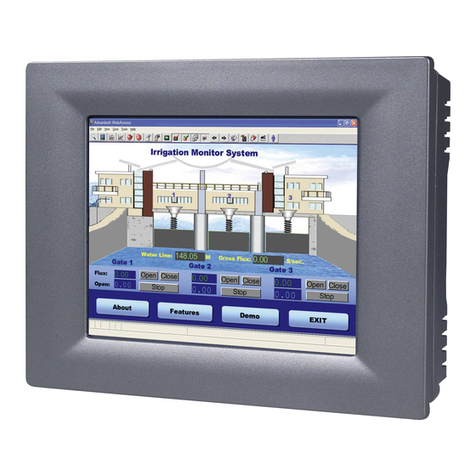
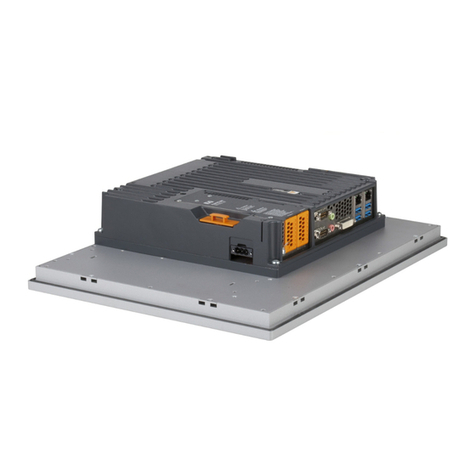
VarTech Systems VTPC190VR User manual

19.0” Enclosed VESA Mount PC User’s Guide Page 1
Solutions for
Demanding Applications
VARTECH
S Y S T E M S I N C.
19.0” Enclosed VESA Mount PC
Model VTPC190VR – VTPC190VSR
User’s Guide

19.0” Enclosed VESA Mount PC User’s Guide Page 2
Read these instructions completely before attempting to operate your new VESA
Mount PC
Revision History
Date Rev No Summary Page
01/07/09 00 First Issue
07/10/09 02 Revised Product Drawing, Detail A 7
08/05/09 03 Added VDC & VSDC versions 5 & 6
02/23/2017 04 Update LCD Panel Specs 4
02/23/2017 04 Update Computers Specs 4 - 5
02/23/2017 04 Added BIOS Sections 10 - 31

19.0” Enclosed VESA Mount PC User’s Guide Page 3
Safety Instructions
Read the Safety Instructions carefully and keep it for use later.
The chassis metalwork of the module must be installed properly to the
main earthing termination for Class 1 equipment.
Care must be exercised in the application of the system to prevent
overheating. Ensure that the ambient temperature around the system
does not exceed 60°C and provide adequate means of ventilation to
achieve this.
When cleaning cut off the electrical supply at all times. Never use liquid or
aerosol detergent, use a soft damp cloth instead.
Never insert anything metallic into the enclosure opening. This may create
an electric shock hazard or hazard from rotating fan blades.
To avoid electric shock, never touch the inside of the system. There are
no user adjustable components inside, only a qualified technician should
open the system’s case.
Fins on the rear system enclosure are to allow for cooling. To prevent
overheating, these fins should not be blocked or covered.
If the system does not operate normally – in particular, if there are any
unusual sounds or smells coming from it – disconnect it immediately.
Do not put pressure on the LCD panel screen because it is very fragile.
Always handle the system with care when moving it.
Take care that the system is disposed of correctly at the end of its life. If in
doubt refer to your local ordinances or regulations for proper disposal.
A socket-outlet shall be installed near the equipment and shall be easily
accessible.
Cleaning the LCD monitor
To clean the LCD panel:
Wipe the screen gently with a clean lens brush made of camel hair, or a
soft, clean, lint free cloth. This is to remove dust and other particles
without scratching the LCD panel.
If it is still not clean, then wipe with a damp lint free cloth and blow on it to
dry.
Desirable cleaners are water, IPA (Isopropyl Alcohol) or Hexane.

19.0” Enclosed VESA Mount PC User’s Guide Page 4
Do not clean the panel with a Ketone type material (e.g. Acetone), or Ethyl alcohol,
Toluene, Ethyl acid, Methyl chloride. These may permanently damage the polarizer
due to chemical reaction.
Do not apply pressure to the LCD panel.
Standard Technical Specifications:
LCD Monitor:
Standard Computer System:
Size / Type 19.0” SXGA TFT LCD
Native Resolution 1280 x 1024
Contrast Ratio 1000:1
Viewing Angles Horizontal: 85°/85°
Vertical: 80°/80°
Pixel Pitch 0.294mm
Brightness (typical) 350 cd/m²
Response Time (typical) 10ms
Colors Supported 16.7 million
Processor Intel® Atom™ processor D2550 1.86 GHz
System Memory 2GB 1 x 204-pin SO-DIMM DDR3-800/1066 max. (up to 4GB)
BIOS AMI UEFI BIOS
Hard Drive 500 GB SATA Fast Access Disk Drive
Operating System Microsoft Windows 7 Professional
Expansion Slots 1x PCI Express Mini Card w/ mSATA support
I/O Ports 1 x LAN port
2 x RS-232 COM port
3 x USB 2.0 ports
1 x Power On/Off
1 x Power Connector
I/O with optional Dual Core CPU:
3 x USB
2 x Serial
1 x LAN connector
Graphics Intel Generation 3.5 integrated GFX Core (133Mhz)
LAN
10/100/1000 Mbps support Wake-on-LAN, PXE Boot ROM
with Intel® 82583V

19.0” Enclosed VESA Mount PC User’s Guide Page 5
Quad Core Computer System:
Processor Intel® Celeron® processor J1900 quad core
System Memory 2GB DDR3L-1333 SO-DIMM max. up to 8 GB
BIOS AMI BIOS
Hard Drive 500 GB SATA Fast Access Disk Drive
Operating System Microsoft Windows 7 Professional
I/O Ports 1 x Power On/Off
1 x Power Connector
3 x USB
2 x Serial
1 x LAN connector
Graphics Intel® HD Graphics
LAN 10/100/1000 Mbps supports Wake-on-LAN, PXE Boot
ROM with Intel® i210AT
Touch Screen Resistive
Touch Screen Interface Serial
Environmental:
Power Input 100-240 VAC 1.5A 50/60 Hz
Power Consumption
Standard:
Dual Core:
46W
68W
Temperature Operational: 14°F to 140°F -10°C to 60°C
Storage: -4°F to 176°F -20°C to 80°C
Humidity Operational: 0 to 90% RH NC
Storage: 0 to 95% RH NC
Touch Screen Resistive
Touch Screen
Interface
Serial

19.0” Enclosed VESA Mount PC User’s Guide Page 6
Installation of Your Enclosed VESA Mount PC
Packaged with each carton will be:
1-VTPC190VR/VSR
1-AC Power Cable
1-LAN Male Cable
2-RS232 Male Cables
3-USB Cables
1-Users Guide (Printed or on CD)
BEFORE MAKING ANY CONNECTIONS OR APPLYING POWER,
FIRST READ THROUGH THE ENTIRE MANUAL
Mounting Procedure
VESA Panel Mounting Procedure:
1- Install the enclosure to a 100mm VESA mount pedestal.
2- Secure the enclosure using the screws and lock washers, supplied
with the unit.
3- Tighten all mounting hardware to a torque of 15 inch-pounds.
ATTENTION: Mounting hardware must be tightened to a torque of 15
inch-pounds to provide a proper panel mount and avoid potential damage.
Vartech Systems assumes no responsibility for water or chemical damage
to the monitor or other equipment within the enclosure due to improper
installation.
4- Attach the power and system cables to the bottom side of the
enclosure if you have not already done so.

19.0” Enclosed VESA Mount PC User’s Guide Page 7
Product Drawing: Detail –A–

19.0” Enclosed VESA Mount PC User’s Guide Page 8
Power Connection (Power In)
The Enclosed VESA Mount PC includes an AC line cord which is 10ft
long. The power input receptacle is located on the bottom rear panel of the
system.
Serial Connections (COM 1-2)
The Enclosed VESA PC is supplied with a serial connector configured for
RS-232. The connector is a 9 pin female connectors and can be set up for
any baud rate from 300 to 19.2 baud. The system is supplied with two 10ft
cable with a 9 pin D-shell connector is located on the rear lower panel of
the system.
Ethernet Connections (LAN)
The Enclosed VESA PC is supplied with integrated Ethernet. The interface
will support 10/100/1000 BaseT connection to a local area network (LAN).
The system is supplied with a 10ft cable with an RJ-45 female connector
located on the rear lower panel of the system.
USB Connections (USB 1-2-3)
The Enclosed VESA PC is supplied with three USB 2.0 connectors. The
system is supplied with three 10ft cables with a USB (type B) connector
which is located on the rear lower panel of the system.
Turning the system On and Off
Before connecting the Enclosed VESA Mount PC to power, connect any
peripheral devices. As a general rule, any peripheral device should only
be connected or disconnected when the Enclosed PC is off with the
exception of any USB peripheral.
The Enclosed VESA Mount PC is turned on using the main power push
button switch located on the rear lower panel. Once the Enclosed PC main
switch is turned on the computer power pushbutton switch must be
depressed for Windows to start. Windows must be properly shut down
before the main power switch is turned off to prevent the chance of
corrupting files in the operating system.
The Enclosed VESA Mount PC is rated for continuous duty. However, to
extend the life of the various components and conserve power, it is highly
recommended that the system be properly shut down and power turned
off when the Enclosed VESA Mount PC is not in use.
19.0” Enclosed VESA Mount PC User’s Guide Page 9
LCD Monitor Warm-up Time
All LCD monitors need time to become thermally stable the first time you
turn them on. Therefore, to achieve more accurate adjustments for
parameters, allow the LCD monitor to warm (be on) for at least 20 minutes
before making any screen adjustments.
Maintenance
The Enclosed VESA Mount PC is designed to provide optimum service
and performance with minimal maintenance including the occasional
external cleaning. For cleaning the Enclosed VESA Mount PC enclosure
follow the suggested guidelines.
General – NEVER use abrasive cleaners or solvent-based cleaners!! Use
a clean soft cloth. The Enclosed VESA Mount PC should only be opened
and serviced by a qualified technician. Keep the area around the Enclosed
VESA Mount PC clear and free of excessive dirt or other contaminants.

19.0” Enclosed VESA Mount PC User’s Guide Page 10
AMI BIOS Setup Utility
The AMI UEFI BIOS provides users with a built-in setup program to modify basic system
configuration. All configured parameters are stored in a flash chip to save the setup information
whenever the power is turned off. This chapter provides users with detailed description about
how to set up basic system configuration through the AMI BIOS setup utility.
Starting
To enter the setup screens, follow the steps below:
1. Turn on the computer and press <Del> during the Power On Self Test (POST) to enter
BIOS setup, otherwise, POST will continue with its test routines.
2. Once you enter the BIOS, the main BIOS setup menu displays. You can access the other
setup screens from the main BIOS setup menu, such as the Advanced and Chipset
menus.
Note
If your computer cannot boot after making and saving system changes with BIOS
setup, you can restore BIOS optimal defaults by setting JP1 (see section 2.3.1).
It is strongly recommended that you should avoid changing the chipset’s defaults. Both AMI
and your system manufacturer have carefully set up these defaults that provide the best
performance and reliability.
Navigation Keys
The BIOS setup/utility uses a key-based navigation system called hot keys. Most of the BIOS
setup utility hot keys can be used at any time during the setup navigation process. These keys
include <F1>, <F2>, <Enter>, <ESC>, <Arrow> keys, and so on.
Note
Some of the navigation keys differ from one screen to another.

19.0” Enclosed VESA Mount PC User’s Guide Page 11
Hot Keys Description
Left/Right
The Left and Right <Arrow> keys allow you to select a setup screen.
Up/Down The Up and Down <Arrow> keys allow you to select a setup screen or sub
screen.
Enter The <Enter> key allows you to display or change the setup option listed for a
particular setup item. The <Enter> key can also allow you to display the setup
sub screens.
+Plus/Minus The Plus and Minus <Arrow> keys allow you to change the field value of a
particular setup item.
F1 The <F1> key allows you to display the General Help screen.
F2 The <F2> key allows you to Load Previous Values.
F3 The <F3> key allows you to Load Optimized Defaults.
F4 The <F4> key allows you to save any changes you have made and exit Setup.
Press the <F4> key to save your changes.
Esc The <Esc> key allows you to discard any changes you have made and exit the
Setup. Press the <Esc> key to exit the setup without saving your changes.

19.0” Enclosed VESA Mount PC User’s Guide Page 12
Main Menu
When you first enter the setup utility, you will enter the Main setup screen. You can always
return to the Main setup screen by selecting the Main tab. System Time/Date can be set up as
described below. The Main BIOS setup screen is shown below.
BIOS Information
Display the BIOS information.
System Date/Time
Use this option to change the system time and date. Highlight System Time or System Date
using the <Arrow> keys. Enter new values through the keyboard. Press the <Tab> key or the
<Arrow> keys to move between fields. The date must be entered in MM/DD/YY format. The
time is entered in HH:MM:SS format.
Access Level
Display the access level of current user.

19.0” Enclosed VESA Mount PC User’s Guide Page 13
Advanced Menu
The Advanced menu also allows users to set configuration of the CPU and other system
devices. You can select any of the items in the left frame of the screen to go to the sub menus:
►ACPI Settings
►Super IO Configuration
►Hardware Monitor
►Smart Fan Function
►Display Configuration
►Power Button Control
►S5 RTC Wake Settings
►CPU Configuration
►IDE Configuration
►OS Configuration
►CSM Configuration
►USB Configuration
For items marked with “”, please press <Enter> for more options.

19.0” Enclosed VESA Mount PC User’s Guide Page 14
ACPI Settings
You can use this screen to select options for the ACPI configuration, and change the value
of the selected option. A description of the selected item appears on the right side of the
screen.
Enable ACPI Auto Configuration
Enable or disable BIOS ACPI auto configuration.
Enable Hibernation
Enable or disable system ability to hibernate (OS/S4 sleep state).
ACPI Sleep State
Select the ACPI (Advanced Configuration and Power Interface) sleep state. Configuration
options are Suspend Disabled and S3 (Suspend to RAM). The default setting is S3
(Suspend to RAM); this option selects ACPI sleep state the system will enter when
suspend button is pressed.

19.0” Enclosed VESA Mount PC User’s Guide Page 15
Super IO Configuration
You can use this screen to select options for the Super IO Configuration, and change the
value of the selected option. A description of the selected item appears on the right side of
the screen. For items marked with “”, please press <Enter> for more options.
COM1~6
Use these items to set parameters related to serial port 1~6.

19.0” Enclosed VESA Mount PC User’s Guide Page 16
COM1
Serial Port
Enable or disable serial port 1. The optimal setting for base I/O address is 3F8h and for
interrupt request address is IRQ4.
Change Settings
Select an optimal setting for serial port.

19.0” Enclosed VESA Mount PC User’s Guide Page 17
Hardware Monitor
This screen monitors hardware health status.
This screen displays the temperature of system and CPU, cooling fans speed in RPM and
system voltages (VCC_CPU, VCC_DDR, +12V, +5V, +3.3V and VBAT).

19.0” Enclosed VESA Mount PC User’s Guide Page 18
Smart Fan
Function
This screen allows you to select the fan mode.
CPU_FAN1 Mode
This item allows you to select the fan mode, which can be set to Full on Mode, Manual
Mode, Auto PWM Mode or Auto RPM Mode.

19.0” Enclosed VESA Mount PC User’s Guide Page 19
Display
Configuration
Primary IGFX Boot Display
Select the video device which will be activated during POST (Power-On Self Test). The
default is LVDS.
Backlight Control
Select panel backlight control mode.
LVDS Panel Type
Select LVDS panel resolution; see the selection options in image above.
Brightness
Select the brightness of LVDS panel ranging from 30% to 100%. The default setting is
70%.

19.0” Enclosed VESA Mount PC User’s Guide Page 20
Power Button Control
Restore AC Power Loss
This item decides the state of system when AC power is resupplied after a power failure.
Mode options are Power Off, Power On and Last State.
Soft-Off by PWR-BTTN
- Instant-Off: The system will shut down instantly when the power button is pressed.
- Delay 4 sec: The system will shut down only when the power button is pressed and held
at least 4 seconds.
PS/2 KB/MS Wake Up From S5
This item decides whether or not the PS/2 keyboard or mouse can wake up the system
from S5 state.
This manual suits for next models
1
Table of contents
Other VarTech Systems Touch Panel manuals

VarTech Systems
VarTech Systems VTPC104P User manual

VarTech Systems
VarTech Systems VTPC190P User manual

VarTech Systems
VarTech Systems VTPC150P User manual

VarTech Systems
VarTech Systems VT104V-VS User manual

VarTech Systems
VarTech Systems VTPC190P User manual

VarTech Systems
VarTech Systems VTPC100PSS User manual

VarTech Systems
VarTech Systems VTPC170P User manual

VarTech Systems
VarTech Systems VTPC150P User manual

VarTech Systems
VarTech Systems VTPC900PSS User manual