Vatech Green X PHT-75CHS User manual

User manual
Model : PHT-75CHS
Version : 1.12
English
Français
Deutsch
Español
Italiano
Русский
Türkçe


Notice
Green X (PHT-75CHS)User Manual iii
Notice
Thank you for purchasing the Green X (PHT-75CHS)extra-oral imaging system.
Green X (PHT-75CHS) is one of manufacturer’s Green CT product series for aiding
dental professionals in providing excellent care in a safe environment that promotes
healing.
Green X (PHT-75CHS) is an advanced digital diagnostic system that incorporates
PANO, CEPH (Optional), CBCT and 3D MODEL Scan imaging capabilities into a
single system.
This manual describes how to operate the Green X (PHT-75CHS) system. It is
recommended that you thoroughly familiarize yourself with this manual to make the
most effective use of this equipment.
Observe all cautions, safety messages and warnings which appear in this manual.
Due to constant technological improvement, the manual may not contain the most
updated information and is subject to change without prior notice to the persons
concerned. For further information not covered in this manual, please contact us at:
VATECH Co., Ltd.
Phone: +82-1588-9510
E-mail: gcs@vatech.co.kr
This document is originally written in English.
Green X (PHT-75CHS)is referred to as “equipment” in this manual.
Manual Name: Green X (PHT-75CHS) User Manual
Version: 1.12
Publication Date: 2021-03
Document Number: VDH-UM-085(A)

Notice
iv Green X (PHT-75CHS)User Manual
Left blank intentionally

Table of Contents
Green X (PHT-75CHS)User Manual v
Table of Contents
Notice .........................................................................................................iii
Table of Contents .......................................................................................v
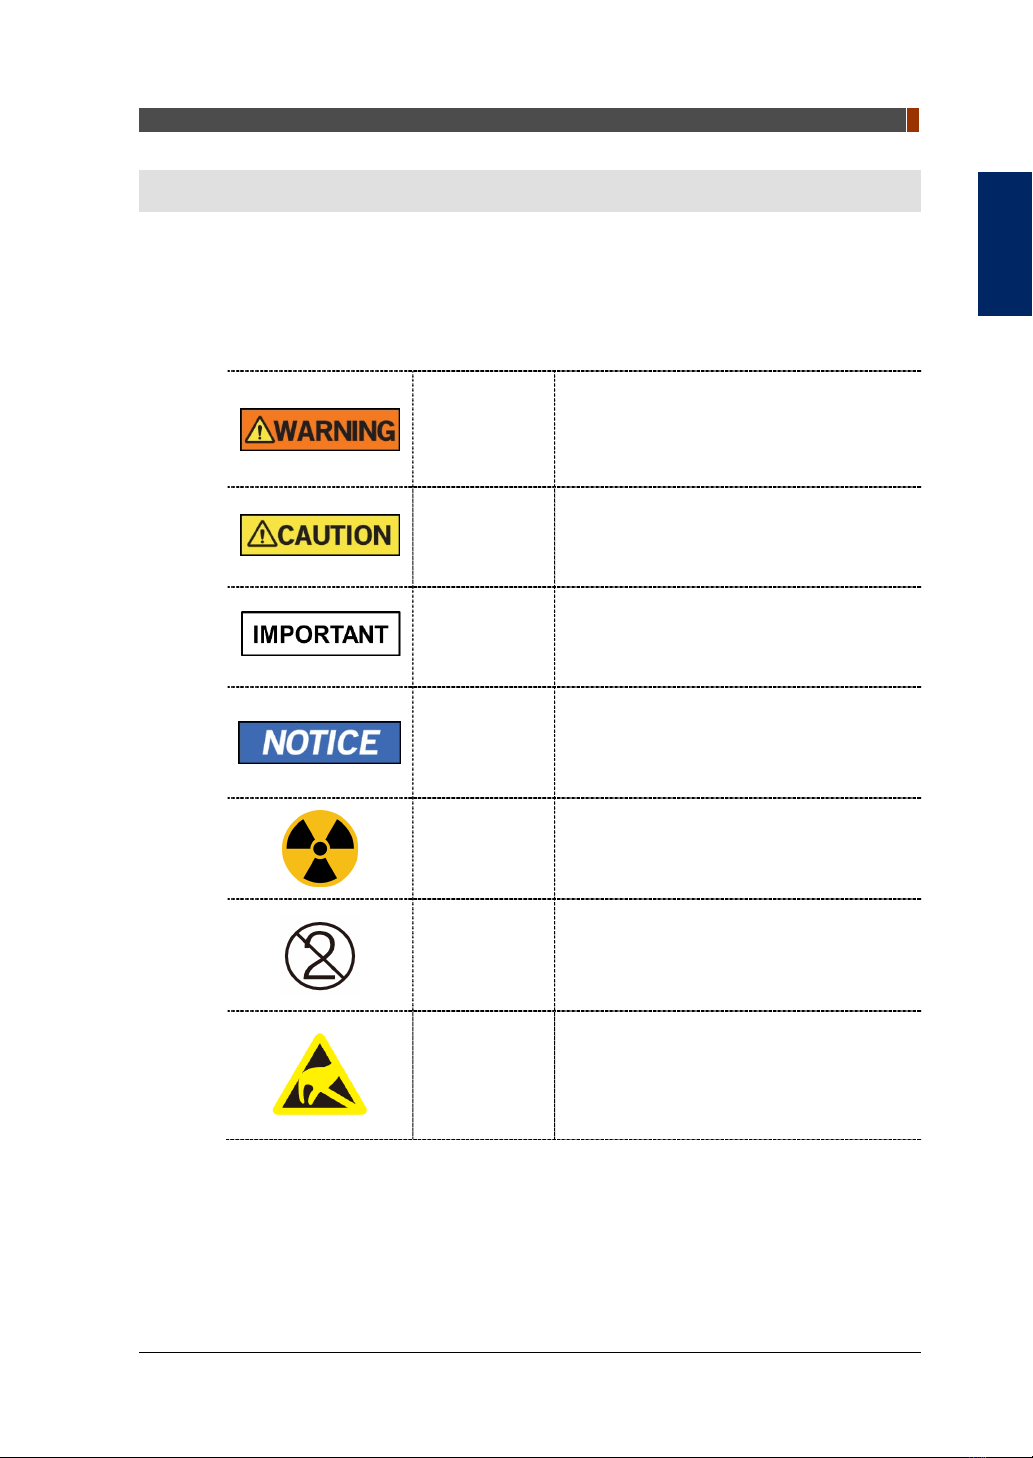
Conventions in this Manual .......................................................................1
1. Imaging System Overview...................................................................3
1.1 System Components .............................................................................................3
1.2 Features..................................................................................................................3
1.3 Imaging System Options .......................................................................................3
1.4 Standards and Regulations...................................................................................4
1.5 Operating Principles..............................................................................................5
1.6 Equipment Overview..............................................................................................5
2. Getting Started...................................................................................11
2.1 Turning on the Equipment ..................................................................................11
2.2 Running the Image Viewer (EzDent-i).................................................................12
2.3 Initiating the Console Software ..........................................................................15
3. Acquiring PANO Images....................................................................17
3.1 Configuring Exposure Parameters.....................................................................17
3.2 Patient Positioning...............................................................................................22
3.3 X-ray Exposure.....................................................................................................38
3.4 Finishing the Scan ...............................................................................................39
3.5 Checking the Captured Images...........................................................................40
4. Acquiring CEPH Images (Optional) ..................................................41
4.1 Configuring Exposure Parameters.....................................................................41
4.2 Patient Positioning...............................................................................................44
4.3 X-ray Exposure.....................................................................................................58
4.4 Finishing the Scan ...............................................................................................59
4.5 Checking the Captured Images...........................................................................59
5. Acquiring CBCT Images ....................................................................61
5.1 Configuring Exposure Parameters.....................................................................61
5.2 Obtaining Double Scan Image (optional)...........................................................66
5.3 Patient Positioning...............................................................................................71
5.4 X-ray Exposure.....................................................................................................81
5.5 Finishing the Scan ...............................................................................................82
5.6 Checking the Captured Images...........................................................................82

Table of Contents
vi Green X (PHT-75CHS)User Manual
6. Acquiring 3D MODEL Scan Images.................................................. 83
6.1 Configuring Exposure Parameters..................................................................... 83
6.2 MODEL Positioning ............................................................................................. 86
6.3 X-ray Exposure .................................................................................................... 87
6.4 Checking the Captured Images .......................................................................... 88

Conventions in this Manual
Green X (PHT-75CHS)User Manual 1
English
Conventions in this Manual
The following symbols are used throughout this manual. Make sure that you fully
understand each symbol and follow the instructions accompanied.
To prevent physical injury and damage to the equipment, please observe all warnings
and safety information included in this document.
WARNING
Indicates information that should be
followed with the utmost care. Failure to
comply with a warning may result in severe
damage to the equipment or physical injury
to the operator and patient.
CAUTION
Indicates a situation that demands prompt
and careful action, a specific remedy, or
emergency attention.
IMPORTANT
Indicates a situation or action that could
potentially cause problems to the
equipment and its operation.
NOTICE Emphasizes essential information or
provides useful tips and hints.
RADIATION Indicates a possible danger from exposure
to radiation.
SINGLE USE Indicates a component that must be
replaced for each new patient.
ESD
susceptibility
Indicates that an item is susceptible to
damage from electrostatic discharges.

Conventions in this Manual
2 Green X (PHT-75CHS)User Manual
Left blank intentionally

1. Imaging System Overview
Green X (PHT-75CHS)User Manual 3
English
1. Imaging System Overview
1.1 System Components
Green X (PHT-75CHS) X-ray equipment
PC system
Console Software: PANO, CEPH (Optional), CBCT and 3D MODEL Scan
EzDent-i: 2D viewer and patient management software
Ez3D-i: 3D viewer software
1.2 Features
Multi-FOV support: Selectable FOV among Double Scan(16x15), 16x9, 12x9, 8x8,
8x5, 5x5 and 4x4 (cm)
The multi-imaging solution for Accurate Diagnostics
Conventional 2D (PANO and CEPH) image acquisition
Insight PAN: Multi-image acquisition option that reconstructs the panoramic image
into multiple focal images in depth regions. Its main purpose is to diagnose depth
regions, which cannot be confirmed with ordinary panoramic images.
3D scanning for Plaster Cast with FOV 8x8 (cm)
Control Panel implemented for easy use
DICOM (Digital Imaging Communication in Medicine) format supported
Differentiated Console Software Interface
Endo Mode: Provides high resolution CBCT 3D images for root canal treatment
Double scan: FOV 16×9 images can be acquired by upper/lower double scans
and stitched to acquire full FOV 16x15 CBCT images.
1.3 Imaging System Options
Configuration Item Sensor
SP PANO +CBCT PANO/CBCT Xmaru1314CF
RC PANO +CBCT
+CEPH
PANO/CBCT Xmaru1314CF
CEPH Xmaru2602CF

1. Imaging System Overview
4 Green X (PHT-75CHS)User Manual
1.4 Standards and Regulations
Standards
Green X (PHT-75CHS) is designed and developed to comply with the following
international standards and regulations:
MEDICAL - APPLIED ELECTROMAGNETIC RADIATION EQUIPMENT
AS TO ELECTRICAL SHOCK, FIRE AND MECHANICAL HAZARDS ONLY IN
ACCORDANCE WITH
ANSI/AAMI ES60601-1 (2005) + AMD 1 (2012),
CAN/CSA-C22.2 No. 60601-1 (2014), IEC 60601-1-3 (2008), IEC 60601-2-63
(2012)
21 CFR 1020.30, 31, 33
NEMA Standard publication PS 3.1-3.18
This is Class IIb equipment and obtained CE marking in
April 2007 for regulations compliance by the revised
European Union’s MDD (Medical Devices Directive)
93/42 EEC.
This equipment received the UL certification mark in
accordance with ANSI/AAMI, CAN/CSA-C22.2 No.
60601-1 regulations.
Classifications (IEC 60601-1 6.1)
The degree of protection against water ingress: Ordinary Equipment: IPX0
The degree of protection against electric shock: Class 1 equipment, Type B
Applied Parts: Temple Supports, Chinrests, and Bites.

1. Imaging System Overview
Green X (PHT-75CHS)User Manual 5
English
1.5 Operating Principles
X-ray is emitted when a high voltage is supplied to X-ray tube assembly which frees
electrons from the cathode.
They hit anode to produce an X-ray. The machine acquires images by emitting X-ray
continuously and rotates on the human tooth at different angles.
Images are acquired, computed, and recompiled to reproduce 2D or 3D images.
1.6 Equipment Overview
Perspective View

1. Imaging System Overview
6 Green X (PHT-75CHS)User Manual
Rear View
No. Item Description
1 X-ray Detector for
CEPH (Optional) Xmaru2602CF for CEPH imaging sensor
2 Nasal Positioner
Positions the patient during CEPH imaging.
The ruler used for reference in an acquired image
that is different from the actual size
3 Ear Rods Secure the patient’s head during CEPH imaging.
4 Column UP/DOWN
button (CEPH Part)
Adjust column height to adjust the height of the
vertical frame.
5 Control Panel
Adjust column height to adjust the height of the
vertical frame, up or down the Chinrests, prepares
for operation when the READY/RETURN button is
pressed and operates the Horizontal Laser Beam.
(For the details, refer to 1.6.1 Control Panel.)
6 Column UP/DOWN
Switch (optional)
Adjust column height to adjust the height of the
vertical frame.
7 Stationary Column Supports the whole part of the equipment.
8 Base (Optional) Balances the equipment and maintains its safety.
9 D-Sub Connector The input signal port for Column UP/DOWN Switch
10 Emergency Stop
Switch
Immediately stops the moving parts and cuts off all
power to the equipment’s electrical components.

1. Imaging System Overview
Green X (PHT-75CHS)User Manual 7
English
No. Item Description
11 Canine beam guide
adjuster Adjust the canine beam guide back and forth.
12 Temple Supports
OPEN/CLOSE Knob Adjusts the Temple Supports for patient positioning.
13 Chinrest The place to rest the chin.
14 Temple Supports Supports the patient’s head by holding the temples.
It is used in PANO and CBCT modes.
15 X-ray Detector for
PANO/CBCT Xmaru1314CF for PANO/CBCT imaging sensor
16 LED Lamp
Displays the status of X-ray exposure.
Green: Standby
Yellow: In operation (X-ray on)
17 X-ray Generator The X-ray tube where the X-ray is produced.
18 Vertical Frame
Holds the Rotating Unit.
It can be controlled with the Column UP/DOWN
switch.
19 Rotating Unit
Rotates around the patient's head while the image
is being acquired.
(Its movement is different according to the scan
mode.)
20 Enclosed Component
Storage
The place where Bites, Chinrest Assembly, and the
other components can be stored.
21 Main Power Switch Turns on/off the main power of the equipment.

1. Imaging System Overview
8 Green X (PHT-75CHS)User Manual
1.6.1 Control Panel
No. Buttons Description
1 COLUMN UP/DOWN
Button
Moves the Vertical Frame up or down.
(For adjusting the height of the Chinrest)
2 CHINREST UP/DOWN
Button Adjusts the Chinrests for patient positioning.
3 LASER ON/OFF
Button Turn the laser beam on or off for patient positioning.
4 LASER UP/DOWN
Button Aligns the Horizontal Beam in PANO mode.
5 READY/RETURN
Button
Indicates that imaging is ready for X-
ray on after
parameter settings and the patient positioning is
complete.
Initializes the positioning of the Rotating Unit.

1. Imaging System Overview
Green X (PHT-75CHS)User Manual 9
English
1.6.2 Emergency Stop Switch
During operation, the following emergencies may occur:
X-ray emission even after the Exposure Switch has been released
Physical injury to the patient or damage to the equipment
Other emergencies
If a problem occurs during image acquisition, press the red Emergency Stop Switch
to immediately stop the moving parts and cut off all power to the equipment’s electrical
components. To restart the equipment, turn the Emergency Stop Switch clockwise
until it pops up.
The Emergency Stop Switch is located under the bottom of the Handle Frame.

1. Imaging System Overview
10 Green X (PHT-75CHS)User Manual
1.6.3 Exposure Switch
The Exposure Switch allows the operator to control image acquisition from outside of
the X-ray room.
Press and hold the Exposure Switch down until acquisition is completed. Premature
release of the Exposure Switch will abort image acquisition.
Pressing the Exposure Switch activates the LED indicator to turn yellow. This color
indicates that the X-ray is being emitted.
The Exposure Switch is detachable. Ensure the Exposure
Switch cable is not detached from the unit accidentally
during the operation.
Keep vocal/visual contact with the patient during exposure. If
any problem occurs during exposure, release the Exposure
Switch immediately.

2. Getting Started
Green X (PHT-75CHS)User Manual 11
English
2. Getting Started
2.1 Turning on the Equipment
Do not place the patient close to the equipment when it is
being turned on. Doing so may cause physical injury to
the patient and damage to the equipment.
Do not operate the PC while the equipment is in
operation. Doing so may cause an error in the
equipment.
1. Press the Main Power Switch that is located under the middle of the Column to
turn on the equipment.
Main Power Switch isolates its circuits electrically from the
supply mains on all poles simultaneously.
2. Make sure that the green LED light at the top of the equipment is on.
ON
OFF

2. Getting Started
12 Green X (PHT-75CHS)User Manual
2.2 Running the Image Viewer (EzDent-i)
The Imaging Program is interfaced with EzDent-i, and the user can analyze the image
acquired from the Console Software easily and rapidly. On your desktop, double-click
the EzDent-i icon. The EzDent-i main window will be displayed.
For further details on this subject, refer to the EzDent-i User
Manual.
Security Capabilities
It is recommended to install and operate EzDent-i SW
within a secure operating environment that allows only
authorized users to access and a system network
equipped with Windows built-in firewall, Windows
Defender antispyware tools and other commonly used
3rd party security tools and application systems.
The latest updates for anti-virus software and a firewall
are recommended.
The software can be updated by the manufacturer only.
Unauthorized software update through a third party, not
the manufacturer, is prohibited. For cybersecurity issues
related to the software and medical devices, please
contact the manufacturer.
For Green X (PHT-75CHS) dental computed tomography X-
ray system, both 3D viewer (Ez3D-i) and Console Software
are being accessed through 2D viewer (EzDent-i) SW. 3D
viewer and Console Software do not have an image storage
capacity of their own, and both programs will not be able to
keep patient information.

2. Getting Started
Green X (PHT-75CHS)User Manual 13
English
2.2.1 Creating a New Patient Record
To create a new patient record, follow the procedure outlined below:
1. Click the PATIENT tab and click the Add Patient icon from the main GUI window.
2. Enter the required patient information. Chart Number,E-Mail address, First
Name, and Last Name are required fields that must be filled in. (The Chart
Number is filled in automatically.)
3. Click the Add button to save the patient record.

2. Getting Started
14 Green X (PHT-75CHS)User Manual
2.2.2 Retrieving Patient Records
You can search through the patient database using a patient’s Chart Number, First
Name, or Last Name.
1. Enter the Name or Chart Number of the patient to be searched on the Patient
Search panel and then click the Search button. The information on the patient
that fits the search condition appears.
Double-click the Keyboard icon to display the virtual
keyboard. You may search for patient information using the
virtual keyboard.
2. Double-click the patient information to see more details about the patient as
shown below.
Table of contents
Languages:
Other Vatech Diagnostic Equipment manuals