manuals.online logo
Brands
  1. Home
  2. •
  3. Brands
  4. •
  5. Vauth-Sagel
  6. •
  7. Indoor Furnishing
  8. •
  9. Vauth-Sagel WARICORNER User manual

Vauth-Sagel WARICORNER User manual

SYSTEMTECHNIK
page 1 of 5
We reserve the right to change and/or improve the technical specifications without notice. For the most current technical information please call us.
WARICORNER
Cabinet dimensions
Widths O.D. : 900 mm
Depth min. I.D. : 480 mm
Height min. I.D. : 530 mm
Installation measurements
Height I.D.:
WACO 2 530 mm (4 baskets)
Basket dimensions Saphir and Scalea
basket basket basket
width depth height
Front basket 450 305 75
Cabinet basket 430 370 75
Specifications
Fittings: full extension
Colors: RAL 9006 silver
Front baskets: 5 kg (12 lbs.)
Rear baskets: 12.5 kg (28 lbs.)
Load capacity of baskets:
Saphir: chrome
Scalea: maple/RAL 9006 silver
Baskets:
31 2
patent protected
E-Z-Close Damping System standard
06 / 2007 / HS
Saphir basket
WD
H
Scalea basket
(left hand unit shown)
Frameless WARICORNER
410 min.
L*
Blind Corner Cabinet
410 min.
L*
Blind Corner Cabinet
410 min.
L*
Blind Corner Cabinet
*R = Mirror Image
*R = Mirror Image
Faceframe WARICORNER
24 in.
(610mm)
21 in.
(533mm)
21 in.
(533mm)
39 in.
(991mm)
6 in.
(152mm)
161/2in.
(419mm)
11/2in.
(38mm)
11/2in. (38mm) min.
11/2in. (38mm)
Filler
24 in.
(610mm)
Adjoining Cabinet
410 min.
L*
Blind Corner Cabinet
161/2in.
(419mm)
3 in.
(76mm)
42 in.
(1067mm)
41/2in.
(114mm)
18 in.
(457mm)
11/2in.
(38mm)
11/2in. (38mm) min.
11/2in. (38mm)
Filler
24 in.
(610mm)
24 in.
(610mm)
Adjoining Cabinet
410 min.
L*
Blind Corner Cabinet
18 in.
(457mm)
3 in.
(76mm)
45 in.
(1143mm)
3 in.
(76mm)
191/2in.
(495mm)
11/2in.
(38mm)
11/2in. (38mm) min.
11/2in. (38mm)
Filler
24 in.
(610mm)
Adjoining Cabinet
410 min.
L*
Blind Corner Cabinet
191/2in.
(495mm)
3 in.
(76mm)
48 in.
(1219mm)
21 in.
(533mm)
11/2in.
(38mm)
11/2in. (38mm) min.
11/2in.
(38mm)
11/2in. (38mm)
Filler
24 in.
(610mm)
Adjoining Cabinet
410 min.
L*
Blind Corner Cabinet
21 in.
(533mm)
3 in.
(76mm)
36 in.
(914mm)
8 in.
(203mm)
Filler
Adjoining Cabinet
161/2in.
(419mm)
161/2in.
(419mm)
2 in.
(51mm)
39 in.
(991mm)
61/2in.
(165mm)
Filler
Adjoining Cabinet
18 in.
(457mm)
18 in.
(457mm)
42 in.
(1067mm)
5 in.
(127mm)
Filler
Adjoining Cabinet
191/2in.
(495mm)
191/2in.
(495mm)
24 in.
(610mm)
2 in.
(51mm) 24 in.
(610mm)
2 in.
(51mm)
410 min.
L*
Blind Corner Cabinet
31/2in.
(89mm)
Filler
Adjoining Cabinet
24 in.
(610mm)
2 in.
(51mm)
45 in.
(1143mm)
2 in. (51mm) min. 2 in. (51mm) min. 2 in. (51mm) min.
2 in. (51mm) min.
SYSTEMTECHNIK
page 2 of 5
SYSTEMTECHNIK
page 3 of 5
2
418
28
410 min.
Bottom panel
Panhead screws4.0 x 16
or Euro screws6.3 x 11
Bottom guide
Bottom guide
"Left” cabinet side
Bottom panel
Cabinet front edge
"Left” cabinet side
Lateral guide Panhead screws4.0 x 16
or Euro screws6.3 x 11
Lateral guide
Lateral guide
Cabinet front edge
Bottom Top
Bottom guide
Bottom
panel
Basket bracket
Bottom panel
max. 68
(left hand unit shown)
1Bottom guide installation
Screw bottom guide to bottom
panel 418 mm from cabinet
front edge and 28 mm from left
cabinet side panel (right with
right-hand layout) with 10 screws.
Fastening materials:
Panhead screws4.0 x 16
or Euro screws6.3 x 11
2Lateral guide installation
Screw lateral guide to cabinet
side panel 2mm from cabinet
front edge with 7 screws.
Fastening materials:
Panhead screws4.0 x 16
or Euro screws6.3 x 11
3Basket bracket installation
in bottom guide
Insert basket bracket centrally
through cut-outsin the bottom guide.
Ensure that rollersrun in the guides!
SYSTEMTECHNIK
page 4 of 5
Fixing materials:
Plastic part
Euro screws6.3 x 11
Lateral guide
Pull-out part
Flange
connector
Flange
connector
Safety clip
Flange
connector
Lateral guide
Bearing bush
Bearing bush
Bearing bush
Bearing bush
4Pull-out part installation
Push Plastic Flange
Connerctorsinto top and
bottom holesof the lateral guide.
Insert the pull-out part at a
slight angle into the upper
flange connector of the lateral
guide, ensuring that the rear
guide roller runsin the guide.
Now straighten the pull-out part
and push into the lower flange
connector of the lateral guide.
To secure, press in the cover
cap with integrated safety clip
under the Top flange connector.
Fastening materials:
Plastic Flange connectors
Cover cap with safety clip
5Scissor hinge installation
Detach plastic insert and euro
screw firstly before trying to
locate scissor hinge onto
guide roller.
Push the scissor hinge onto
the guide roller and screw to
basket bracket and pull-out
part with screwsprovided.
Fastening materials:
Bearing bushes
Panhead threaded screwsM5 x 12
Important for opening restriction:
Subsequently, insert the plastic
part in the scissor hinge and
screw in with the Euro screwssupplied.
SYSTEMTECHNIK
page 5 of 5
Vauth-Sagel Systemtechnik
Neue Straße 27 · D-33034 Brakel-Erkeln · Telefon: +495272 601-01 · Fax: +495272 601-193 · Internet: www.vauth-sagel.de
Fulterer USA
542 Townsend Avenue · High Point, NC27263 · Tele 1 336431 4646· Fax 1 336431 4620 · www.fultererusa.com
x
z336
A
B
C
A
B
C
6If there are drilled holesfor
hingeson the inside of the
front panel use the plastic
Capsto fill these holes(do not
use the plastic capsof the
cabinet or frontpanel).
If necessary drill and screw the
adapter plate directly into the
plastic cap.
Plastic capsare not supplied
with the item and must be
ordered separately.
7Door installation
Drill and screw adapter plate
onto door asshown on
adjacent diagram.
Fixing materials:
Panhead screws4.0 x 20
or Euro screws6.3 x 15
8 Door adjustment
Untighten fastening screws
1+2 to laterally adjust the front.
Use screws3+4 to correct any
left- or right-hand front
misalignments. Turn the
screwsto the left to move the
front towardsthe cabinet, turn
them to the right to move the
front away from the cabinet.
Then retighten screws1+2 firmly.
9Setting door opening angle
The opening angle of the door
isset by loosening screw A.
Now move plastic part to B or
C and re-tighten.
10 Mounting the baskets
Fix the larger basketsto the
basket bracket with the basket clips.
Fix the smaller basketsto the
pull-out part with the basket clips.
Adapter plate
(not supplied)
order separately
Panhead screws4.0 x 20
or Euro screws6.3 x 15
Door
Depending on front width
375/425/525
Adapter plate
WariCorner 2
X = 22,5 mm + door overlap
Z = 106 mm + door overlap
Basket
Door
Scissor hinge
Basket clipsBasket
door strike side
1
a
b
2
3
4
Adapter plate

Other Vauth-Sagel Indoor Furnishing manuals

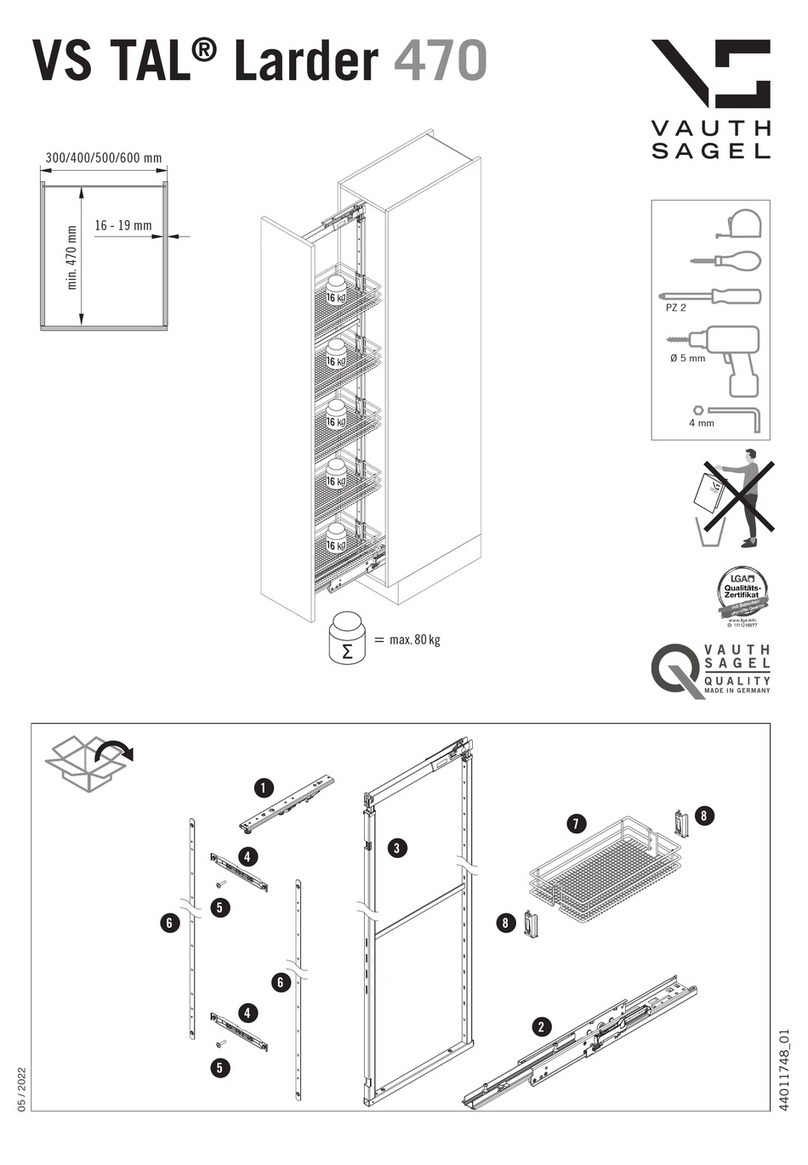
Vauth-Sagel VS TAL 470 User manual

Vauth-Sagel

Vauth-Sagel VS TAL 470 User manual

Vauth-Sagel DUOPORT BRS Series User manual

Vauth-Sagel

Vauth-Sagel DUOPORT BRS Series User manual

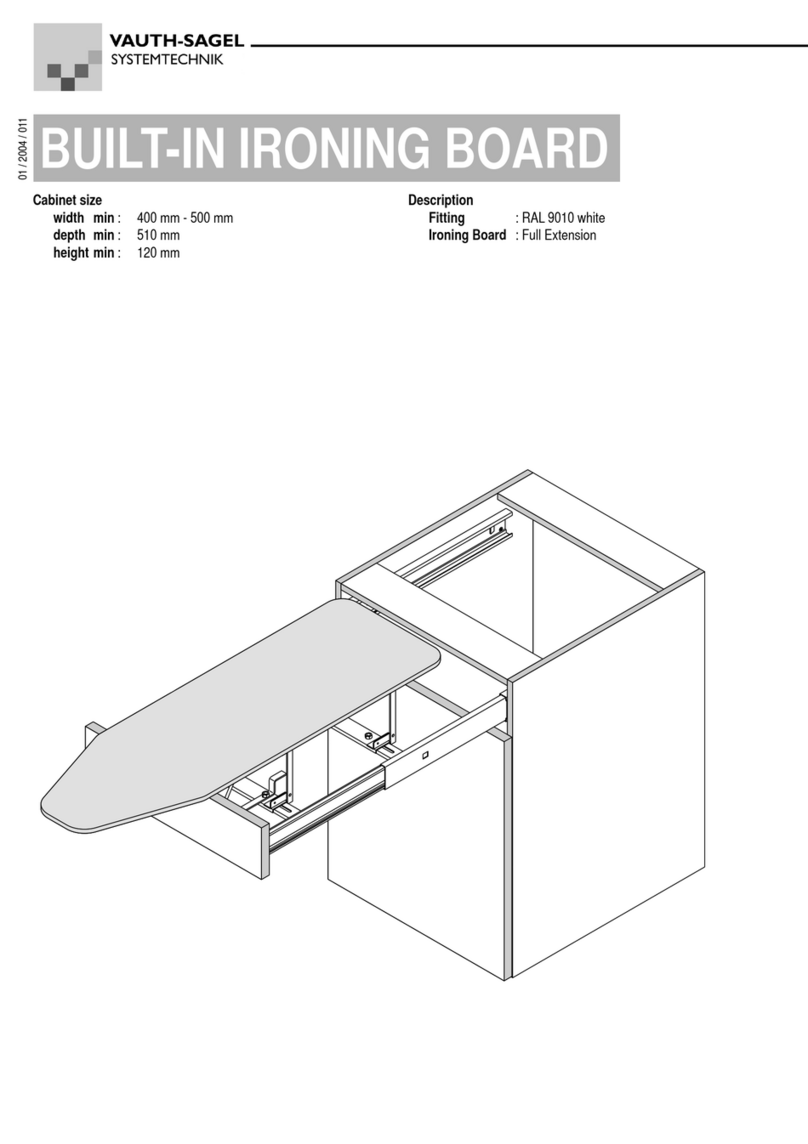
Vauth-Sagel BUILT-IN IRONING BOARD User manual

Vauth-Sagel

Vauth-Sagel BUILT-IN IRONING BOARD User manual

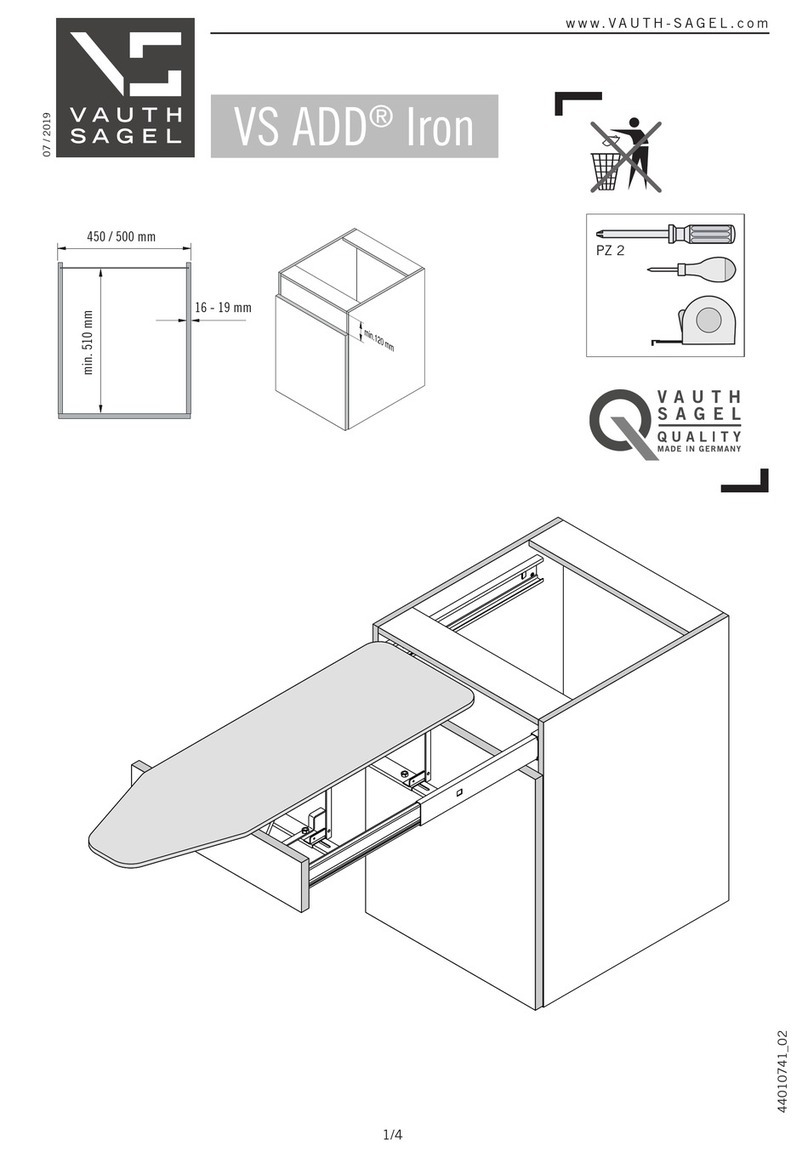
Vauth-Sagel VS ADD Iron User manual

Vauth-Sagel

Vauth-Sagel VS ADD Iron User manual

Vauth-Sagel VS COR Spin 71 User manual

Vauth-Sagel

Vauth-Sagel VS COR Spin 71 User manual

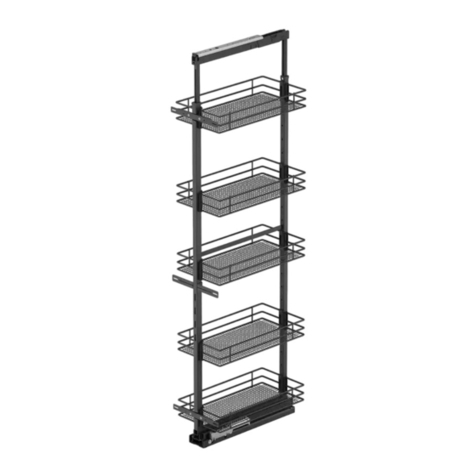
Vauth-Sagel VS TAL Pantry User manual

Vauth-Sagel

Vauth-Sagel VS TAL Pantry User manual

Popular Indoor Furnishing manuals by other brands

Regency LWMS3015 Assembly instructions

Regency

Regency LWMS3015 Assembly instructions

Furniture of America CM7751C Assembly instructions

Furniture of America

Furniture of America CM7751C Assembly instructions

Safavieh Furniture Estella CNS5731 manual

Safavieh Furniture

Safavieh Furniture Estella CNS5731 manual

PLACES OF STYLE Ovalfuss Assembly instruction

PLACES OF STYLE

PLACES OF STYLE Ovalfuss Assembly instruction

Trasman 1138 Bo1 Assembly manual

Trasman

Trasman 1138 Bo1 Assembly manual

Costway JV10856 manual

Costway

Costway JV10856 manual

moss DESIGN Caisson Credenza Assembly instructions

moss DESIGN

moss DESIGN Caisson Credenza Assembly instructions

Aquaglide FULL DECK 15.0 owner's manual

Aquaglide

Aquaglide FULL DECK 15.0 owner's manual

AREBOS AR-HE-SW30 user manual

AREBOS

AREBOS AR-HE-SW30 user manual

Till-Hilft Fulda 87005.330 Assembly instructions

Till-Hilft

Till-Hilft Fulda 87005.330 Assembly instructions

Twoey Outside 2010 quick start guide

Twoey Outside

Twoey Outside 2010 quick start guide

Hettich Easys 200 operating instructions

Hettich

Hettich Easys 200 operating instructions

The bedboss RELAX 404 Series owner's manual

The bedboss

The bedboss RELAX 404 Series owner's manual

Oeseder Möbelindustrie Bern 991 720 Assembly instructions

Oeseder Möbelindustrie

Oeseder Möbelindustrie Bern 991 720 Assembly instructions

Costway HW68469 user manual

Costway

Costway HW68469 user manual

Next ALIX A27743 Assembly instructions

Next

Next ALIX A27743 Assembly instructions

BROSA Hans Assembly guide

BROSA

BROSA Hans Assembly guide

Prodigg MINIKA PBA015T-FUR installation manual

Prodigg

Prodigg MINIKA PBA015T-FUR installation manual

manuals.online logo
manuals.online logoBrands
  • About & Mission
  • Contact us
  • Privacy Policy
  • Terms and Conditions

Copyright 2025 Manuals.Online. All Rights Reserved.