manuals.online logo
Brands
  1. Home
  2. •
  3. Brands
  4. •
  5. VDH
  6. •
  7. Thermostat
  8. •
  9. VDH ALFA 29 User manual

VDH ALFA 29 User manual

1
User Manual
ALFA 29 and
ALFANET 29
Dehumidify/Humidify
Hygrostat
VDH doc: 070703 Version: v1.0 Date: 04-07-2007
Software: 061196_ALFA 19/29/39 File: Do070703.wpd Range: 0/100 %RH per 1 %RH
*Function.
The ALFA(NET) 29 is a digital hygrostat for panel and wall mounting. The function
from the hygrostat can be programmed for dehumidify or humidify.
The ALFANET 29 has a RS 485 network connection so it can be read out and
adjusted on the Alfanet.
* Installation.
On the topside of the ALFA(NET) 29 is shown how the sensor, power supply and
relay have to be connected.
After connecting the ALFA(NET) 29 to the power supply, a self-test function is
started. As this test is finished, the measured relative humidity appears in the
display.
When the relay is activated, the led 'on' will light-up in the display.
*Control.
The ALFA(NET) 29 hygrostat can be controlled by three push buttons on the front.
These keys are:
SET - view / change the setpoint.
UP - increase the setpoint.
DOWN - decrease the setpoint.
2
*Viewing setpoint.
By pushing the SET key the setpoint appears in the display. The led 'set' starts
blinking. A few seconds after releasing the SET key the setpoint disappears and the
measured value is shown again in the display.
*Changing setpoint.
Push the SET key and the setpoint appears in the display. Release the at SET key.
Now push the SET key again and together with the UP or DOWN keys the setpoint
can be changed. A few seconds after releasing the keys the measured value shows
again in the display.
*Setting internal parameters.
Next to the adjustment of the setpoint, some internal settings are possible like
differential, sensor-offset, setpoint range and the function dehumidify or humidify.
By pushing the DOWN key more than 10 seconds, you enter the 'internal
programming menu'. In the left display the upper and lower segment are blinking.
Over the UP and DOWN keys the required parameter can be selected (see table for
the parameters).
If the required parameter is selected, the value can be read-out by pushing the SET
key. Pushing the UP or DOWN keys together with the SET key allows you to change
the value of this parameter.
If after 20 seconds no key is pushed, the ALFA(NET) 29 changes to it's normal
operation mode.
*Parameters ALFA(NET) 29.
Para-
meter Description Parameter Range Standard
Value
01
02
03
04
Switching differential
Minimum setpoint
Maximum setpoint
Offset RH-sensor
1..15 %RH
0..100 %RH
0..100 %RH
-15..+15 %RH
3
0
100
0
10 Startup delay after power failure 0..99 Minutes 0
15
16
17
18
19
20
Function dehumidify or humidify
Switch on delay relays 1)
Switch off delay relays 1)
Parameter 16/17 in sec. or min.
Minimum on-time relays
Minimum off-time relays
0 = Dehumidify
1 = Humidify
0..99
0..99
0 = Seconds
1 = Minutes
0..99 Minutes
0..99 Minutes
0
0
0
0
0
0
90
95
96
97
98
99
Network number
Software version
Production year
Production week
Serial number (x1000)
Serial number (units)
1..250
0..255
00..99
1..52
0..255
0..999
1
-
-
-
-
-
1) During delay time the LED ‘on’ is flashing.
3
*Adjustment sensor.
The sensor can be adjusted by using the Sensor Offset (parameter 04). Indicates
the ALFA(NET) 29 e.g. 2 %RH too much, the Sensor Offset has to de decreased
with 2 %RH.
*Error messages.
In the display of the ALFA(NET) 29 the following error messages can appear:
EE - Settings are lost. Solution:
- Reprogram the settings.
*Technical details.
Model : ALFA 29 Dehum./Hum. Hygrostat
ALFANET 29 Dehum./Hum. Hygrostat with Network
Range : 0/100 %RH, readout per 1 %RH
Supply : 230 Vac 50/60Hz
Relay : SPDT 250V/16A(C-NO), 8A(C-NC) (cos phi=1)
Control : by push buttons on the front.
Communication : RS485-Network (2x twisted pair shielded, min. 0,5mm2)
Front : Polycarbonate
Sensor : RH95-2, LC95-2 or RH970 (3-wire: V+, Signal, 0V)
Dimensions : 144 x 72 x 50mm (hwd)
Panel hole : 139 x 67mm (hw) at panel mounting
- Provided with memory protection during power failure.
- Connection with screw terminals on the back side.
- Special version on request available.
*Function Diagram.
4
*Dimensions. *Connections.
*Adresse.
VDH Products BV Tel: +31 (0)50 - 30 28 900
Produktieweg 1 Fax: +31 (0)50 - 30 28 980
9301 ZS Roden Email: [email protected]
Nederland Internet: www.vdhproducts.nl

This manual suits for next models

1

Other VDH Thermostat manuals

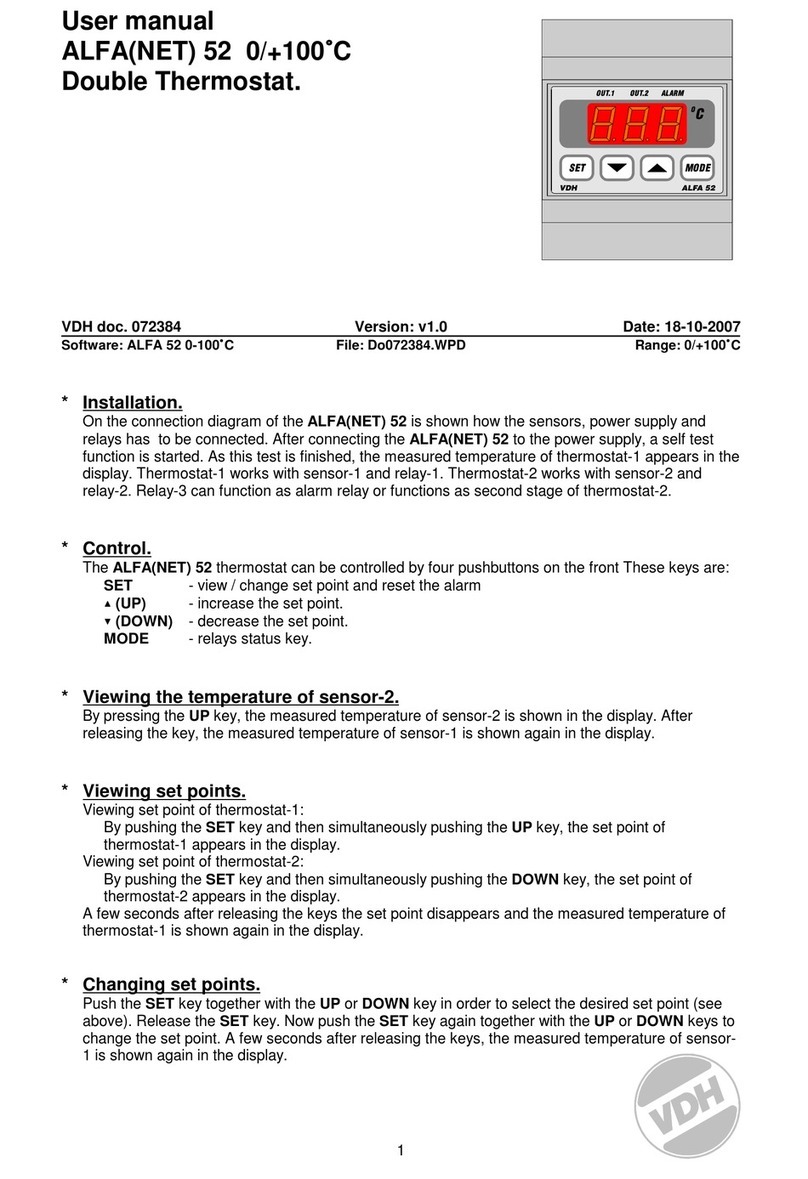
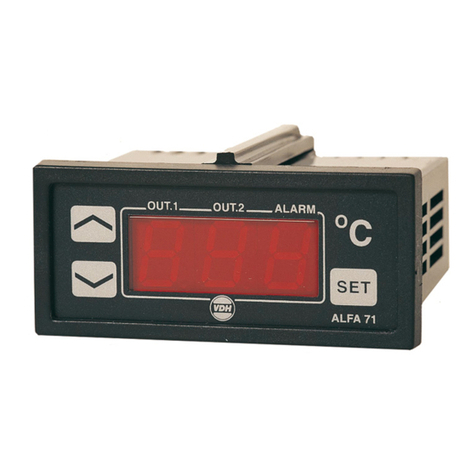
VDH ALFANET 71 User manual

VDH

VDH ALFANET 71 User manual

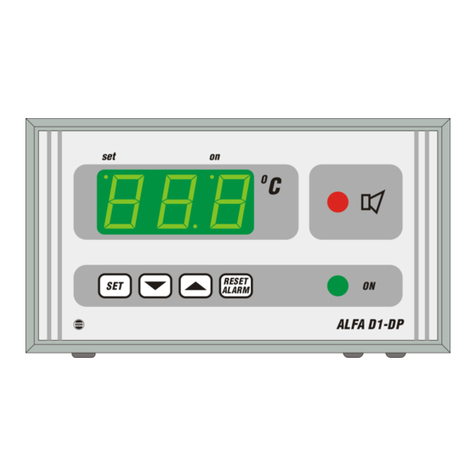
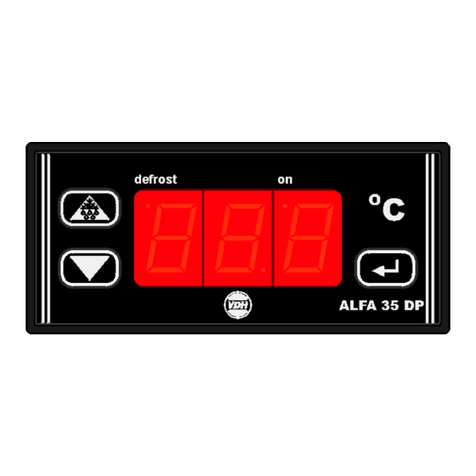
VDH ALFA 35 DP User manual

VDH

VDH ALFA 35 DP User manual

VDH ALFANET 71-2SP User manual

VDH

VDH ALFANET 71-2SP User manual

VDH ALFA 71 MODulation User manual

VDH

VDH ALFA 71 MODulation User manual

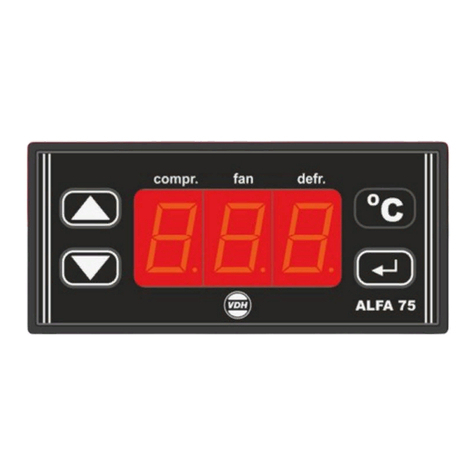
VDH ALFA 75 RTDF User manual

VDH

VDH ALFA 75 RTDF User manual

VDH ALFA 71 User manual

VDH

VDH ALFA 71 User manual

VDH ALFA 25 DP User manual

VDH

VDH ALFA 25 DP User manual

VDH ALFA-45 User manual

VDH

VDH ALFA-45 User manual

VDH ALFA 13 User manual

VDH

VDH ALFA 13 User manual

VDH ALFA 31 DP User manual

VDH

VDH ALFA 31 DP User manual

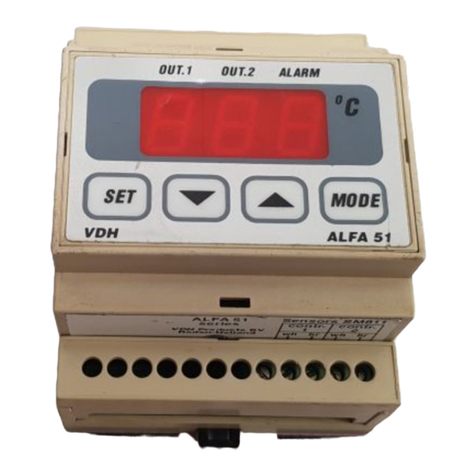
VDH ALFA 51 User manual

VDH

VDH ALFA 51 User manual

VDH ALFA 23 DP User manual

VDH

VDH ALFA 23 DP User manual

VDH ALFA 51 PI User manual

VDH

VDH ALFA 51 PI User manual

VDH ALFA 11 User manual

VDH

VDH ALFA 11 User manual

VDH ALFA(NET) 71 PI User manual

VDH

VDH ALFA(NET) 71 PI User manual

VDH MC 785-DF KLIMA User manual

VDH

VDH MC 785-DF KLIMA User manual

VDH ALFANET 53 User manual

VDH

VDH ALFANET 53 User manual

VDH ALFA 59 User manual

VDH

VDH ALFA 59 User manual

VDH ALFA 71 PI User manual

VDH

VDH ALFA 71 PI User manual

VDH ALFANET 55 RTDF User manual

VDH

VDH ALFANET 55 RTDF User manual

VDH ALFA 51 PI User manual

VDH

VDH ALFA 51 PI User manual

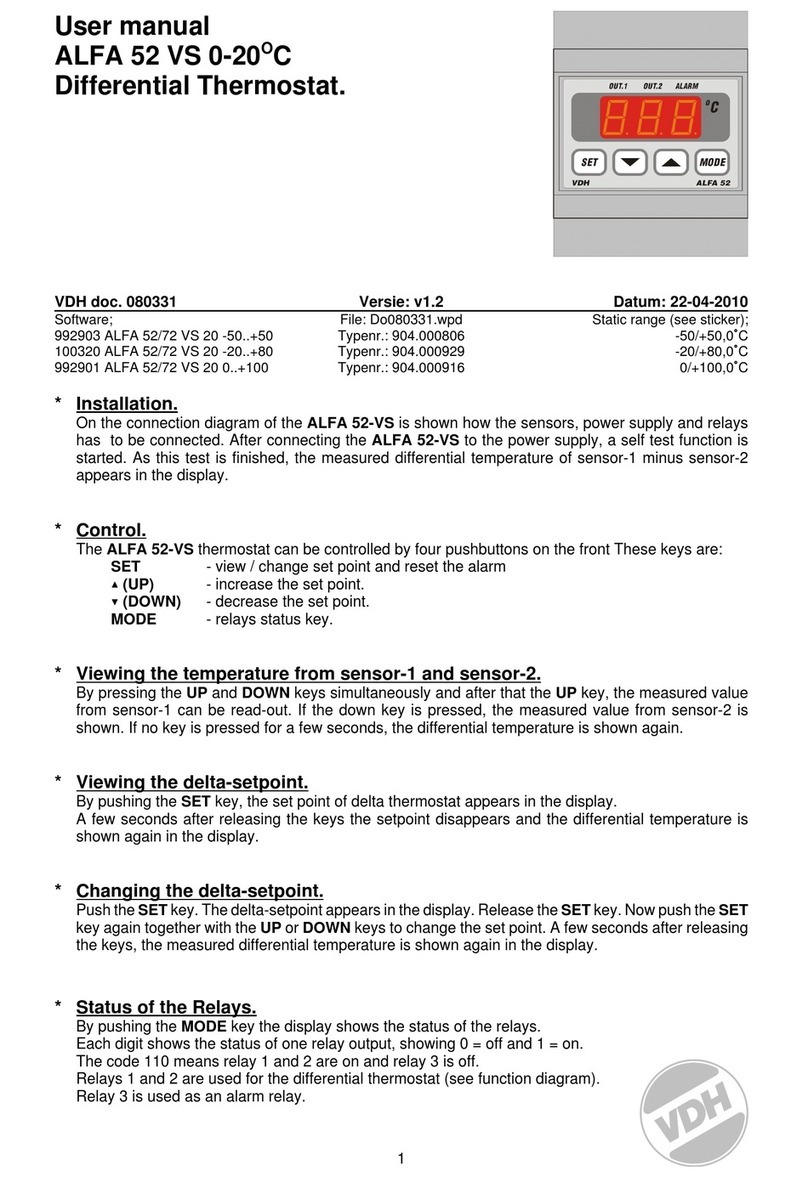
VDH ALFA 52-VS User manual

VDH

VDH ALFA 52-VS User manual

VDH ALFA(NET) 33 User manual

VDH

VDH ALFA(NET) 33 User manual

VDH ALFA 71 S PI User manual

VDH

VDH ALFA 71 S PI User manual

Popular Thermostat manuals by other brands

Stelpro STE302PA user guide

Stelpro

Stelpro STE302PA user guide

Coleman 7330D3351 installation instructions

Coleman

Coleman 7330D3351 installation instructions

Danfoss RT52 Installation instructions user instructions

Danfoss

Danfoss RT52 Installation instructions user instructions

Honeywell PRO 2000 Series user manual

Honeywell

Honeywell PRO 2000 Series user manual

Sunricher SR-ZG9092A quick start guide

Sunricher

Sunricher SR-ZG9092A quick start guide

Building 36 B36-T10 user guide

Building 36

Building 36 B36-T10 user guide

Sygonix 1593775 operating instructions

Sygonix

Sygonix 1593775 operating instructions

Uponor T-27 Installation and operation manual

Uponor

Uponor T-27 Installation and operation manual

Honeywell Chronotherm III user guide

Honeywell

Honeywell Chronotherm III user guide

Aube Technologies TH106 owner's guide

Aube Technologies

Aube Technologies TH106 owner's guide

Cypress Envirosystems WPT Series quick start guide

Cypress Envirosystems

Cypress Envirosystems WPT Series quick start guide

DEVI VUGDB202 user guide

DEVI

DEVI VUGDB202 user guide

Salus 091FLRF quick guide

Salus

Salus 091FLRF quick guide

iPdomo Wi-Fi Thermostat Installation and user guide

iPdomo

iPdomo Wi-Fi Thermostat Installation and user guide

Danfoss RET2000B-RF + RX1-S user guide

Danfoss

Danfoss RET2000B-RF + RX1-S user guide

bluefin THBF715 Master Series installation manual

bluefin

bluefin THBF715 Master Series installation manual

Daikin One+ Installation & commissioning

Daikin

Daikin One+ Installation & commissioning

Siemens RDF310.2/MM operating instructions

Siemens

Siemens RDF310.2/MM operating instructions

manuals.online logo
manuals.online logoBrands
  • About & Mission
  • Contact us
  • Privacy Policy
  • Terms and Conditions

Copyright 2025 Manuals.Online. All Rights Reserved.