manuals.online logo
Brands
  1. Home
  2. •
  3. Brands
  4. •
  5. VDH
  6. •
  7. Thermostat
  8. •
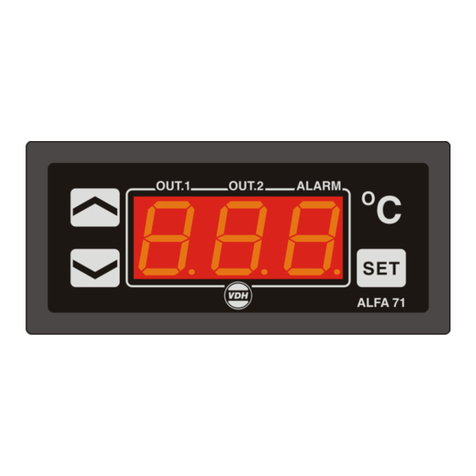
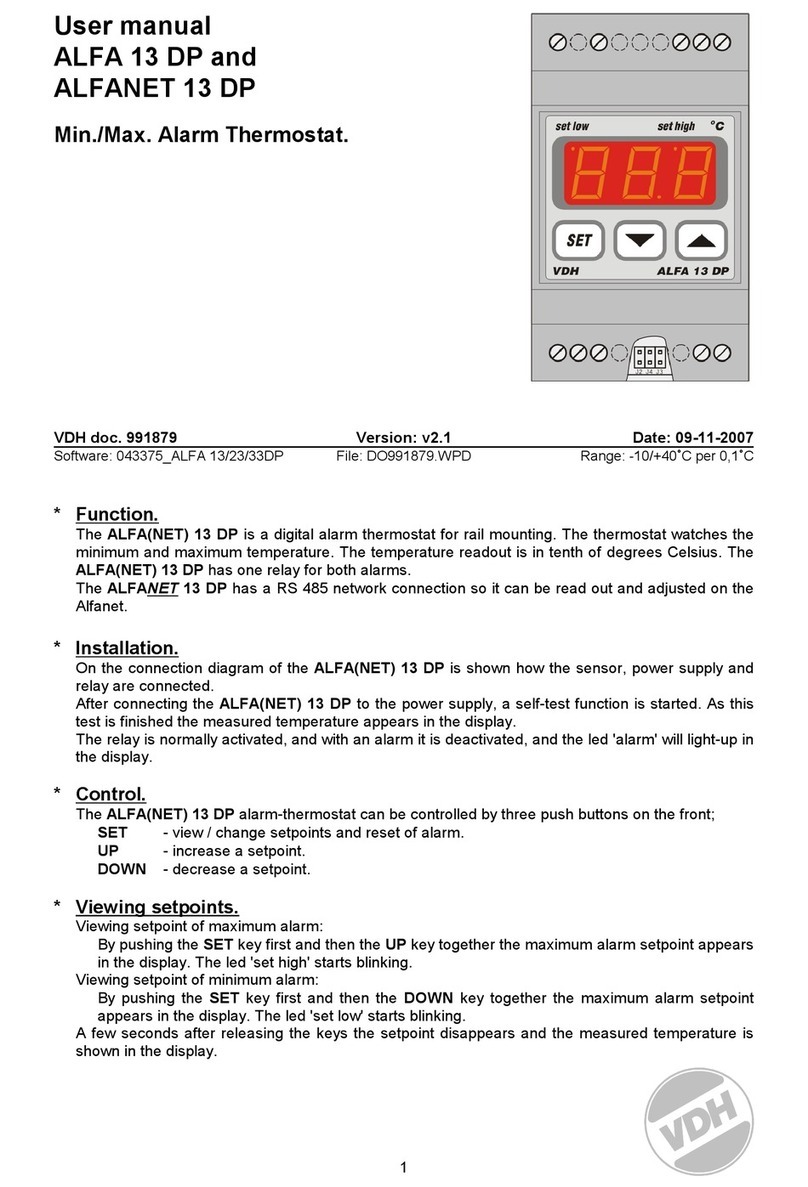
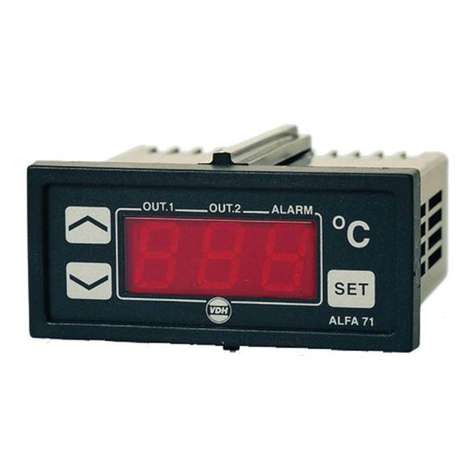
  9. VDH ALFA 71 PI User manual

VDH ALFA 71 PI User manual

User manual
ALFA 71 PI and
ALFANET 71 PI
0/+100OC Thermostat.
VDH doc. 081208 Version: v1.3 Date: 29-01-2015
Software: 020218_ALFA71PI 0/100°C File: Do081208.wpd Range: 0/+100°C
*Installation.
On the top side of the ALFA(NET) 71 PI is shown how the sensors, power supply, relays and 0..10Vdc
PI output has to be connected. After connecting the ALFA(NET) 71 PI to the power supply, a self test
function is started. As this test is finished the measured temperature appears in the display.
And the ALFANET -71 PI is by use of the ALFANET PC-INTERFACE controllable on the PC.
*Control.
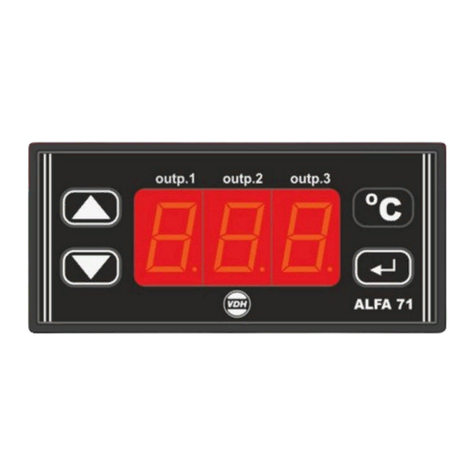
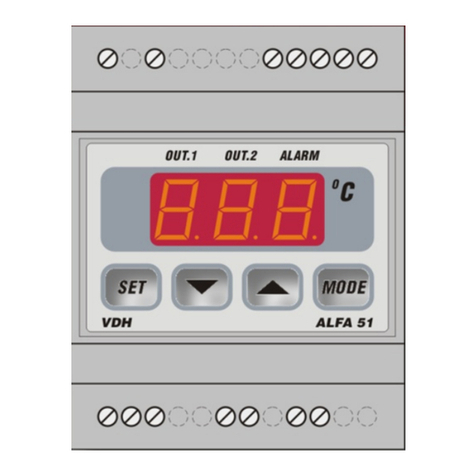
The ALFA(NET) 71 PI thermostat can be controlled by four pushbuttons on the front. These keys are:
SET - view / change the setpoint.
UP - increase the setpoint.
DOWN - decrease the setpoint.
°C - hidden push button above the SET key and behind °C symbol.
*Viewing setpoint.
By pushing the SET key the setpoint appears in the display. The decimal point of the last display starts
blinking. A few seconds after releasing the SET key the setpoint disappears and the measured
temperature is shown again in the display.
*Changing setpoint.
Push the SET key and the setpoint appears in the display. Release the SET key. Now push the SET
key again together with the UP or DOWN keys to change the setpoint. A few seconds after releasing
the keys the measured temperature shows again in the display.
*Status of the Relays.
By pushing the hidden °C key the display shows the status of the relays. Each display segment shows
the status of the relay output, showing 0=off and 1=on. The code 110 means relay 1 and 2 are on and
relay 3 is off.
*Viewing the PI-output percentage.
Push the °C and UP keys simultaneously. Now the PI-output percentage is shown in the display.
*Viewing countdown timer for forced heating.
Push the °C and DOWN keys simultaneously. Now the time in hours is being displayed up to the next
forced heating action. If this time is less than 10 hours it will show the time and minutes to go,
seperated by a decimal dot (representation “h.mm”). At active forced heating the most right decimal
dot is lit.
1
*Adjustment sensors.
The temperature sensor can be adjusted by using the Sensor Offset parameter 05.
Indicates the Sensor e.g. 2°C to much, the Sensor Offset has to be decreased with 2°C.
*Error messages.
In the display of the ALFA(NET) 71 PI the following error messages can appear:
LO - Minimum alarm. Solution E1:
HI - Maximum alarm. - Check if the sensor is connected correctly.
E1 - Sensor-1 failure. - Check sensor (1000Ωat 25°C).
- Replace sensor.
EEE - Settings are lost. Solution EEE:
- Reprogram the settings.
-L- - In case of sensor short-circuit the display alternates between error-code E..
and -L-, as indication for a short-circuit sensor.
-H- - In case of open-circuit sensor the display alternates between error-code E..
and -H-, as indication for a open circuit sensor.
Reset Alarm. When a error-messages appears it can be resetted by pushing the SET key.
The function of this key depends on parameter P37.
* Technical details.
Type : ALFA 71 PI Thermostat or
ALFANET 71 PI Thermostat with network
Range : 0/+100°C display per 0,1°C
Supply : 12Vac/3VA 50/60Hz, -5/+10% or else see product sticker
Display : 3-digit 7-segment display
Relays : Ry1= SPST (NO) 250V/8A (cosφ=1) or 250V/5A (cos φ=0.4)
Ry2= SPST (NO) 250V/8A (cosφ=1) or 250V/5A (cos φ=0.4)
Ry3= SPDT (NO/NC) 250V/8A (cosφ=1) or 250V/5A (cos φ=0.4)
Relays have one common (C)
Control : By push buttons on front
Front : Polycarbonate
Sensor : SM 811 2-wire PTC 1000Ω@25°C
Analog output : 0..10 Vdc PI output Rload = min. 10KOhm
Communication : RS485-Network 2xTwisted-pair shielded cable min. 0,5mm2
only at ALFANET
Dimensions : 35 x 77 x 71,5mm H x W x D
Panel cutout : 28 x 70mm H x W
Accuracy : ± 0,5% of the range
- Provided with memory protection during power failure.
- Connections with screw terminals on the back side.
- Equipped with sensor failure detection.
- Special versions on request available.
2
*Setting internal parameters.
Next to the adjustment of the setpoint, internal settings can be made like differential, sensor-offset,
setpoint range and the functions of the thermostat.
Push the DOWN key more than 10 seconds, to enter the 'Internal Programming Menu'. In the left
display the upper and lower segment are blinking. Over the UP and DOWN keys the required
parameter can be selected (see table for the parameters).
If the required parameter is selected, the value can be read-out by pushing the SET key. Pushing the
UP or DOWN key to change the value of this parameter.
If after 20 seconds no key is pushed, the ALFA(NET) 71 PI changes to the normal operation mode.
*Parameters ALFA(NET) 71 PI
Para-
meter
Description Parameter Range Default
01
02
03
04
Function Relay 1 1=Cool
2=Heat
3=Alarm
Function Relay 2 (same as parm. P01)
Function Relay 3 (same as parm. P01)
Function PI-output 1=Cool
2=Heat
3=Cool and Heat
1..3
1..3
1..3
1..3
1
2
3
1
05
06
07
08
09
Offset temperature sensor-1 (Calibration)
Offset PI
P-band setting
I-time setting
(I-action not active at P08 = 0 or P04 = 3)
Dead band (only at P04 = 3)
-15.0..+15.0°C
-15.0..+15.0°C
0.0..+20.0°C
0..99 Minutes
0.0..20.0°C
0.0
0.0
5.0
0 (=off)
0.0
10
11
12
13
14
15
16
17
18
19
Switch-on stage-2
Switch-on stage-3
Switch-on delay stage-2
Switch-on delay stage-3
Switching differential relay 1
Switching offset relay 1
Switching differential relay 2
Switching offset relay 2
Switching differential relay 3
Switching offset relay 3
0=Temperature, 1=Time
0..99 Minutes
0..99 Minutes
0.1..15.0°C
-15..+15°C
0.1..15.0°C
-15..+15°C
0.1..15.0°C
-15..+15°C
0
0
15
15
0.5
0.0
0.5
0.0
0.5
0.0
20
21
22
23
24
Switch-on delay cooling
Switch-off delay cooling
Parameter 20/21 in Sec. or Min.
Minimum on-time cooling
Minimum off-time cooling
0..99
0..99
0=Seconds, 1=Minutes
0..99 Minutes
0..99 Minutes
0
0
0
0
0
25
26
27
Minimum setpoint
Maximum setpoint
Read-out above -10°C per 1°C
0.0..+100°C
0.0..+100°C
0= No, 1= Yes
0.0
+100
0
3
Para-
meter
Description Parameter Range Default
30
31
32
33
34
35
36
37
Alarm type 0= None
1= Absolute to setpoint
2= Relatief to setpoint
Minimum alarm setpoint
Maximum alarm setpoint
Time delay minimum alarm
Time delay maximum alarm
Function alarm relay 0= Watch alarm
1= Control alarm
Reset alarm relay after recovering alarm
Reset alarm relay after manual reset
0..2
0.0..+100°C
0.0..+100°C
0..99 Minutes
0..99 Minutes
0..1
0= No, 1= Yes
0= No, 1= Yes
1
0.0
+100
0
0
0
0
0
40
41
Start up delay after power failure
Forced relay function at sensor failure
0= None
1= Cool
2= Heat
0..99 Minutes
0..2
0
0
60
61
62
Heat-on delay
Heat-off delay
Parameters 60/61 in sec. or min.
0..99
0..99
0= Seconds, 1= Minutes
0
0
0
73
74
75
76
Delay forced heating
Forced heating time
(If after P73 hours no heating has takes place
by the normal control, the heater is set active
for P74 minute by the forced heating function.
If P74 = 0 there is no forced heater instead.)
PI-output during forced heating
Cool off during forced heating
1..999 Hours
0..999 Minutes
0..100 %
0= No, 1= Yes
24
0 (=off)
0
1
90
95
96
97
98
99
Network number (only at ALFANET)
Software version
Production year
Production week
Serial number (x1000)
Serial number (units)
1..255
-
-
-
-
-
1
-
-
-
-
-
4
* Function diagram.
5
*Dimensions. *Connections.
*Address.
VDH Products BV Tel: +31 (0)50 - 30 28 900
Produktieweg 1 Fax: +31 (0)50 - 30 28 980
9301 ZS Roden Email: info@vdhproducts.nl
The Netherlands Internet: www.vdhproducts.nl
6

This manual suits for next models

3

Other VDH Thermostat manuals

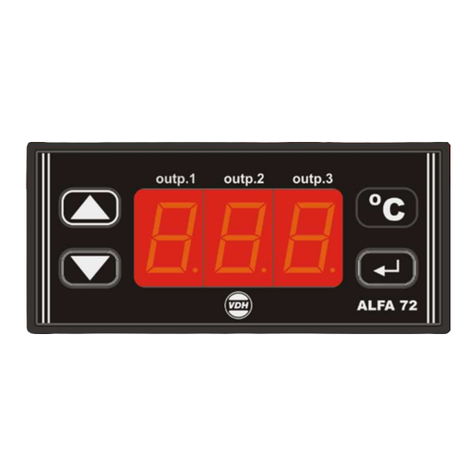
VDH ALFANET 72 User manual

VDH

VDH ALFANET 72 User manual

VDH ALFA(NET) 71 PI User manual

VDH

VDH ALFA(NET) 71 PI User manual

VDH ALFA 71 PI User manual

VDH

VDH ALFA 71 PI User manual

VDH ALFA 21 User manual

VDH

VDH ALFA 21 User manual

VDH ALFA 71 MOD User manual

VDH

VDH ALFA 71 MOD User manual

VDH ALFA 29 User manual

VDH

VDH ALFA 29 User manual

VDH PROBA 5 Compact User manual

VDH

VDH PROBA 5 Compact User manual

VDH ALFA(NET) 33 User manual

VDH

VDH ALFA(NET) 33 User manual

VDH ALFANET 33 User manual

VDH

VDH ALFANET 33 User manual

VDH ALFA 31 DP User manual

VDH

VDH ALFA 31 DP User manual

VDH ALFA 59 User manual

VDH

VDH ALFA 59 User manual

VDH ALFA 72-VS User manual

VDH

VDH ALFA 72-VS User manual

VDH ALFA 71 MODulation User manual

VDH

VDH ALFA 71 MODulation User manual

VDH ALFA 23 User manual

VDH

VDH ALFA 23 User manual

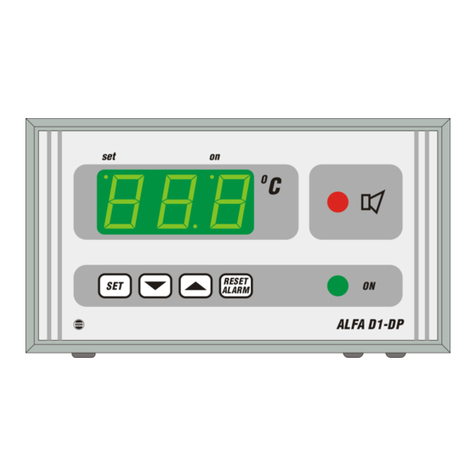
VDH ALFA D1-DP User manual

VDH

VDH ALFA D1-DP User manual

VDH ALFA 35 DP User manual

VDH

VDH ALFA 35 DP User manual

VDH ALFA(NET) 31 User manual

VDH

VDH ALFA(NET) 31 User manual

VDH ALFA 33 DP User manual

VDH

VDH ALFA 33 DP User manual

VDH ALFA 51 PI User manual

VDH

VDH ALFA 51 PI User manual

VDH ALFA 13 DP Pt100 User manual

VDH

VDH ALFA 13 DP Pt100 User manual

VDH ALFANET 95 User manual

VDH

VDH ALFANET 95 User manual

VDH ALFANET 85 User manual

VDH

VDH ALFANET 85 User manual

VDH ALFA 11 User manual

VDH

VDH ALFA 11 User manual

VDH ALFA(NET) 51 User manual

VDH

VDH ALFA(NET) 51 User manual

Popular Thermostat manuals by other brands

Heatit Z-TEMP2 quick guide

Heatit

Heatit Z-TEMP2 quick guide

MS Electronics E810/M2S Product guide

MS Electronics

MS Electronics E810/M2S Product guide

ICM Controls SC900V Installation, operation & application guide

ICM Controls

ICM Controls SC900V Installation, operation & application guide

ESI ESRTP4RF User instructions

ESI

ESI ESRTP4RF User instructions

Dometic CCC 2 user guide

Dometic

Dometic CCC 2 user guide

Drayton Digistat+ 2 22084 installation guide

Drayton

Drayton Digistat+ 2 22084 installation guide

tado° Wireless Smart Thermostat V3+ Manual for Professional Installers

tado°

tado° Wireless Smart Thermostat V3+ Manual for Professional Installers

Full Gauge RT-607Ri plus manual

Full Gauge

Full Gauge RT-607Ri plus manual

Honeywell PRO 2000 Series user manual

Honeywell

Honeywell PRO 2000 Series user manual

ritetemp 6030 install guide

ritetemp

ritetemp 6030 install guide

Honeywell PRO TH4000 series operating manual

Honeywell

Honeywell PRO TH4000 series operating manual

MICROclimate International DL2 user guide

MICROclimate International

MICROclimate International DL2 user guide

Proliphix Professional  NT100e/h Configuration guide

Proliphix

Proliphix Professional NT100e/h Configuration guide

Siemens RAK-TR IP43 installation instructions

Siemens

Siemens RAK-TR IP43 installation instructions

Sygonix 1593775 operating instructions

Sygonix

Sygonix 1593775 operating instructions

ELEKTROBOCK BPT102 manual

ELEKTROBOCK

ELEKTROBOCK BPT102 manual

Honeywell Chronotherm III user guide

Honeywell

Honeywell Chronotherm III user guide

White Rodgers 1F80-261 Installation and operation instructions

White Rodgers

White Rodgers 1F80-261 Installation and operation instructions

manuals.online logo
manuals.online logoBrands
  • About & Mission
  • Contact us
  • Privacy Policy
  • Terms and Conditions

Copyright 2025 Manuals.Online. All Rights Reserved.