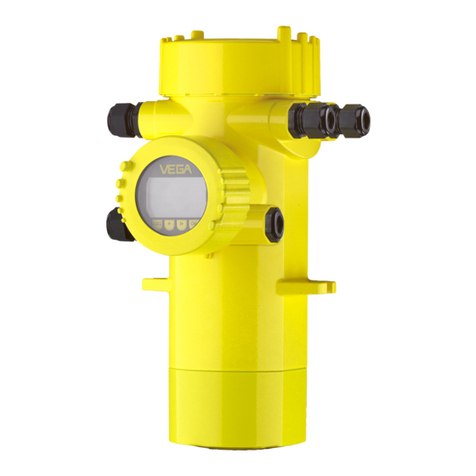
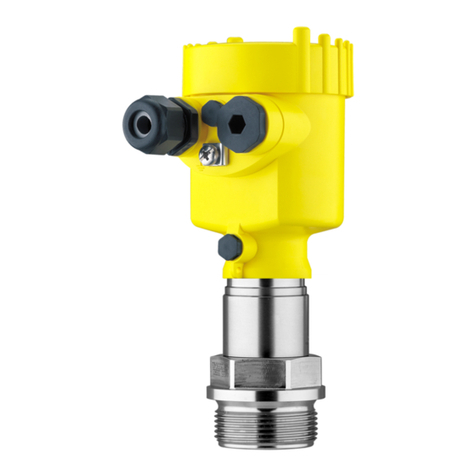
Vega VEGAPULS 61 User manual

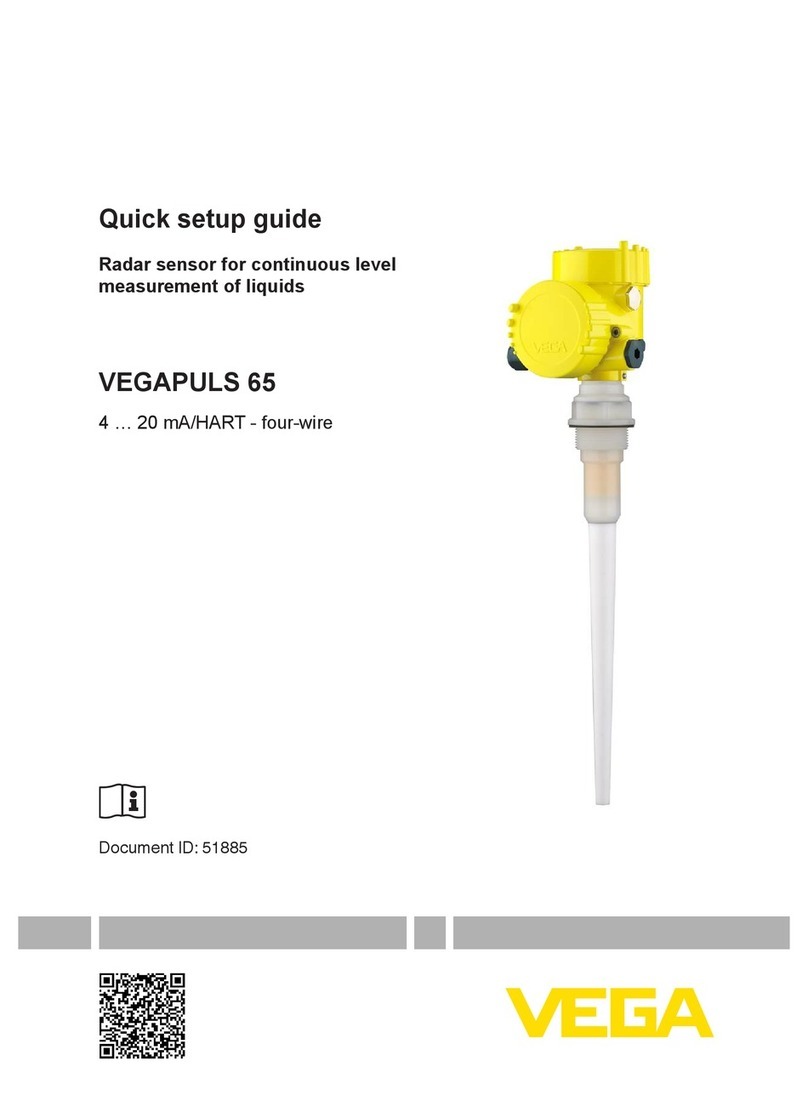
Quick setup guide
Radar sensor for continuous level
measurement of liquids
VEGAPULS 61
4 … 20 mA/HART - four-wire
Document ID: 47100

2
Contents
VEGAPULS 61 • 4 … 20 mA/HART - four-wire
47100-EN-180226
Contents
1 For your safety ......................................................................................................................... 3
1.1 Authorised personnel ....................................................................................................... 3
1.2 Appropriate use................................................................................................................ 3
1.3 Warning about incorrect use............................................................................................. 3
1.4 General safety instructions............................................................................................... 3
1.5 EU conformity................................................................................................................... 4
1.6 NAMUR recommendations .............................................................................................. 4
1.7 Radio license for Europe .................................................................................................. 4
1.8 Radio license for USA ...................................................................................................... 5
1.9 Environmental instructions ............................................................................................... 5
2 Product description ................................................................................................................. 6
2.1 Conguration.................................................................................................................... 6
3 Mounting................................................................................................................................... 8
3.1 Collaroradapterange.................................................................................................... 8
3.2 Mounting preparations, mounting strap............................................................................ 8
3.3 Mounting instructions ....................................................................................................... 9
4 Connecting to power supply................................................................................................. 11
4.1 Connecting..................................................................................................................... 11
4.2 Wiring plan, double chamber housing ............................................................................ 12
5 Set up with the display and adjustment module ................................................................ 14
5.1 Insert display and adjustment module............................................................................ 14
5.2 Parameter adjustment .................................................................................................... 14
5.3 Menu overview ............................................................................................................... 17
6 Supplement ............................................................................................................................ 20
6.1 Technical data ................................................................................................................ 20
Information:
This quick setup guide enables quick setup and commissioning of
your instrument.
Youcanndsupplementaryinformationinthecorresponding,more
detailed Operating Instructions Manual as well as the Safety Manual
thatcomeswithinstrumentswithSILqualication.Thesemanualsare
available in the download area of "www.vega.com".
Operating instructions VEGAPULS 61 - 4 … 20 mA/HART - four-
wire: Document-ID 36500
Editing status of the quick setup guide: 2018-02-16

3
1 For your safety
VEGAPULS 61 • 4 … 20 mA/HART - four-wire
47100-EN-180226
1 For your safety
1.1 Authorised personnel
All operations described in this documentation must be carried out
only by trained specialist personnel authorised by the plant operator.
During work on and with the device the required personal protective
equipment must always be worn.
1.2 Appropriate use
VEGAPULS 61 is a sensor for continuous level measurement.
Youcannddetailedinformationabouttheareaofapplicationin
chapter "Product description".
Operational reliability is ensured only if the instrument is properly
usedaccordingtothespecicationsintheoperatinginstructions
manual as well as possible supplementary instructions.
1.3 Warning about incorrect use
Inappropriate or incorrect use of this product can give rise to applica-
tion-specichazards,e.g.vesseloverllthroughincorrectmounting
or adjustment. Damage to property and persons or environmental
contamination can result. Also, the protective characteristics of the
instrument can be impaired.
1.4 General safety instructions
This is a state-of-the-art instrument complying with all prevailing
regulations and directives. The instrument must only be operated in a
technicallyawlessandreliablecondition.Theoperatorisresponsi-
ble for the trouble-free operation of the instrument.When measuring
aggressive or corrosive media that can cause a dangerous situation
if the instrument malfunctions, the operator has to implement suitable
measures to make sure the instrument is functioning properly.
During the entire duration of use, the user is obliged to determine the
compliance of the necessary occupational safety measures with the
current valid rules and regulations and also take note of new regula-
tions.
The safety instructions in this operating instructions manual, the na-
tional installation standards as well as the valid safety regulations and
accident prevention rules must be observed by the user.
For safety and warranty reasons, any invasive work on the device
beyond that described in the operating instructions manual may be
carried out only by personnel authorised by the manufacturer. Arbi-
traryconversionsormodicationsareexplicitlyforbidden.Forsafety
reasons,onlytheaccessoryspeciedbythemanufacturermustbe
used.
To avoid any danger, the safety approval markings and safety tips on
the device must also be observed and their meaning looked up in this
operating instructions manual.
4
1 For your safety
VEGAPULS 61 • 4 … 20 mA/HART - four-wire
47100-EN-180226
Depending on the instrument version, the emitting frequencies are in
the C, K or W band range.The low emission power is far below the
internationally approved limit values. When used correctly, the device
poses no danger to health.
1.5 EU conformity
ThedevicefullsthelegalrequirementsoftheapplicableEUdirec-
tives.ByaxingtheCEmarking,weconrmtheconformityofthe
instrument with these directives.
YoucanndtheEUconformitydeclarationonourwebsiteunder
www.vega.com/downloads.
Electromagnetic compatibility
Instrumentsinfour-wireorEx-d-iaversionaredesignedforuseinan
industrial environment. Nevertheless, electromagnetic interference
from electrical conductors and radiated emissions must be taken into
account, as is usual with class A instruments according to EN 61326-
1.Iftheinstrumentisusedinadierentenvironment,theelectromag-
netic compatibility to other instruments must be ensured by suitable
measures.
1.6 NAMUR recommendations
NAMUR is the automation technology user association in the process
industry in Germany.The published NAMUR recommendations are
acceptedasthestandardineldinstrumentation.
ThedevicefullstherequirementsofthefollowingNAMURrecom-
mendations:
• NE 21 – Electromagnetic compatibility of equipment
• NE 43 – Signal level for fault information from measuring transduc-
ers
• NE53–Compatibilityofelddevicesanddisplay/adjustment
components
• NE107-Self-monitoringanddiagnosisofelddevices
For further information see www.namur.de.
1.7 Radio license for Europe
The instrument was tested according to the latest issue of the follow-
ingharmonizedstandards:
• EN 302372 - Tank Level Probing Radar
It is hence approved for use inside closed vessels in countries of the
EU.
Use is also approved in EFTA countries, provided the respective
standards have been implemented.
Foroperationinsideofclosedvessels,pointsatofinannexEof
EN302372mustbefullled.

5
1 For your safety
VEGAPULS 61 • 4 … 20 mA/HART - four-wire
47100-EN-180226
1.8 Radio license for USA
ThisapprovalisonlyvalidforUSA.Hencethefollowingtextisonly
available in the English language.
This device complies with Part 15 of the FCC Rules. Operation is
subject to the following two conditions:
• This device may not cause interference, and
• This device must accept any interference, including interference
that may cause undesired operation of the device
This device is approved for unrestricted use only inside closed, sta-
tionaryvesselsmadeofmetal,reinforcedberglassorconcrete.
Changesormodicationsnotexpresslyapprovedbythemanufac-
turer could void the user’s authority to operate this equipment.
1.9 Environmental instructions
Protection of the environment is one of our most important duties.
That is why we have introduced an environment management system
with the goal of continuously improving company environmental pro-
tection.Theenvironmentmanagementsystemiscertiedaccording
to DIN EN ISO 14001.
Pleasehelpusfullthisobligationbyobservingtheenvironmental
instructions in this manual:
• Chapter "Packaging, transport and storage"
• Chapter "Disposal"

6
2 Product description
VEGAPULS 61 • 4 … 20 mA/HART - four-wire
47100-EN-180226
2 Product description
2.1 Conguration
Thetypelabelcontainsthemostimportantdataforidenticationand
use of the instrument:
2
1
15
13
14
12
11
5
3
6
4
7
8
10
9
Fig. 1: Layout of the type label (example)
1 Instrument type
2 Product code
3 Approvals
4 Power supply and signal output, electronics
5 Protection rating
6 Measuring range
7 Process and ambient temperature, process pressure
8 Material wetted parts
9 Hardware and software version
10 Order number
11 Serial number of the instrument
12 Data matrix code for VEGA Tools app
13 Symbol of the device protection class
14 ID numbers, instrument documentation
15 Reminder to observe the instrument documentation
The type label contains the serial number of the instrument. With it
youcanndthefollowinginstrumentdataonourhomepage:
• Product code (HTML)
• Delivery date (HTML)
• Order-specicinstrumentfeatures(HTML)
• Operating instructions and quick setup guide at the time of ship-
ment (PDF)
• Order-specicsensordataforanelectronicsexchange(XML)
• Testcerticate(PDF)-optional
Go to "www.vega.com", "Instrument search (serial number)". Enter
the serial number.
Alternatively, you can access the data via your smartphone:
• Download the VEGA Tools app from the "Apple App Store" or the
"Google Play Store"
• ScantheDataMatrixcodeonthetypelabeloftheinstrumentor
• Enter the serial number manually in the app
Type label
Serial number - Instru-
ment search

7
2 Product description
VEGAPULS 61 • 4 … 20 mA/HART - four-wire
47100-EN-180226
This operating instructions manual applies to the following instrument
versions:
• Hardware from 2.1.0
• Software from 4.5.1
Scope of this operating
instructions manual

8
3 Mounting
VEGAPULS 61 • 4 … 20 mA/HART - four-wire
47100-EN-180226
3 Mounting
3.1 Collaroradapterange
Formountingtheinstrumentonasocket,acombicompressionange
forDN80(ASME3"orJIS80)isalsoavailableforretrotting.Option-
ally,theinstrumentcanbealsoequippedwithanadapterangefrom
DN 100 (ASME 4" or JIS 100).
With the housing versions plastic, aluminium single chamber and
stainlesssteel,thecollarangecanbeplaceddirectlyoverthehous-
ing. With the aluminium double chamber housing, retroactive mount-
inginthiswayisnotpossible-themountingtypemustbespecied
with the order.
Youcannddrawingsofthesemountingoptionsinchapter"Dimen-
sions".
Fig. 2: Flange mounting of the radar sensor
3.2 Mounting preparations, mounting strap
The mounting strap enables simple mounting on the vessel wall or
silo top. It is suitable for wall, ceiling or boom mounting. Especially in
openvesselsthisisaveryeasyandeectivewaytoalignthesensor
to the bulk solid surface.
The strap is supplied unassembled and must be screwed to the
sensorbeforesetupwiththreehexagonsocketscrewsM5x10and
springwashers.Max.torque,seechapter"Technical data". Required
tools:Allenwrenchsize4.
There are two ways to screw the strap onto the sensor. Depending
on the selected version, the sensors can be swivelled in the strap as
follows:
• Single chamber housing

9
3 Mounting
VEGAPULS 61 • 4 … 20 mA/HART - four-wire
47100-EN-180226
– Angleofinclination180°,innitelyvariable
– Angle of inclination in three steps 0°, 90° and 180°
• Double chamber housing
– Angleofinclination90°,innitelyvariable
– Angle of inclination in two steps 0° and 90°
Fig. 3: Adjustment of the angle of inclination
Fig. 4: Turning by fastening in the centre
3.3 Mounting instructions
1. Distance from the vessel wall > 200 mm, the antenna should
protrude > 10 mm into the vessel
> 200 mm
(7.87
")
ca. 10 mm
Fig. 5: Distance of the antenna to the vessel wall/vessel ceiling
Mounting

10
3 Mounting
VEGAPULS 61 • 4 … 20 mA/HART - four-wire
47100-EN-180226
2. Note min. socket diameter depending on the socket length
For further information see chapter "Mounting".

11
4 Connecting to power supply
VEGAPULS 61 • 4 … 20 mA/HART - four-wire
47100-EN-180226
4 Connecting to power supply
4.1 Connecting
The voltage supply and signal output are connected via the spring-
loaded terminals in the housing.
Connection to the display and adjustment module or to the interface
adapter is carried out via contact pins in the housing.
Information:
The terminal block is pluggable and can be removed from the
electronics. To do this, lift the terminal block with a small screwdriver
and pull it out. When reinserting the terminal block, you should hear it
snap in.
Proceed as follows:
1. Unscrew the housing lid
2. Loosen compression nut of the cable gland and remove blind
plug
3. Removeapprox.10cm(4in)ofthecablemantle(signaloutput),
stripapprox.1cm(0.4in)insulationfromtheendsoftheindi-
vidual wires
4. Insert the cable into the sensor through the cable entry
Fig. 6: Connection steps 5 and 6
5. Insert the wire ends into the terminals according to the wiring plan
Information:
Solidcoresaswellasexiblecoreswithwireendsleevesareinsert-
eddirectlyintotheterminalopenings.Incaseofexiblecoreswithout
end sleeves, press the terminal from above with a small screwdriver,
the terminal opening is then free. When the screwdriver is released,
the terminal closes again.
Connection technology
Connection procedure

12
4 Connecting to power supply
VEGAPULS 61 • 4 … 20 mA/HART - four-wire
47100-EN-180226
6. Check the hold of the wires in the terminals by lightly pulling on
them
7. Connect the screen to the internal ground terminal, connect the
outer ground terminal to potential equalisation in case of power
supply via low voltage
8. Connect the lead cable for power supply in the same way accord-
ing to the wiring plan, in addition connect the ground conductor to
the inner ground terminal when powered with mains voltage.
9. Tighten the compression nut of the cable glands.The seal ring
must completely encircle the cables
10. Screw the housing lid back on
Theelectricalconnectionisnished.
Information:
The terminal blocks are pluggable and can be removed from the
housing insert. To do this, lift the terminal block with a small screwdriv-
er and pull it out. When inserting the terminal block again, you should
hear it snap in.
4.2 Wiring plan, double chamber housing
Thefollowingillustrationsapplytothenon-ExaswellastotheEx-d-ia
version.
power supply
4...20mA
active
passive
common
IS GND
5
1
/L
/N
PE
2
+
( ) (-)
67 8
Fig. 7: Connection compartment with double chamber housing with mains
voltage
Terminal Function Polarity
1 Voltage supply +/L
2 Voltage supply -/N
54 … 20 mA output (active) +
64 … 20 mA output (passive) +
7 Mass - output -
8 Function ground when in-
stalling according to CSA
(Canadian Standards Asso-
ciation)
Connection compartment
with mains voltage

13
4 Connecting to power supply
VEGAPULS 61 • 4 … 20 mA/HART - four-wire
47100-EN-180226
power supply
4...20mA
active
passive
common
IS GND
5
1
/L
/N
2
+
( ) (-)
67 8
Fig. 8: Connection compartment with double chamber housing with low voltage
Terminal Function Polarity
1 Voltage supply +/L
2 Voltage supply -/N
54 … 20 mA output (active) +
64 … 20 mA output (passive) +
7 Mass - output -
8 Function ground when in-
stalling according to CSA
(Canadian Standards Asso-
ciation)
Connection compartment
with low voltage

14
5 Set up with the display and adjustment module
VEGAPULS 61 • 4 … 20 mA/HART - four-wire
47100-EN-180226
5 Set up with the display and adjustment
module
5.1 Insert display and adjustment module
The display and adjustment module can be inserted into the sensor
andremovedagainatanytime.Youcanchooseanyoneoffourdier-
ent positions - each displaced by 90°. It is not necessary to interrupt
the power supply.
Proceed as follows:
1. Unscrew the housing lid
2. Place the display and adjustment module on the electronics in the
desired position and turn it to the right until it snaps in.
3. Screw housing lid with inspection window tightly back on
Disassembly is carried out in reverse order.
The display and adjustment module is powered by the sensor, an ad-
ditional connection is not necessary.
Fig. 9: Installing the display and adjustment module in the double chamber
housing
Note:
Ifyouintendtoretrottheinstrumentwithadisplayandadjustment
module for continuous measured value indication, a higher lid with an
inspection glass is required.
5.2 Parameter adjustment
1. Go to the menu "Setup" via the display and adjustment module.
2. In the menu item "Medium"you select the medium of your applica-
tion,forexample"Aqueous solution".
Set parameters

15
5 Set up with the display and adjustment module
VEGAPULS 61 • 4 … 20 mA/HART - four-wire
47100-EN-180226
3. Select in the menu item "Application" the vessel, the application
andthevesselform,forexample,storagetank.
4. Carry out the adjustment in the menu items "Min. adjustment" and
"Max. adjustment".
The radar sensor measures the distance from the sensor to the
product surface. For indication of the real level, an allocation of the
measured distance to the percentage height must be carried out.
100%
0%
0,5 m
(19.68
")
5 m
(196.9
")
2
1
3
Fig. 10: Parameterisation example, Min./max. adjustment
1 Min. level = max. measuring distance
2 Max. level = min. measuring distance
For this adjustment, the distance is entered when the vessel is full
and nearly empty. If these values are not known, an adjustment with
otherdistances,forexample,10%and90%isalsopossible.Starting
pointforthesedistancespecicationsisalwaysthesealsurfaceof
thethreadorange.
The function "Echo curve memory" makes it possible to save the
echo curve at the time of setup. This is generally recommended, and
Parameterization example
Diagnostics - Echo curve
memory

16
5 Set up with the display and adjustment module
VEGAPULS 61 • 4 … 20 mA/HART - four-wire
47100-EN-180226
it is absolutely necessary if you want to use the Asset Management
functions. If possible, the curve should be saved with a low level in the
vessel.
With the adjustment software PACTware and a PC, a high resolution
echocurvecanbedisplayedandusedtorecognizesignalchanges
during operation. In addition, the echo curve of setup can be dis-
played in the echo curve window and compared with the current echo
curve.
Thefollowingcircumstancescauseinterferingreectionsandcan
inuencethemeasurement:
• High mounting sockets
• Vessel internals such as struts
• Agitators
• Buildup or welded joints on vessel walls
Note:
A false signal suppression detects, marks and saves these false
signals to ensure that they are ignored in the level measurement.
This should be done with the lowest possible level so that all potential
interferingreectionscanbedetected.
Proceed as follows:
1. Select with [->] the menu item "False signal suppression" and
conrmwith[OK].
2. Conrm3-timeswith[OK] and enter the actual distance from the
sensor to the product surface.
3. All interfering signals in this range are detected by the sensor and
storedafterbeingconrmedwith[OK].
Note:
Check the distance to the product surface, because if an incorrect
(toolarge)valueisentered,theexistinglevelwillbesavedasafalse
signal.The level would then no longer be detectable in this area.
Additional settings - False
signal suppression

17
5 Set up with the display and adjustment module
VEGAPULS 61 • 4 … 20 mA/HART - four-wire
47100-EN-180226
If a false signal suppression has already been saved in the sensor,
the following menu window appears when selecting "False signal
suppression":
Delete: An already created false signal suppression will be com-
pletely deleted. This is useful if the saved false signal suppression no
longer matches the metrological conditions in the vessel.
Extend:isusedtoextendanalreadycreatedfalsesignalsuppres-
sion.This is useful if a false signal suppression was carried out with
too high a level and not all false signals could be detected. When
selecting "Extend", the distance to the product surface of the created
false signal suppression is displayed. This value can now be changed
andthefalsesignalsuppressioncanbeextendedtothisrange.
5.3 Menu overview
Menu item Parameter Default setting
Measurement
loop name
Sensor
Application Application level
Units Unit of measure-
ment
mbar (with nominal measuring range
≤400mbar)
bar (with nominal measuring ranges
≥1bar)
Temperature unit °C
Position correc-
tion
0.00 bar
Adjustment Zero/Min. adjust-
ment
0.00 bar
0.00%
Span/Max.adjust-
ment
Nominal measuring range in bar
100.00%
Damping Integration time 1.0 s
Linearization Characteristics Linear
Current output Current output -
Mode
Output characteristics
4 … 20 mA
Reaction when malfunctions occur
≤3.6mA
Current output -
Min./Max.
3.8 mA
20.5 mA
Lock adjustment Released
Setup

18
5 Set up with the display and adjustment module
VEGAPULS 61 • 4 … 20 mA/HART - four-wire
47100-EN-180226
Menu item Default setting
Menu language Order-specic
Displayed value 1 Currentoutputin%
Displayed value 2 Ceramic measuring cell: Measuring cell tempera-
ture in °C
Metallic measuring cell: Electronics temperature
in °C
Display format 1 and 2 Number of positions after the decimal point, auto-
matically
Backlight Switched on
Menu item Parameter Default setting
Sensor status -
Peak value Pressure Actual measured value
Temperature Actual temperature values from meas-
uring cell, electronics
Simulation Pressure
Menu item Parameter Default setting
PIN 0000
Date/Time Actual date/Actual time
Reset -
Copy in-
strument
settings
-
Special pa-
rameters
-
Scaling Scalingsize Volume in l
Scaling format 0%correspondsto0l
100%correspondsto0l
Current out-
put 1
Current output - Meas. vari-
able
Lin. percent - Level
Current output - Adjustment 0…100%correspondto
4 … 20 mA
Current out-
put 2
Current output - Meas. vari-
able
Measuring cell temperature
(ceramic measuring cell)
Current output - Adjustment 0 … 100 °C correspond to
4 … 20 mA
Menu item Parameter
Device name Device name
Display
Diagnostics
Additional adjustments
Info

19
5 Set up with the display and adjustment module
VEGAPULS 61 • 4 … 20 mA/HART - four-wire
47100-EN-180226
Menu item Parameter
Instrument version Hardware and software version
Factory calibration
date
Date
Sensor characteristics Order-speciccharacteristics

20
6 Supplement
VEGAPULS 61 • 4 … 20 mA/HART - four-wire
47100-EN-180226
6 Supplement
6.1 Technical data
Note for approved instruments
The technical data in the respective safety instructions are valid for approved instruments (e.g. with
Exapproval).Thesedatacandierfromthedatalistedherein,forexampleregardingtheprocess
conditions or the voltage supply.
Electromechanical data - version IP 66/IP 67
Cable gland M20x1.5or½NPT
Wire cross-section (spring-loaded terminals)
ƲMassive wire, stranded wire 0.2 … 2.5 mm² (AWG 24 … 14)
ƲStranded wire with end sleeve 0.2 … 1.5 mm² (AWG 24 … 16)
Voltage supply
Operating voltage
ƲVersion for low voltage 9.6…48VDC,20…42VAC,50/60Hz
ƲVersion for mains voltage 90…253VAC,50/60Hz
Reverse voltage protection Integrated
Max.powerconsumption 4 VA; 2.1 W
Other manuals for VEGAPULS 61
16
This manual suits for next models
3
Table of contents
Other Vega Accessories manuals

Vega
Vega VEGACAL 66 User manual

Vega
Vega VEGABAR 38 User manual

Vega
Vega VEGABAR 39 User manual

Vega
Vega VEGAPULS 62 User manual

Vega
Vega VEGAPULS 66 User manual

Vega
Vega VEGABAR 29 User manual

Vega
Vega VEGAFLEX 67 User manual

Vega
Vega VEGAPULS 66 User manual

Vega
Vega VEGAFLEX 65 User manual

Vega
Vega VEGAPULS 62 User manual

Vega
Vega VEGAPULS 21 User manual

Vega
Vega VEGAFLEX 65 User manual

Vega
Vega VEGAPULS 61 User manual

Vega
Vega VEGACAP 63 User manual

Vega
Vega vegaflex 83 User manual

Vega
Vega VEGAPULS 65 User manual

Vega
Vega VEGAFLEX 82 User manual

Vega
Vega VEGAPULS 67 User manual

Vega
Vega VEGAKON 61 User manual

Vega
Vega VEGAPULS 68 User manual