manuals.online logo
Brands
  1. Home
  2. •
  3. Brands
  4. •
  5. Venjakob
  6. •
  7. Indoor Furnishing
  8. •
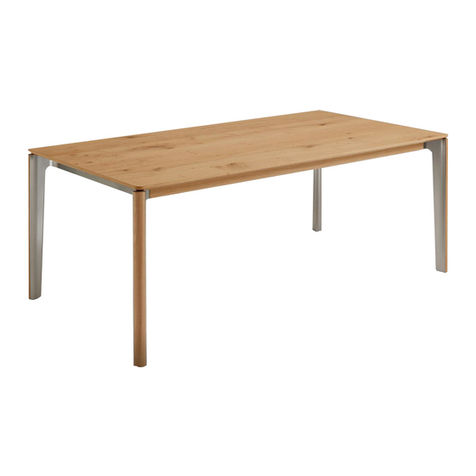
  9. Venjakob Q736 User manual

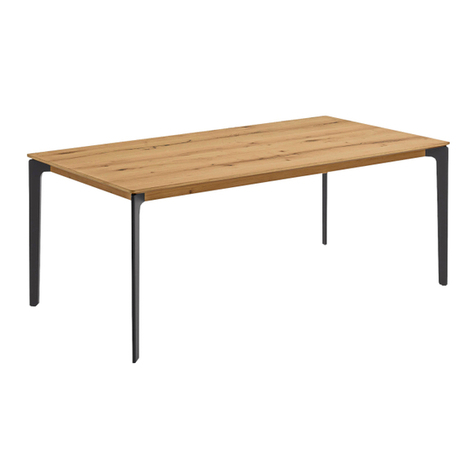
Venjakob Q736 User manual

Aufbauanleitung / assembly
instructions mod.
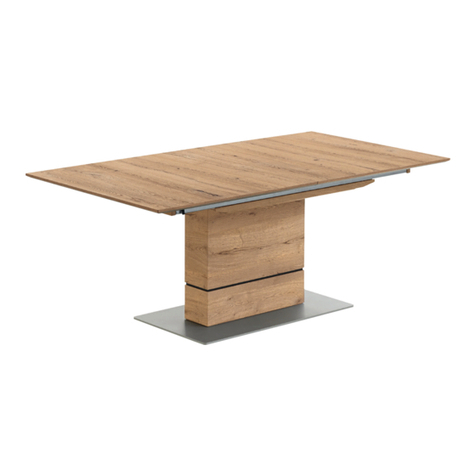
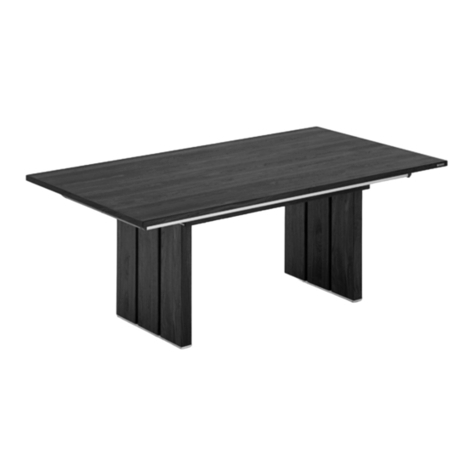
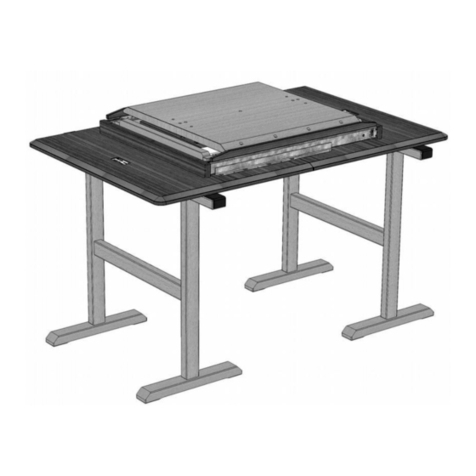
Q736 - Q739 mit Frontauszug / with front extension
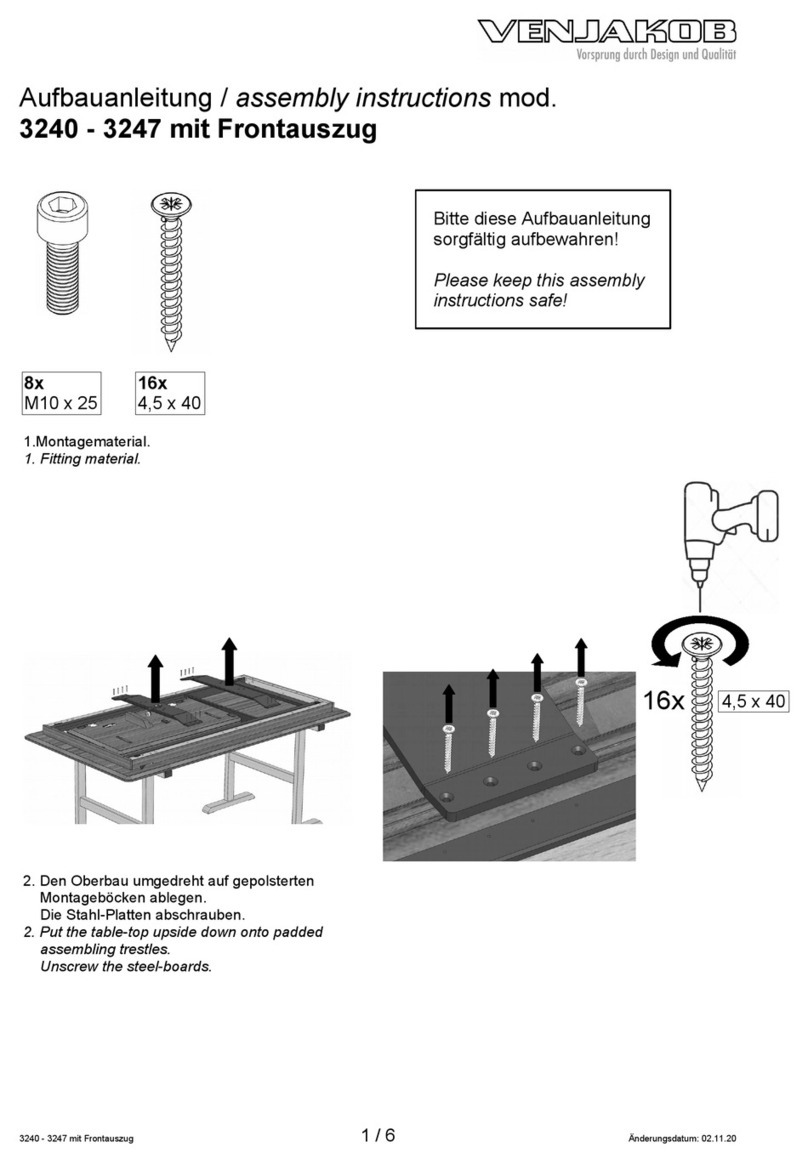
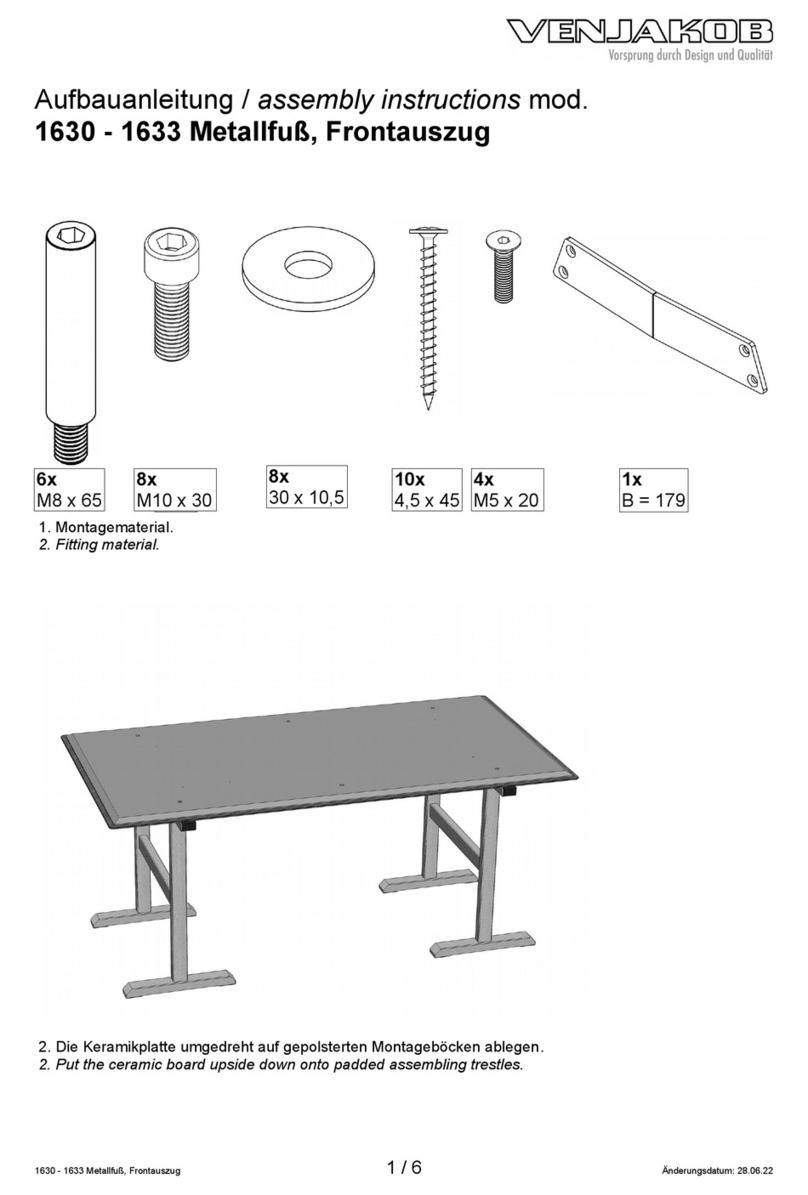
1.Montagematerial.
1. Fitting material.
3. Fußmontage.
3. Assembling of the table feet.
Q736 - Q739 mit Frontauszug 1 / 8 nderungsdatum: 28.09.20
4x
M8 x 25
SW6
4x
M10 x 653
4x
30 x 10,5
4x
M10
4x SW17
4x
M8 x 65
1.
2.
3.
4x M10
4x
30 x 10,5
4x
M10 x 653
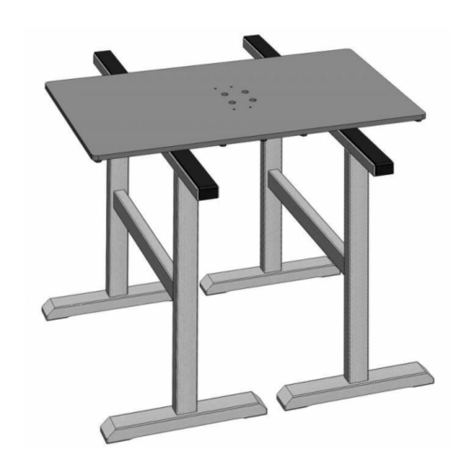
2. Den Oberbau umgedreht auf gepolsterten Montageböcken ablegen.
2. Put the table top upside down onto padded assembling trestles.
3. Auf der Festseite die beiden Tischbeine mit je 2 Schrauben (M8 x 65) fixieren.
3. Fix two table legs with each 2 screws (M x 65) at the fixed side.
Q736 - Q739 mit Frontauszug 2 / 8 nderungsdatum: 28.09.20
M8 x 65
SW6
4. Vor dem Ausziehen auf beiden Seiten die
schwarzen Bremshebel lösen.
4. Before the extension can be pulled out, the two
black levers must be released.
5. Den Auszug etwa 20 cm ausziehen.
5. Pull the extension approximately 20 cm.
6. Auf der Auszugsseite die beiden Tischbeine mit je 2 Schrauben (M8 x 25) fixieren.
6. Fix two table legs with each 2 screws (M8 x 25) at the extension side.
Q736 - Q739 mit Frontauszug 3 / 8 nderungsdatum: 28.09.20
M8 x 25
SW6
7. Den Tisch wenden, ohne die Füße zu belasten und dann gleichzeitig alle 4 Tischbeine auf dem Boden
absetzen.
7. Turn the table right-side-up without using the feet. Then put the table down on all 4 feet at once.
Q736 - Q739 mit Frontauszug 4 / 8 nderungsdatum: 28.09.20
Klappeinlage in der Mitte einstellen /
adjust the extension in the middle
8. Prüfen ob die Oberkanten des Auszugs und
der Hauptplatte innen auf einer Höhe sind.
Nur wenn nicht …
. Check in the middle if the upper surfaces of the
board and the extension are on one level.
Only if not ...
9. … die Inbusschraube (SW5) lösen. Nun durch
Drehen der Inbusschraube (SW2,5) die Höhe
der Drehstange einstellen. Anschließend die
Inbusschraube der Drehstange wieder
festziehen.
9. … loosen the socket screw (SW5). Adjust the
extenson-rod by turning the inner socket
screw. Then tighten the socket screw of the
extenson-rod again.
10. Wenn nötig, auch die gegenüberliegende La-
gerung der Drehstange justieren. Dazu ggf.
die Hülse nach hinten ziehen und dann mit ei-
nem Maulschlüssel die Mutter (SW13) etwas
lösen. Nun durch Drehen der in der Traverse
befindlichen Inbusschraube (SW2,5) die Höhe
der Drehstange einstellen. Anschließend die
Mutter der Drehstange wieder festziehen.
10. If needed, also adjust the opposite mount of
the extenson-rod. For this purpose the nut
(SW13) can be loosened. Adjust the
extenson-rod by turning the inner socket
screw. Then tighten the nut of the extenson-
rod again.
Q736 - Q739 mit Frontauszug 5 / 8 nderungsdatum: 28.09.20
SW13
SW2,5
SW2,5
SW5
11. Prüfen ob die Oberkanten des Auszugs und
der Hauptplatte außen auf einer Höhe sind.
Wenn nicht …
11. Check at the outer sides, if the upper
surfaces of the board and the extension are
on one level.
If not ...
Rechte Seite einstellen / adjust the right side:
12a: Auszug einklappen.
12b: An beiden schwarzen Stellschrauben mit
einem Schlitz-Schraubendreher die Höhe
einstellen.
12c: Die Klappeinlage mit dem Ledergriff aus-
klappen, die Höhe rechts erneut kontrollie-
ren und wenn nötig erneut einstellen.
12a. Fold the table-extension.
12b. Adjust the hight by turning the two black
screws. Use a slotted screwdriver.
12c. Swing out the table-extension by using the
leather belt. Check the hight again; if
necessary adjust again.
Q736 - Q739 mit Frontauszug 6 / 8 nderungsdatum: 28.09.20
schwarze Stellschrauben
black adjusting-screws
Linke Seite einstellen / adjust the left side:
13a. Die Klappeinlage fassen und beide Teile
gleichzeitig vorsichtig hochklappen...
13a. Grab both pieces of the table-extension
and swing out both pieces of the table-
extension at the same time ...
13b. … und beide Halbteile ganz umklappen.
Die Höhe mit einem Kreuz-Schraubendreher
an den schwarzen Laschen einstellen.
13b. … and keel over both pieces.
Turn the scews of the black plastic-straps to
adjust the hight.
13c. eide Halbteile gleichzeitig zurückklappen.
Mit dem Ledergriff ganz ausklappen und die
Höhe kontrollieren. Ggf. erneut justieren.
13c. Swing in both pieces of the table-extension
at the same time.
Use the leather-belt to swing out the table-
extension and check the hight again.
If necessary, adjust again.
Q736 - Q739 mit Frontauszug 7 / 8 nderungsdatum: 28.09.20
14. Fertiger Tisch; nicht ausgezogen.
14. Finished table; not extended.
15. Fertiger Tisch; ausgezogen.
15. Finished table; extended.
Q736 - Q739 mit Frontauszug 8 / 8 nderungsdatum: 28.09.20

This manual suits for next models

1

Other Venjakob Indoor Furnishing manuals
Venjakob 1590 User manual

Venjakob

Venjakob 1590 User manual

Venjakob 6442 User manual

Venjakob

Venjakob 6442 User manual

Venjakob Metallfuss 3311 User manual

Venjakob

Venjakob Metallfuss 3311 User manual

Venjakob P8 User manual

Venjakob

Venjakob P8 User manual

Venjakob 3753 User manual

Venjakob

Venjakob 3753 User manual

Venjakob V-Plus 6.0 User manual

Venjakob

Venjakob V-Plus 6.0 User manual

Venjakob Trema User manual

Venjakob

Venjakob Trema User manual

Venjakob Plan X5 User manual

Venjakob

Venjakob Plan X5 User manual

Venjakob P6 Quick start guide

Venjakob

Venjakob P6 Quick start guide

Venjakob 6645 User manual

Venjakob

Venjakob 6645 User manual

Venjakob Sentino User manual

Venjakob

Venjakob Sentino User manual

Venjakob 2364 User manual

Venjakob

Venjakob 2364 User manual

Venjakob 3753 User manual

Venjakob

Venjakob 3753 User manual

Venjakob 3123 User manual

Venjakob

Venjakob 3123 User manual

Venjakob 1580 User manual

Venjakob

Venjakob 1580 User manual

Venjakob Impuls corner bench P3 User manual

Venjakob

Venjakob Impuls corner bench P3 User manual

Venjakob 4121 User manual

Venjakob

Venjakob 4121 User manual

Venjakob 1590 User manual

Venjakob

Venjakob 1590 User manual

Venjakob 1421 User manual

Venjakob

Venjakob 1421 User manual

Venjakob barola Owner's manual

Venjakob

Venjakob barola Owner's manual

Venjakob 2364 User manual

Venjakob

Venjakob 2364 User manual

Venjakob Trema User manual

Venjakob

Venjakob Trema User manual

Venjakob 6514 User manual

Venjakob

Venjakob 6514 User manual

Venjakob 5110 User manual

Venjakob

Venjakob 5110 User manual

Popular Indoor Furnishing manuals by other brands

Furniture Pipeline Eugene Assembly instruction

Furniture Pipeline

Furniture Pipeline Eugene Assembly instruction

Next 702831 Assembly instructions

Next

Next 702831 Assembly instructions

EAST COAST Dorset Wardrobe Assembly and care instructions

EAST COAST

EAST COAST Dorset Wardrobe Assembly and care instructions

Kvik 040-060 manual

Kvik

Kvik 040-060 manual

Cooke & Lewis Lagan 3663602884811 manual

Cooke & Lewis

Cooke & Lewis Lagan 3663602884811 manual

Baxton BBT5222 Assembly instructions

Baxton

Baxton BBT5222 Assembly instructions

Romina 6530 Assembly instructions

Romina

Romina 6530 Assembly instructions

BEGA CAPRI 22-230 manual

BEGA

BEGA CAPRI 22-230 manual

Vermeiren 377 instruction manual

Vermeiren

Vermeiren 377 instruction manual

mothercare Shaker user guide

mothercare

mothercare Shaker user guide

Wampat W11F4090W Assembly instructions

Wampat

Wampat W11F4090W Assembly instructions

STILFORD JBSTBK18OA Assembly instructions

STILFORD

STILFORD JBSTBK18OA Assembly instructions

Multimo A 220 Assembly guide

Multimo

Multimo A 220 Assembly guide

ofichairs Ergomax manual

ofichairs

ofichairs Ergomax manual

Gladiator GAJG48KDYG Assembly instructions

Gladiator

Gladiator GAJG48KDYG Assembly instructions

New Classic Furniture ORION U1769-25-BLK Assembly instructions

New Classic Furniture

New Classic Furniture ORION U1769-25-BLK Assembly instructions

Time4Sleep BROOKES manual

Time4Sleep

Time4Sleep BROOKES manual

less care VANITY SET LV11-24 installation instructions

less care

less care VANITY SET LV11-24 installation instructions

manuals.online logo
manuals.online logoBrands
  • About & Mission
  • Contact us
  • Privacy Policy
  • Terms and Conditions

Copyright 2025 Manuals.Online. All Rights Reserved.