RVM -1XC460 Rear View Camera Kit
Specification:
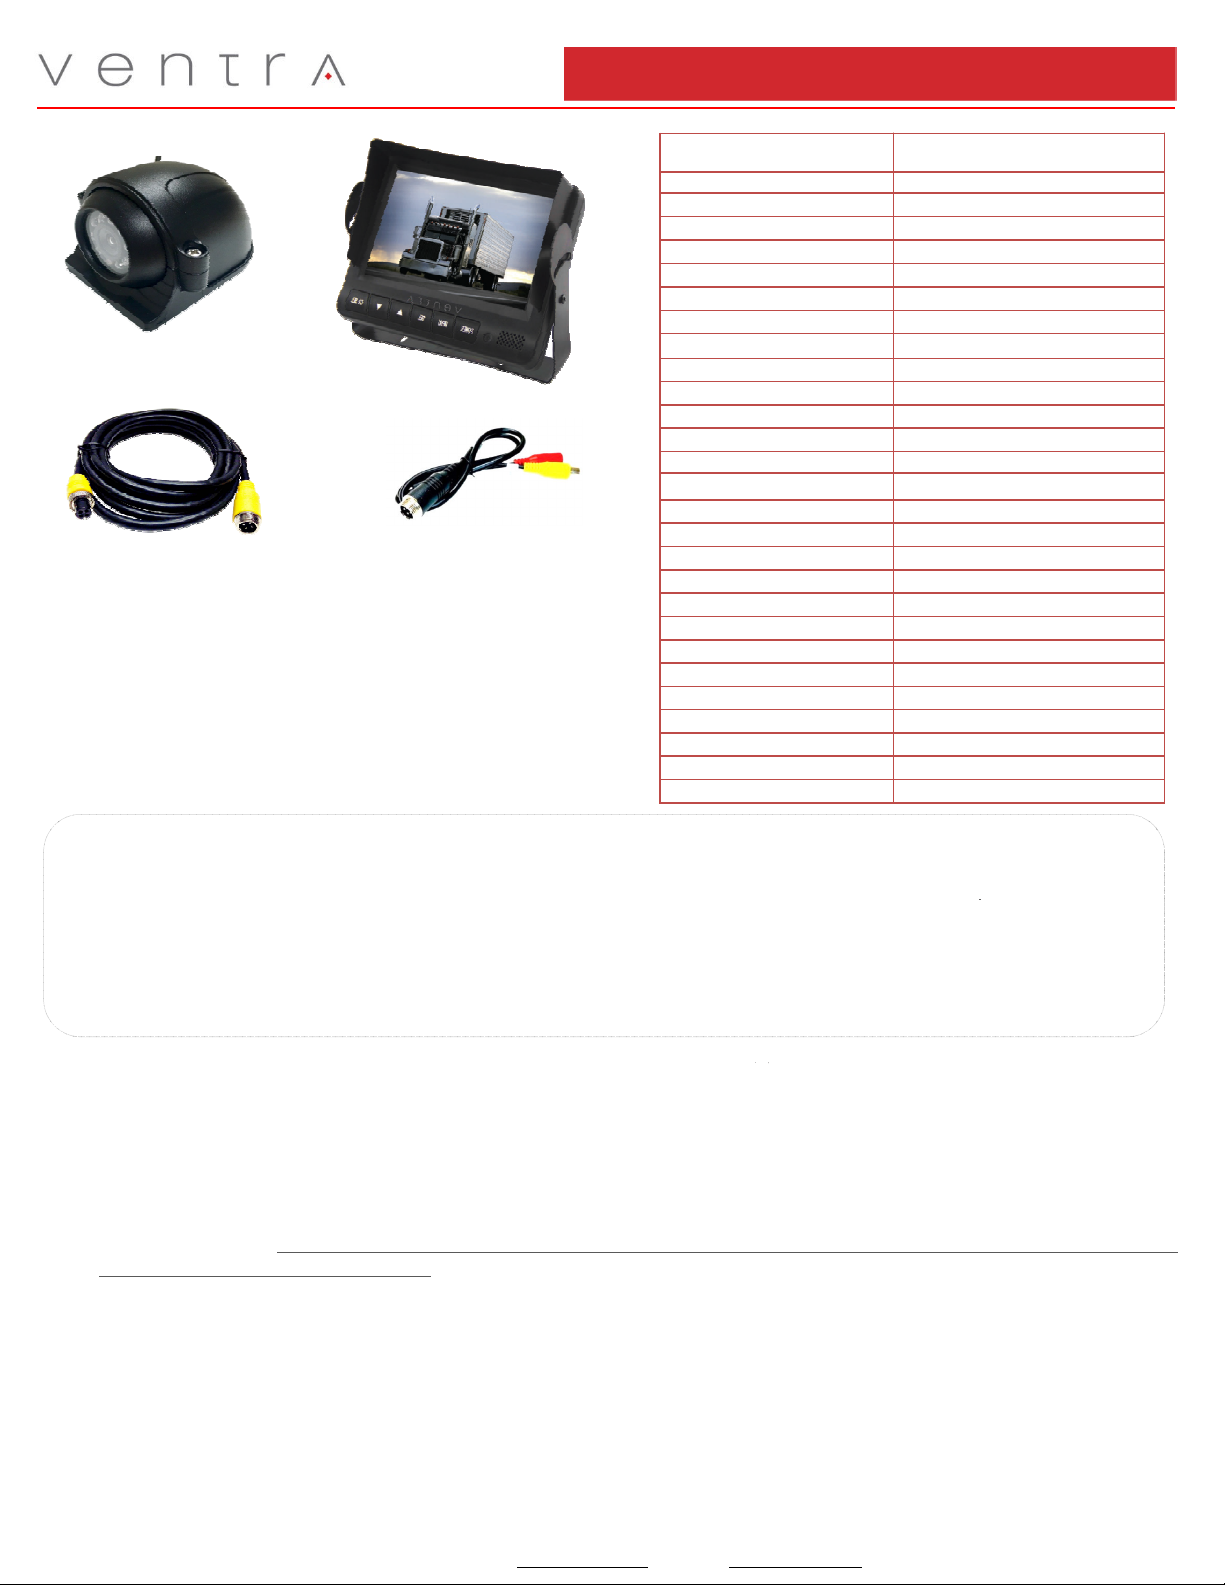
Parts included:
•EX4-XC4 Outdoor Color Camera w/ IR x 1
•VLCD-7 7 LCD Screen x 1
•EX4-CBL60 60ft 4 pin DIN cable x 1
•RVC-PIG DIN to RCA / Power Cable x 1
Ventra TechnologyInc. Covina, CA.USA www.ventrainc.com info@ventrainc.com Tel: 888 4183833
Camera
Chipset 1/3 CMOS
Camera Lens 2.8mm
Resolution 650 TVL
Camera Angle 120 degrees (D) / 90 degrees (H)
Camera Rating IP66 Outdoor Rated
IR LED 9 LED
Illumination 0 Lux – IR on
S/N ration >45db
Electronic Shutter 1/60 ~ 100,000
Auto Gain Control Auto
Back Light Compensation Auto
White Balance Auto
TV System NTSC
Camera Power DC12V ~ 24V 125mA
Humidity <90%
Temperature Range –Operating -4F ~ 150F ( -20C ~ +65C)
Monitor
LCD Screen Size 7 TFT LCD
Resolution 800 x 480
Channels 2 – RCA Video Input
Brightness / Contrast 500cd/m2 / 500:1
OSD Control Contrast, Sharpness, Brightness, NTSC
Viewing Mode Normal, Mirror, Flip
Monitor Power DC 12V ~ 24V 150mA
Cable
Environment Indoor
Pin 4 Pins (Video, Audio and Power)
Warning:
Install equipment only when vehicle is safely parked, leveled and power Off
View and access the monitor only when safe to do so
Review surrounding before operating / moving vehicle
Observe all electrical safety guideline and polarity to avoid injury
Please consult with Vehicle Manufacturer for warranty and settings prior to installation
Ventra is not responsible for any warranty pertaining to the vehicle
InstallationGuide
1. Determine the location and mounting position of the camera prior to installation
2. Test the viewing angle by powering both the camera and monitor before permanently securing the camera
3. Once location is determined, securely affix mounting bracket of the camera to the vehicle
4. Connect the EX4-XC camera to EX4-CBL 4 pin DIN cable. Ensure the cable is securely connected. (Refer to
installation diagram). EX4-CBL cable is not waterproof and should NOT be exposed to direct sunlight, rain or element. Cable should be
placed in conduit or outdoor rated sleeve
5. Connect the EX4-CBL cable to RVC-PIG DIN to RCA / Power cable
1. VC-PIG:
- 2 power pigtail wire ( ed = 12V Positive, Black = Ground) to a power source (i.e. tail light, reverse light or vehicle fuse)
- DC power plug to EX4-XC camera
- RCA connection to monitor via RCA cable
7. Secure RCA cable connection by applying heat shrink tube or electrical tape. Constant vehicle vibration may loosen connection
8. Connect the RCA cable into Input 1 of the VLCD-7 screen
V. 07 18


