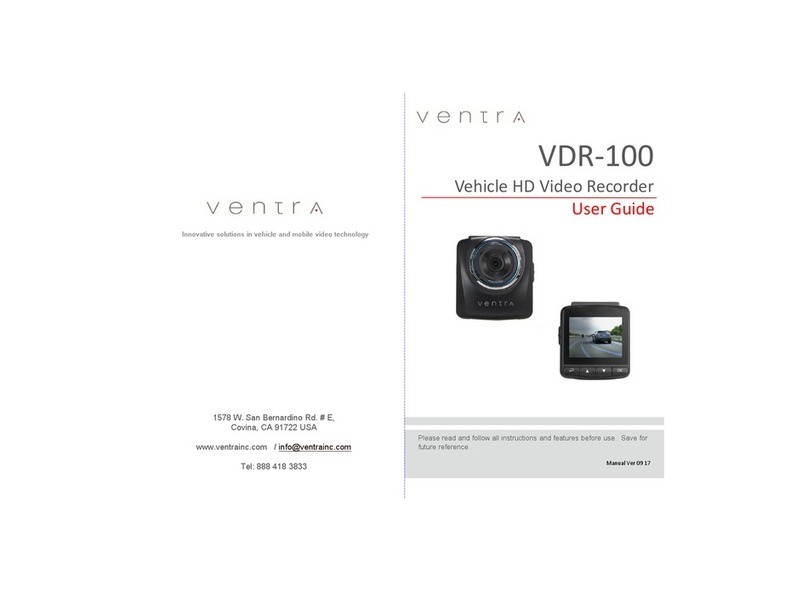
VENTRA VDR-130 Series User manual

Please read and follow all instructions and features before use. Save for
future reference.
Manual Ver 05 20
User Guide
VDR-130 Series
Dual Camera Vehicle Video
Recorder with WiFi
www.ventrainc.com / [email protected]
Innovative solutions in vehicle and mobile video technology
Models:
VDR-130 = 16GB SD Card
VDR-130NC = No SD card included
VDR-130BT = 3 GB Card Included
VDR-130XT = 64GB SD Card Included
Apps a ailable 08/20

Warning – Safet Precaution
Please read these safety instructions thoroughly before operating
the product and keep this manual for future reference.
Please be aware that micro SD memory card have limited product
life expectancy and will eventually degrade in time - causing errors in
recordings / data corruption.
It is highly recommended to format and check the integrity of the
Micro SD card on a regular basis. Micro SD memory card related
problems are not under warranty and the manufacturer or the
supplier is not responsible for data loss or missing recordings.
Install the device in a manner that does not obstruct the driver’s
view of the front or sides of the vehicle, or interfere with the safety
of operating the vehicle.
When exposed to direct sunlight for extended period of time, the
equipment may become hot. Please exercise caution when
touching the equipment.
Do not operate, adjust or view the VDR-130 while driving or when
vehicle is in motion as it may lead to accidents and or injuries.
Do not place the device insecurely on the dashboard, or place the
device in front of or above an airbag.
Altering and disassembling of the product may result in a fire or
electric shock. Disassembling the product will void the warranty.
Inquire with Ventra in the event the product needs repair.
Warning – Safet Precaution
Please comply with all local, state and federal driving and traffic
regulations.
To reduce the risk of fire or electric shock, do not expose this unit to
water, liquid, rain or moisture.
Disconnect and replace cable if wire is stripped or damaged.
In the event of an impact or accident, please check to ensure
the equipment is properly secured. Inspect the mounting bracket and
adhesive for any signs of damage.
Do not put foreign material into card insertion slot of the terminal, it may
cause product damage.
The product is designed to be installed inside the vehicle. Any damage
caused by placing the device outside the vehicle, or damage due to
misuse or handling of the product will void the warranty.
The warranty does not cover claims related to mishandling, tampering
and / or disassembling of the product.
WARNING– IMPORTANT NOTICE
Built-In Shock Sensor
The built-in shock sensor ma not recognize slight shock or
minor collision as an event. Different sensitivit levels ma
be adjusted to match the level of sensitivit .

Windshield Mounted Device Legal Notice
Please check and comply with ALL local, state and federal laws and or
regulations regarding windshield mounted devices. Some state laws
prohibit drivers from using suction mounts on their windshield when
operating motor vehicles. Other state laws allow the suction mount to
be mounted to be located only in specific locations on the windshield.
Numerous states have enacted restrictions against placing objects on
the windshield in locations that obstruct the driver’s vision.
IT IS THE USER’S RESPONSBILITY TO MOUNT VENTRA EQUIPMENT IN
COMPLIANCE WITH ALL PPLICABLE LAWS AND ORDINCANCE.
Audio and Video Recording Legal Notice
Certain local, state and federal laws may prohibit recording of audio and
or video in vehicles or public area, or without knowledge and or consent,
please check and comply with ALL local, state and federal laws and
regulations.
Certain local, state and federal laws may require signage or display that
indicate recording of audio and or video in vehicles or public area.
Please check and comply with ALL local, state and federal laws and
regulations.
IT IS THE USER’S RESPONSBILITY TO USE VENTRA EQUIPMENT IN
COMPLIANCE WITH ALL PPLICABLE LAWS AND ORDINCANCE.
Use of this product other than its intended purpose is strictly prohibited.
Ventra Technology, Inc. does not assume any responsibility for any
fines, violation, penalties or damages that may be incurred as a result of
the use of the product.
Ventra Technology, Inc. is not responsible for any direct, indirect,
incidental or consequential damages, arising out of use, misuse or
inability to use of our products.
VDR-130 Specifications
Item Description
Im age sensor 1/3” CMOS sensor
Effective pixels 19 0 x 1080
Storage media Max. up to 64GB class 10 / U1 or above
Micro SDHC
LCD display ” LCD
Lens W id e A ngle Fixe d Focu s le ns
F/ .0, f= .6mm
Focus range 0.5m~Infinity
Video (Format: MOV)
Resolution
VDR-130 Main Camera
1080P (19 0 x 1080) 30fps
EX13-OMIR 2nd camera
VGA (640 x 480) 30fps
Still image picture
Format: JPEG
3 MP ( 048 x 1536)
MP (19 0 x 1080)
1.3MP (1 80 x 960)
VGA (640 x 480)
Shutter (Electronic shutter) Auto:1/ ~1/ 000 sec.
G-Sensor 3-Axis G- Force sensor
ISO Auto
W hi teBa la nce Au to
Microphone Yes
Speaker Yes
Connection Mini USB
Battery Built-in 150mAH Li- ion rechargeable (This
battery is NOT replaceable)
Operating
Temperature 3 ° ~ 1 0° F
Operating Humidity 0 ~ 70% RH
Storage
Temperature - ° ~ 155° F
Dimensions 65 x 70 x 7.5 mm
W ei ght Ap prox. 8 0g (w itho ut m em ory ca rd)

1 Introduction
Ventra VDR-130 is an all-in-one high performance Dual
Camera Vehicle HD Recorder. The plug and play setup
makes this system the ideal choice for both passenger and
commercial vehicle.
1.1 Features
* Wide Dynamic Range Imaging (WDR)
* 1080P HD video on main camera, VGA on EX6-OMIR
* 1 0 Degree Wide Angle Lens
* Built-in G-sensor
* Built-in WiFi
* Motion Detection
USB Car Charger MicroSD Card
1.3 Product Overview
Number ITEM Number ITEM
1Menu / Mode 7
AV Out = EX6-OMIR
camera input
connection
2Up selection 8Micro SD card slot
3Power button 9Adjustable angle lens
4Down selection 10 LCD screen
5Enter / OK 11 Status LED
6Power / USB connection 12 Mount bracket
EX6-OMIR (2nd Camera)
13 LED for night vision 14 Mount bracket
0 03
13
14
VDR-130 Main Camera EX13-OMIR 2nd Camera
Note: VDR-130NC does
NOT include SD card
VDR-130 Main Camera
EX13-OMIR
Package Contents
Models:
VDR-130 = 16GB SD Card
VDR-130NC = No SD card included
VDR-130BT = 3 GB Card Included
VDR-130XT = 64GB SD Card Included

2 Getting Started
2.1 Inserting the Memor Card
Insert the memory card with the gold contacts facing the
back of the VDR (LCD side) . Gently push the memory card
in place until it clicks
To remove the memor card
Power off the system first, then gently push
to eject the memory card out of the slot.
Important Note:
1.Do not remove or insert the memory card when the camera is
turned on. This will damage the memory card.
2.It is recommended to use Class 10/U1 or above micro SD card.
. Please format the micro SD card prior to the initial use.
4.Only purchase SD cards from authorized reseller to ensure
quality and performance
5.SD cards require periodic maintenance (Format) to ensure
optimal performance. SD cards can be formatted in the VDR-
1 0.
6.Formatting SD card will erase all data, please ensure
important files are backed up prior to format
2.2 Installing in Vehicle
2.2.1 VDR-130 Main Camera
1. Attach the bracket to the VDR main
camera. Slide it into the bracket holder
until click.
3. Before installing the bracket, please
use alcohol to clean the windshield.
Wait for it to dry and press camera
mount to windshield
1. The EX13-OMIR can be
mounted in the interior or
exterior of vehicle.
. Clean the surface to remove
dirty before mounting the OMIR
camera
3. Using provide cable, connect
the earphone jack into the AV
port on the VDR-130
4. VDR-130 will POWER the
EX13-OMIR via earphone plug
5. Do NOT power the EX13-OMIR
separately via ext. power
source
04 05
. Select the location to mount the VDR.
Ideally in the center section of the
windshield, below the rear view mirror.
2.2.1 EX13-OMIR (2nd camera)

2.2.2 Adjust the camera angle position
1. VDR-130 main camera
Camera angle can be tilted
up / down as needed
2.3 Connecting Power
Use only the supplied car adapter to power up the
camera and charge the built-in battery.
1. Connect one end of the car adapter to the USB
connector of the VDR-130.
USB port input: DC 5V / 1A.
. Plug the other end of the car charger to the cigarette
lighter socket of the vehicle. Once the vehicle engine is
started, the camera automatically turns on. Car charger
input:
Important Note:
1.Use the VDR with the supplied charger only. Do NOT use
other power chargers to avoid damage to camera or battery.
2. Do NOT modify the power cable or connection method as
outlined in this manual. Altering the power cable will void all
warranty.
06 07
Note: On certain vehicles, the cigarette lighters are
constantly ON (Hot) so the VDR recording will continue
even when the vehicle is powered off. If this happens,
please manually turn off the camera or remove the car
adapter from the cigarette lighter to prevent battery drain
1. EX13-OMIR nd camera
Camera angle can be tilted
up / down as needed.
Tighten screw to fix angle

2.4 Powering the VDR-130 On / Off
2.4.1.1 Power On / Recording
VDR will automatically power and
record on when vehicle powers on.
Red blinking dot displayed on the top
left corner of screen
To turn off the VDR power, press the
button in the center of camera
2.4.1.2 Stop Video Recording
To stop recording, press the OK button
once. Red blinking dot will stop.
To resume recording press OK button
again
2.4.1.4 Enable / Disable Audio Recording
Press the arrow button to Enable / Disable audio
recording while VDR is recording Video. Microphone icon
will display
3. Settings Menu
Settings 1 - Pg. 1
VDR supports a wide range of setting configuration based
on individual preference.
08 09
2.4.1.5 Enter Menu Setting Mode
Stop recording by pressing the OK button once.
Red blinking dot will stop
Press Mbutton to enter 1st page of setting
menu, press Magain for nd page of settings
Settings 1 – Pg. 1 Cont’d
Settings - Pg. 1 Settings – Pg. 1 Cont’d
2.4.1.2 Motion Recording
Motion recording can be enabled in system setting if the
VDR is constantly powered by vehicle. VDR will start to
record when motion is activated. To stop Motion recording,
press OK while VDR is recording in this mode.
NOTE: Pressing OK to stop motion recording will disable the
feature in system setting. Must re-enable it in the settings
menu to activate feature

3.1 Setting List 3.1 Setting List
Menu Item Description Available option
Video Resoluti on
Set the v ideo recording resolution
EX13- OMIR n d camera s upports VG A
resolution only
19 0 X 1080
1 80 X 7 0
848 x 480 W VGA
640 x 480 VG A
Displa Mode Set the camera displaye d on the LCD
screen
Front Lens
Rear Lens
Picture in Picture (Front & Rear)
Record Interval Set the recording duration for
each recorded v ideo file segment Off, 3 Min, 5 Mins, 10 Mins
WDR Wide Dynamic Range for video Off / On
EV Set the exposure c ompensation Set expos ure level between + .0 ~ - .0
Motion Detection
If M otion Detection is activated,
the VD R will autom atically trigger
recordin g when the cam era detects any
motion in front. VDR mus t be powered on
On / Off
Audio Enable/D isable voice recording On / Off
Time Stamp Enable/Disable the date stamp. On / Off
Shock Sensor
The built-in shock sensor will detect
the lev el of impact based on the
settings . VDR will automatically
trigger emergency rec ording when
corresponding lev el of shock is
detected
Off / Low / Medium / High
Rear Camera Mirroring Adjust the rear camera view between normal
and mirror image On / Off
11
10
Settings 1
WiFi
Enable / Disable the W iFi mode.
WiFi must be enabled to view the
video using Ventra smartphone app
Go to sm artphone WiFi setting, find
and connec t to VDR-130XXXXXXX
PW : 1 3456 78a
Connect to VDR-130 W iFi on
smartphone, then return to Ventra app
On / Off
Date / Time Set the date, time and display format
Pres s button to
adjust the v alue, press the OK
button to s witch the field and
confirm
Auto Power Off Auto power off timer to turn off the VDR Off / 3 Mins / 5 Mins / 10 Mins
Beep Sound Beep sound whenev er a button is pres sed On / Off
Langua ge Set the O SD menu language.
English, Français , Es pañol,
Português, D eutsc h, Italiano,
Simplified Chinese, Tr aditional
Chinese, Russian, Japanese,
Korean
Frequenc 50 Hz / 60 Hz
Screensaver Time Timer before LCD screen turns off (VDR
will rem ain powered on) Off, 1 Min, 3 Min, 5 Mins
Ventra VDR -130
Set license plate info to be watermarked
on video
Default = Ventra VDR-130
Long press M button to enter setup
option
Once
cursor moves to letter, press
to change letter
Press OK to enter
Repeat as needed
Long Press M to go to next row
When done, long press M to go to OK.
Press M to exit menu
Format SD Card
(64GB SD card max)
Format and delete all data on SD card
Save any important video prior to format Yes / No
Default Reset all settings to factor y default
settings . Yes / No
Version Firmware Version
Settings

4. Video Pla back
4.1 Pla back directl on VDR-130
Video playback can only be accessed
when VDR is NOT recording.
1. To stop recoding, press OK
button
. Long press ( seconds) the M
button twice
3. Navigate the saved video files by
pressing /
4. Press OK to play file
5. Exit playback mode by pressing M
button
4.2 Pla back video via VDR App
10 11
VDR app available on iOS and Google
Video playback can only be accessed when
VDR is NOT recording.
1. To stop recoding, press OK button
. Press Mbutton twice to access nd page
of Settings menu
3. Press to highlight WiFi
4. Press OK to select
4.2 Pla back video via VDR App - Continued
1. Press ON to turn on WiFi on VDR
. See the WiFi SSID VDR130-xxxxxxxx
Go to Smartphone (iPhone or Android)
1. Go to WiFi setting in Smartphone
. Find SSID VDR-130-xxxxxxxxxx
3. Connect to SSID VDR-130-xxxx
4. PW = 12345678a
5. Open Ventra VDR app
6. Return to VDR-130 camera, select Connect
7. Once connected, can see live view, SD card
playback, image playback and setting
configuration

1 13
4.2.1 VDR App 5 View Recordings on PC
5.1 Using Media Pla er
VDR-130 videos are saved as MOV files and can be
viewed via standard Media Players.
To view recordings:
1. Safely remove the Memory card from the VDR-130
after it has been powered off.
. Insert Memory card to a computer. A SD card slot
or USB SD card is required (Not included)
3. Select the Drive the SD card is located and select
the file folder to view .
4. Select the file to view via Media Player.
Apps a ailable Aug, 2020

5 View Recordings on PC
5.1 Using Media Pla er
VDR-130 videos are saved as MOV files and can be
viewed via standard Media Players.
.
16
15
VENTRA LIMITED WARRANTY
Ventra Technology, Inc. warrants the system against defects in material and
workmanship for a period of one (1) ear from the date of original purchase. During this
period, Ventra’s liability for any defective product, or any product part, shall be limited to
the repair or replacement of the product, at Ventra’s sole discretion.
This warranty does not apply to defects or damages resulting from mishandling, accident,
abuse, negligence, lightning, water/liquid, power surges, improper interfacing, operation
outside of design limits, misapplication, improper repair, or unauthorized modification.
The term "Ventra Product" is limited to the hardware components and required firmware.
It DOES NOT include software applications or programs, non-Ventra products or
peripherals. To the extent permitted by local law, all non-Ventra products or non-Ventra
branded peripherals - such as external storage SD card are provided with the respective
manufacturer's own warranties directly to you, and are not covered by this Limited
Warranty.
To obtain service within the warranty period, please contact Ventra at
tech@ventrainc.com for assistance. If product repair or replacement is necessary, a
Return Merchandise Authorization (RMA) will be issued. The Customer will be solely
responsible for shipping charges, insurance and proper packaging to prevent breakage in
transit, whether or not the product is covered by this warranty. All shipments of repaired
or replaced products by Ventra will be F.O.B. California.
VENTRA MAKES NO OTHER WARRANTIES, EXPRESS OR IMPLIED, AS TO
MERCHANTABILITY OR FITNESS FOR A PARTICULAR PURPOSE OF ANY
PRODUCT SOLD UNDER THIS CONTRACT. UNDER NO CIRCUMSTANCES SHALL
VENTRA BE LIABLE FOR ANY INDIRECT, INCIDENTAL, SPECIAL, PUNITIVE OR
CONSEQUENTIAL DAMAGES INCLUDING, WITHOUT LIMITATION, INFRINGEMENT
OF THIRD PARTY RIGHTS, LOST GOODWILL, LOST REVENUES OR PROFITS,
WORK STOPPAGE, DATA LOSS, SYSTEM FAILURE, IMPAIRMENT OF OTHER
GOODS, COSTS OF REMOVAL AND REINSTALLATION OF THE SYSTEM, LOSS OF
USE, INJURY TO PERSONS OR PROPERTY ARISING OUT OR RELATED TO THE
SYSTEM WHETHER BASED ON BREACH OF WARRANTY, BREACH OF
CONTRACT, TORT OR OTHERWISE. IN NO EVENT SHALL VENTRA’s LIABILITY
EXCEED THE ACTUAL PURCHASE PRICE OF THE SYSTEM WITH RESPECT TO
WHICH ANY CLAIM IS MADE.
The information in this user guide reflects the current technical specifications at the time
of print. Ventra reserve the right to change the technical or physical specifications and
features without prior notification. While every effort has been made to ensure the
accuracy of the information, certain specifications are based on approximate figures.
All trademarks, service marks, trade names, product names and logos are the property of
their respective owners.
Ventra Technology Inc. Web: www.ventrainc.com Email: info@ventrainc.com

17 18
The information in this specification sheet reflects the current
technical specifications at the time of print. Ventra reserve the right to
change the technical or physical specifications and features without prior
notification.
While every effort has been made to ensure the accuracy of the information,
certain specifications are based on approximate figures.
All trademarks, service marks, trade names, product names and logos are the
property of their respective owners.
Ventra Technology Inc.
Web: www.ventrainc.com Email: info@ventrainc.com
This manual suits for next models
4
Table of contents
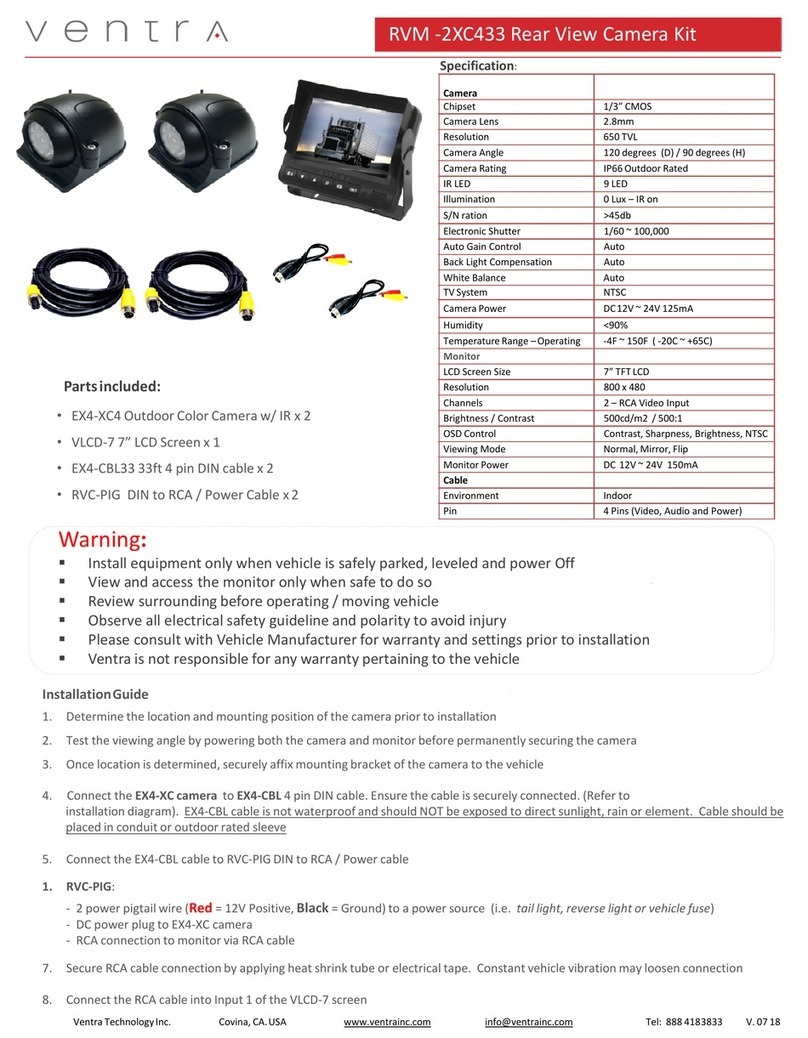
Other VENTRA Dashcam manuals

VENTRA
VENTRA VDR-760 User manual

VENTRA
VENTRA RVM-1XC433 User manual

VENTRA
VENTRA VDR-600BT User manual

VENTRA
VENTRA RVM-2XC260 User manual

VENTRA
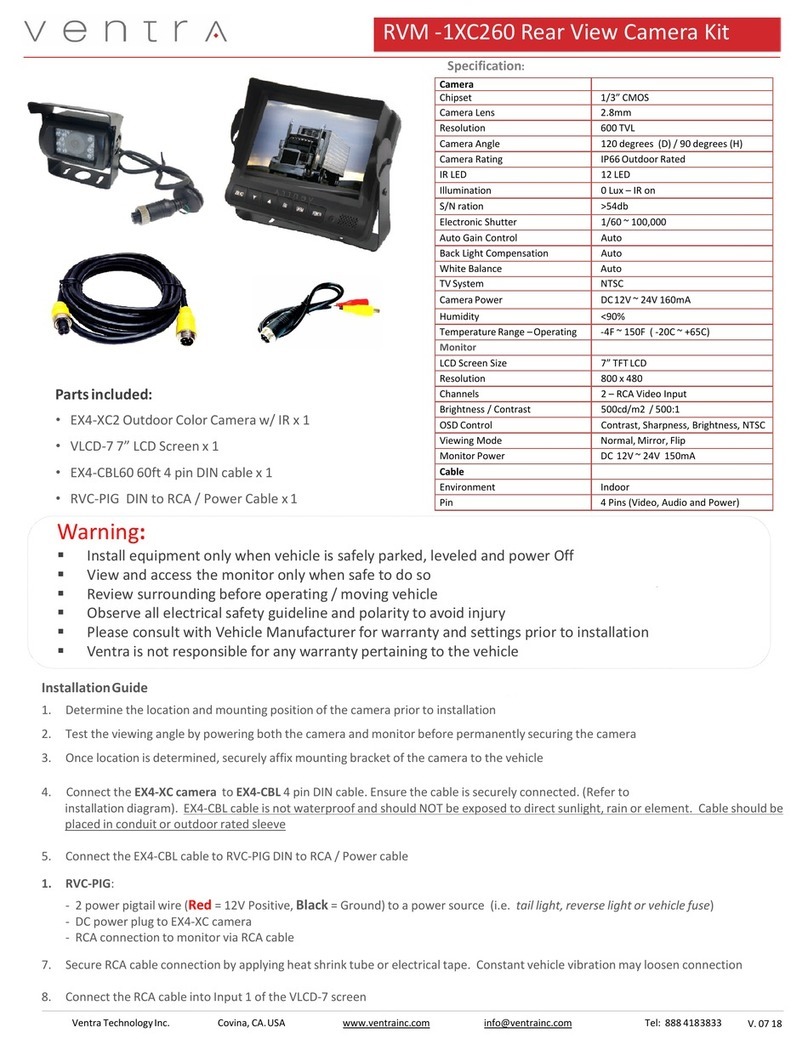
VENTRA RVM-1XC260 User manual

VENTRA
VENTRA VDR-700 User manual

VENTRA
VENTRA RVM-2XC460 User manual

VENTRA
VENTRA RVM-2XC433 User manual

VENTRA
VENTRA RVM-1XC233 User manual

VENTRA
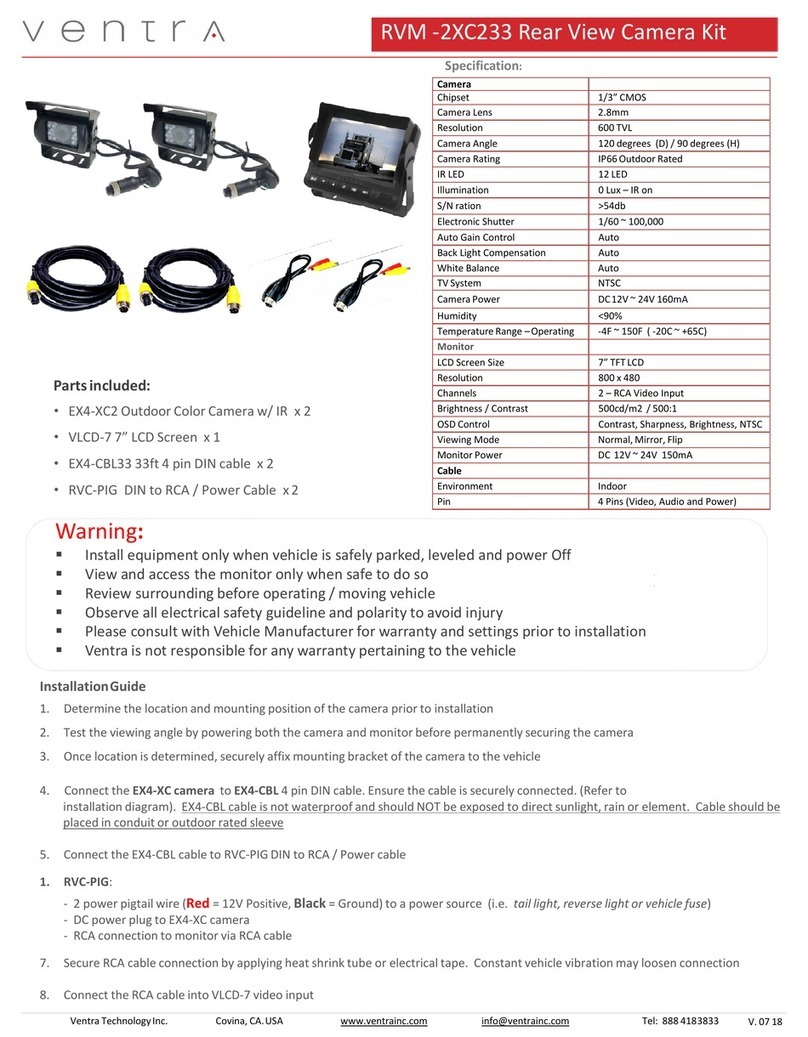
VENTRA RVM-2XC233 User manual