manuals.online logo
Brands
  1. Home
  2. •
  3. Brands
  4. •
  5. VERANDA CLASSICS
  6. •
  7. Outdoor Furnishing
  8. •
  9. VERANDA CLASSICS FG-MELSCT6PC User manual

VERANDA CLASSICS FG-MELSCT6PC User manual

6PC Woven Seating Set
ITM. / ART. 1500072
m# FG-MELSCT6PC
IMPORTANT, RETAIN FOR FUTURE REFERENCE:
READ CAREFULLY
For Outdoor Use Only
Customer Service
E-Mail : customerservice@foremostgroups.com
8:30a.m.–5:00p.m. EST, M-F
Toll Free 1-855-390-5474
(Int.) 001-855-286-4931
Fax: (973) 428-8026
Website: www.foremostgroups.com
906 Murray Road East Hanover, New Jersey 07936 US
PART
DESCRIPTION
PICTURE
QTY
A
RIGHT ARM FRAME
1
B
ARMLESS SEAT FRAME
2
C
CORNER SEAT FRAME
1
D
LEFT SEAT FRAME
1
E
OTTOMAN FRAME
1
F
RIGHT BASE
4
G
LEFT BASE
4
H
CORNER BASE
1
I
CORNER BACK LEG
1
J
OTTOMAN LEGS
4
WARNING!
THIS ITEM IS INTENDED FOR OUTDOOR DOMESTIC USE ONLY, NOT FOR COMMERCIAL USE.
Please read instructions carefully and thoroughly before assembling. Check parts against
the parts list to make sure you have all the parts needed for proper assembly. Familiarize yourself
with the inventory of parts and the accompanying illustrations to ensure safe and proper assembly.
Failure to tighten bolts may cause injury. Do not force components and over tighten the nuts during assembly.
Place chair on a non-abrasive flat surface to prevent scratching. Hang wet cushion over chair frame to dry to prevent mold / mildew.
PARTS LIST
PART
DESCRIPTION
PICTURE
QTY
K
SCREW (1/4*15)
53
L
ALLEN WRENCH
1
M
RIGHT BACK CUSHION
1
N
RIGHT SEAT CUSHION
1
O
ARMLESS BACK CUSHION
2
P
ARMLESS SEAT CUSHION
2
Q
CORNER BACK CUSHION
2
R
CORNER SEAT CUSHION
1
S
LEFT BACK CUSHION
1
T
LEFT SEAT CUSHION
1
U
OTTOMAN SEAT CUSHION
1
V
PILLOW
5
W
CLIP
8
PARTS LIST CONTINUED
Figure 1
1. RIGHT ARM UNIT ASSEMBLY
Carefully turn the Right Arm Frame (A) upside down on a soft surface. Attach Right Base
(F) and Left Base (G) to the Right Arm Frame (A) loosely using screws (K) and Allen
wrench (L). Once the bases are aligned correctly, tighten all screws (K) with Allen
wrench (L).
Please make sure legs are attached and facing forward as shown in Figure 1 below.
A
F
K
G
Straight legs should be attached facing the front.
K
Thinner part of base on the outside.
Remove all protective material carefully. Avoid cutting the surface of the
furniture while removing the packaging material.
Figure 3
3. CORNER ASSEMBLY
Carefully turn the Corner Seat Frame (C) upside down on a soft surface. Attach Corner
Base (H) to Corner Seat Frame (C) loosely with screws (K) using Allen wrench (L). Once
the base is aligned correctly, tighten all screws (K) with Allen wrench (L).
Please make sure the base is attached as shown in Figure 3 below.
C
H
K
Figure 4
4. CORNER ASSEMBLY
Attach Corner Back Leg (I) to Corner Seat Frame (C) loosely with screws (K) using Allen
wrench (L). Once the leg is aligned correctly, tighten screws (K) with Allen wrench (L).
Please make sure the leg is attached as shown in Figure 4 below.
C
H
K
I
Figure 5
5. LEFT ARM UNIT ASSEMBLY
Carefully turn the Left Seat Frame (D) upside down on a soft surface. Attach Right Base
(F) and Left Base (G) loosely to Left Seat Frame (D) with screws (K) using Allen wrench
(L). Once the bases are aligned correctly, tighten all screws (K) with Allen wrench (L).
Please make sure legs are attached and facing forward as shown in Figure 5 below.
D
F
K
G
K
Straight legs should be attached facing the front.
Thinner part of base on the outside.
Figure 6
6. OTTOMAN ASSEMBLY
Carefully turn the Ottoman Frame (E) upside down on a soft surface. Attach Ottoman
Legs (J) to Ottoman Frame (E) loosely with screws (K) using Allen wrench (L). Once the
legs are aligned correctly, tighten all screws (K) with Allen wrench (L).
Please make sure legs are attached correctly as shown in Figure 6 below.
E
J
K
8. To secure your sectional in place, carefully stretch the clip (W) and attach seat
sections as illustrated in Figure 7 below.
MELROSE 6-PC SECTIONAL SET FULL SET ASSEMBLY
Figure 7
7. With the help of another person, carefully turn the assembled pieces to their upright
positions.
9. Place the cushions and the throw pillows on the sections as shown in Figure 8 below.
A
B
C
B
D
E
U
N
M
V
V
V
V
V
P
O
Q
.
Q
.
R
O
P
T
S
Figure 8
Distributed by:
Imported by / Importé par :
Importado por:
Costco Wholesale Corporation
Costco Wholesale Canada Ltd.*
Importadora Primex S.A. de C.V.
P.O. Box 34535
415 W. Hunt Club Road
Blvd. Magnocentro No. 4
Seattle, WA 98124-1535
Ottawa, Ontario
San Fernando La Herradura
USA
K2E 1C5, Canada
Huixquilucan, Estado de México
1-800-774-2678
1-800-463-3783
C.P. 52765
www.costco.com
www.costco.ca
RFC: IPR-930907-S70
* faisant affaire au Québec sous le nom Les Entrepôts Costco
(55)-5246-5500
www.costco.com.mx
Imported by:
Importado por:
Distributed by:
Distribué par :
Costco Wholesale UK Ltd /
Costco Wholesale Spain S.L.U.
Costco Wholesale Iceland ehf.
Costco France
Costco Online UK Ltd
Polígono Empresarial Los Gavilanes
Kauptún 3-7, 210 Gardabaer
1 avenue de Bréhat
Hartspring Lane
C/ Agustín de Betancourt, 17
Iceland
91140 Villebon-sur-Yvette
Watford, Herts
28906 Getafe (Madrid) España
www.costco.is
France
WD25 8JS
NIF: B86509460
01 80 45 01 10
United Kingdom
900 111 155
www.costco.fr
01923 213113
www.costco.es
www.costco.co.uk
Imported by:
Imported and Distributed by:
Imported by / Manufactured for:
Imported by:
Costco Wholesale Japan Ltd.
Costco Wholesale Korea, Ltd.
Costco President Taiwan, Inc.
Costco Wholesale Australia Pty Ltd
3-1-4 Ikegami-Shincho
40, Iljik-ro
No. 656 Chung-Hwa 5th Road
17-21 Parramatta Road
Kawasaki-ku, Kawasaki-shi,
Gwangmyeong-si
Kaohsiung, Taiwan
Lidcombe NSW 2141
Kanagawa 210-0832 Japan
Gyeonggi-do, 14347, Korea
Company Tax ID: 96972798
Australia
044-281-2600
1899-9900
0800-885-889
www.costco.com.au
www.costco.co.jp
www.costco.co.kr
www.costco.com.tw
CARE & MAINTENANCE
Clean furniture frame with wet towel using mild soap and water solution. Dry completely with soft towel. Clean cushions and sling seat material with a mild solution of
soap and water and hang cushions to drip dry completely. Store them in a clean dry area of your home. Do not machine wash or dry. Do not use bleach or strong
solvents to clean any of your patio furniture. It will harm both fabrics and metal finishes. Caution should be used when using oils, lotions and other chemicals such as
chlorine or repeated exposure to extreme weather conditions (including heat), which may cause permanent discoloration to the fabric. To maintain and protect the
furniture, always cover it with an outdoor furniture cover or store in a safe area when not in use for long periods of time.
Sunbrella® Fabric Cleaning Instructions:
Sunbrella® fabric should be cleaned regularly. Brush off any loose dirt and wash with a mild soap and lukewarm water solution. For stubborn stains and mildew, wash with
a solution of 236 ml (1 cup) of bleach and 59 ml (1/4 cup) of mild soap per 3.8 l (gallon) of water. Rinse thoroughly to remove soap. Allow fabric to air dry.
MADE IN CHINA / FABRIQUÉ EN CHINE / HECHO EN CHINA

This manual suits for next models

1

Other VERANDA CLASSICS Outdoor Furnishing manuals

VERANDA CLASSICS 1902244 User manual

VERANDA CLASSICS

VERANDA CLASSICS 1902244 User manual

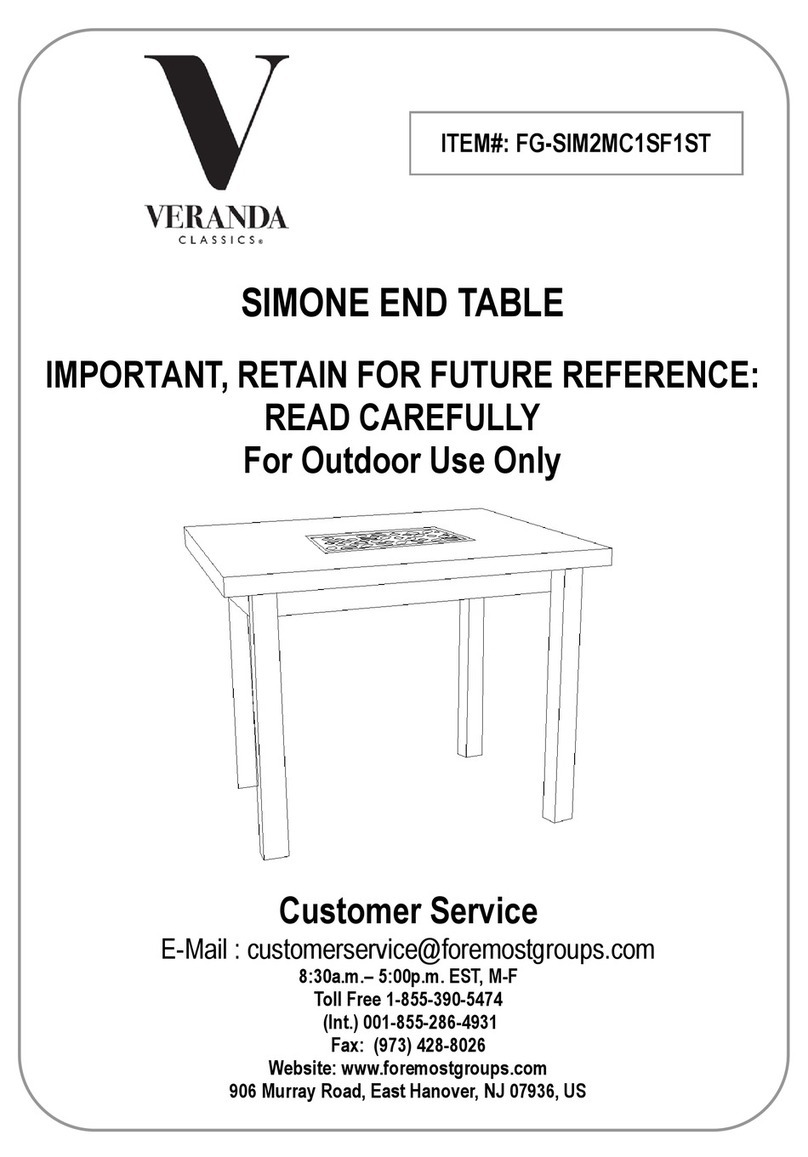
VERANDA CLASSICS SIMONE FG-SIM2MC1SF1ST User manual

VERANDA CLASSICS

VERANDA CLASSICS SIMONE FG-SIM2MC1SF1ST User manual

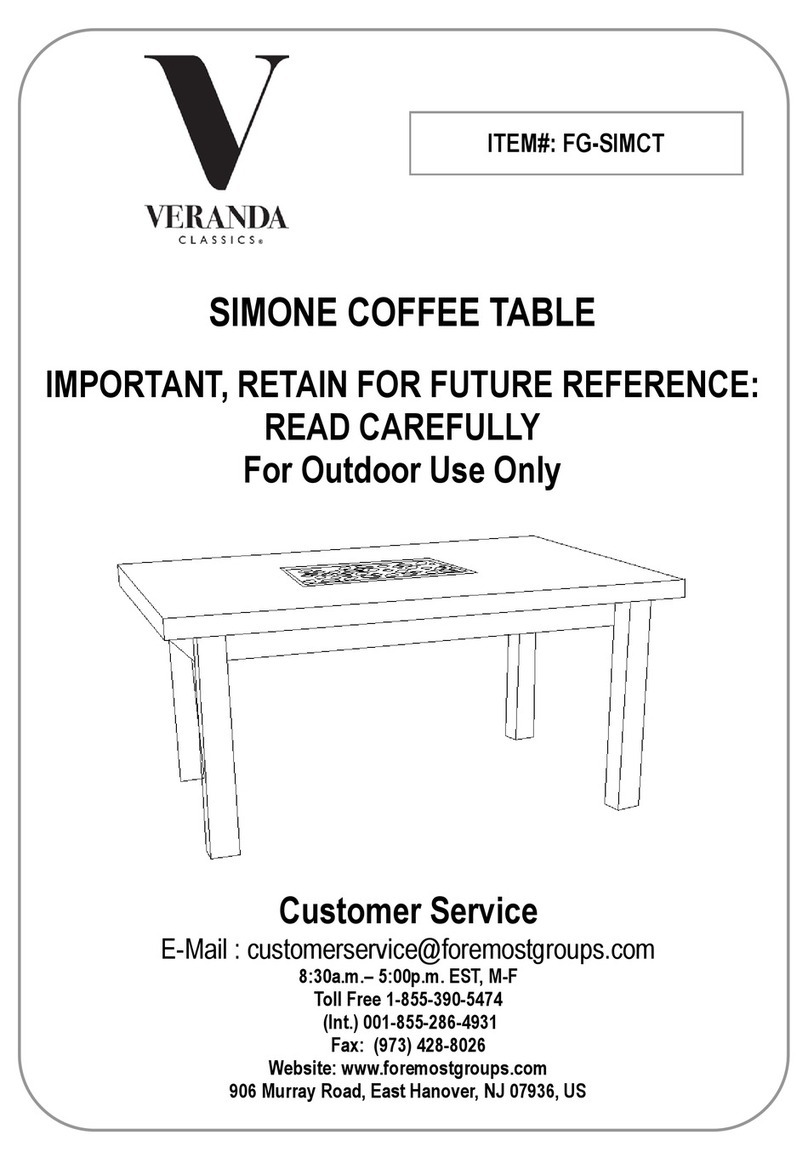
VERANDA CLASSICS SIMONE FG-SIMCT User manual

VERANDA CLASSICS

VERANDA CLASSICS SIMONE FG-SIMCT User manual

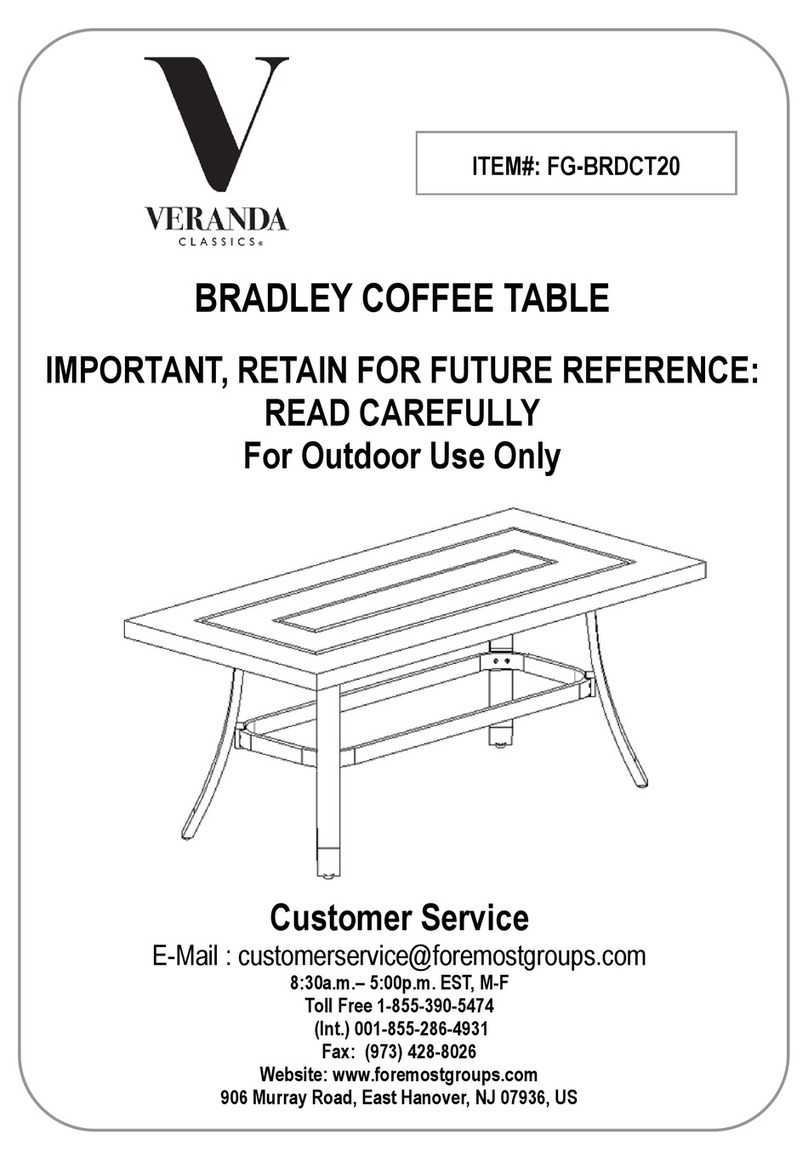
VERANDA CLASSICS BRADLEY FG-BRDCT20 User manual

VERANDA CLASSICS

VERANDA CLASSICS BRADLEY FG-BRDCT20 User manual

Popular Outdoor Furnishing manuals by other brands

Zaer ZR820302 Assembly instructions

Zaer

Zaer ZR820302 Assembly instructions

Winsol So! Mounting instructions

Winsol

Winsol So! Mounting instructions

Sunnydaze Decor VQN-950 manual

Sunnydaze Decor

Sunnydaze Decor VQN-950 manual

Hanover Traditions TRADDN9PCTFSW2-TAN manual

Hanover

Hanover Traditions TRADDN9PCTFSW2-TAN manual

Living Accents 8048104 manual

Living Accents

Living Accents 8048104 manual

Sunnydaze Decor KF-SHDFPR Assembly instructions

Sunnydaze Decor

Sunnydaze Decor KF-SHDFPR Assembly instructions

Lemeks Palnako PA120-3030-4 Assembly, installation and maintenance manual

Lemeks

Lemeks Palnako PA120-3030-4 Assembly, installation and maintenance manual

Frankford Umbrellas AURORA owner's manual

Frankford Umbrellas

Frankford Umbrellas AURORA owner's manual

Blooma Agad 3663602936299 quick start guide

Blooma

Blooma Agad 3663602936299 quick start guide

Sunjoy A102007202 Assembly instruction

Sunjoy

Sunjoy A102007202 Assembly instruction

BENITO Urban Pilona flexible HflexLEDP Anchoring instructions

BENITO

BENITO Urban Pilona flexible HflexLEDP Anchoring instructions

Palmako PA90-3131 installation manual

Palmako

Palmako PA90-3131 installation manual

PartySpace Casa Africa PALAPA PARASOL manual

PartySpace

PartySpace Casa Africa PALAPA PARASOL manual

Billyoh 7ft Expert T & G Corner Summerhouse INS-0088 Building instructions

Billyoh

Billyoh 7ft Expert T & G Corner Summerhouse INS-0088 Building instructions

Milkcan MCL13020 instructions

Milkcan

Milkcan MCL13020 instructions

PREMIER POLYSTEEL Champion 924-301 quick start guide

PREMIER POLYSTEEL

PREMIER POLYSTEEL Champion 924-301 quick start guide

Cuscini Design KC21 Step by step assembly instructions

Cuscini Design

Cuscini Design KC21 Step by step assembly instructions

Outsunny 84G-120V00 manual

Outsunny

Outsunny 84G-120V00 manual

manuals.online logo
manuals.online logoBrands
  • About & Mission
  • Contact us
  • Privacy Policy
  • Terms and Conditions

Copyright 2025 Manuals.Online. All Rights Reserved.