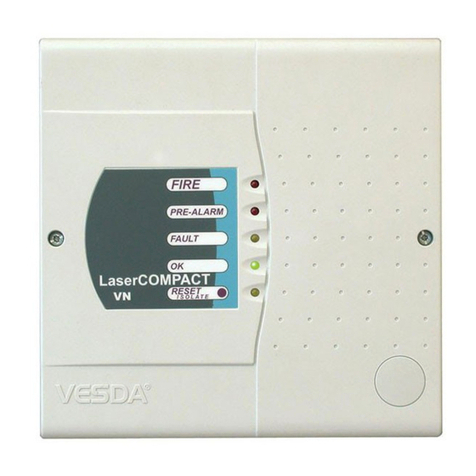
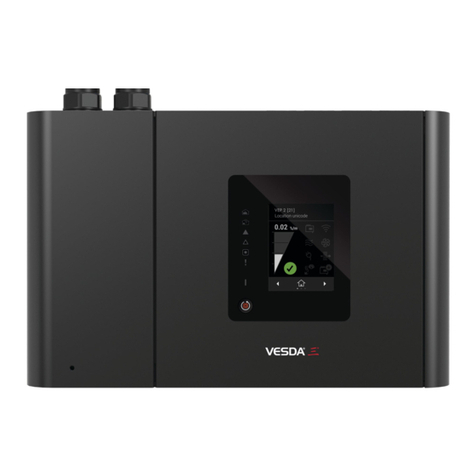
These installation instructions provide essential information for installing VESDA VLC Aspirating Smoke Detectors in accordance with the system design. Additional installation and
product documentation is listed below in the Reference Documents section.
VESDA VLC-500 and VLC-505 Installation Instructions
System Components
The detector is shipped with the following components:
• 1 aspirating smoke detector
• 1 mounting bracket
• 1 installation instruction sheet
• 1 product guide
Prerequisites
• A completed system design documents
• A 24V DC Power Supply, compliant with local codes and standards
• Screws and inserts that are appropriate for the mounting suface
• RS-232 9-way serial cable for VLC-500, sliding windows HLI (VHX - 0200) for
VLC-505
• Labelsasspeciedinthesystemdesign
• Cable glands that are compliant with the IP rating of the detector
• Conduit,asspeciedinthesystemdesign
• 0.2 mm2to 2.5 mm2(24 - 14 AWG) wiring for relays
• APCorlaptopinstalledwithXtralisVSCforinitialconguration
• Standard connection instructions for where the detectors are to be added to a corporate
network
Standards Compliance
UL
Foropenareaprotectiontherealarmthreshold(signal)thatinitiatesanevacuation
procedure via the Fire Alarm Panel must not be set less sensitive than 0.625%/ft. The
detector can send this signal via the Fire Alarm Panel Output signal or the Pre-Alarm
output signal.
Throughvalidationtesting,UnderwritersLaboratoriesInc.hasveriedthatVESDAECO
gasdetectors,wheninstalledwithinthesamplepipenetwork,presentnosignicant
effects on the smoke detection performance of VESDA. The use of theASPIRE calculation
software is required to verify system design performance with all devices included in the
design.
European Installations
The product must use a power supply conforming to EN54: Part 4.
The product is compliant with EN 54-20 sensitivity requirements provided the following
conditions are met:
• For a Class A detector, hole sensitivity must be better than 1.5% obscuration/m and
transport time less than 60 seconds
• For a Class B detector, hole sensitivity must be better than 4.5% obscuration/m and
transport time less than 90 seconds
• For a Class C detector, hole sensitivity must be better than 10% obscuration/m and
transport time less than 120 seconds
TheselimitsshouldbeveriedusingASPIREduringthedesignofthesamplingpipe
network.
TheproductiscompliantwithEN54-20owmonitoringrequirementsprovidedthe
following conditions are met:
• Theminorlowandminorhighowthresholdsshouldbesetat85%and115%
respectively
• TheowthroughthedetectorpredictedbyASPIREshouldbeintherange20to65
lpm
Power Consumption (18 - 30 VDC Supply)
Power Consumption 5.4 W during normal operation, 5.9 W with alarm on
Environmental Requirements
• Temperature
• Ambient: 0°C to 39°C (32°F to 103°F)
• Sampled Air: -20°C to 60°C (-4°F to 140°F)
• Tested to: -10°C to 55°C (14°F to 131°F)
UL:0°to38°C(32°Fto100°F)
• Humidity: 10-95% RH, non-condensing
Note: Please consult your Xtralis representative for information on operation outside
these parameters or where sampled air is continually above 0.05% obs/m
(0.015% obs/ft) under normal operating conditions.
Reference Documents
Additional installation and product information is contained in the following documents,
which are available for download in the Xtralis partner extranet at www.xtralis.com.
• 10280-VESDAVLCProductGuide
• 10195 - VESDA Commissioning Guide
Installation Instructions
Notes
The VESDA detector can be mounted in an upright
or inverted position. Do not mount the detector with
a sideways orientation.
Ensurethemountingsurfaceisatasthisallowsan
air tight seal to be achieved between the sampling
pipe and the tapered air inlet pipe on the detector.
Refer to the detector Product Guide for information
on inverted mounting.
Ensurethatthereissufcientclearancetomount
the detector, noting the location of air sampling
pipes and cable entry points. Due to the rigid nature
of the plastic pipe, installation must provide for
sufcientmovementinallpipework(airinlet,air
exhaust and cable pipes) to allow pipe ends to be
easilyttedandremoved.
• A: Minimum 50 mm (2 in.) below ceiling level.
• B: The detector can be mounted directly
against a wall or obstruction.
Secure the mounting bracket to the mounting surface
• The mounting bracket for the VESDA VLC is
always mounted in the UP direction. It is clearly
marked with the word “UP” and an upward
pointing arrow.
• Secure the mounting bracket to the surface
using appropriate fasteners, ensuring that the
bracketishorizontallystraightandsitsushon
the surface.
• Determine the ports for cable entry. Press out the
tabs for the cable entry, air inlet and air exhaust
ports.
Install the detector
• VESDA VLC detector.
• Remove the front cover and if necessary
separate it from the enclosure box. The back
of the enclosure box is slotted over the four
mounting bracket tabs. Slide the detector
downwards until it slides onto the tabs.
• Screwintheanti-tamperscrew.Checktoconrm
that the detector does not slide off the mounting
bracket.
Inverted Mounting
Some system designs require that the detector be inverted. Directions for correcting the
orientation of the fascia for an inverted detector are available in the Product Guide
Prepare Detector: Wiring, Pipe Inlet and Exhaust Ports
Remove the appropriate plugs for electrical cable installation (J), air sampling pipe inlet
port (K), and exhaust port (F).
• Ensure that pipes are clean and their ends are square and smooth.
AProgramming socket
15 Pin for VLC-505
9 Pin for VLC-500
B Termination card
C VESDAnet number
DAirltercartridge
EFilter screw
FAir exhaust port
GAspirator
H1.6 Amp fuse
IAnti tamper screw
JCable entry ports
KAir inlet port
LWire terminal strips
• Insert the inlet and exhaust pipes (if used) into the correct inlet ports (K) and
exhaust port (F).
• Feed the electrical wiring connections through the cable entry ports.
• Usethecorrectcableglandsizetotintothe26mm(1”)cableentryport.Use
correctly rated cable glands to maintain the required IP rating.
Note: Do not glue the inlet and exhaust pipe into the detector ports. The product
warranty will be void if the pipes are glued.
