VIAVI Solutions
Quick Card
SmartClass Fiber MPOLx
Testing MPO/MTP terminated 12-strand fiber
This quick card describes how to use the VIAVI MPOLx for troubleshooting and loss/length MPO fiber
certification.
Equipment Requirements:
•MPOLx MPO test kit which will include:
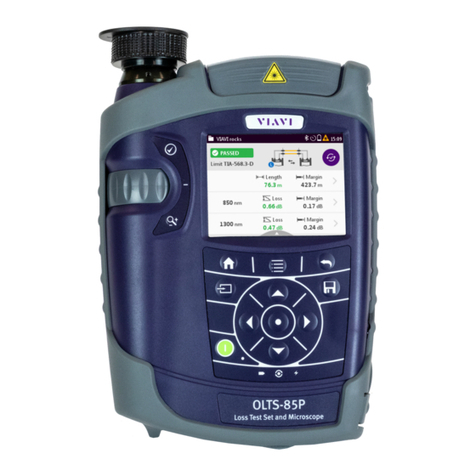
oMPOLP-85(P) –MPO Power Meter
oMPOLS-8x(P) –MPO Light Source
oMPO/MTP FMAE adapter (APC for SM, PC for MM) (P versions)
o2x unpinned to unpinned Type A launch cords
o1x pinned to pinned Type A test cord
o2x MPO mating adapters
•The latest SmartClass Fiber firmware
oTo download the latest version visit http://scf.updatemyunit.net
•FiberChek PRO software with version 2.02 or newer
oTo download the latest version visit http://fcpro.updatemyunit.net/
•MPO Cleaning Tool
Configure the MPOLP-85P for the type of testing you will be performing:
•Create and set-up a project on the MPOLP:
oFrom home screen press the management icon (left side of touch screen, middle icon).
oSelect projects, press menu button, and select add.
oType the name of the project, tap the check mark to save.
oAdd a description, set the label prefix, label index, and auto increment as desired.
oPress the back button and set the project to Active.
•Create and save the test configuration for the Loss/Length test you wish to perform:
Note: Setup can only be done on the MPOLP and not the MPOLS.
oFrom home screen select Loss/Length.
oPress the menu button.
oSelect a pre-set test configuration or create a new one as follows:
▪Select add –and name the test configuration (e.g. “SMF 12 Strand Test”). Select this
new test configuration and create a setup for a basic loss/length test:
•Fiber Type = MM/SM as appropriate
•Test Limit –Link Validation. Polarity A, Length 100 meters
•Cable Name: OM4/OS1 as appropriate
•Cable and Connector: as appropriate
•Test Reference Method: 1 Jumper
•Pass/Fail Fiber Selection: as appropriate
•Ensure the Patch Cord Microscope (PCM) settings are correct (if equipped) –using
correct inspection profile (Ribbon, SM or MM (IEC-61300-3-35 Ed. 2.0) ensures the
correct illumination of the end face.
•Adjust the focus and Y axis. Turn auto-center off.
