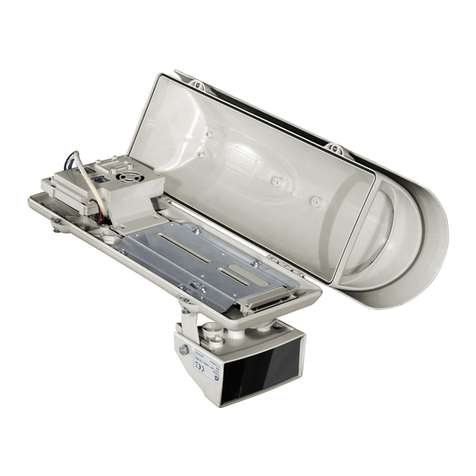
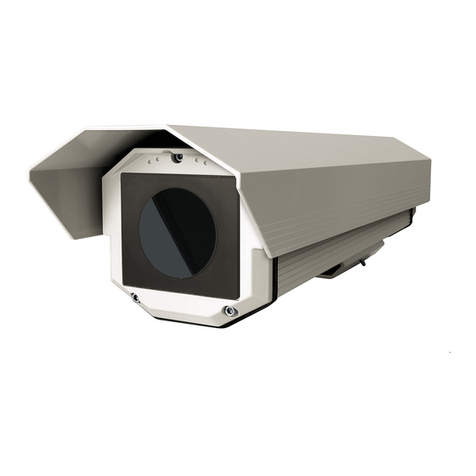
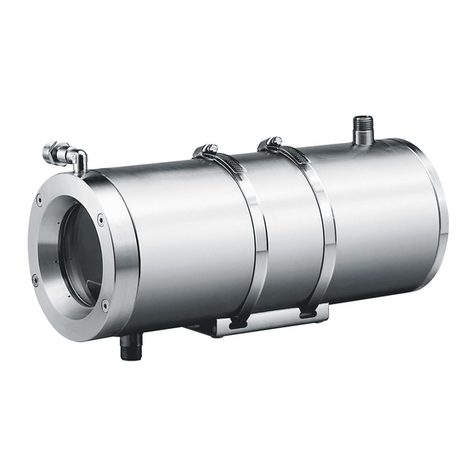
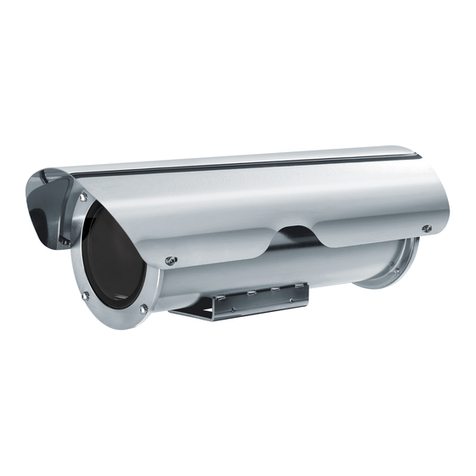
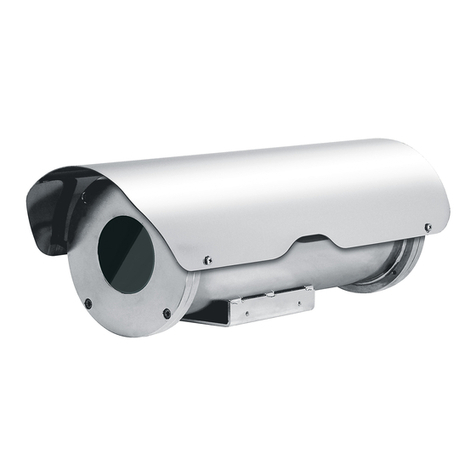
Fig. 2
INSTALLATION:
Le kit est prévu pour fonctionner avec une tension d'alimentation de
12VDC.
Ne pas alimenter le kit avec une tension autre que celle indiquée!
• Ouvrir le caisson et fixer le ventilateur (3) avec l'étrier angulaire de support (1) à
l'intérieur du corps du caisson au moyen des vis fournies (2).
• Introduire le connecteur à deux pôles à l'extrémité du câble (5) dans l'élément
correspondant J6 sur le circuit d'appui (4A, caisson compact ou 4B, caisson
standard).
• Introduire le connecteur pré-câblé (6) fourni dans l'élément correspondant J5 sur le
circuit d'appui (4A, caisson compact ou 4B, caisson standard).
• Brancher la tension d'alimentation dans la borne J3 sur le circuit d'appui (positif sur
la borne +, negatif sur la borne -).
• Fermer le caisson.
FRANCAIS
INSTALLATION:
Das Kit ist für den Betrieb mit einer Versorgungsspannung von 12VDC
vorgesehen.
Das Kit darf nicht mit einer Spannung versorgt werden, die vom
angegebenen Wert abweicht!
• Gehäuse öffnen und Lüfter (3) mit dem winkelförmigen Haltebügel (1) im Innern
des Gehäuse-korpus fixieren. Benutzt werden die mitgelieferten Schrauben (2).
• Den zweipoligen Stecker am Kabelende des Lüfters (5) in die entsprechende, mit J6
gekennzeichnete Aufnahmestelle, am Auflageschaltkreis einfügen
(4A,
kompaktesgehäuse oder
4B,
standardgehäuse
)
.
• Den vorverdrahteten mitgelieferten Stecker (6) in die entsprechende, mit J5
gekennzeichnete Aufnahmestelle, am Schaltkreis einfügen
(4A,
kompaktesgehäuse
oder
4B,
standardgehäuse
)
.
• Die Versorgungsspannung in der mit J3 bezeichneten Klemme am
Auflageschaltkreis anschließen (positiv in Klemme +, negativ in Klemme -).
• Gehäuse schließen.
DEUTSCH
INSTALLAZIONE:
Il kit è previsto per il funzionamento con una tensione di alimentazione
pari a 12VDC.
Non alimentare il kit con una tensione diversa da quella indicata!
• Aprire la custodia e fissare il ventilatore (3) tramite la staffetta angolare di supporto
(1) all'interno del corpo della custodia, utilizzando le apposite viti in dotazione (2).
• Inserire il connettore a due poli posto all'estremità del cavo del ventilatore (5) nel
suo corrispondente indicato con J6 sul circuito di appoggio (4A, custodia compact o
4B, custodia standard).
• Inserire il connettore precablato (6) in dotazione nel suo corrispondente indicato con
J5, sul circuito di appoggio (4A, custodia compact o 4B, custodia standard).
• Collegare la tensione di alimentazione nel morsetto indicato con J3 sul circuito di
appoggio (positivo sul morsetto +, negativo sul morsetto -).
• Chiudere la custodia.
ITALIANO
INSTALLATION:
The kit is designed to operate with a 12VDC power supply voltage.
Never power the kit with a different voltage from the one
indicated!
• Open the housing and, using the corner support bracket (1), fix the fan (3)
inside the body of the housing using the screws provided for this purpose (2).
• Insert the two-pin connector at the end of the cable (5) in the corresponding
socket identified by J6 on the support circuit (4A, compact housing or 4B,
standard housing).
• Insert the pre-wired connector (6) in its corresponding socket identified by J5,
on the circuit supplied (4A, compact housing or 4B, standard housing).
• Connect the power supply to the terminal identified by J3 on the support circuit
(positive on terminal +, negative on terminal -).
• Close the housing.
ENGLISH
