8
GB
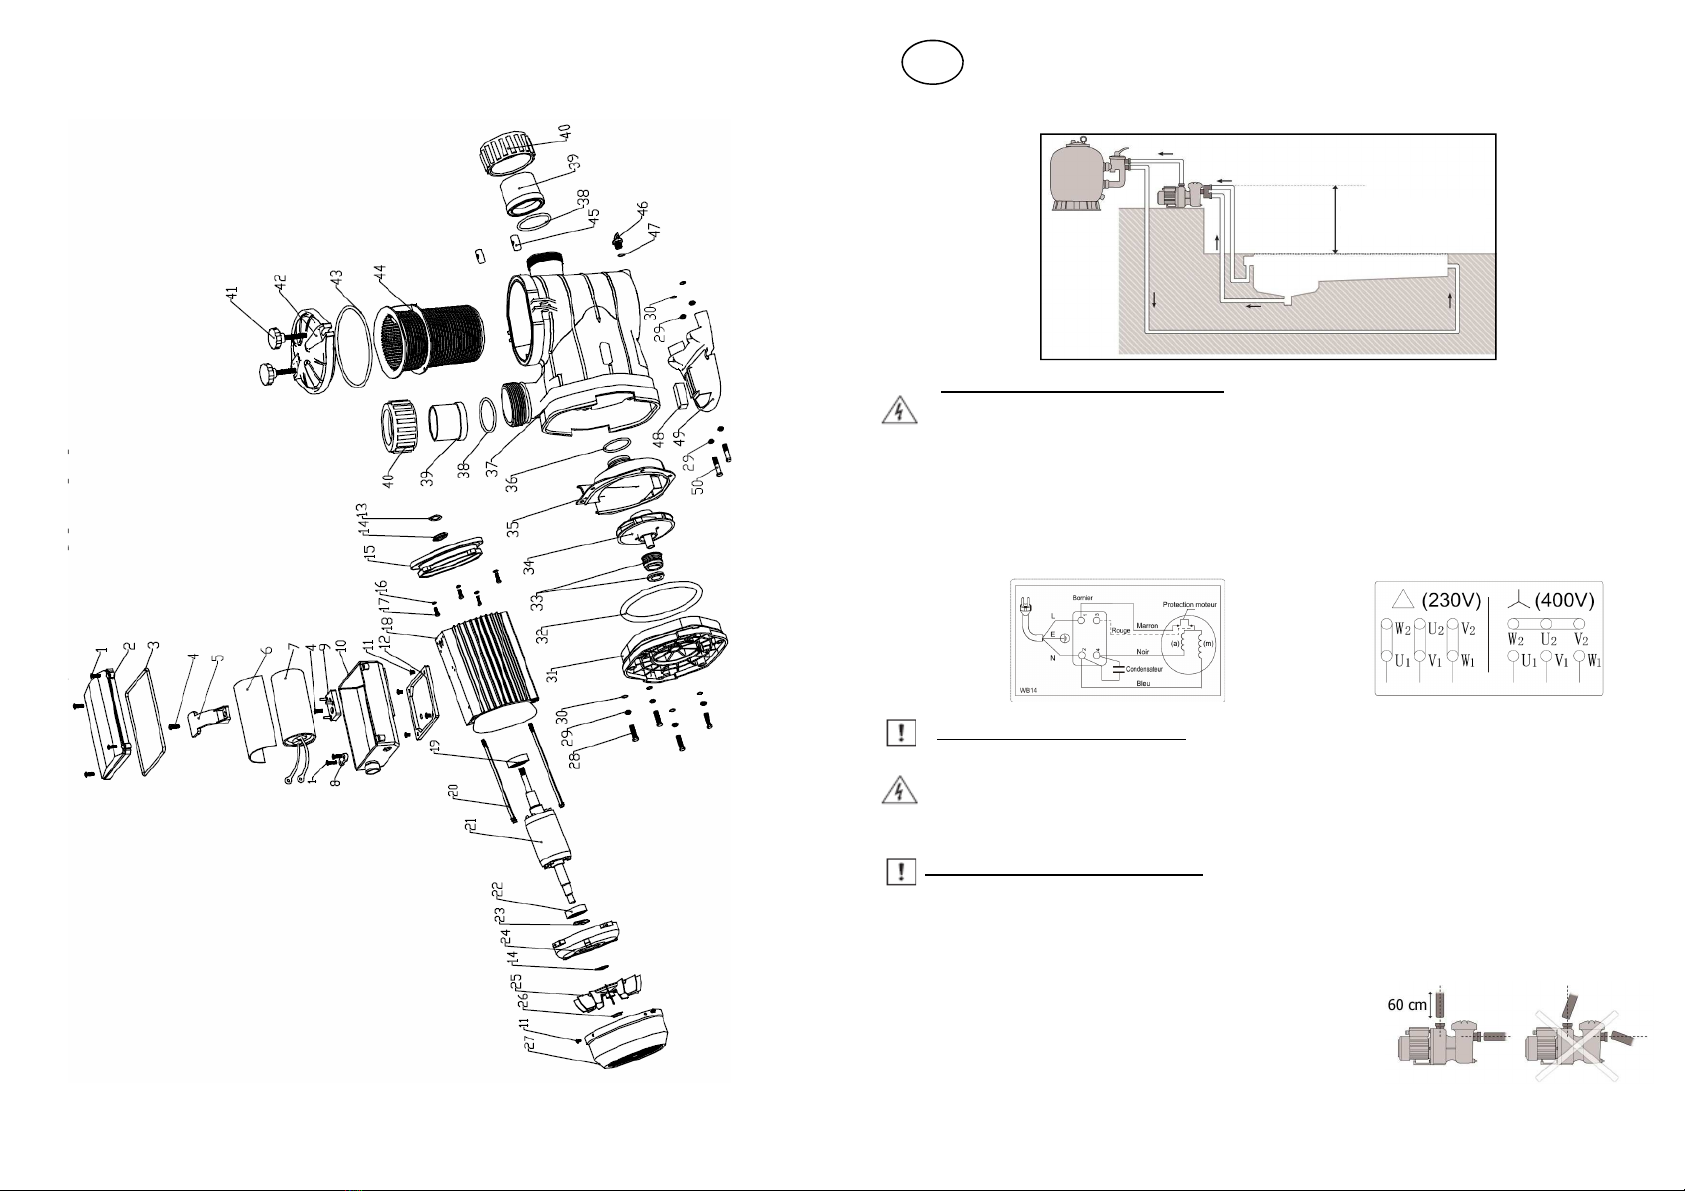
3.3 COMMISSIONING, PRIMING
▪ Position of valves: suction closed, delivery closed.
1 - Cut off the electricity supply to the pump.
2 - Fill the prefilter with water (imperative)
3 - Screw the cover back on, making sure the seal is neither clamped nor worn.
4 - Switch the electricity back on.
5 - Start the pump
6 - Immediately, open the suction valve and slowly the delivery valve
▪ The pump should be primed within a few minutes; if not, start again.
3.4 OPERATION
▪ The pump should operate without making any noise or vibrations.
▪ Check for any leaks on a regular basis.
▪ Clean the prefilter basket on a regular basis.
▪ Always stop the pump before handling the valve on your filter (6-way) on the swimming pool’s hydraulic circuit.
▪ This electrical pool pump is fitted as standard with a flexible filter bag inserted in the pre-filter basket. This is
intended to trap fine impurities (gravel, sand, pine needles, etc.) which can often prevent pumps from operating
correctly. When using the pump for the first time, when there is sand or pine needles present in the pool, or if a
manual broom has been used, these are situations where the use of the flexible filter bag is essential. We there-
fore advise you to leave this option permanently in position and, of course, to check and clean it regularly (at
least once a week). If the electrical pump is returned to us for after-sales service due to a blockage of the turbine
from impurities larger than the flexible filter bag’s straining capability, the item will not be repaired under war-
ranty.
You can obtain additional flexible filter bags from your usual supplier.
3.5 INTERVENTION
Risk of injury to persons without the required qualifications. Repair and maintenance work must be carried out
by specially trained personnel.
▪ When working on the pump:
- Cut off the electricity supply
- Make sure the switch is set to “off”
- Wait for the motor to have come to a complete stop.
▪ The mechanical seal is a vital component of the pump. It should be replaced with the utmost care. It is advis-
able to contact a specialist for this task.
▪ Disassembly/Re-assembly: Take the necessary precautions to avoid trapping your hands or feet.
- Clean and check all parts before reassembling them.
- Replace all worn or damaged parts (imperative).
- Make sure the seals are clean and in the correct position. We recommend you only reposition new seals.
▪ In all spare part orders, please specify:
- The type of pump (data plate)
- The pump’s serial number (data plate)
- The part’s position number (exploded view)
- The name of the part (table and exploded view)
3.6 WINTERING
▪ The pump must be emptied through the plughole for anti-freezing purposes.
3.7 RECOMMISSIONING AFTER THE WINTER
▪ Proceed as follows:
1 - Cut off the electricity supply.
2 - Insert a flat-headed screwdriver in the slot in the centre of the fan cover.
3 - Rotate the motor shaft manually.
4 - Remove the screwdriver
5 - Start the pump (see § 3.3 COMMISSIONING, PRIMING).
5
F
4. EVENTUELS DEFAUTS, CAUSES ET SOLUTIONS
5. PRESSIONS MINIMALES DE FONCTIONNEMENT
Explication : Il est impératif de vérifier les pressions indiquées ci-dessus lors de la mise en service. En
effet, une pression inférieure à ces valeurs minimum conduit à une usure prématurée de l’ensemble de la
pompe.
Réglage : Fermer progressivement la vanne de refoulement afin d’obtenir la pression minimum
correspondante au modèle.
Pression mCE Pression Bar Pression g
MJB
6 - 10 - 14 5 0.50 500
19 5.5 0.55 550
24 6 0.6 600
30 9 0.9 900
40 9.5 0.95 950
Modèle
DEFAUTS CAUSES PROBABLES SOLUTIONS
La pompe ne
s’amorce pas
Prise d’air sur la tuyauterie d’aspi-
ration
Vérifier l’état des raccords et des joints sur la
tuyauterie d’aspiration
Mauvais serrage du couvercle Nettoyer le couvercle et vérifier l’état du joint
Sens de rotation du moteur incor-
rect (moteur triphasé)
Intervertir 2 phases sur l’alimentation électrique
Faible débit de la
pompe
Préfiltre bouché Nettoyer le préfiltre
Prise d’air sur la tuyauterie d’aspi-
ration
Vérifier l’état des raccords et des joints sur la
tuyauterie d’aspiration
Sens de rotation du moteur incor-
rect (moteur triphasé)
Intervertir 2 phases sur l’alimentation électrique
Pertes de charges dans l’aspiration A éviter: grande longueur de tuyau, nombreux
coudes, élévation de la pompe au dessus du
niveau d’eau, canalisations trop petites
Mauvaise tension Vérifier que la tension de votre réseau corres-
pond à celle indiquée sur la plaque des caracté-
ristiques moteur
Le moteur
s’arrête
Vérifier que la grille du ventilateur est dégagée
(distance mur/ventilateur au moins 30 cm)
Augmenter la pression de fonctionnement de la
pompe en fermant un peu la vanne de refoule-
ment (voir tableau ci-après)
Bruit/vibration
Cavitation Voir paragraphe 5
Corps étrangers (sable, …) Démontage, nettoyage, remontage
Surchauffe du moteur